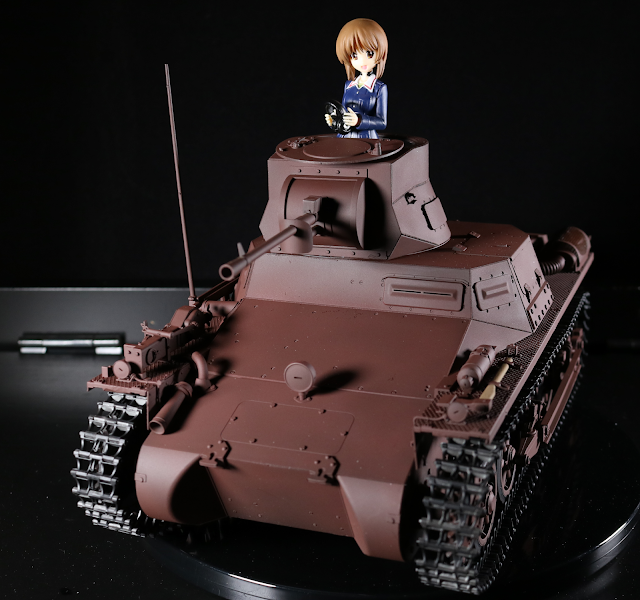
Tanya Degurechaff garage kit
This is a bootleg version. I simply could not locate the authentic version.
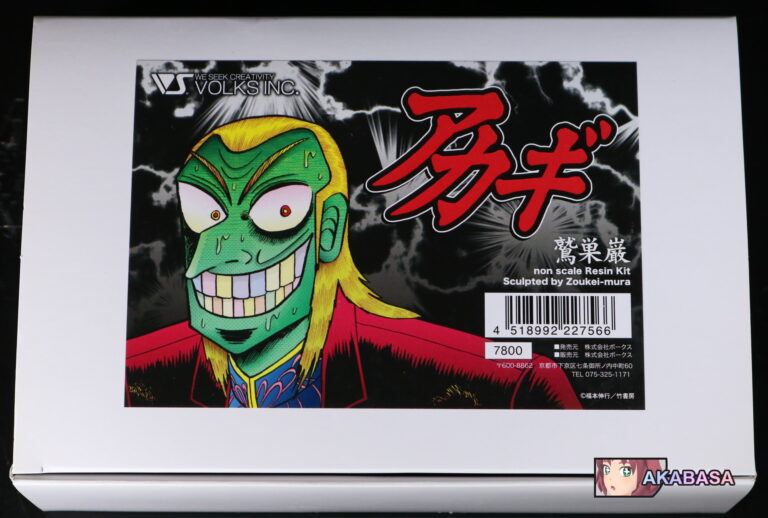
In fact, I wasn’t aware that this kit was in existence until I came across this bootleg version for sale on Yahoo auction Japan. I immediately knew it was a bootleg and also knew that it was from GK Taiwan due to how they were labelling parts.
The kit was purchased at 3,300yen. With shipping and customs, it overall ended up costing roughly 80 CAD. It didn’t cross the three digit range which I consider a miracle when ordering things from Japan.
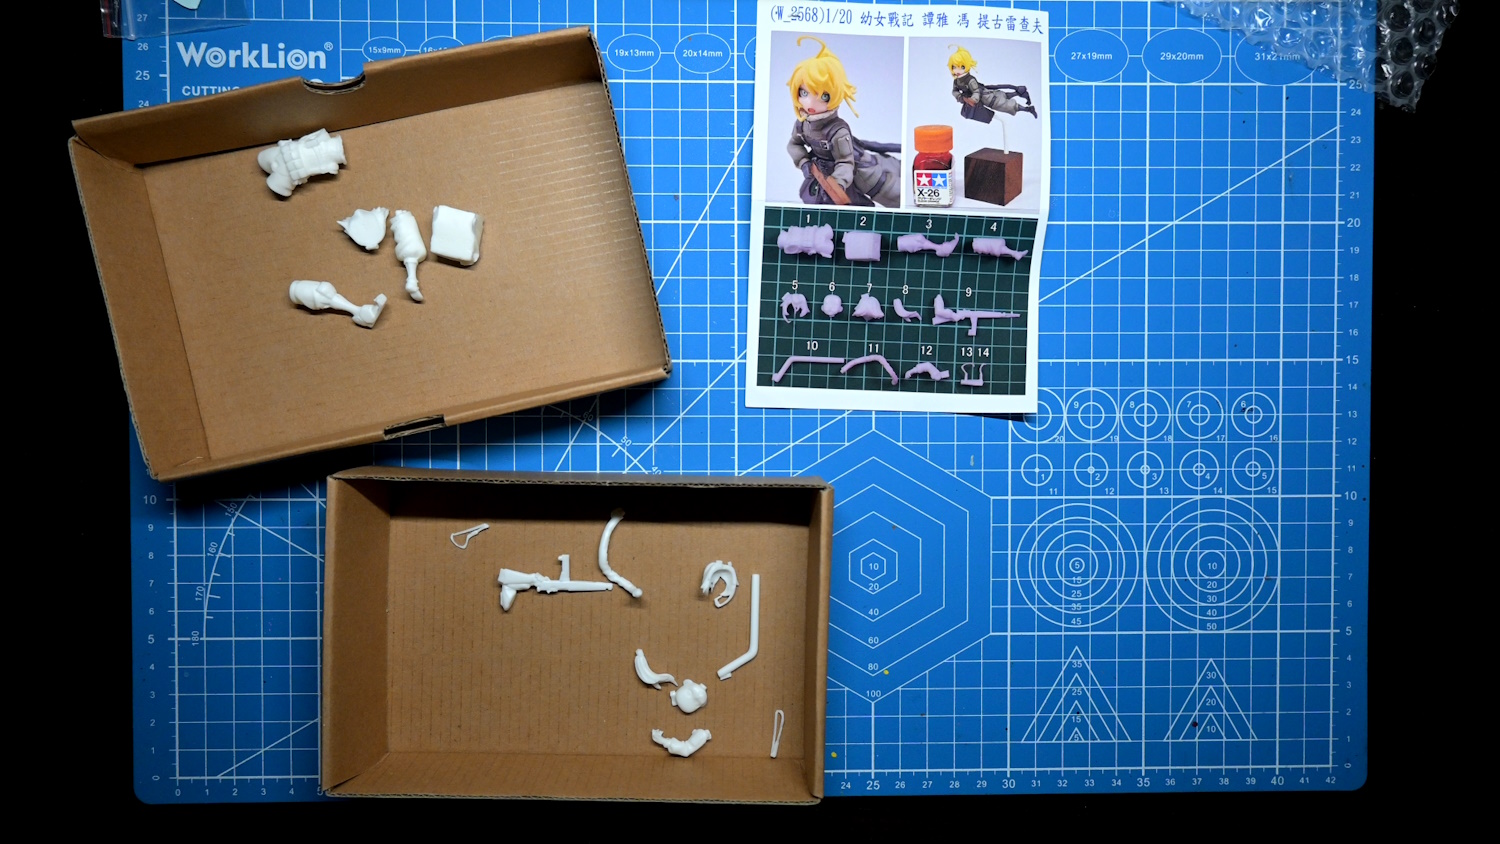
Anyway, the resin quality was decent. I spotted no fault whatsoever. Granted, it may perhaps be because it is pretty small. This is classified as non-scale, but I figure it’s about 1/16 scale.
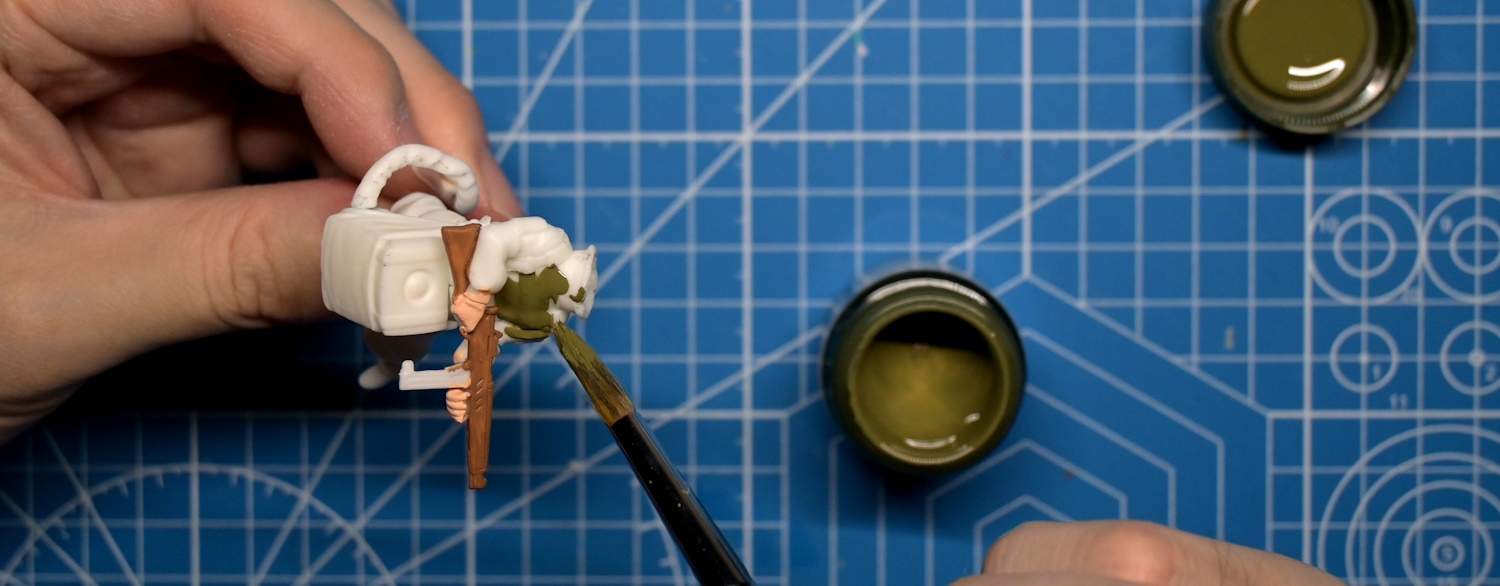
I chose not to airbrush anything for this one. I was pretty sure the outcome would be better if I used it, but the cleaning up and etc – It’s sometimes too much work especially when you are short on time, which I was at the time of making this. I just wanted to get this one ASAP.
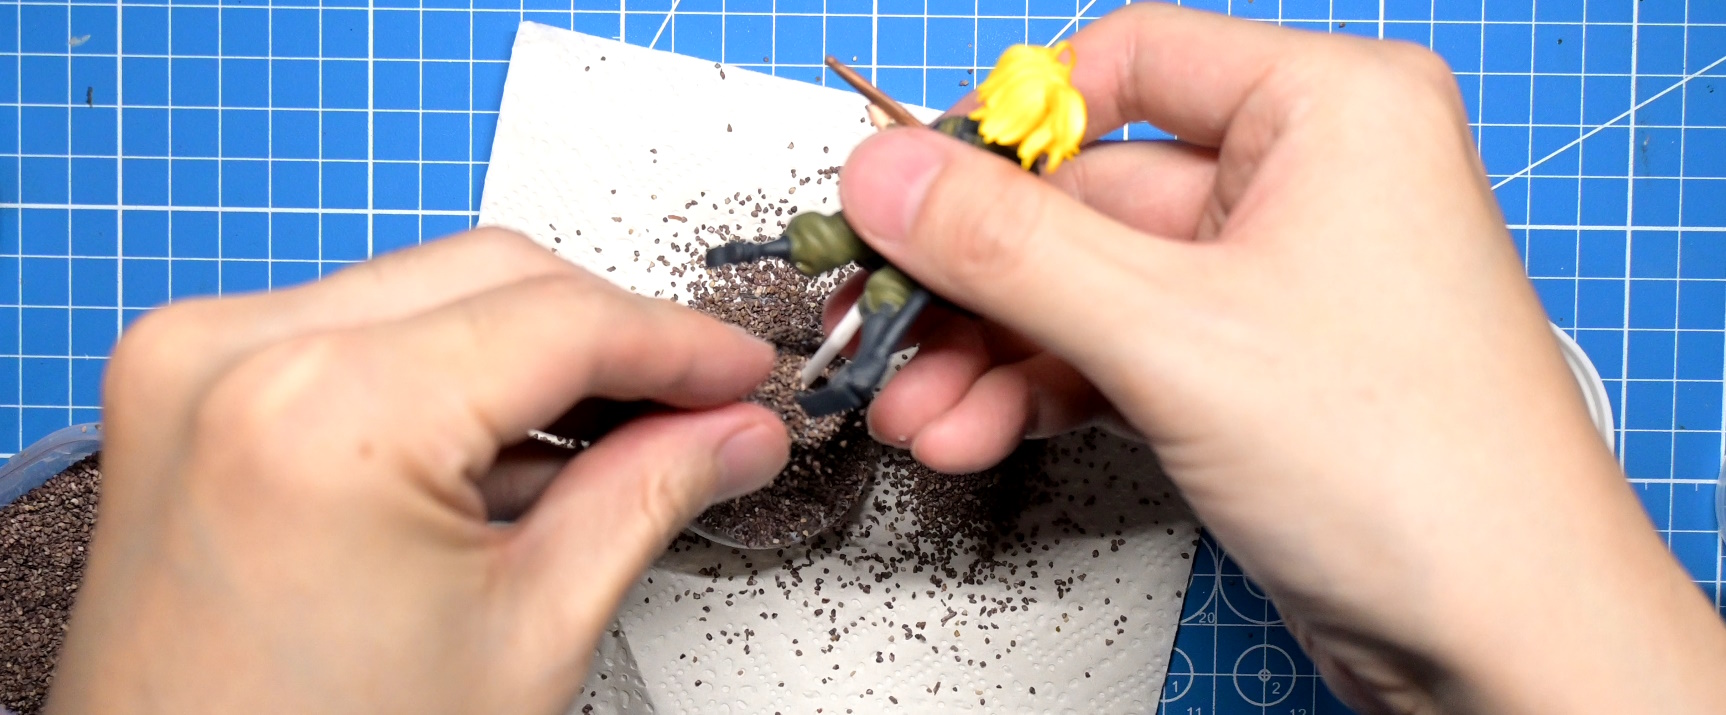
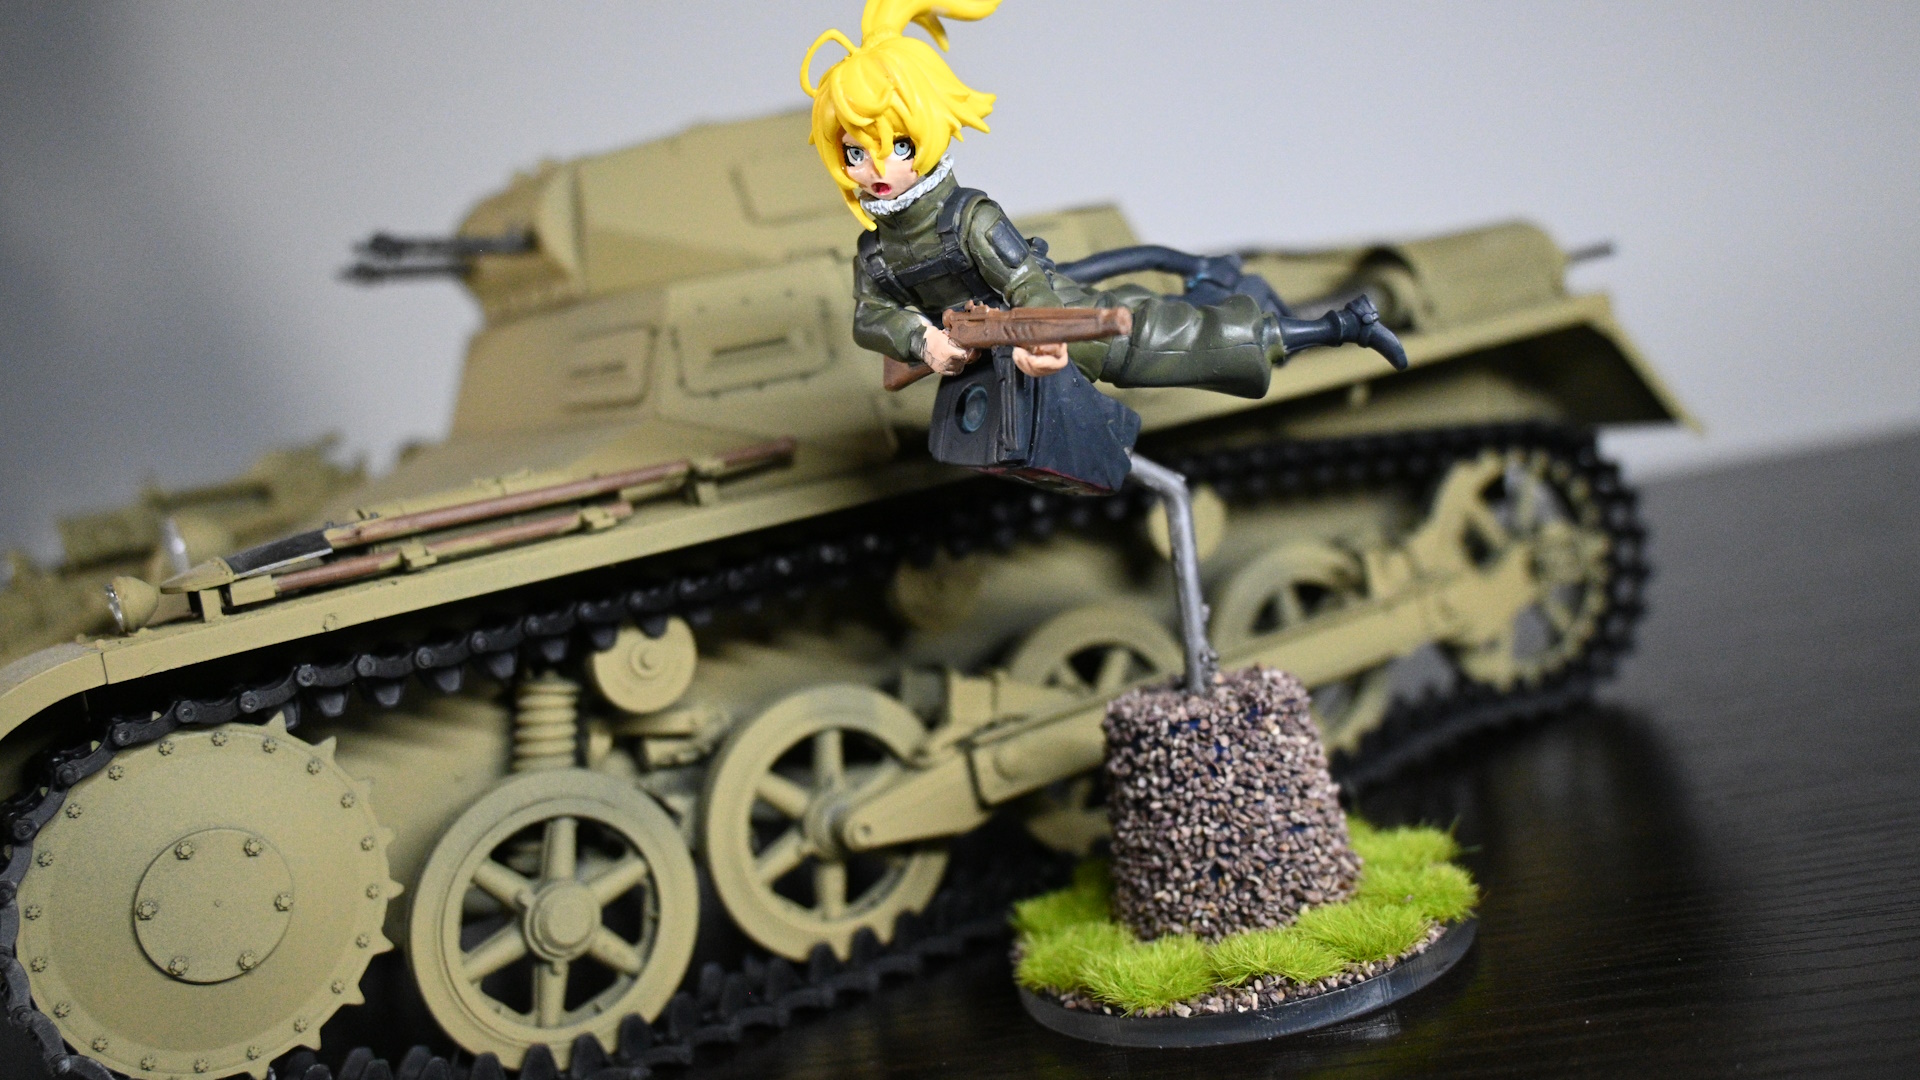
I painted the base with mod podge and then sprayed soil substrate. This is a technique I learned while making diorama. It creates a decent-looking rough ground. You don’t need to wait long for the glue to settle down, either. An hour max.
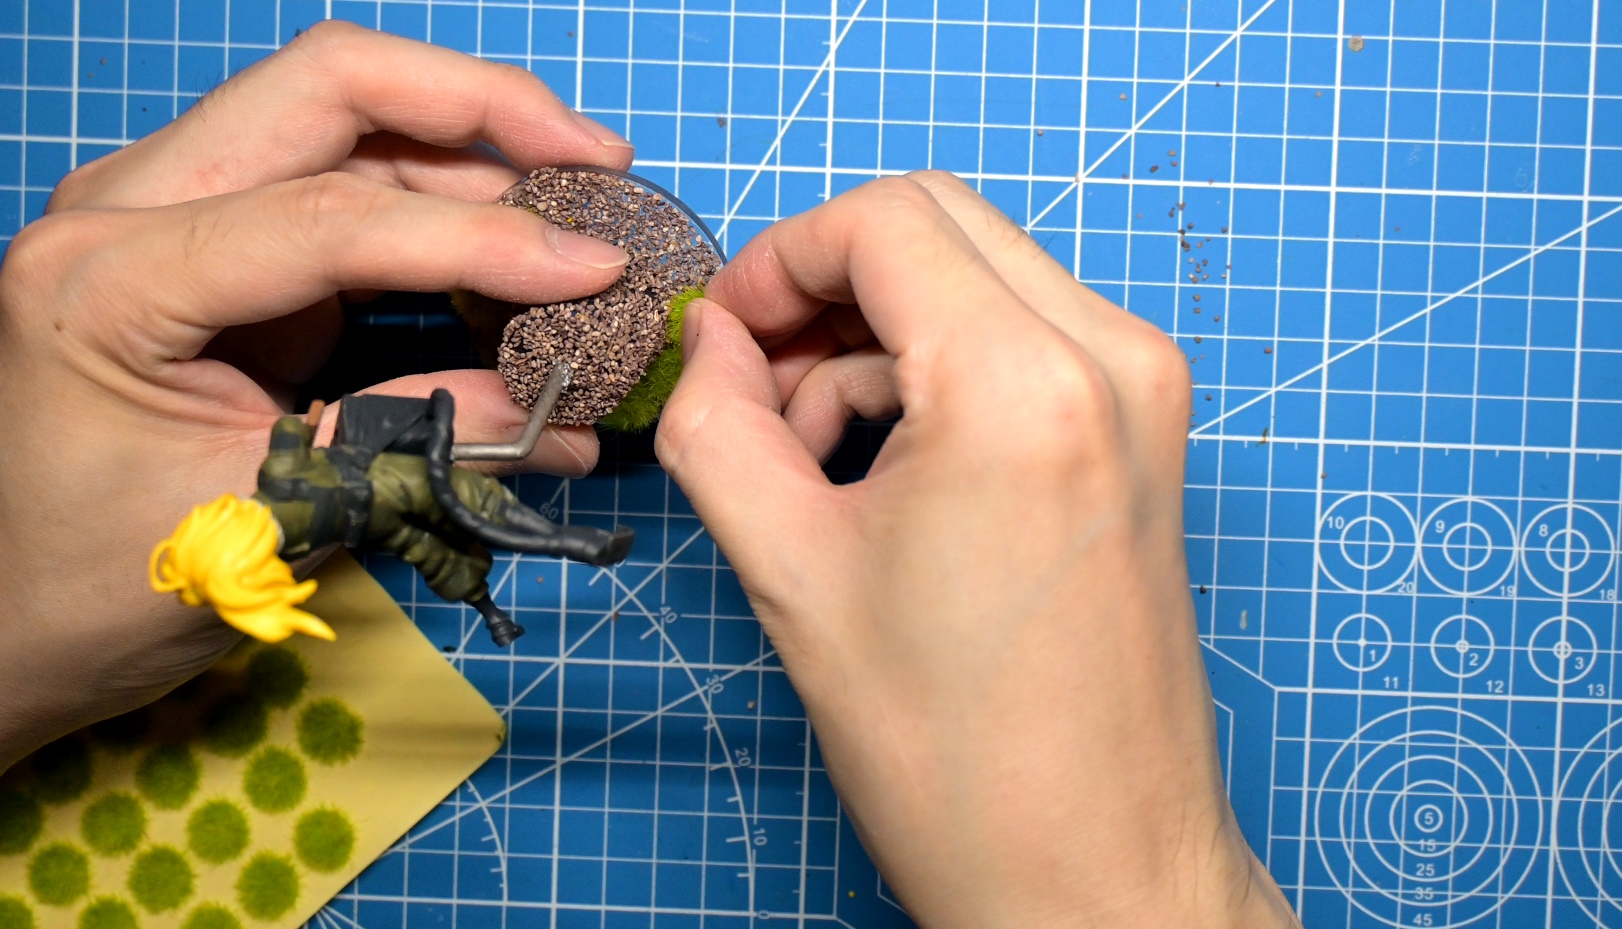
And then I used diorama patch glasses which has silicon glue on bottom to create pseudo ground. This method works only because I am doing this on a tiny scale.
Ta-da! Done. Below is a short video of the completed figure. It wasn’t varnished in the video but I plan to do so at one point. This figure was assembled and was painted relatively painlessly. I think it took overall two days. The actual amount of work hours put into this was about 5 hours. Since you need to wait for paint to dry before moving onto a next step, it does take a lot more time than you actually put in.
Now, if you want a full video where it shows how I assembled and worked on step by step, the video is below. It is about 25 minutes long.
![[Bronze Circus] Darjeeling & Pekoe 1/9 scale garage kit](https://akabasa.com/wp-content/uploads/2021/09/bronze_circus_darjeelingpekoe_1-768x432.jpg)
![[Bronze Circus] Clara 1/9 scale garage kit](https://akabasa.com/wp-content/uploads/2021/09/bronze_circus_clara_9scale_1-768x432.jpg)
![[Soft-shell Crab] Tsuruki Shizuka garage kit](https://akabasa.com/wp-content/uploads/2021/09/ribbon_warrior_shizuka_hime_1-768x432.jpg)