Hobby Boss Tiger 1/16 scale painting
This is a continuation of my previous blog entry, Hobby boss Tiger 1/16 scale mid production kit.
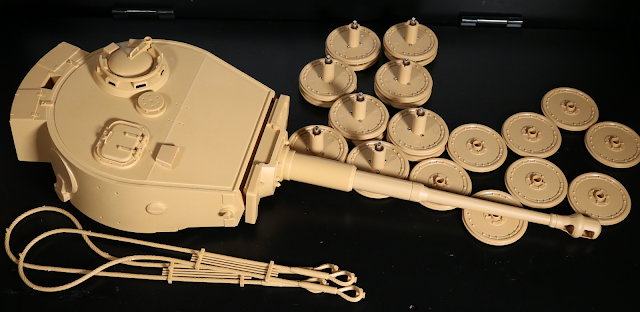
It is time to paint and finish this tank. I’ve removed a shovel prop on front and another shovel on top. Since they would leave holes if left untouched, I’ve filled the holes with model paste and let it dry for half a day before priming.
Before priming it, I had to disassemble pretty much everything. If this was a 1/35 tank, I wouldn’t have done this. The reason for the disassembly is due to part being large enough to work with.

The plan is simple, on paper, prime in black, let it cure, then paint in dark yellow.
Yes, dark yellow. I realize the tank is already in yellowish color, so you may ask why bother doing this to paint in another yellow?
First of all, priming will hide minor scratches and fill tiny gaps, making the model look smoother overall.
Secondly, the original kit as is is somewhat glossy. A strong matte finish is ideal for tanks in general. And the yellow isn’t quite what I am looking for, either.
If you really want to cheap out on the painting part though, I suppose just applying matte varnish could work but I am not going to do that. Priming in black and applying a paint allows me to do some shading.
So, all in all, I am going to go through my usual painting procedure.
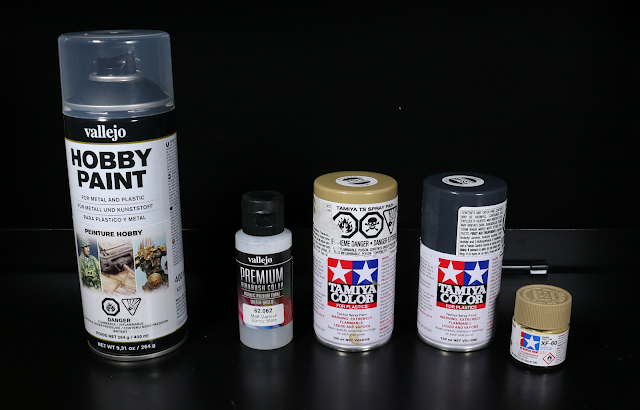
Due to the large(r) size of surface area I am going to have to work with, I’ve decided to use spray cans. This could save me a lot of time. A major con with spray paint is that you cannot control the amount of paint you are going to spray without wasting a lot, so I am going to use spray for crude work before using airbrush for finishing touches.
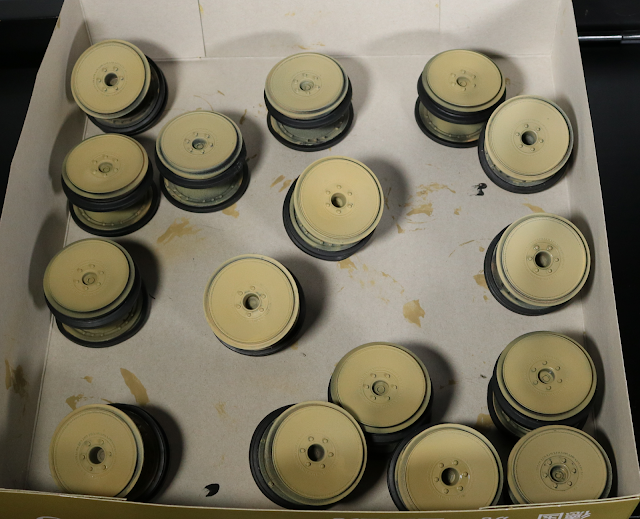
Once primed in black, I let it dry for about a day before spraying it with dark yellow. I do not need to do a perfect job for lower hull because most of it is going to be covered by wheels and tracks.
Notice how black is seen on the wheels? It’s the kind of effect I want which you can’t do if you don’t prime and paint. This is basically a weathering effect.
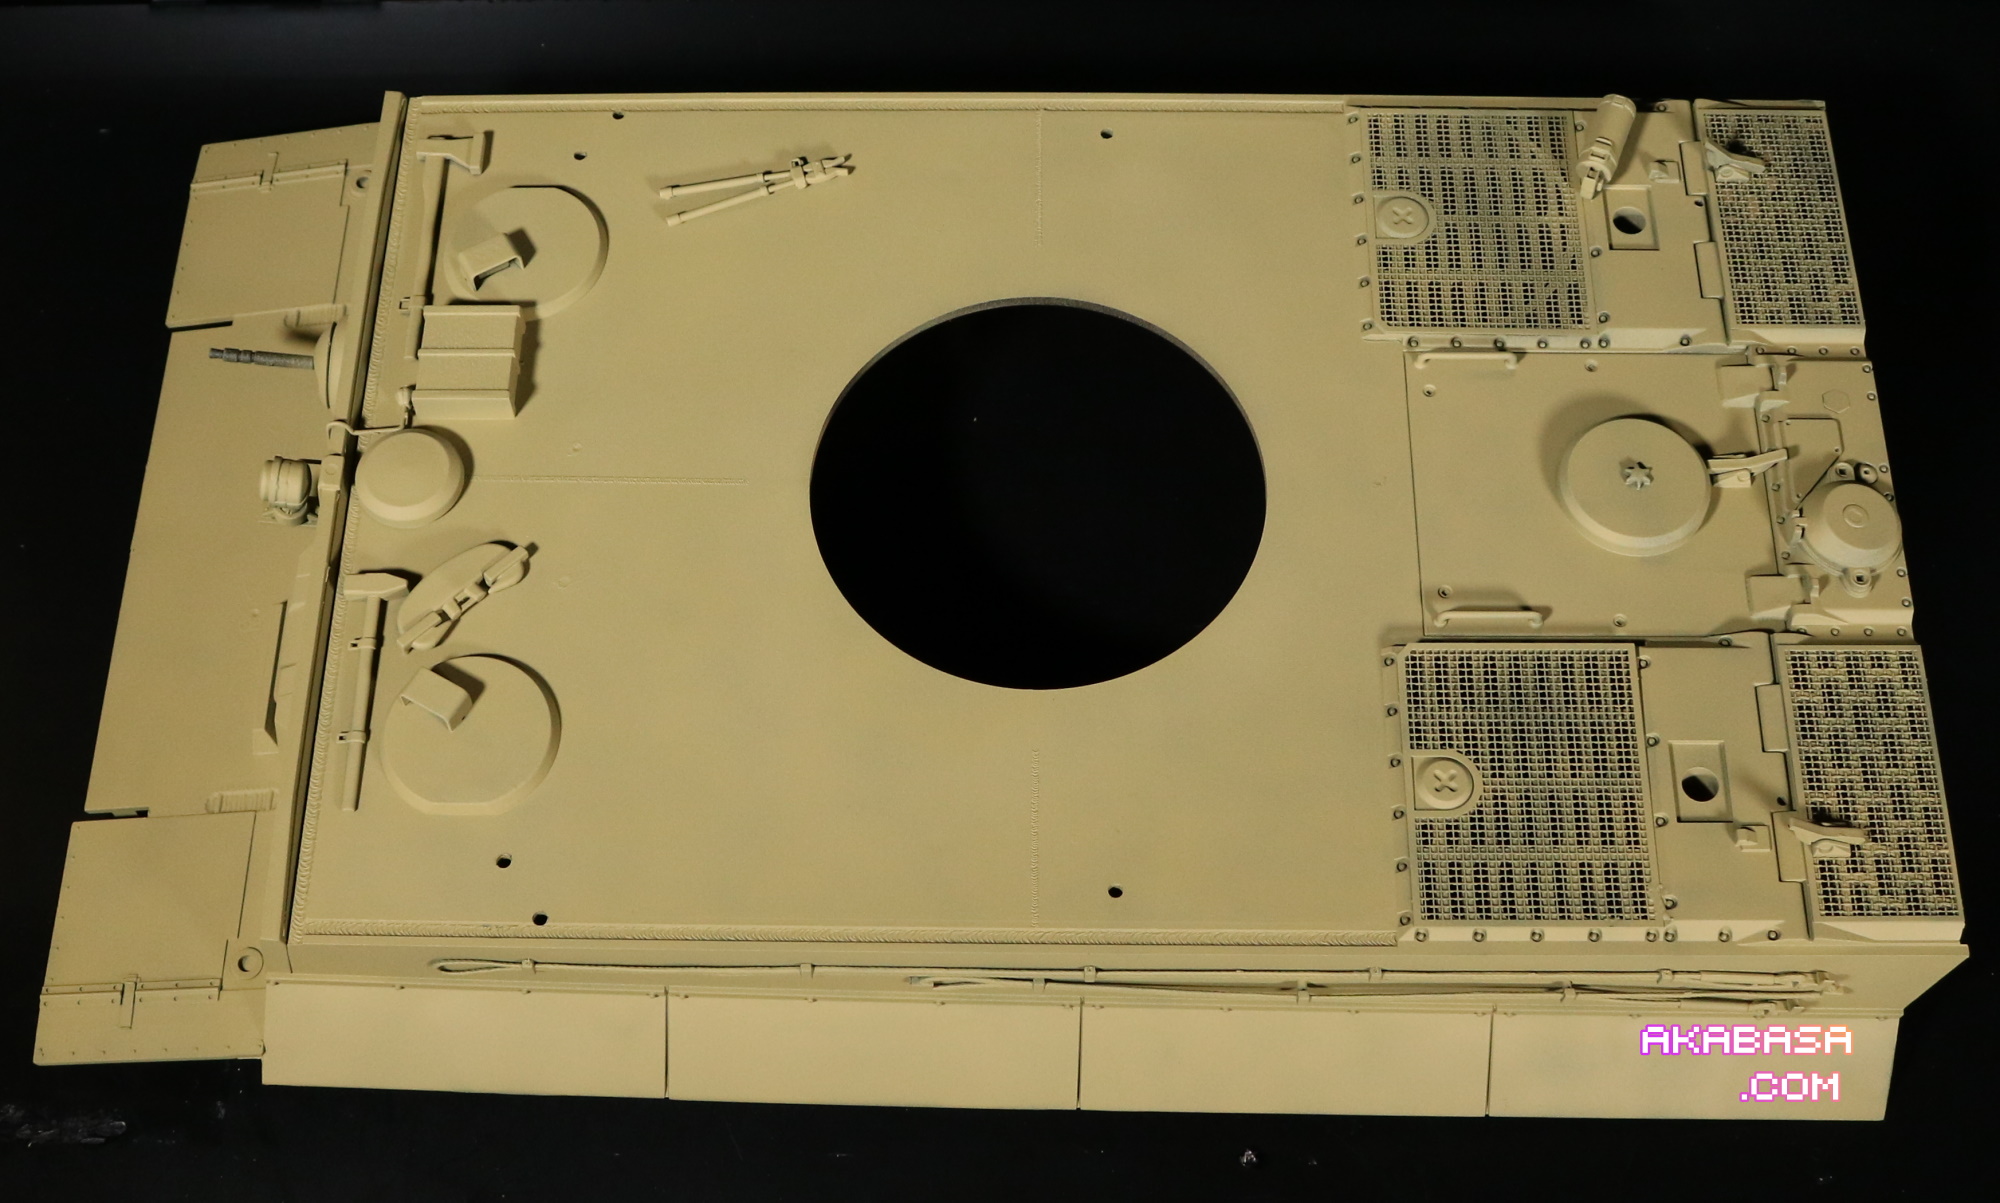
The upper hull took a lot of my time since I had to do a better job than what I did with lower hull. I primed, then sprayed crudely, then did finishing touches with airbrush. For this, it’s very important that you use the same spray & paint from the same maker. Even if another maker has the same color name, it will look different. I can guarantee that.
Of course, when it comes to the basic colors: black and white, it’s okay.
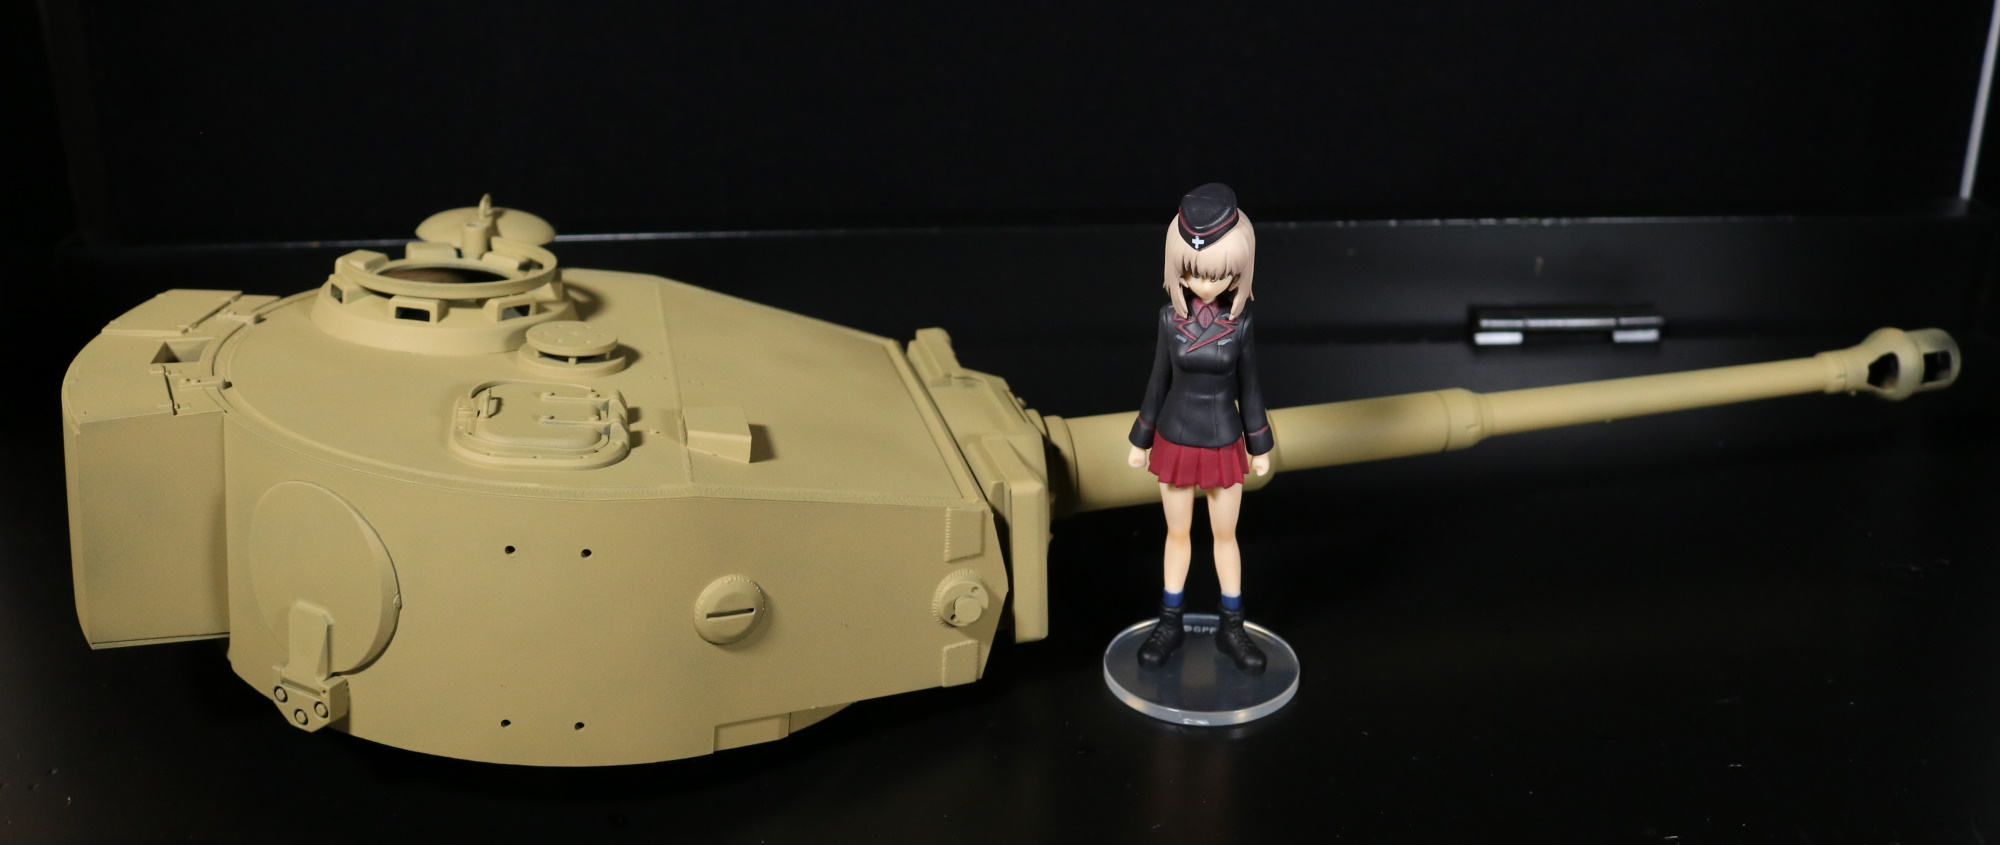
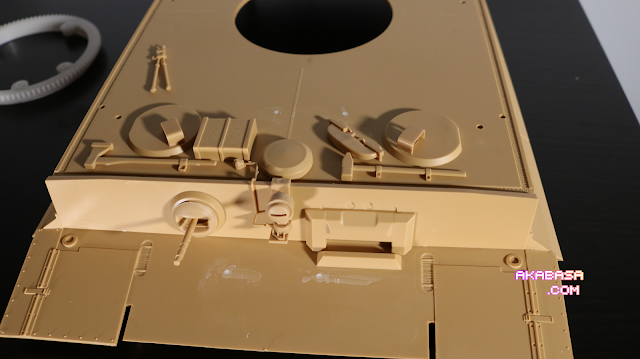
Turret is done the same: primed, spayed, and then airbrushed. You may see some holes. It’s where tracks will be installed later.
Erika is a 1/16 scale figure which is in line with the tank scale. This reminds me, again, of how big Tiger is.
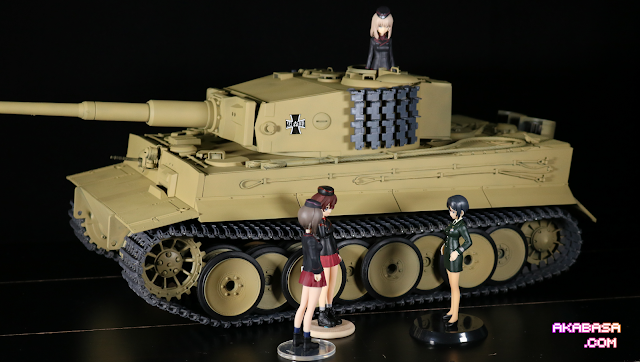
And once all dried, I assemble it back and here we are.
Aside from lack of operable parts, the tank came out alright overall. I did make some mistakes but I always make some mistakes when doing this. You just have to get on with it.
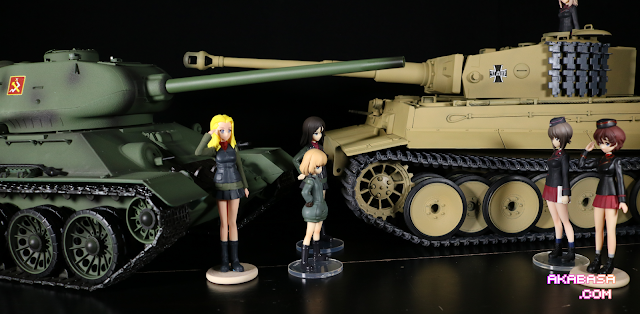
The Tiger I 1/16 scale is a huge tank. It may not look like it from photos, but trust me. It is huge.
Overall, I find it okay. In my opinion, the tank lacks any operable parts but I guess you get what you pay for. For the price (75USD) though, the value for money is there. It’s good enough for its price.
![[Takom] Wiesel A1 Tow](https://akabasa.com/wp-content/uploads/2021/09/wiesel-a1-tow_takom_8-768x504.jpg)