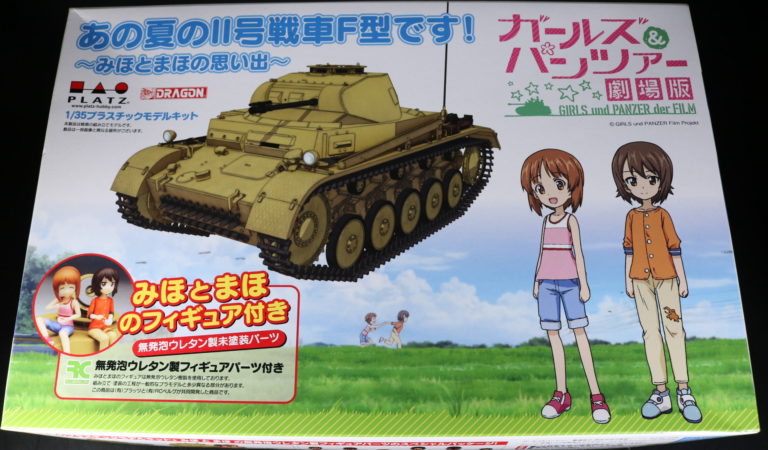
Revell Volkswagen T1 1/16 scale
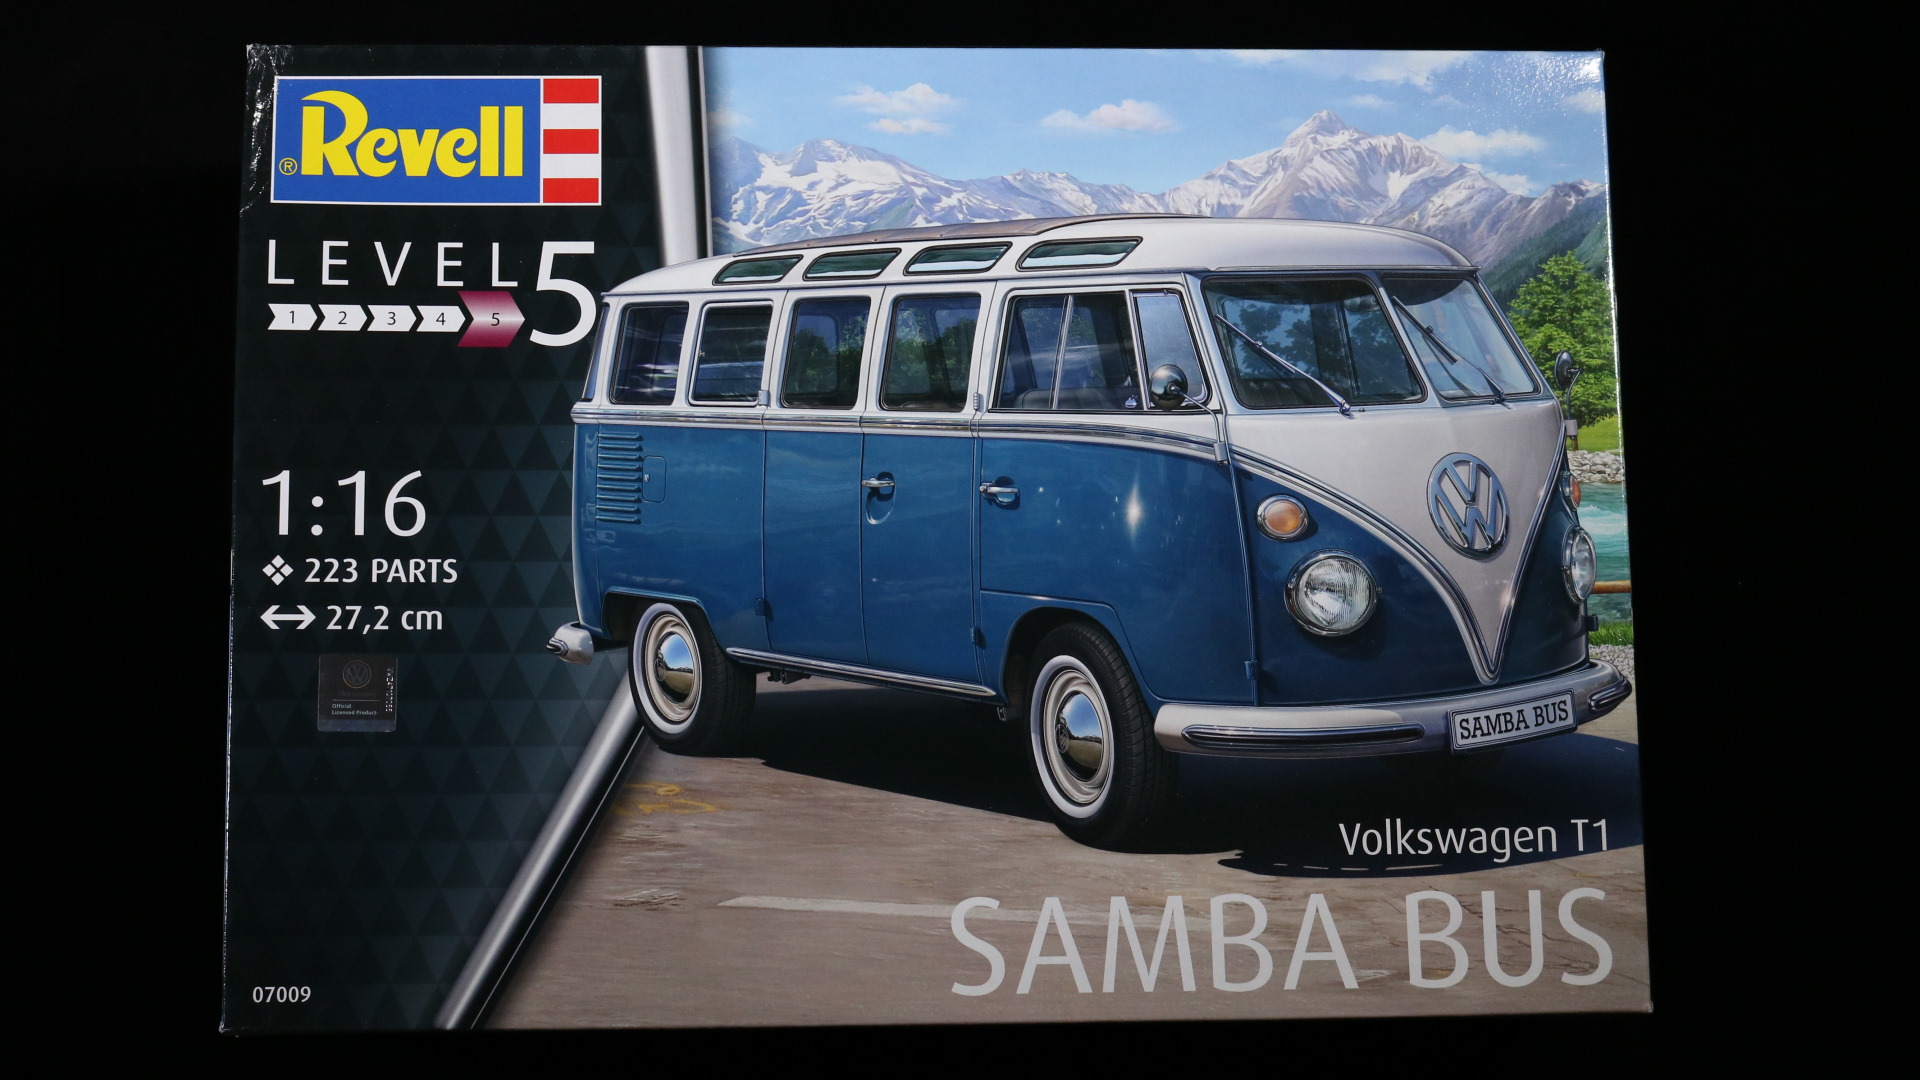
This is a 1/16 scale Volkswagen T1 AKA Samba bus. It has many names, the Samba, VW Samba, etc. All in all, this is an iconic vehicle.
Interestingly, this is my very first vehicle model to assemble. I am generally not interested in car models. You can say that this Volkswagen T1 is an exception due to its unique design.
I purchased this specifically for Girls und Panzer photo project. It is a part of a fairly large project, so you won’t be seeing it in a photo for a while.
This kit assembly is slightly different from what I’ve done so far because, according to the manual, it wants me to paint things as I assemble stuff. After going through the manual, it does make sense.
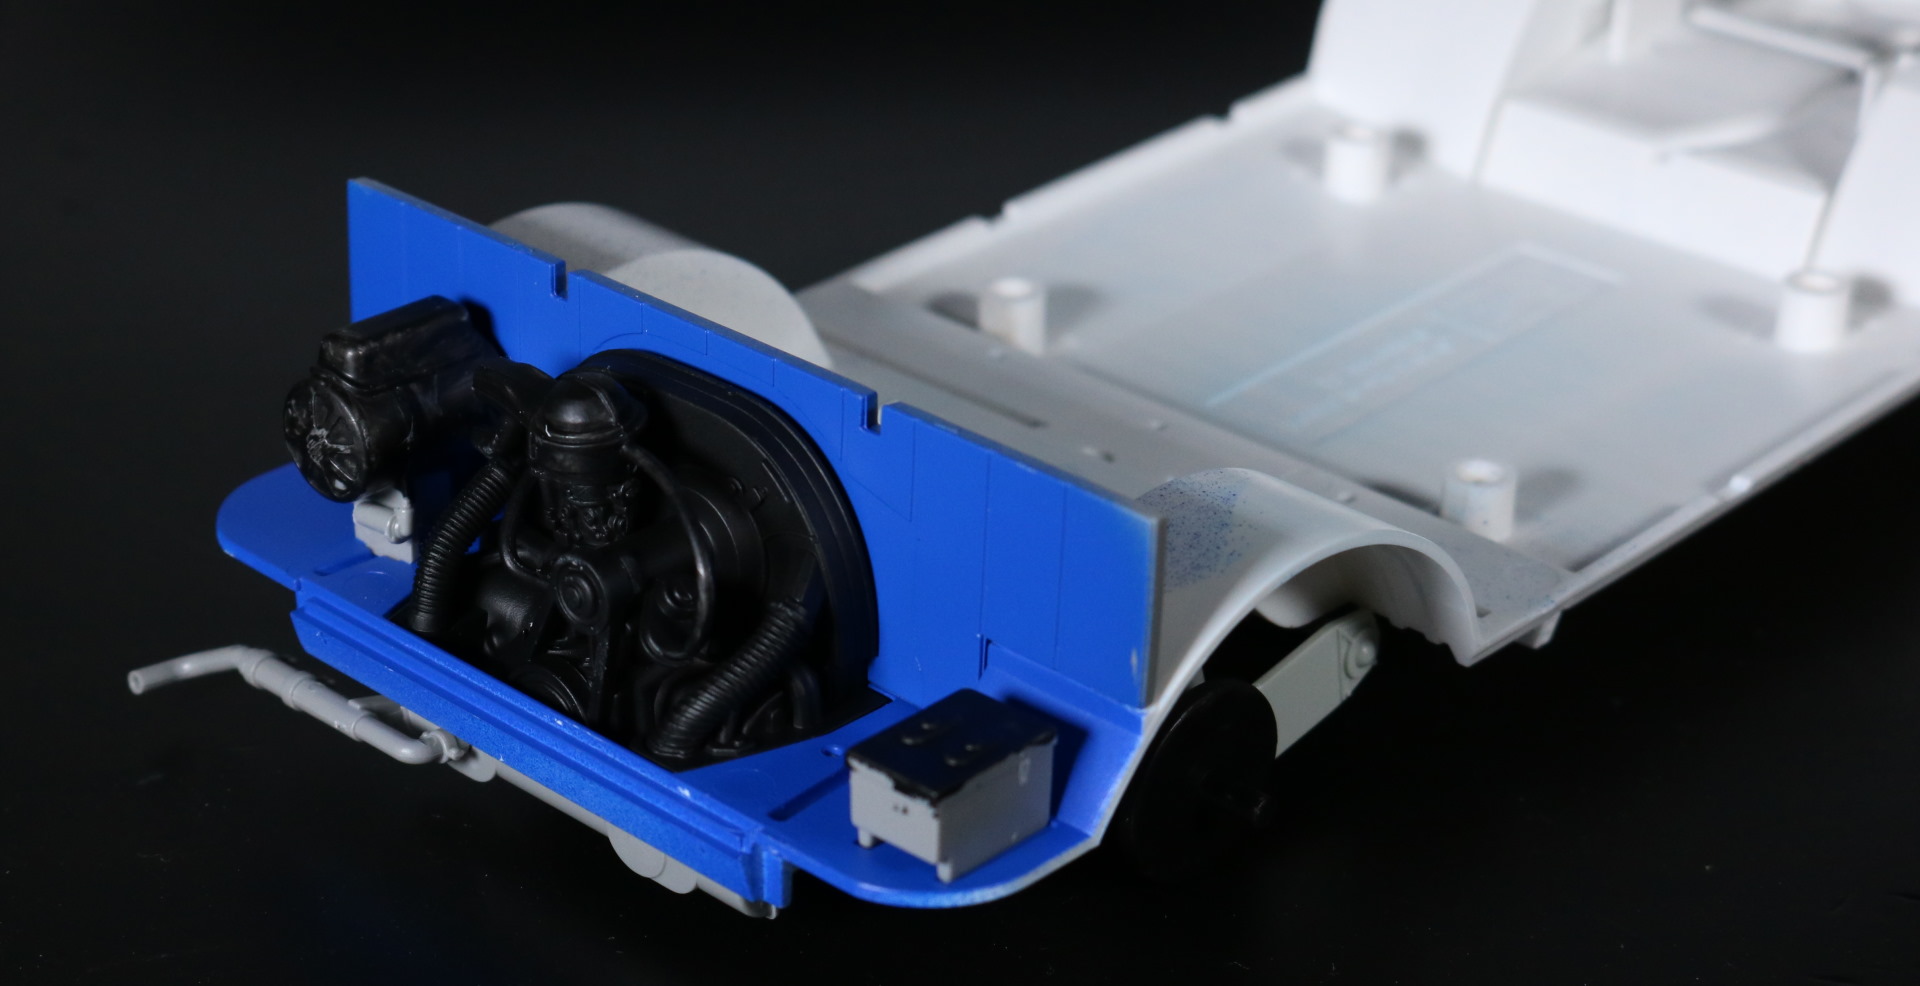
Originally, I was going to use the color scheme seen on the box: blue & white. But it hit me that I don’t have to follow that color pattern. After all, it’s my call, ain’t it?
So, early into the build, I changed my color scheme to black & red.
I didn’t find the assembly itself hard. In fact, if it’s assembly only, this kit can be completed within hours. But painting complicates things, a lot.
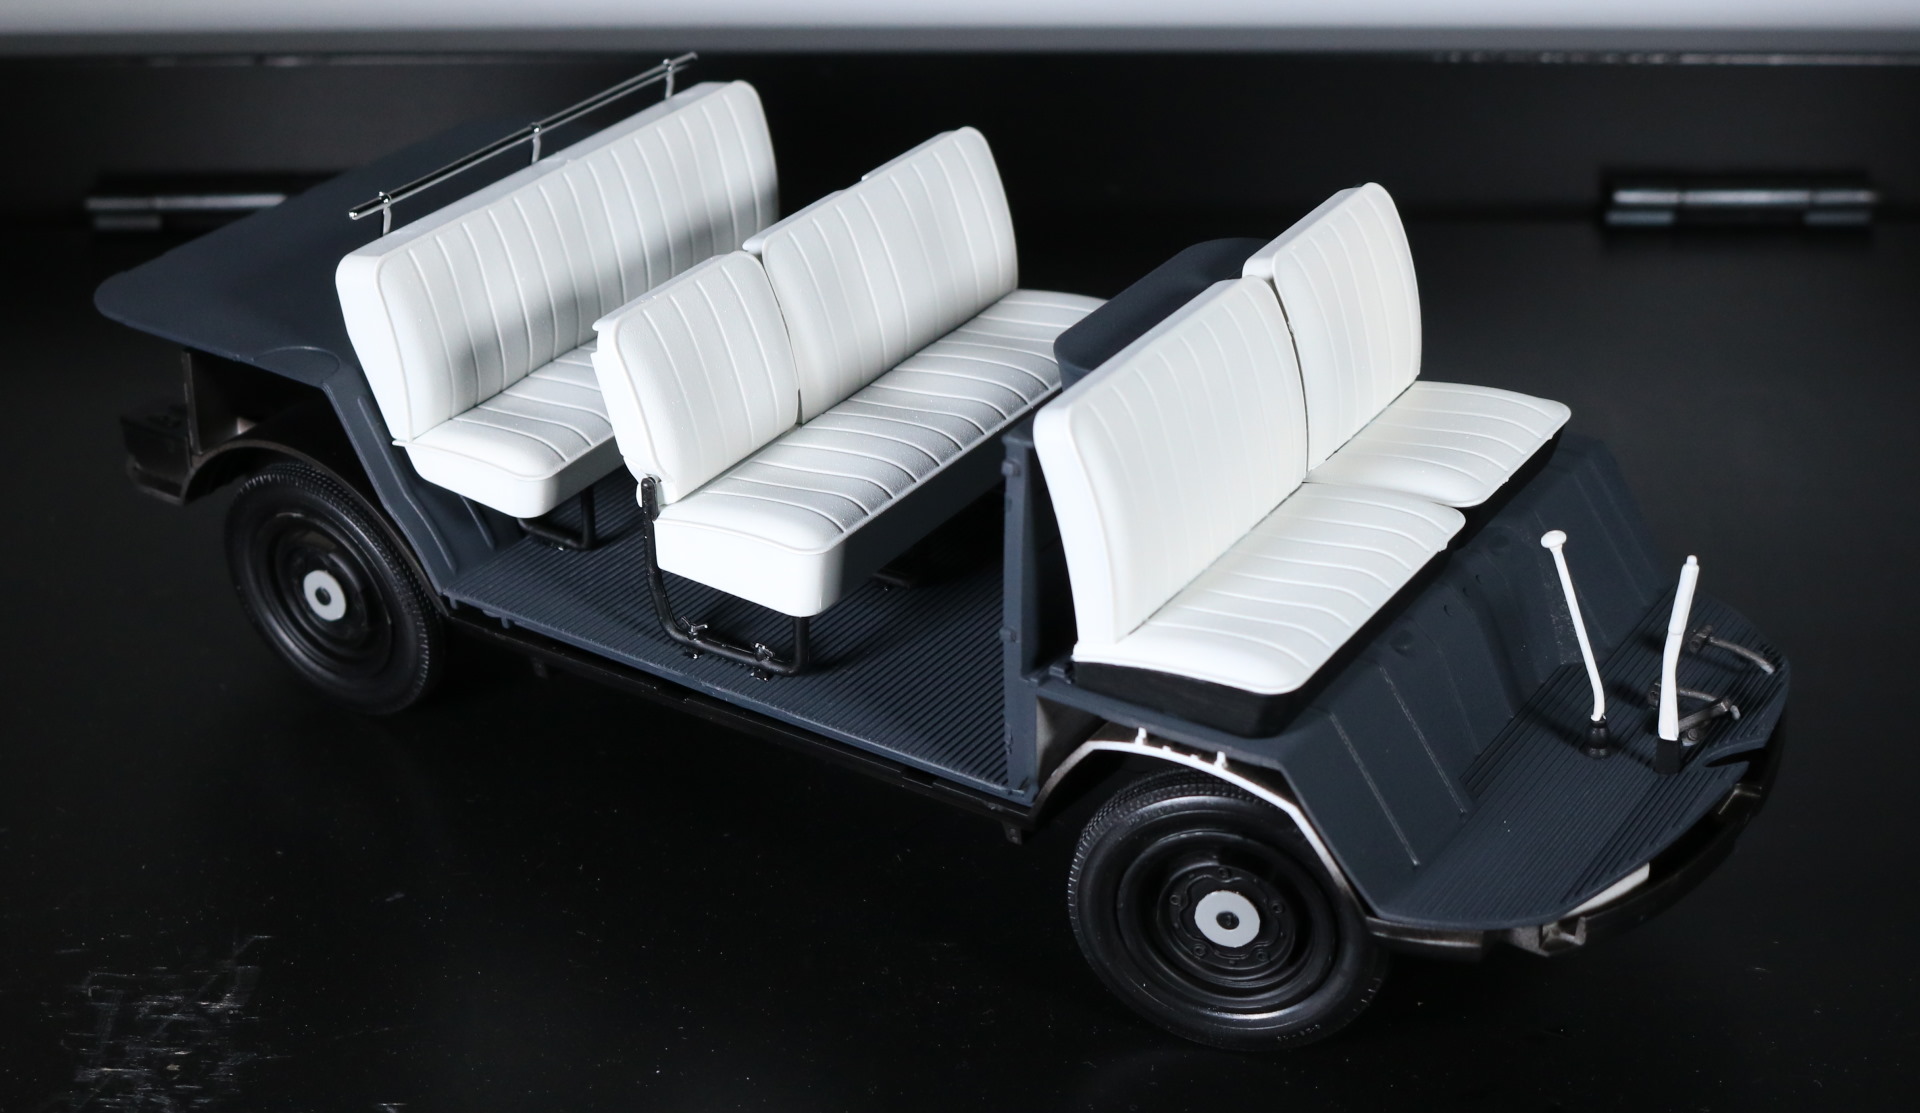
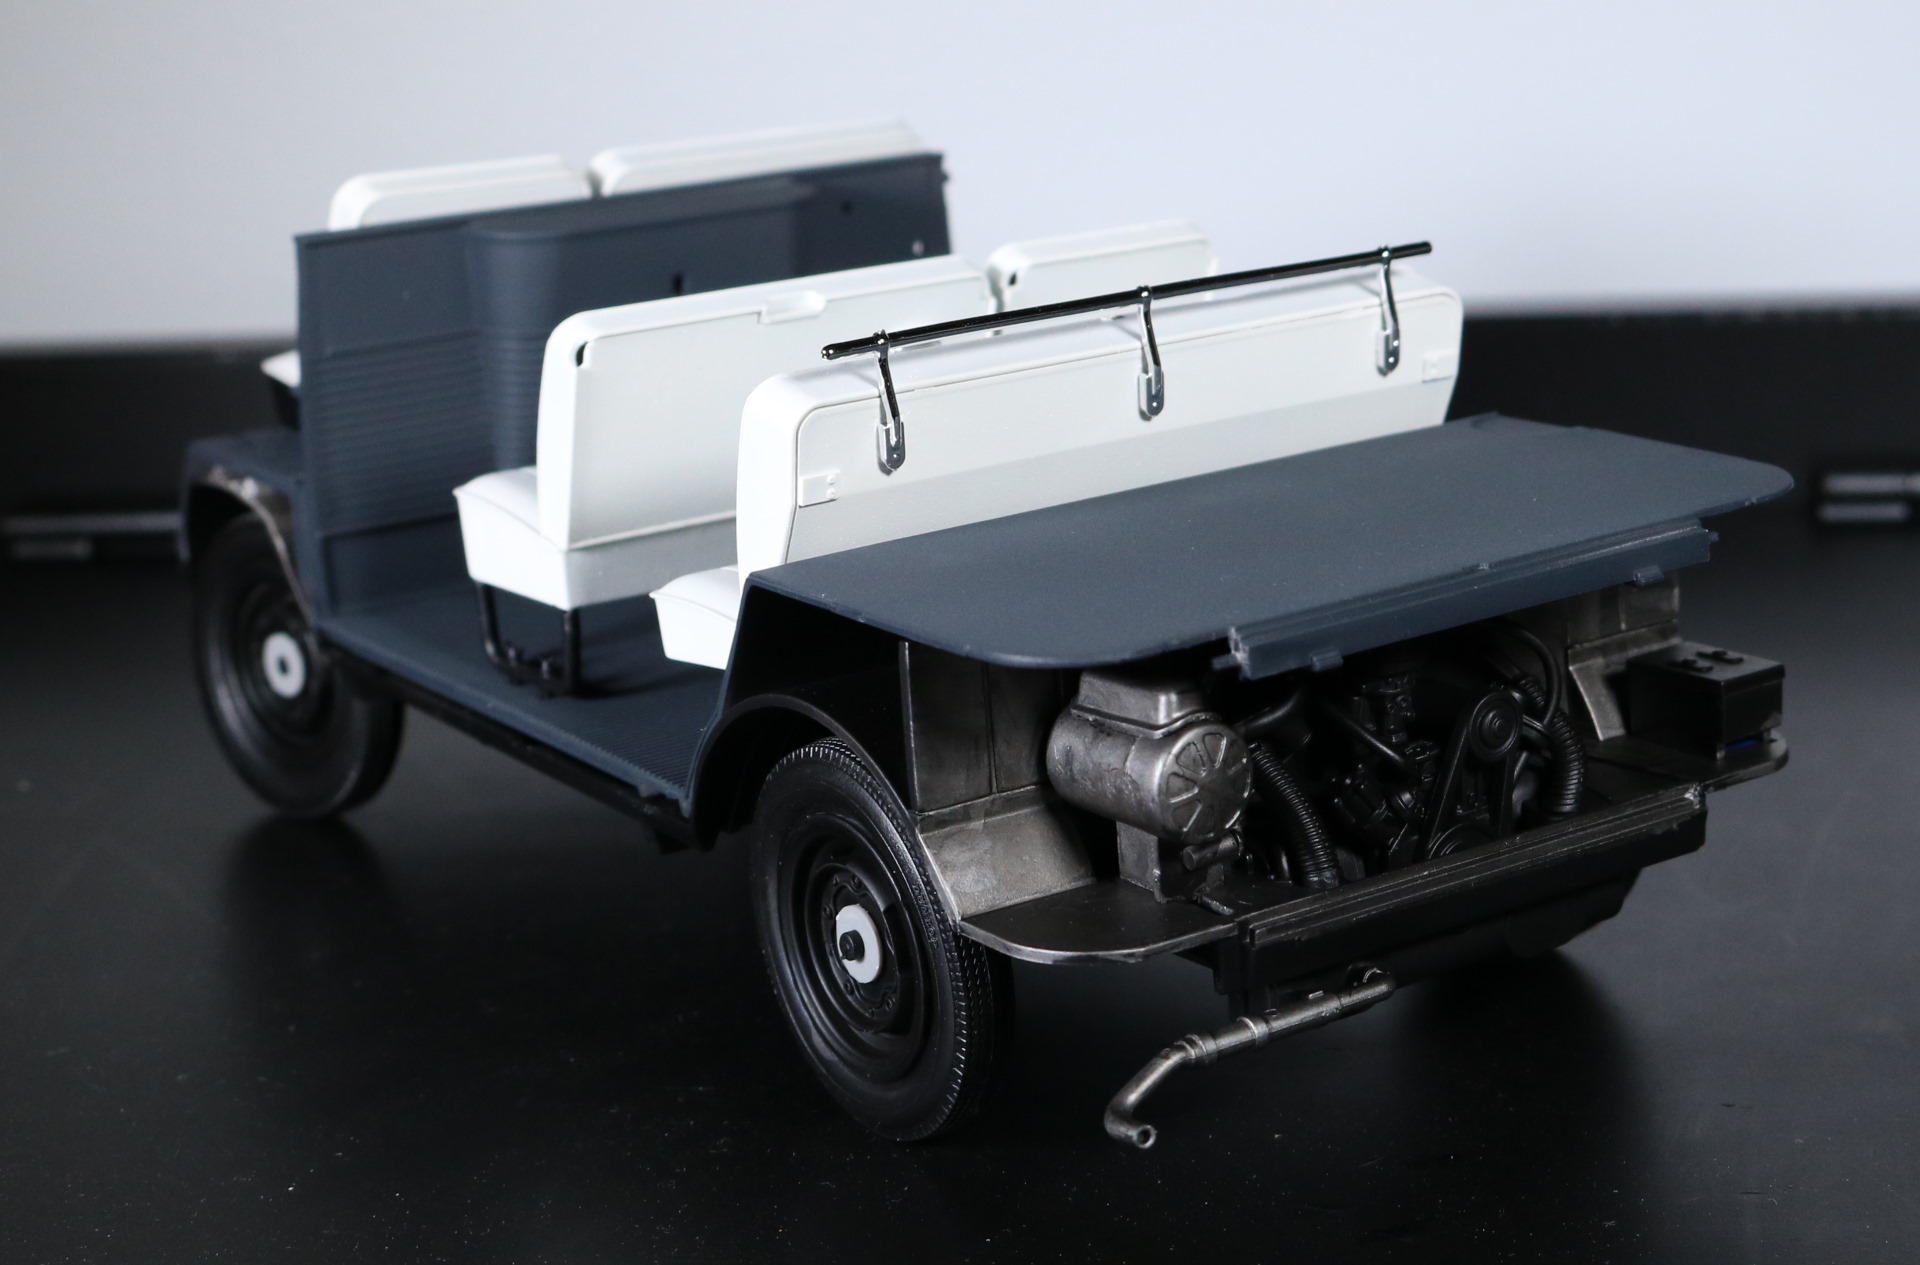
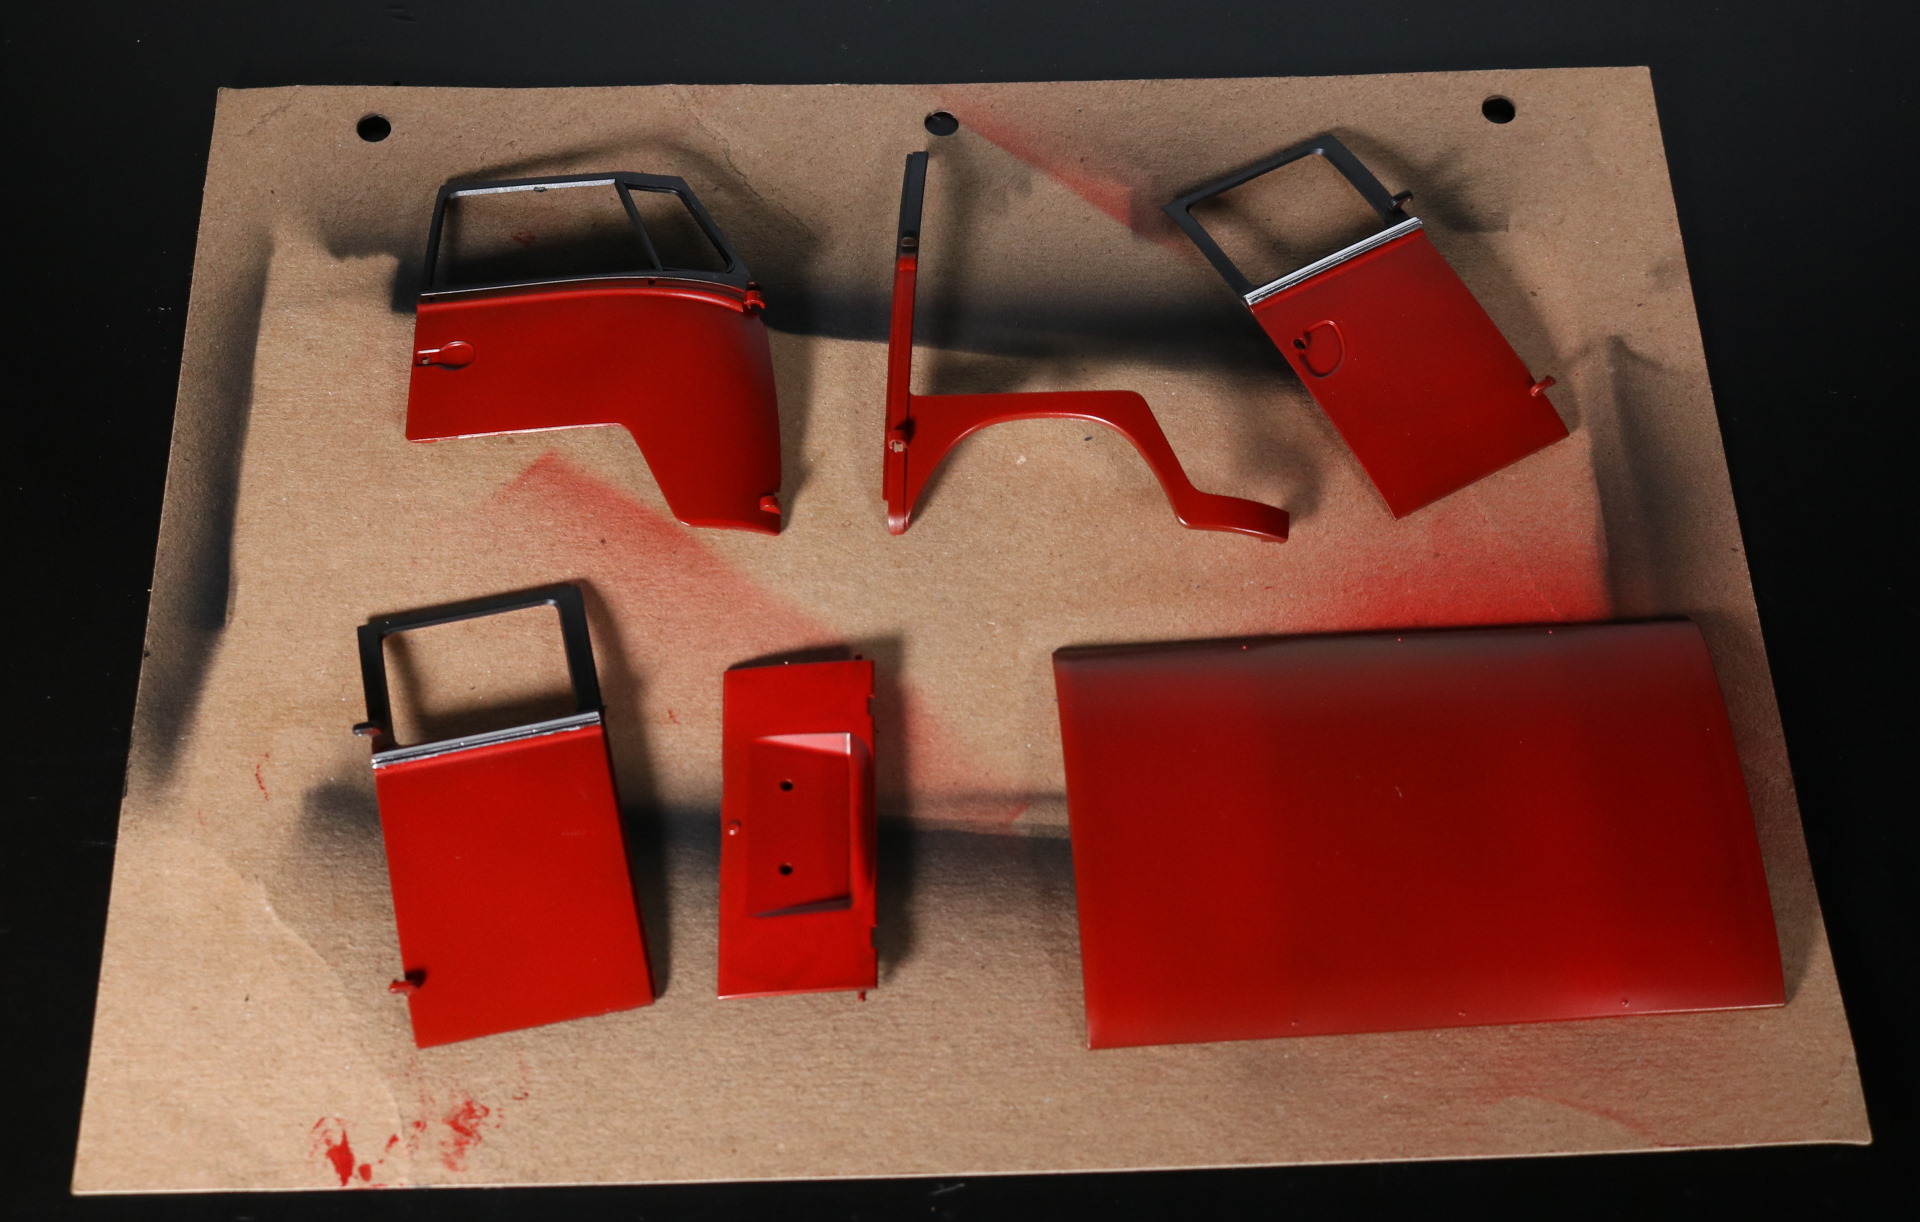
You need to paint a part and then wait for it to dry and then varnish it. You can’t really push forward with the build, making the whole assembly a turtle race essentially.
I feel this kit would make a good side project though where you aren’t rushing to finish it ASAP.
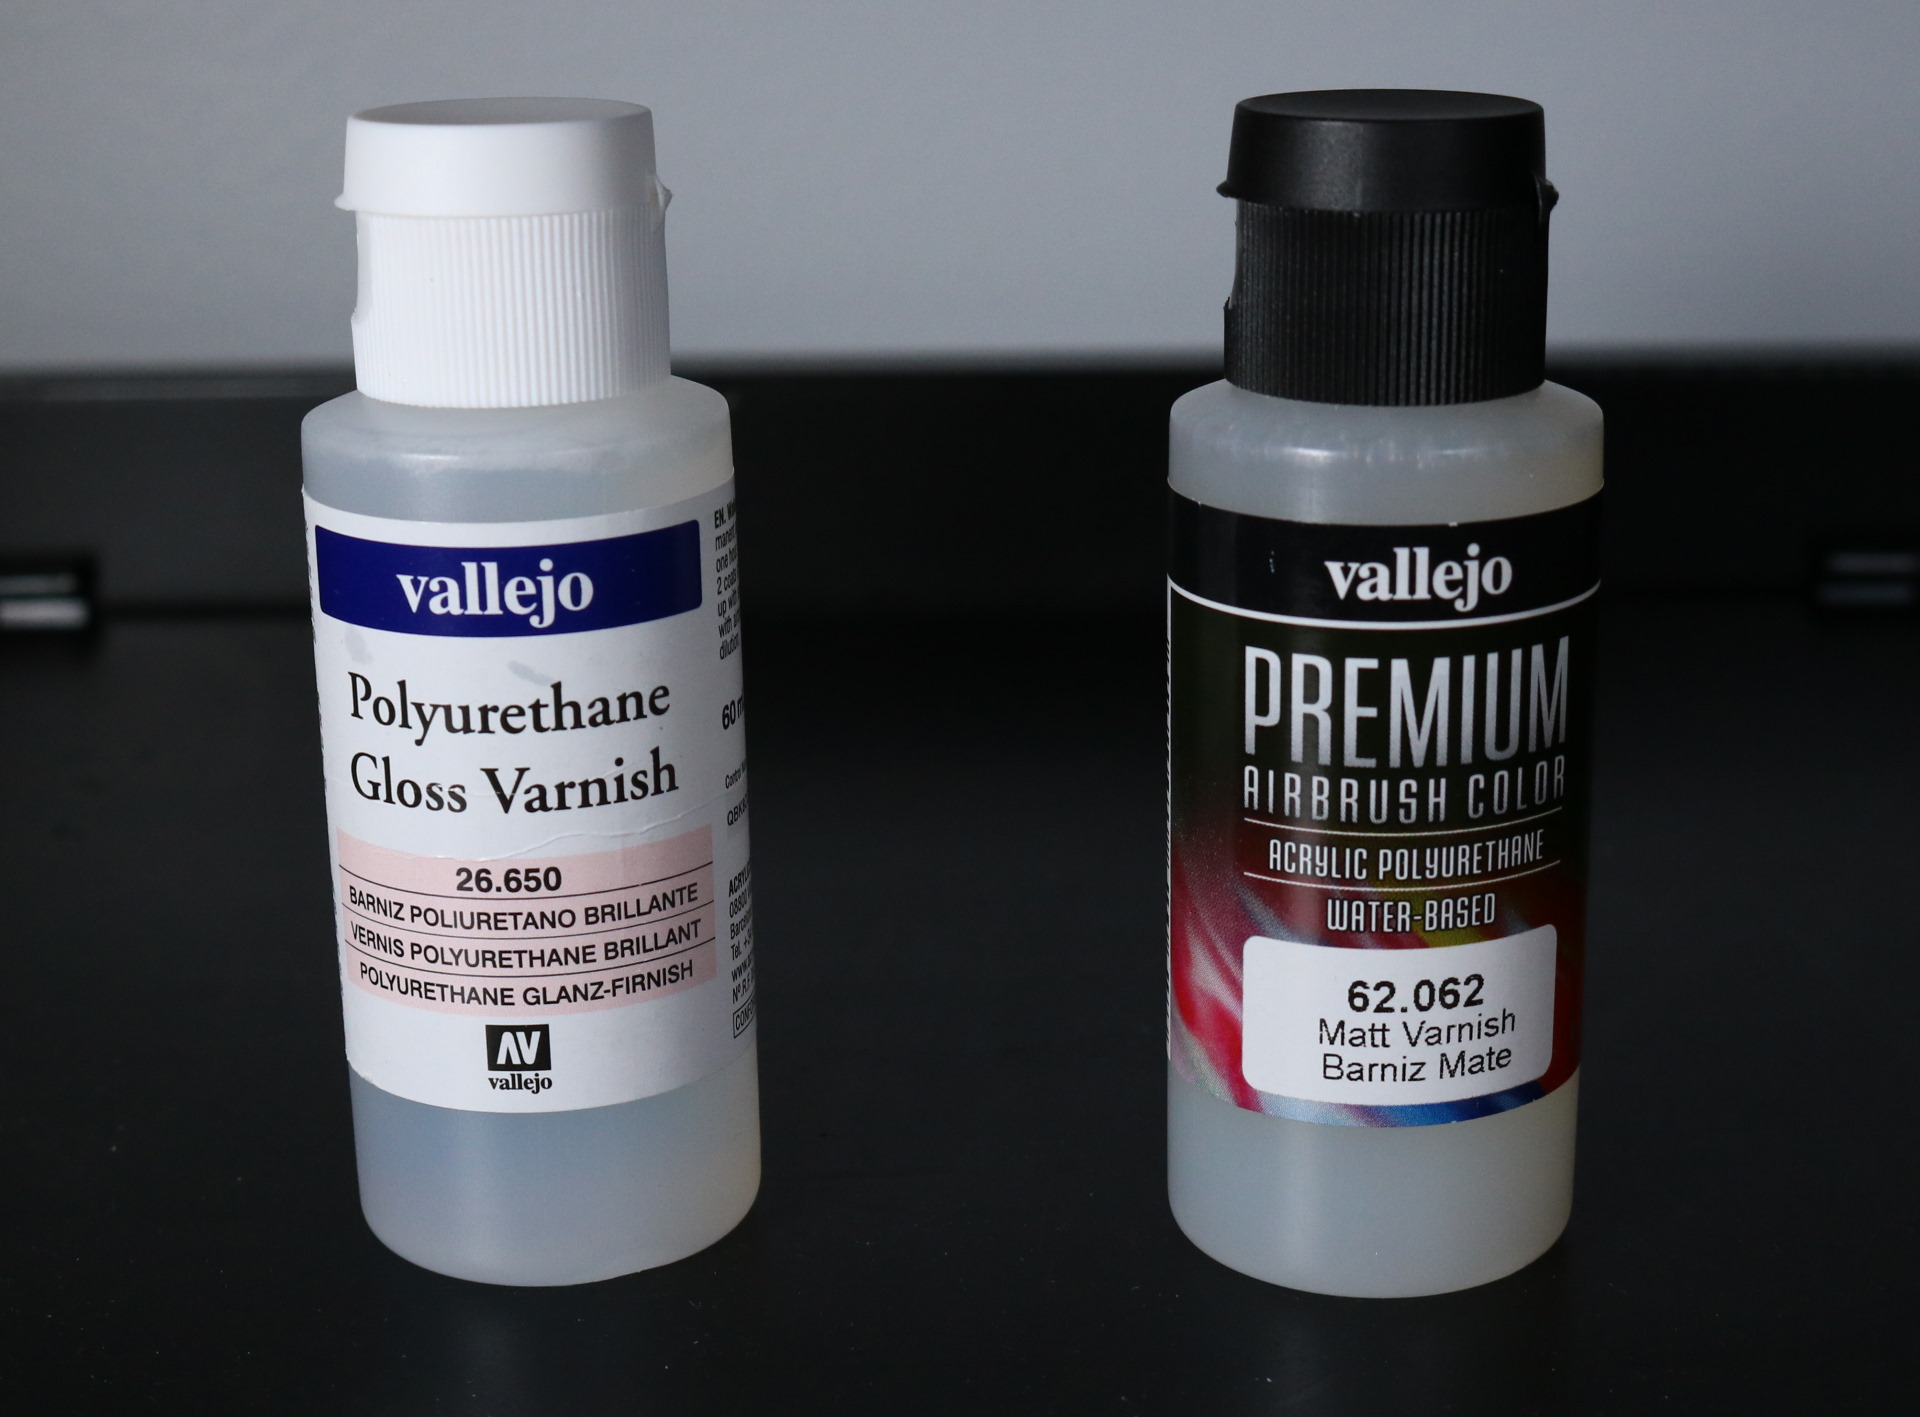
I’ve made a lot of mistakes on this build. One of more notable ones is how I applied gloss varnish.
Having used matte varnish only so far, I chose not to thin gloss varnish before spraying it which made it act like matte varnish instead because it was too thick to flow freely to even out and get the gloss finish. I realized few days later that I had to apply a lot of varnish to get the glossy surface I wanted.
Re-applying varnish itself is not an issue. The issue is that, despite me cleaning the surface of the bus, some dusts settled in with a new coat of varnish. You can’t see this under normal light though.
Another mistake, this time an irreversible one, is that I actually glued the roof and side panels before having to glue them to the base.
At that time, I felt it would have been given me an easier time of painting parts but realized that I had to do separate the parts again for proper airbrushing.
A direct result of such a mess-up is that the side doors are not aligning correctly with the roof because joints between the roof and side panels were ripped off when I separated the parts.
The manual did instruct me to paint parts separately but I was trying to save time. Each piece requires a base coat, in this case black, and than a red coat for its lower part, and then 1st varnish to set colors in. These three steps eat up a lot of time.
Well, I was wrong. I did end up doing it separately.
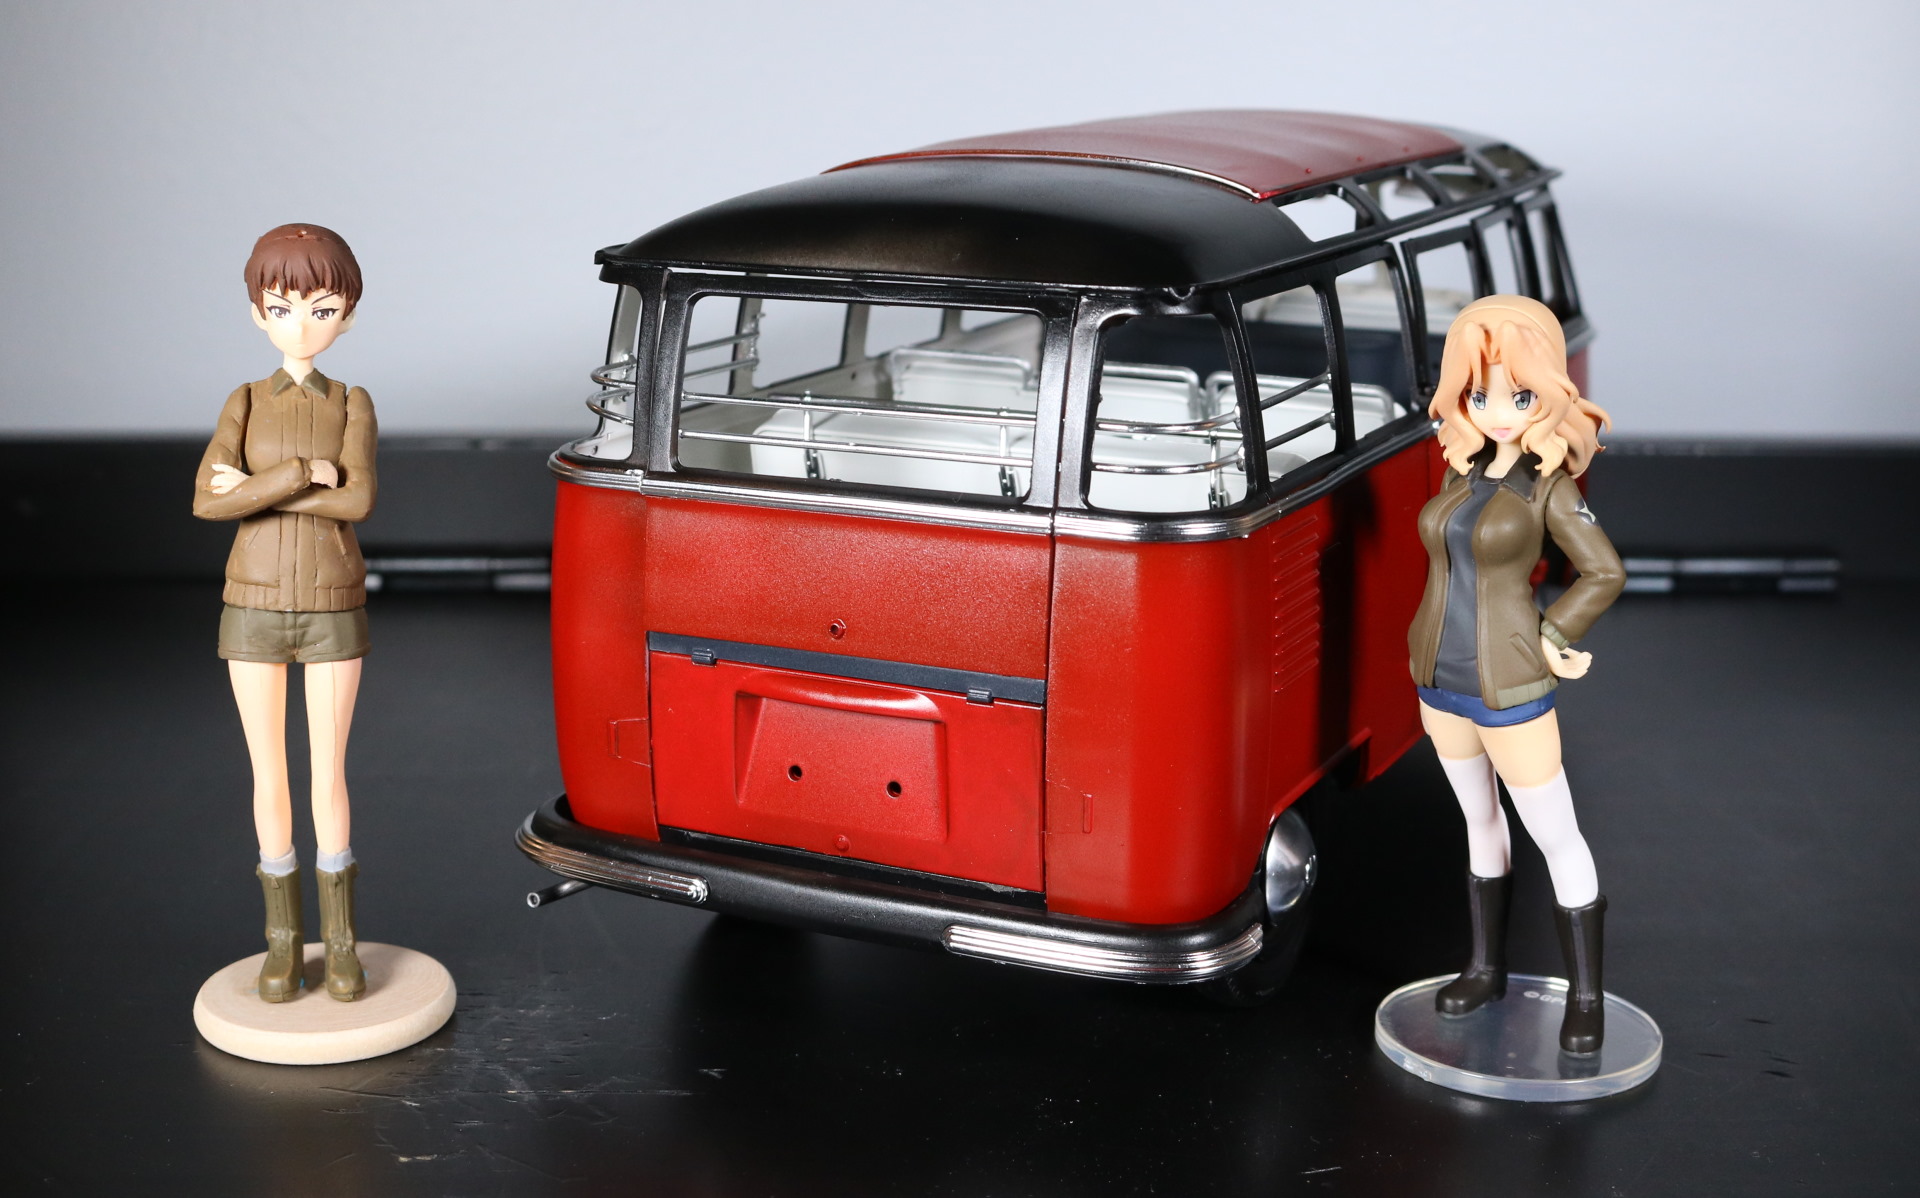
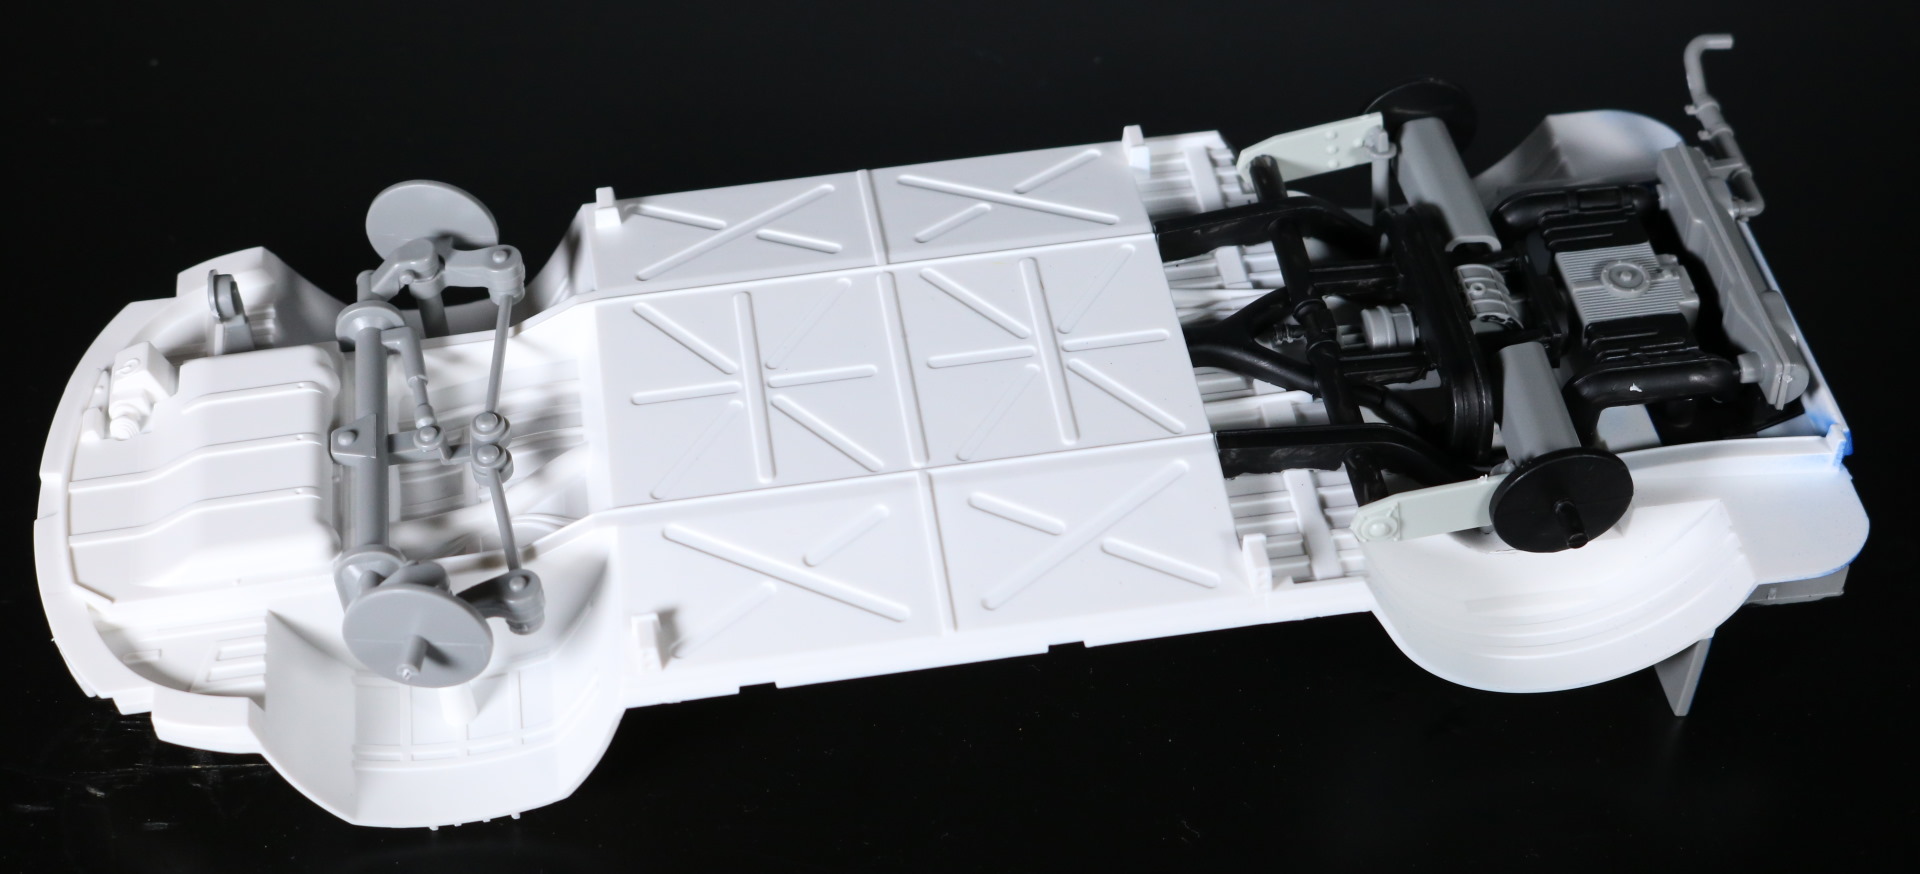
Another minor mistake, a fixable one but I’ve chosen not to, is what you see above. The thick gray line. It is a part of the bus floor and I was supposed to paint that specific part red.
By time I realized the mistake, I was done with parts preparations (the three steps) and was assembling parts for final showdown. Not wishing to complicate the build which has already seen several big mistakes, I’ve chosen to leave this mistake as is.
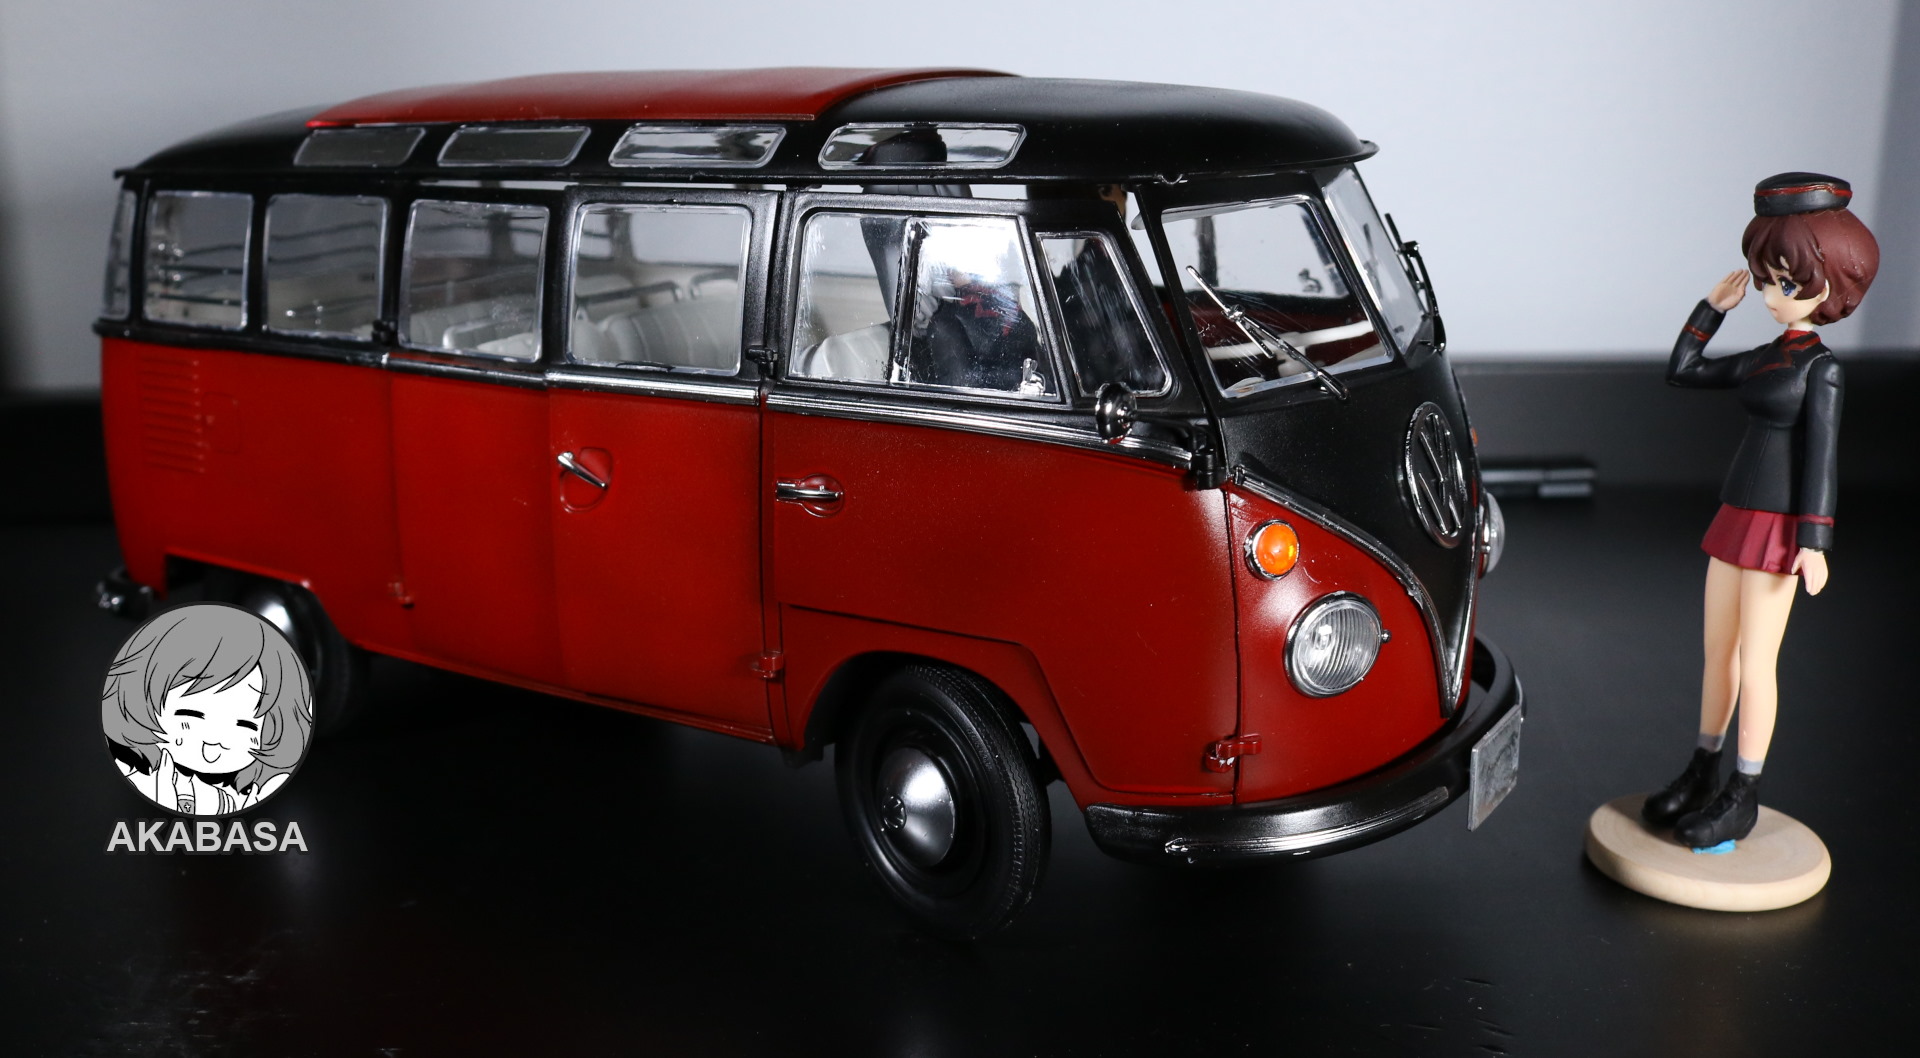
So, this is it for my build log of the Samba bus. I consider this build a failure due to so many mistakes I’ve made but this is my first car (ish) model build.
I do not intent to build another vehicle model but if some interesting 1/16 ones show up, I might.
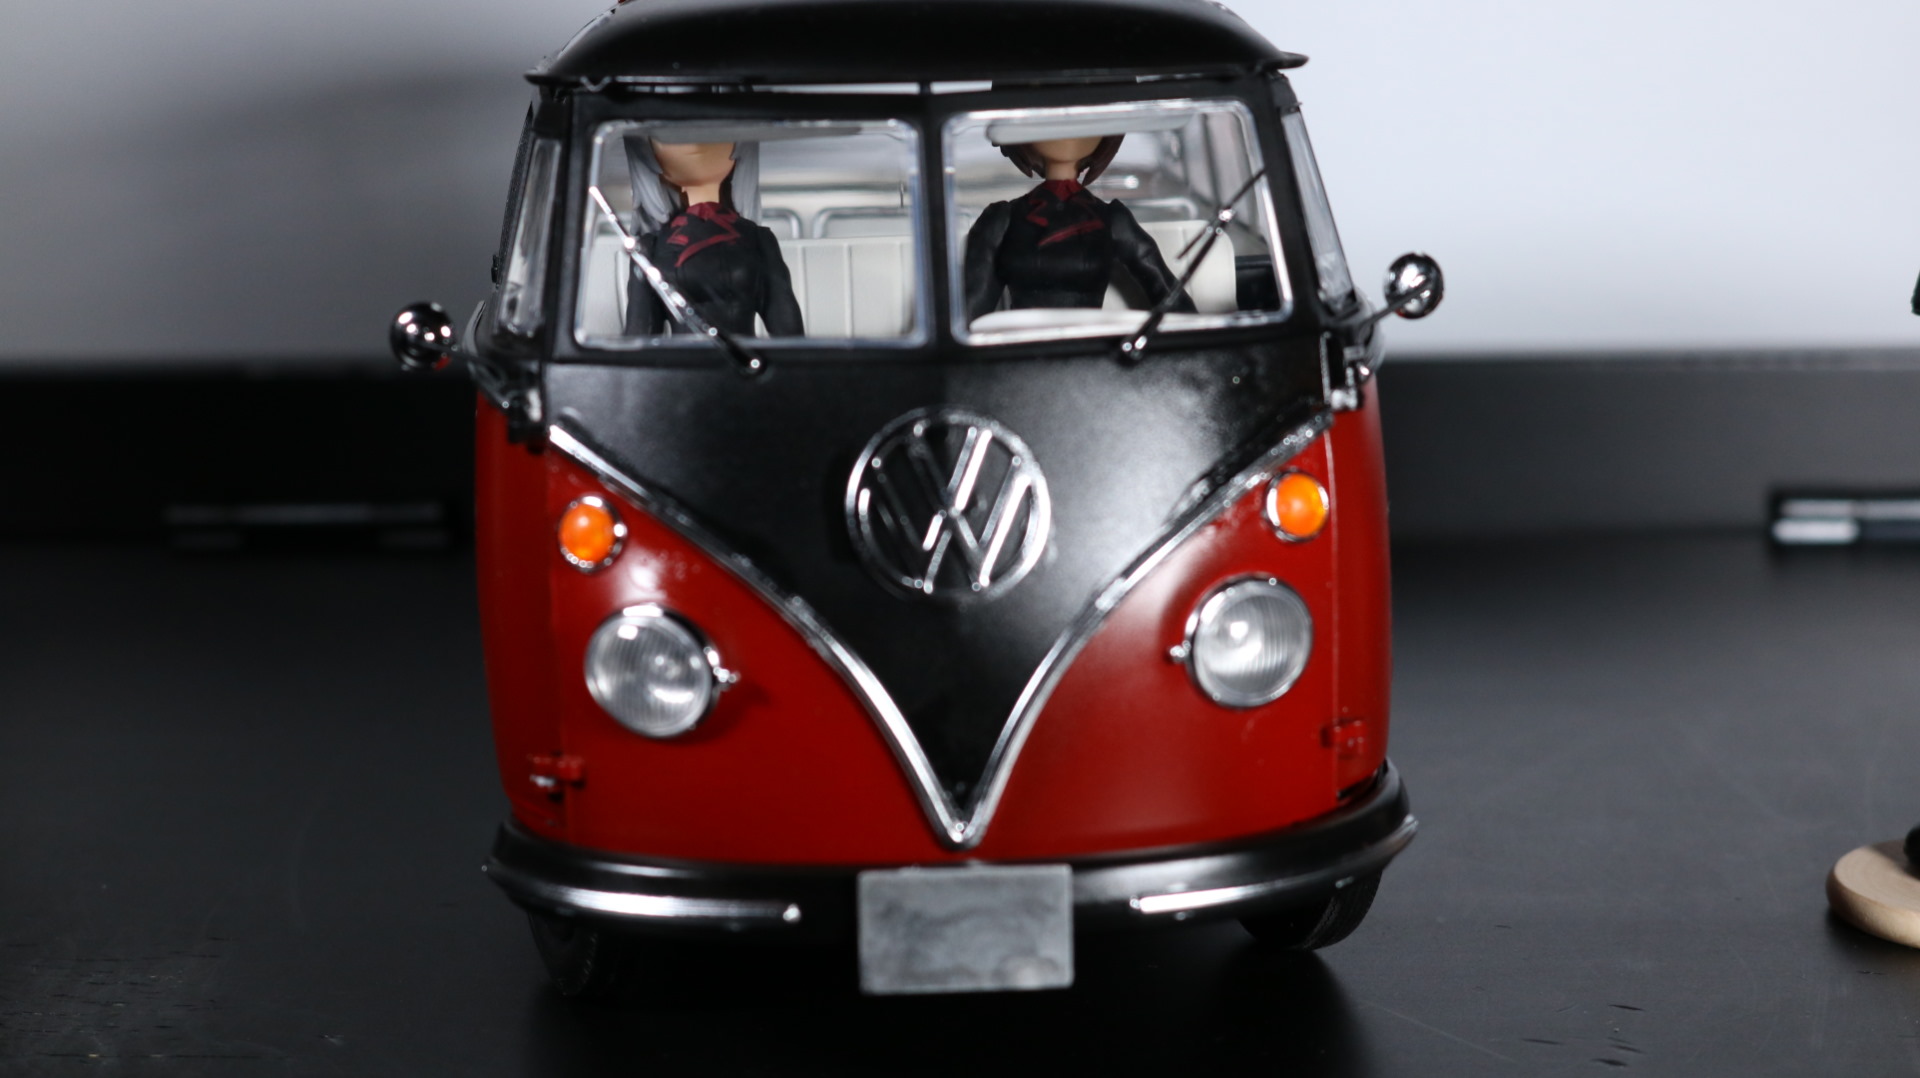
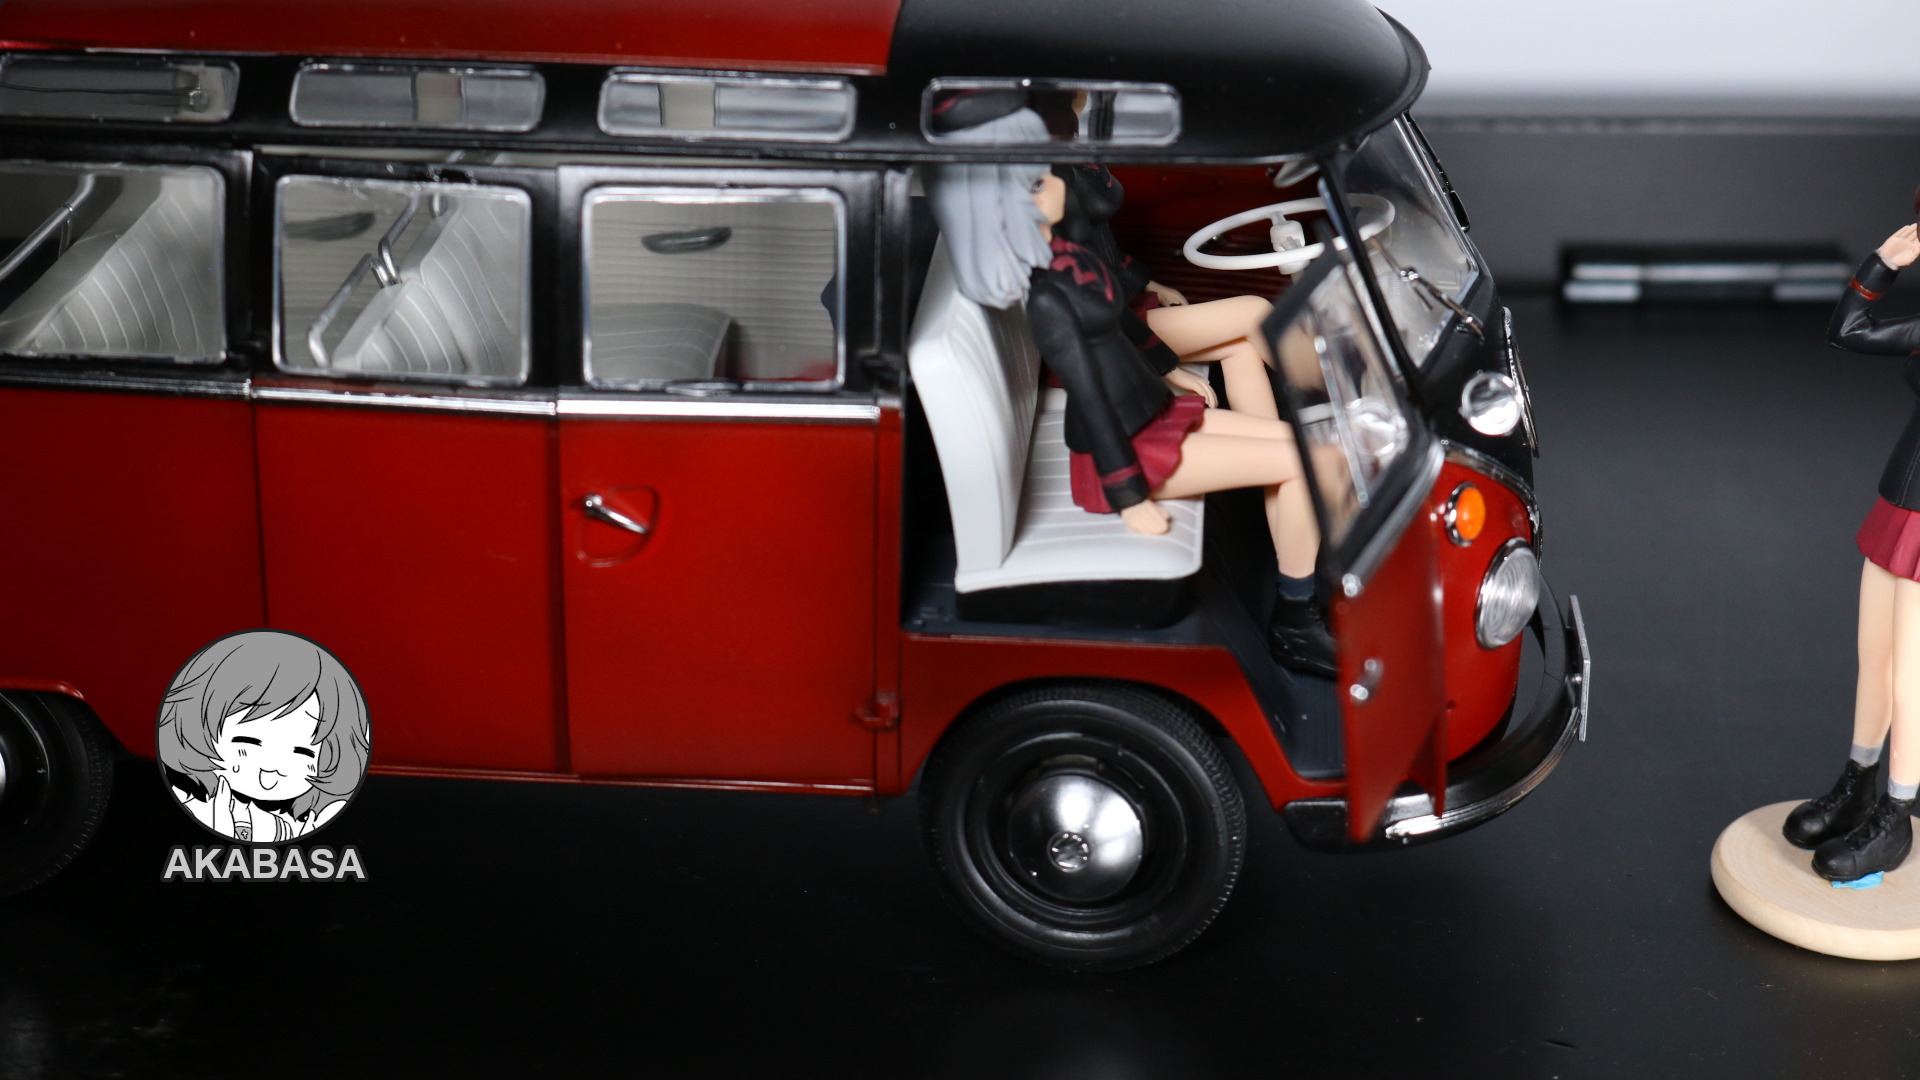
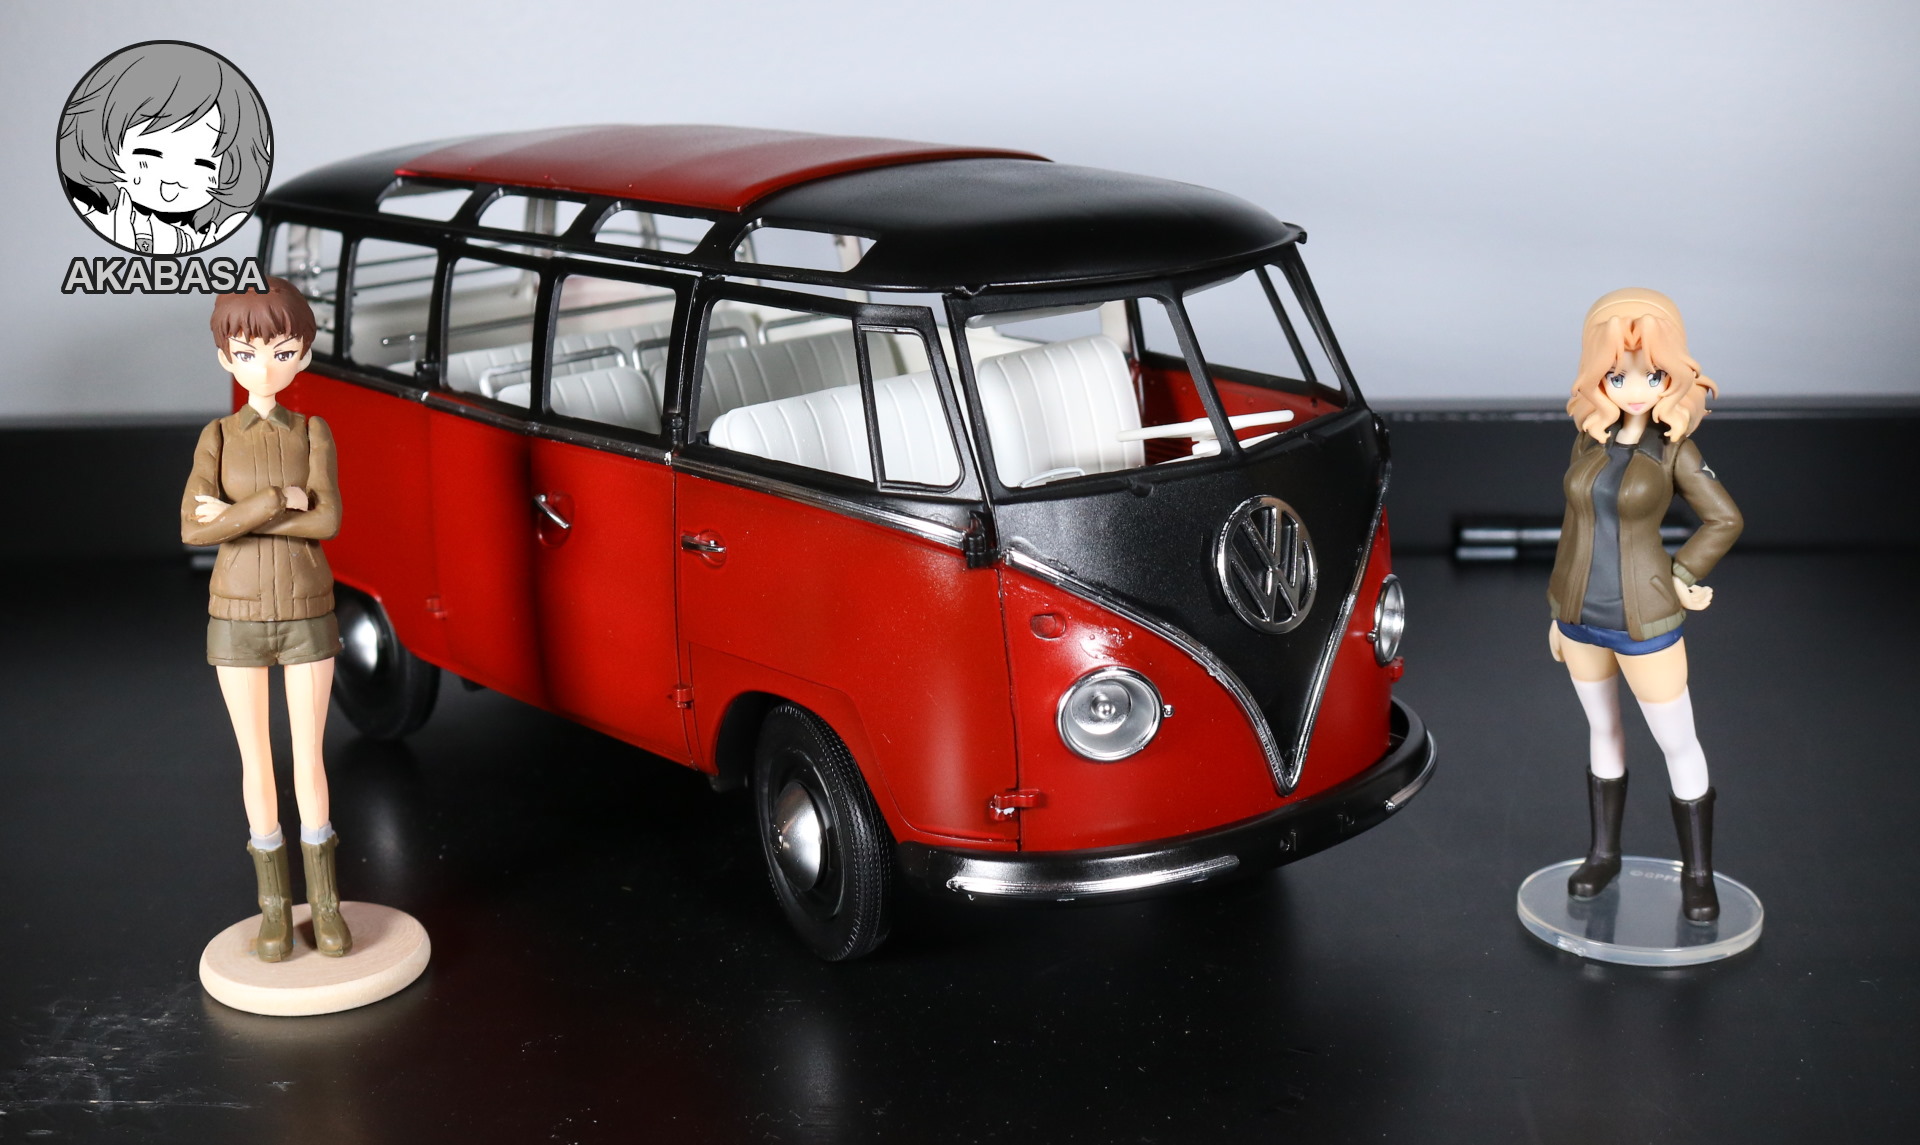
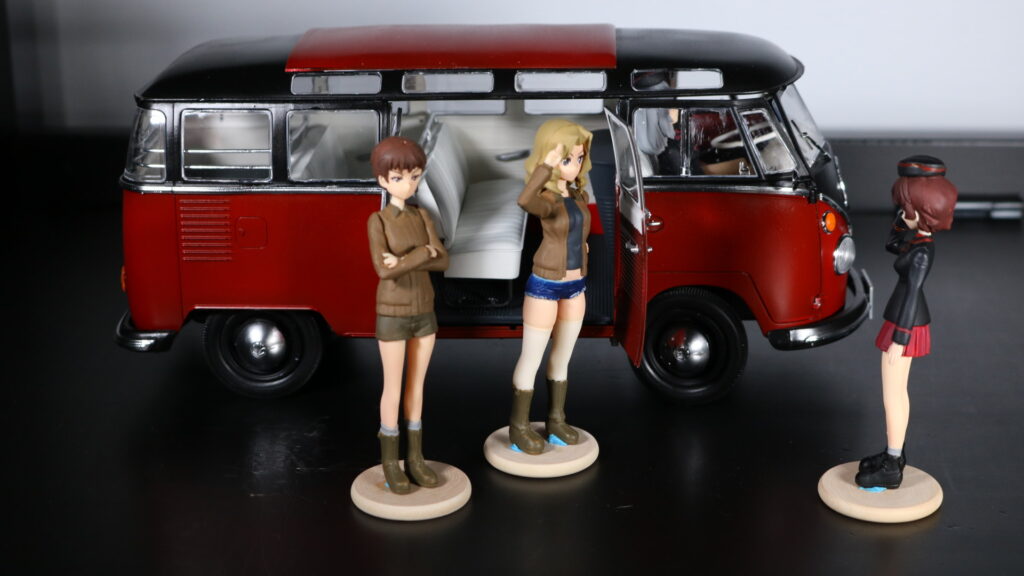
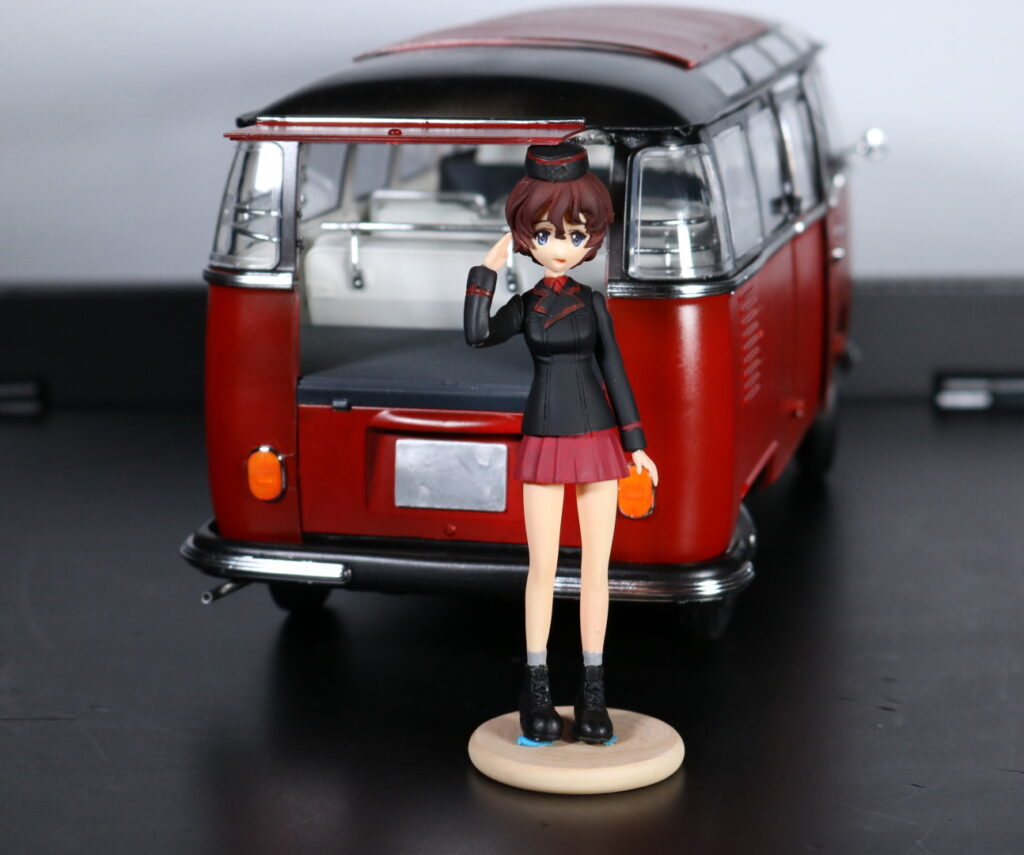
I try to place two 1/16 scale garage kit figures into the bus, but it seems that the figures are a tiny winy bit bigger than its supposed scale. They do fit in the bus but just barely.
When figures are placed outside though, it does look acceptable & nice. As you can see, I am coupling the bus with Kuromorimine because both are of German origin. This is basically a foreshadowing in upcoming Girls und Panzer Photograph project.
Cya.

![[Nightmare creates] Rosehip & Assam non-scale garage kit](https://akabasa.com/wp-content/uploads/2021/09/rosehipassam_nightmare_4-768x432.jpg)
