

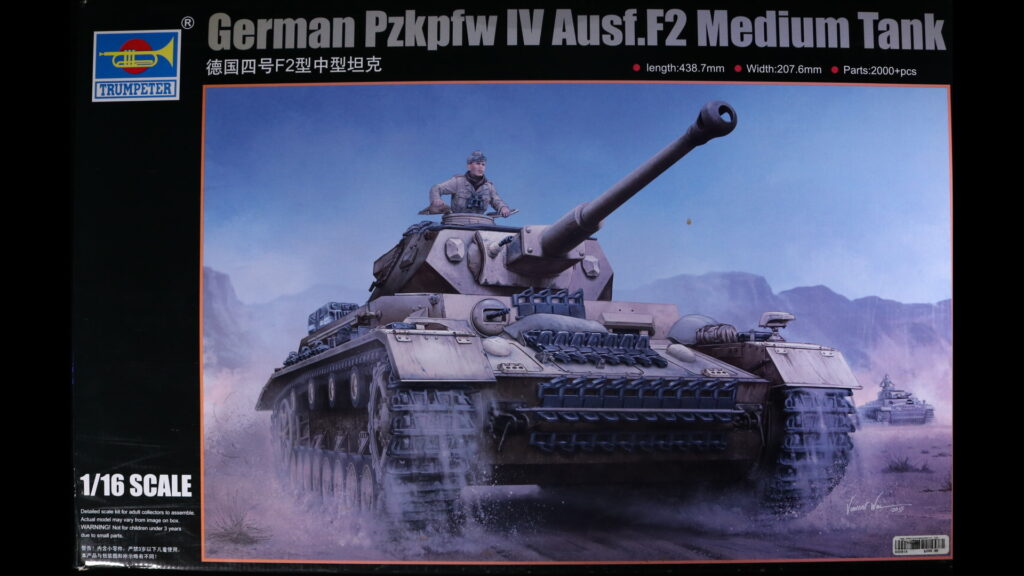
Trumpeter 1/16 scale Panzer IV Ausf.F2
This is a Trumpeter 1/16 scale Panzer IV F2 version. There are a fair amount of Panzer IV 1/16 scale model kits. However, most of them are late versions with armor skirts. I wanted to avoid the armor skirts because I am going to add the entire Angel fish team on the tank, and armor skirts block turret hatches.
This F2 version is the only model without armor skirts, and I sourced this within Canada. That doesn’t happen very frequently. Most of times I have to import from either USA or Japan.
This is what you’d call “a full kit”. Interior, suspension, transmission, etc. It’s a full option kit. All hatches can be operated, including engine and transmission hatches. It has full interior, including engine compartment. It also comes with full ammo.
In a stark contrast, Hobby boss 1/16 scale Tiger is a RC capable kit where there isn’t any options at all. This kit is not for RC.
This kind of kit is not cheap. It cost me 350 CAD for this box. It claims to have around 2,000 parts to assemble. It is also not the kind you get it done in a few days. This sort of kit takes weeks. In my case, it has taken 10 days with spending about 4 ~ 5 hours everyday.
The box is monstrous. It is 63 x 47 x 15cm. In inches, 25 x 18.5 x 6.
Compared to 1/16 Tiger, Panzer IV is obviously smaller. Speaking of the hull, look at those options. Two front hatches as well as two engine hatches are all optional. I hope the hatches can be articulated.
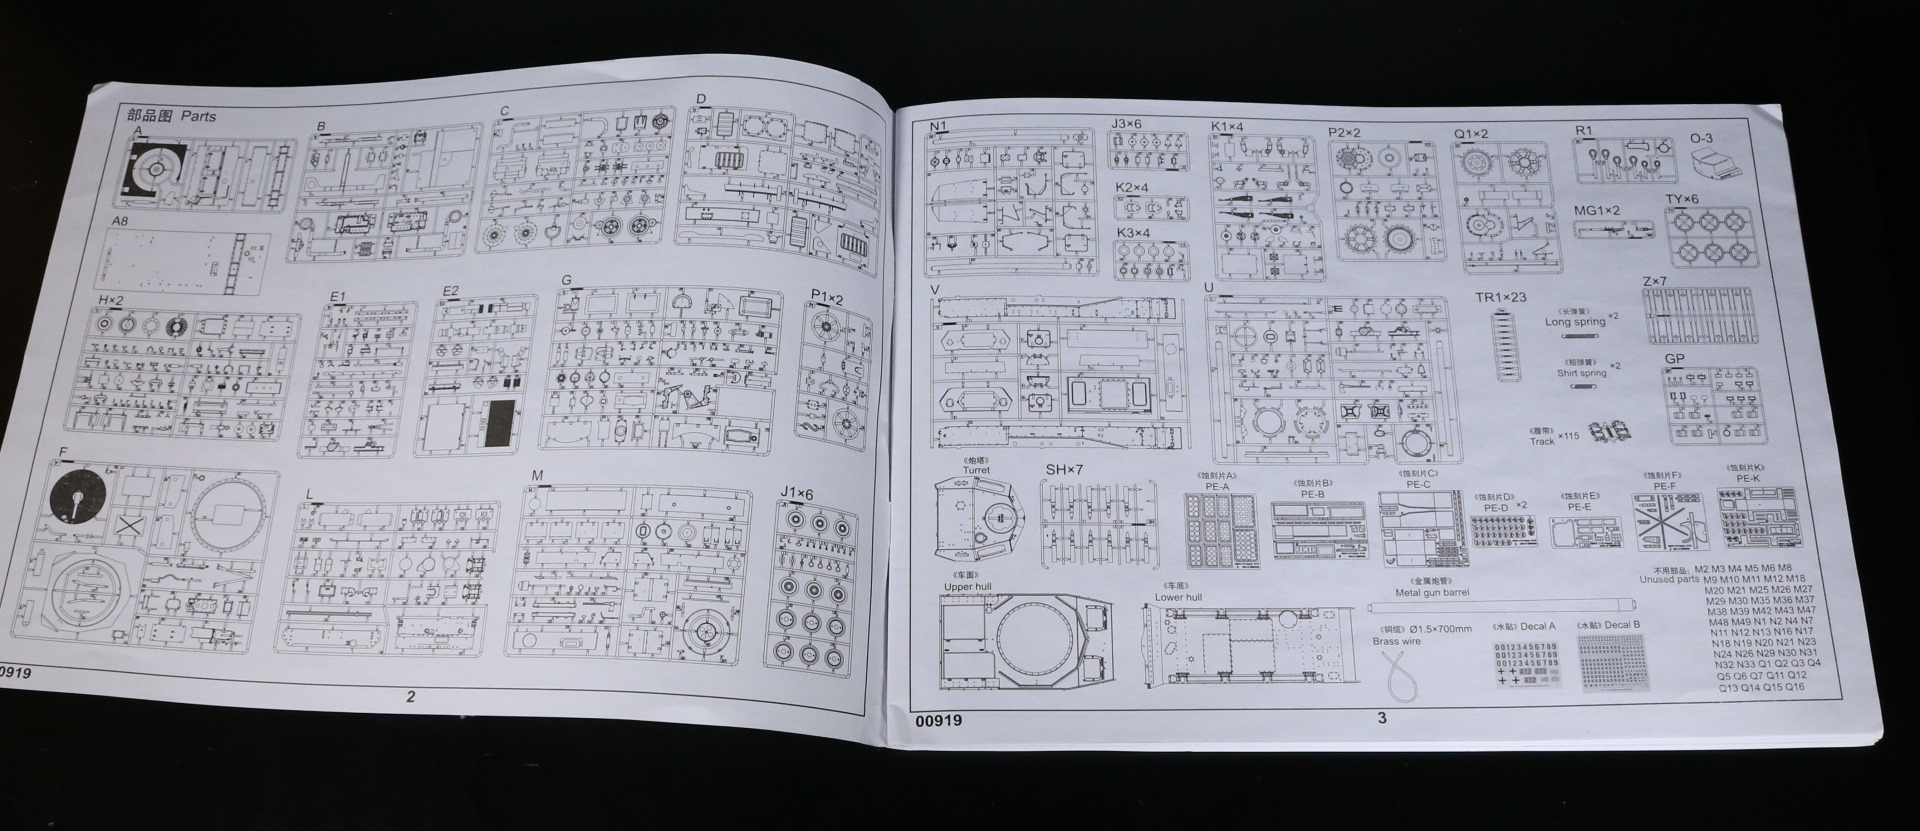
I don’t know whether the 2,000+ parts is true. But look at the part list. That is a lot. Do remember that tracks have a lot of parts on its own. The two tracks alone should have 600 parts; each track should have 100 tracks, plus track joints to put together.
At this point, I feel I should point out that I am not making a historically accurate Panzer IV. I am building this tank for Girls und Panzer Angelfish team, meaning the tank will have dark red exterior. Interior will likely feature a beige color which was common among German tanks of the era. Perhaps the most importantly, I won’t be applying heavy weathering. After all, tanks in GuP universe are well-kept.
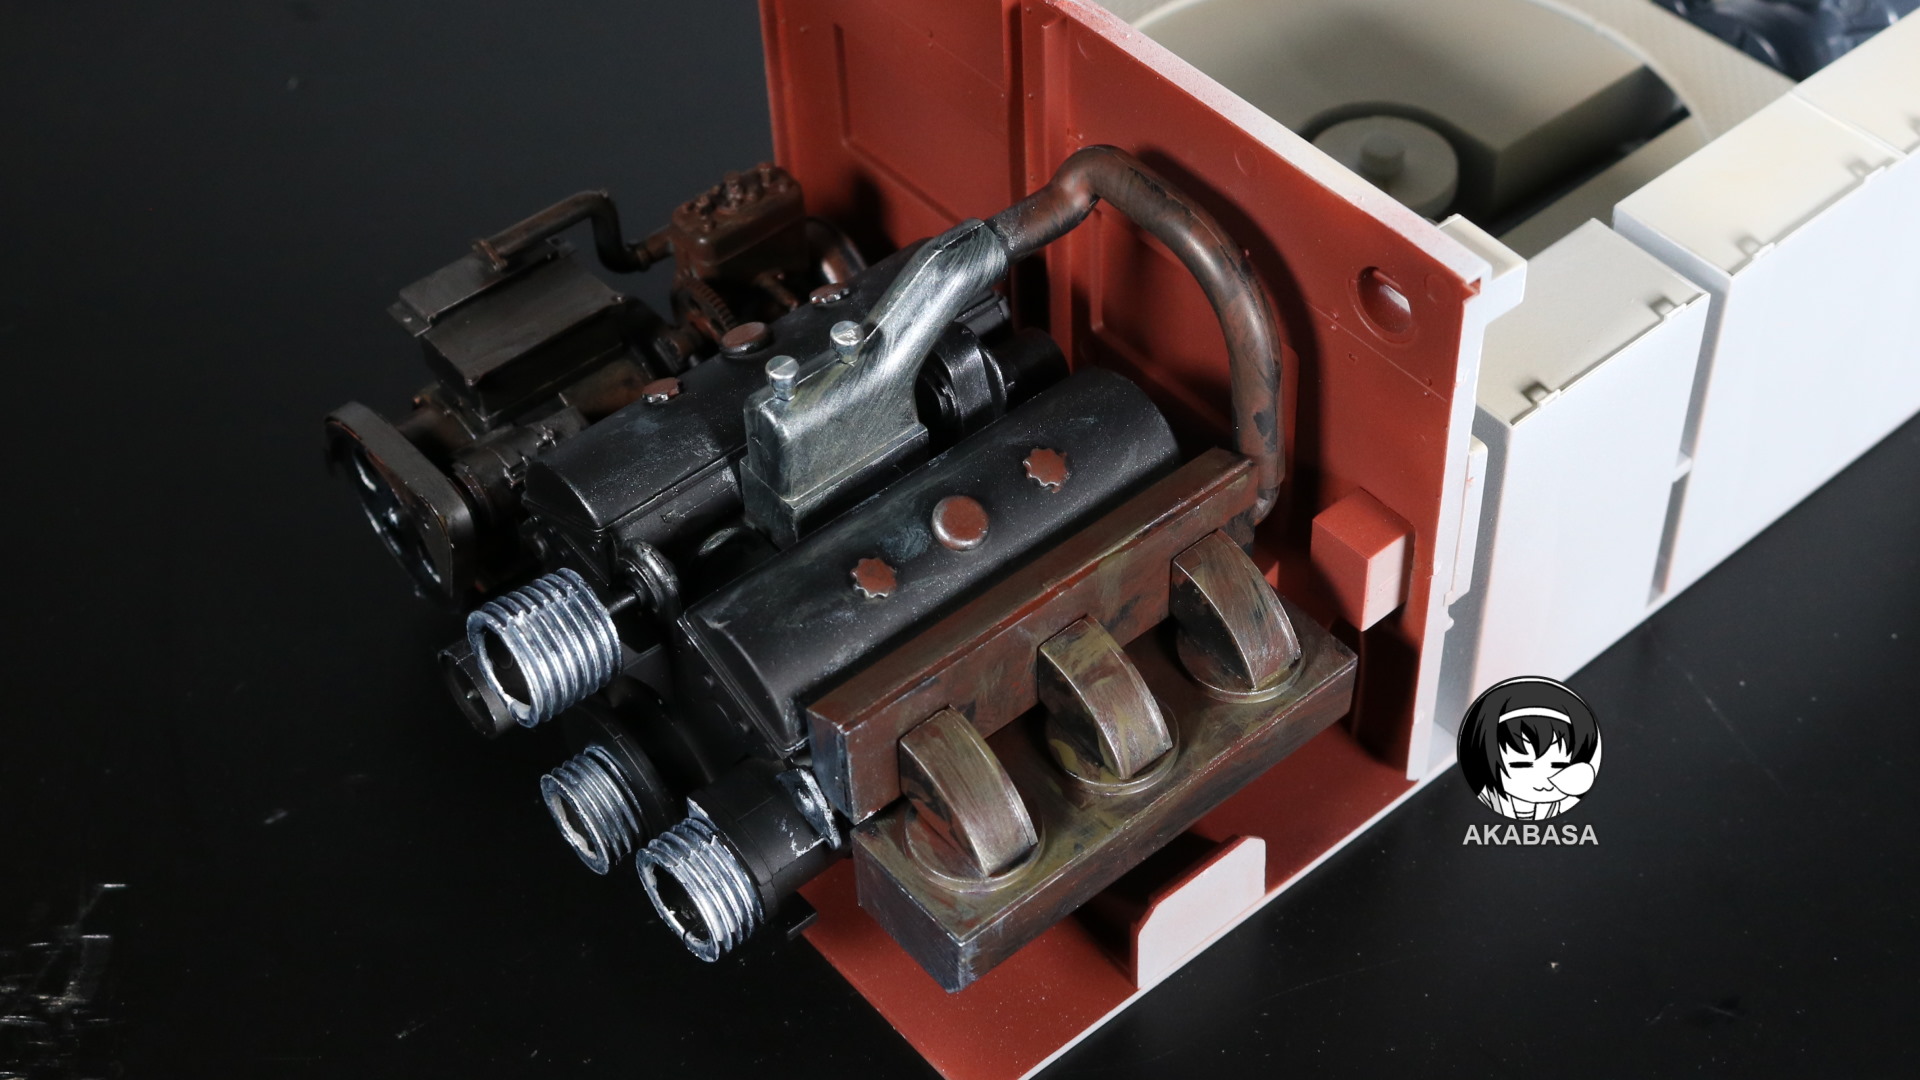
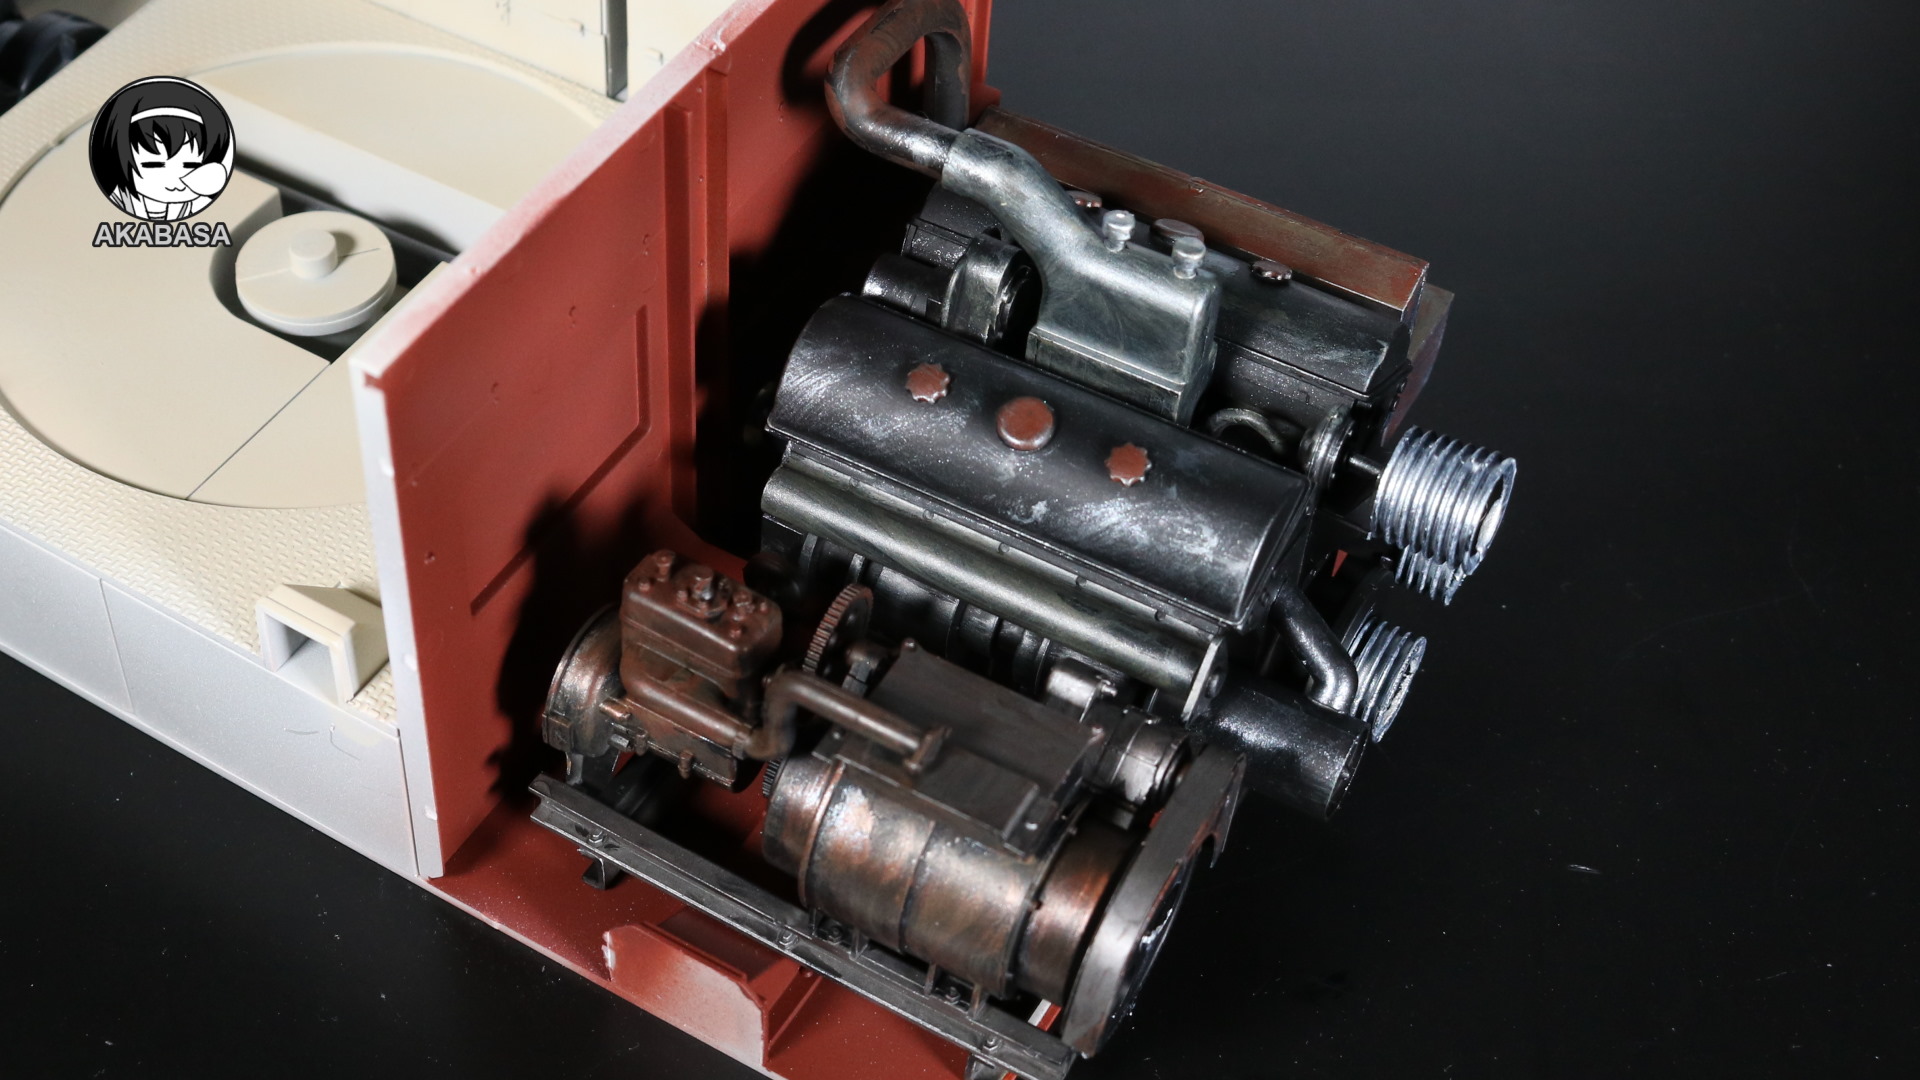
You begin with the engine. There are a lot of parts to work with from get-go. What would have come premolded in other kits, you are going to piece them together which is why the part count is so high.
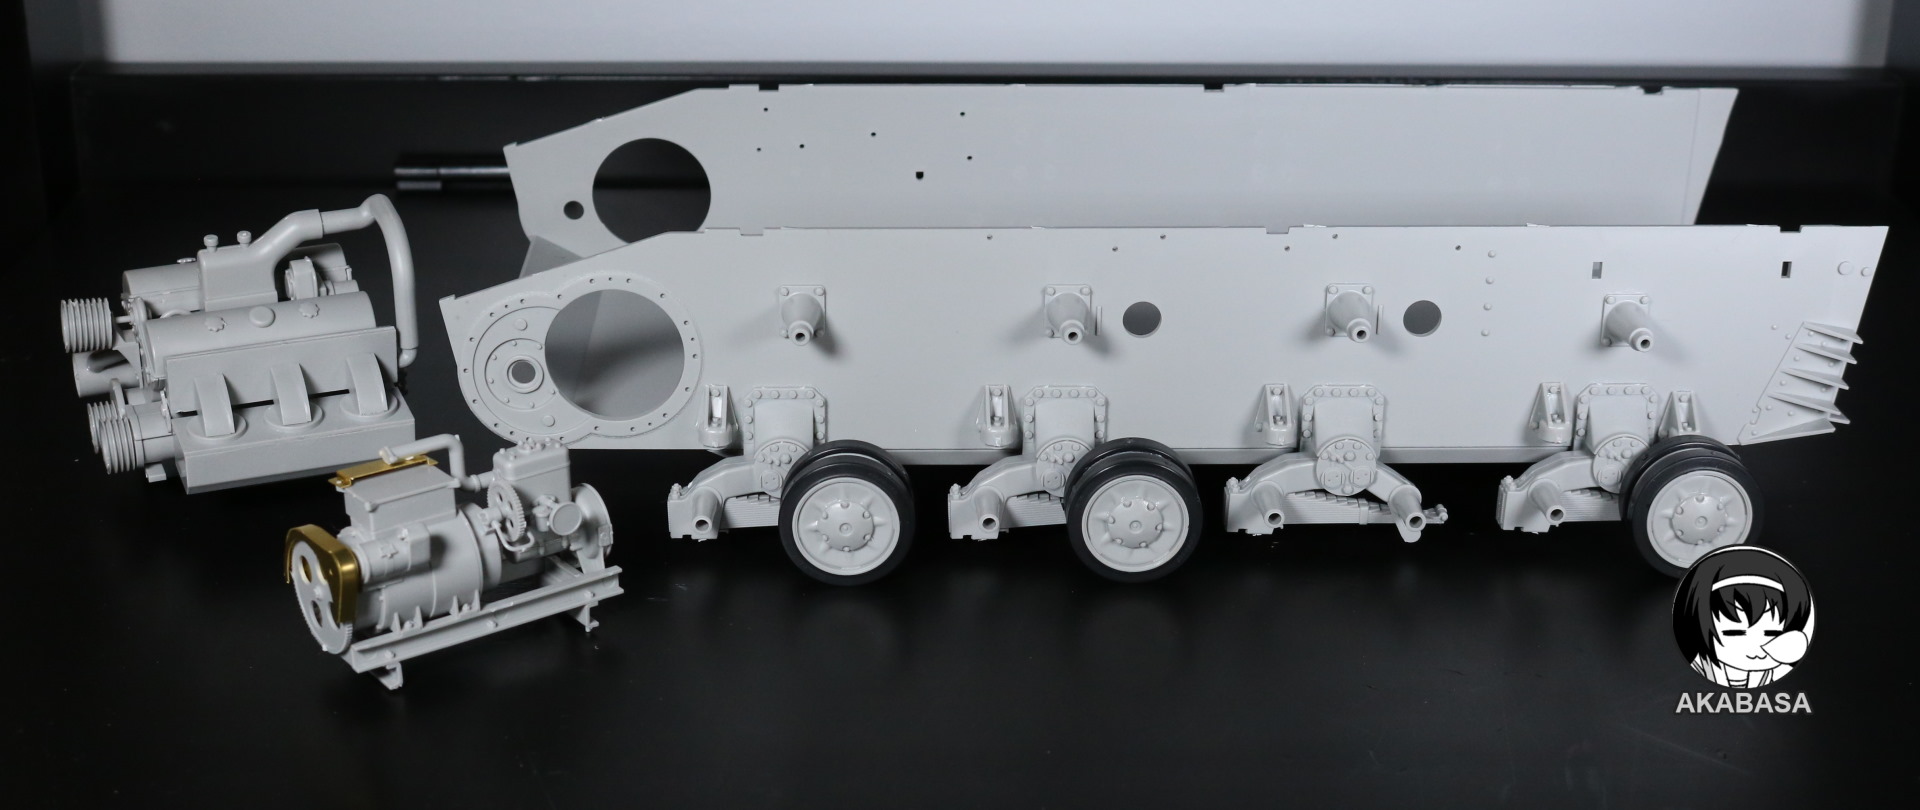
Above is what 5ish hours of labor gets you. Those don’t seem much but a lot of tiny parts are involved in those.
It’s worthwhile to note that there is no real suspension for the wheels. It’s just assemblies of plastic pieces that are holding the whole thing together. The wheels are also not meant to roll around. It CAN roll but there is no real mechanism to let this happen for a prolonged period without severe wear and tear.
Basically, this kit is strictly meant for display.
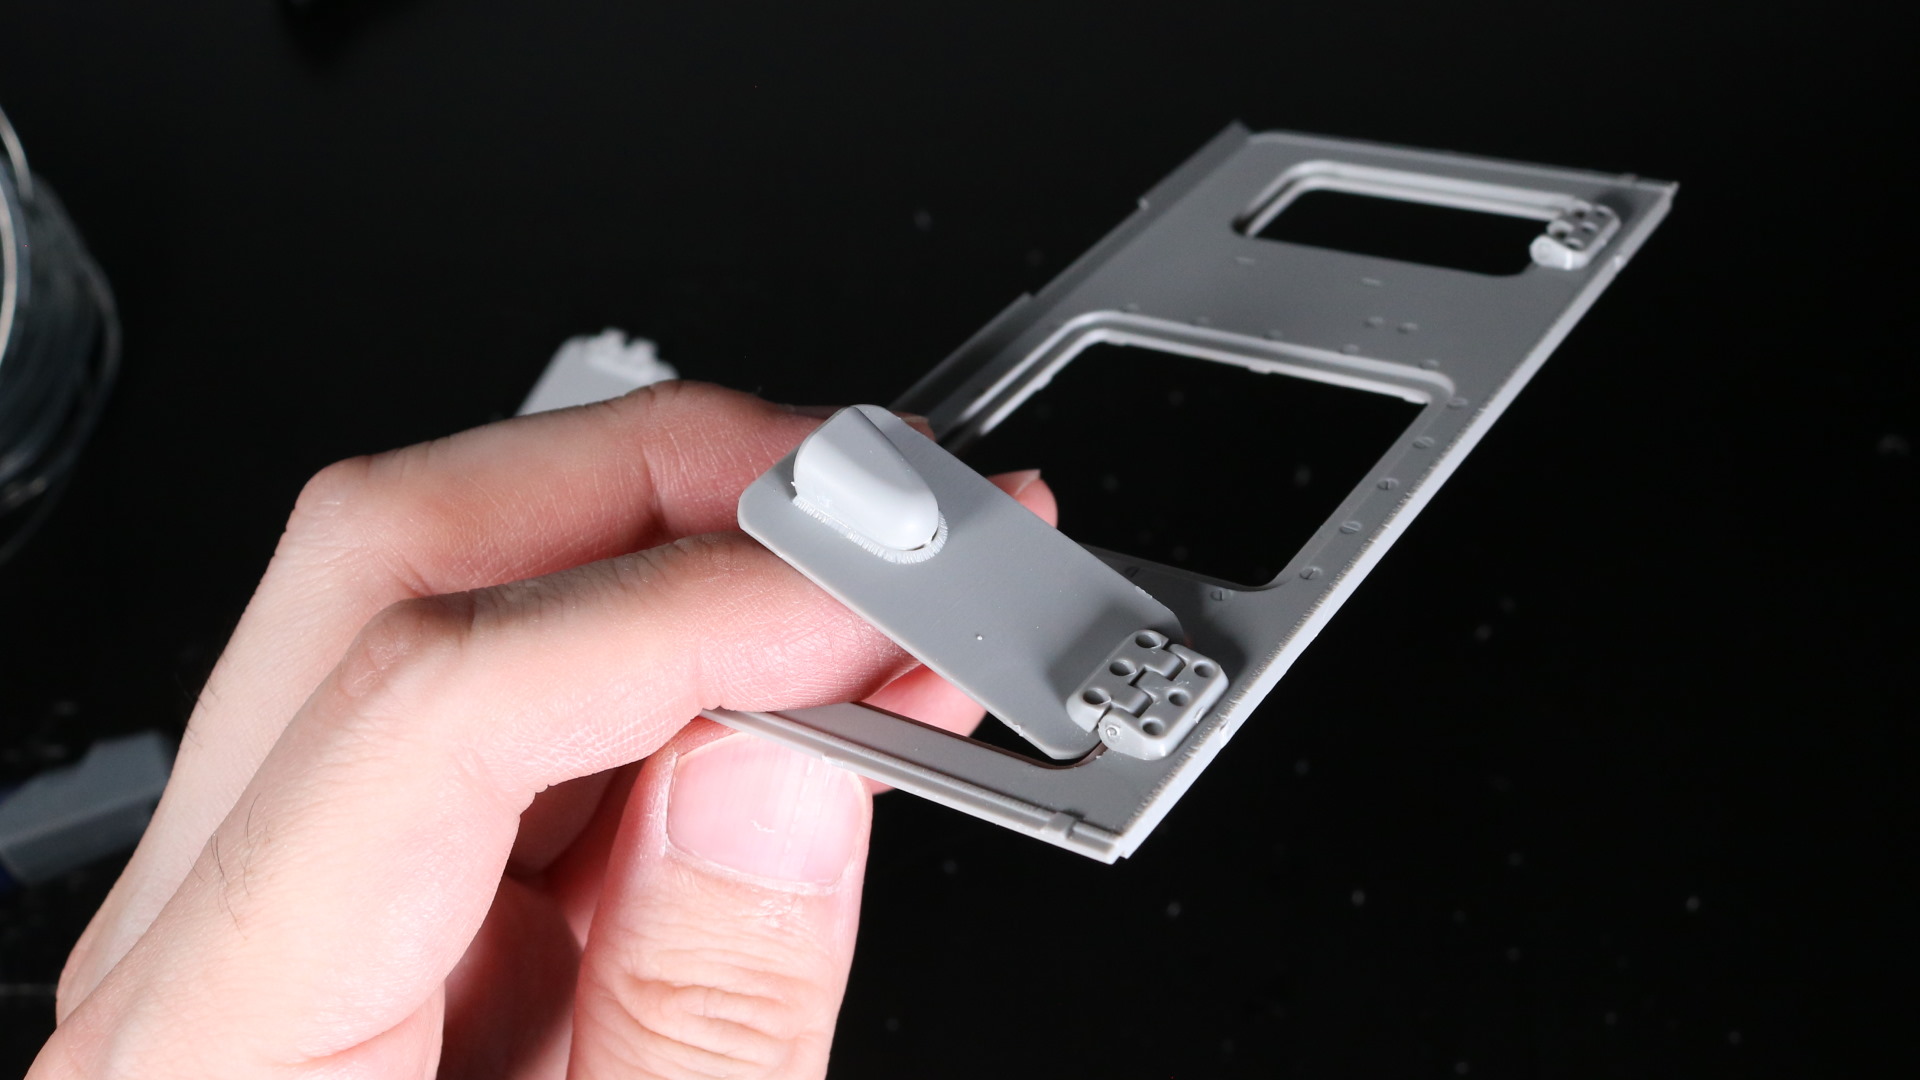
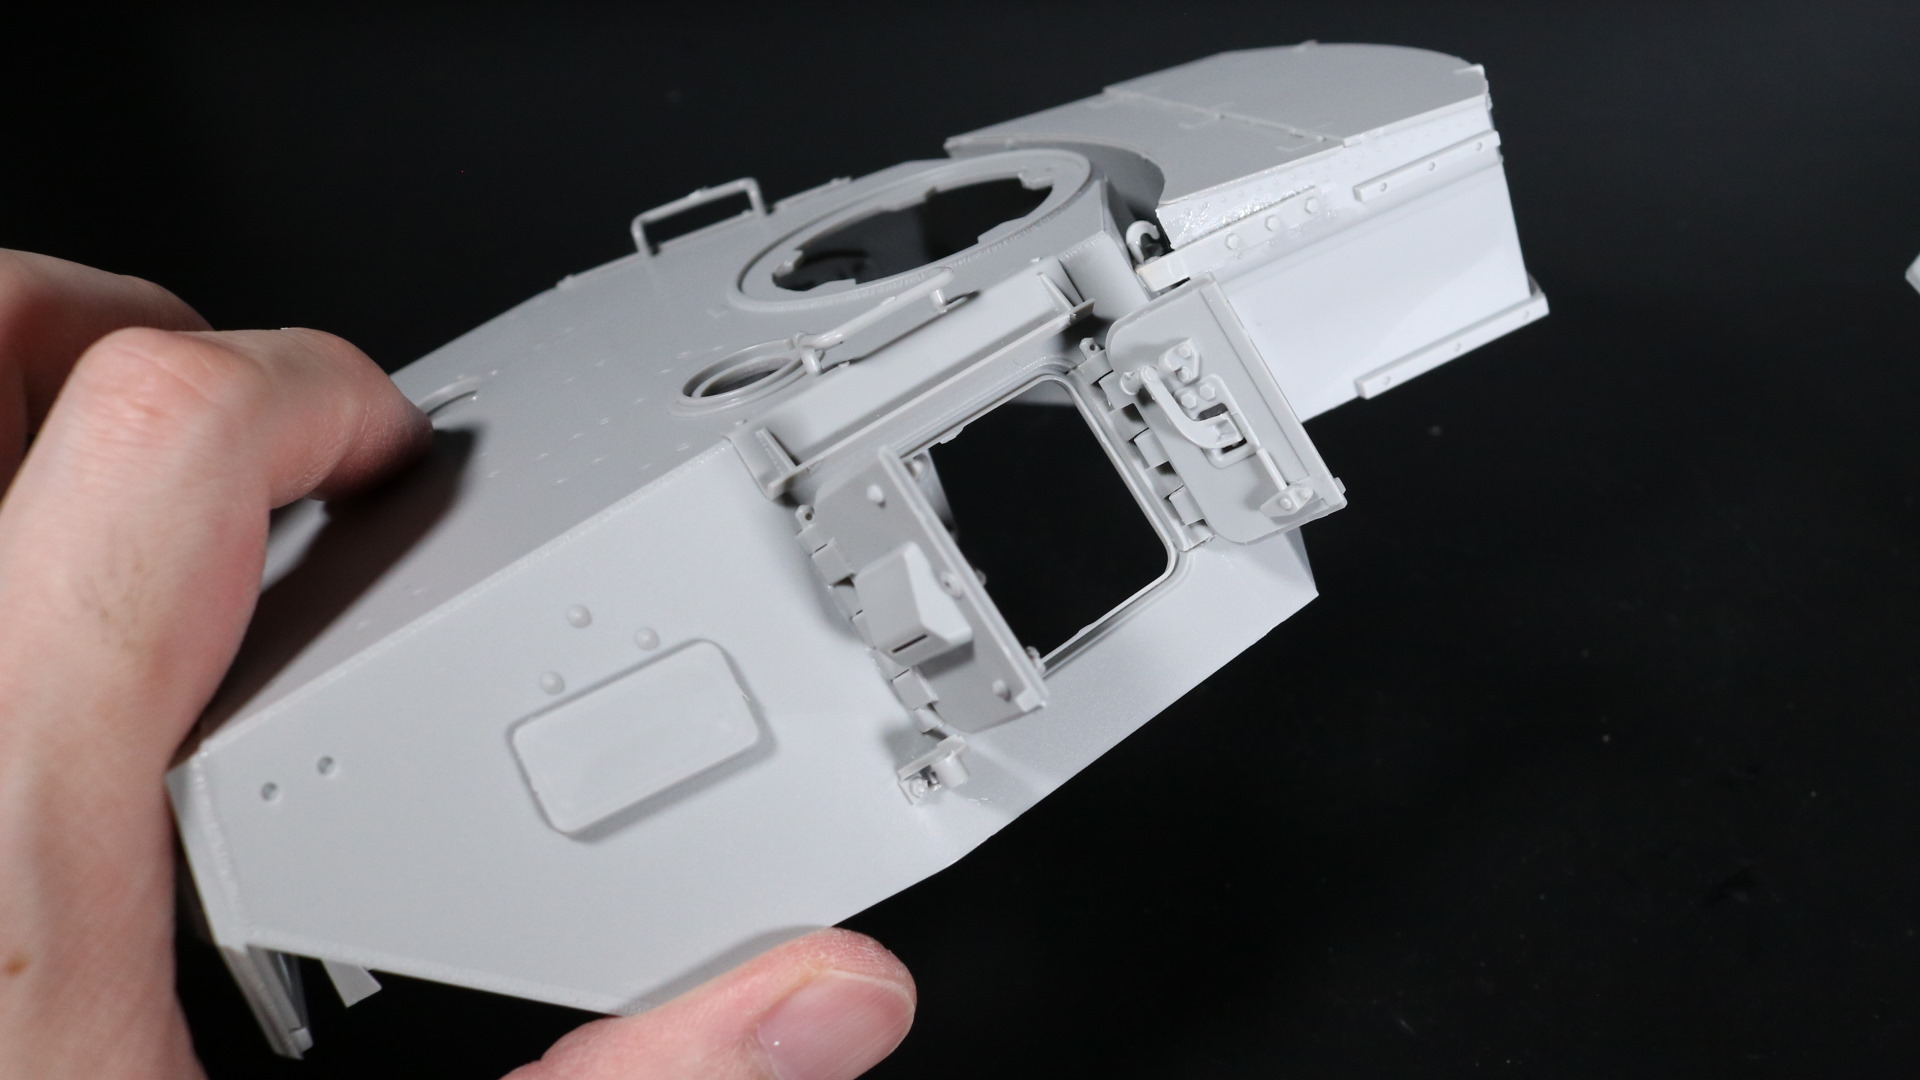
By default, there is no clear way to make hatches articulate. Obviously, gluing them on is an option. But what would be the point of simply gluing them on when you are building a full interior? I have to make it open and close.
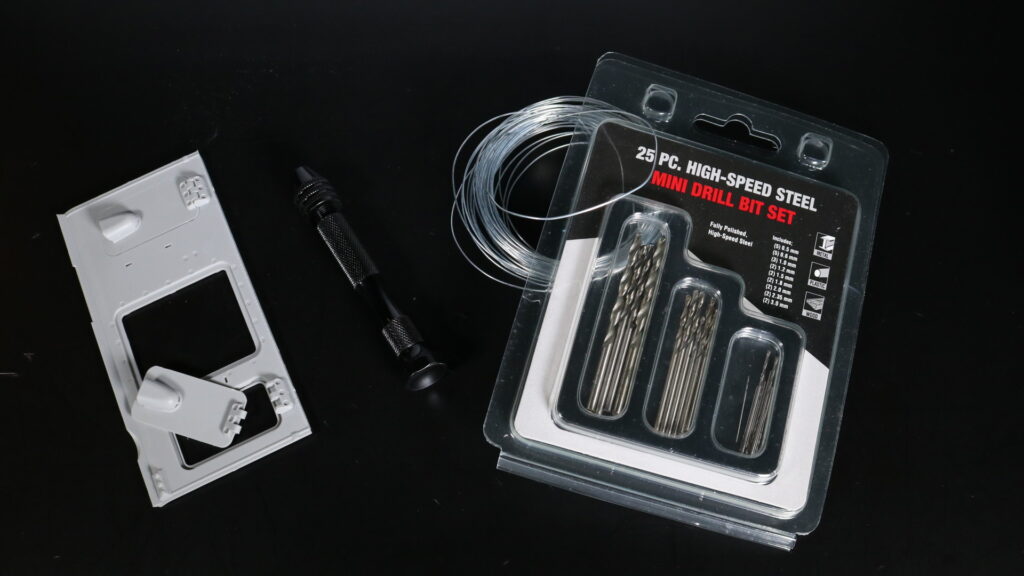
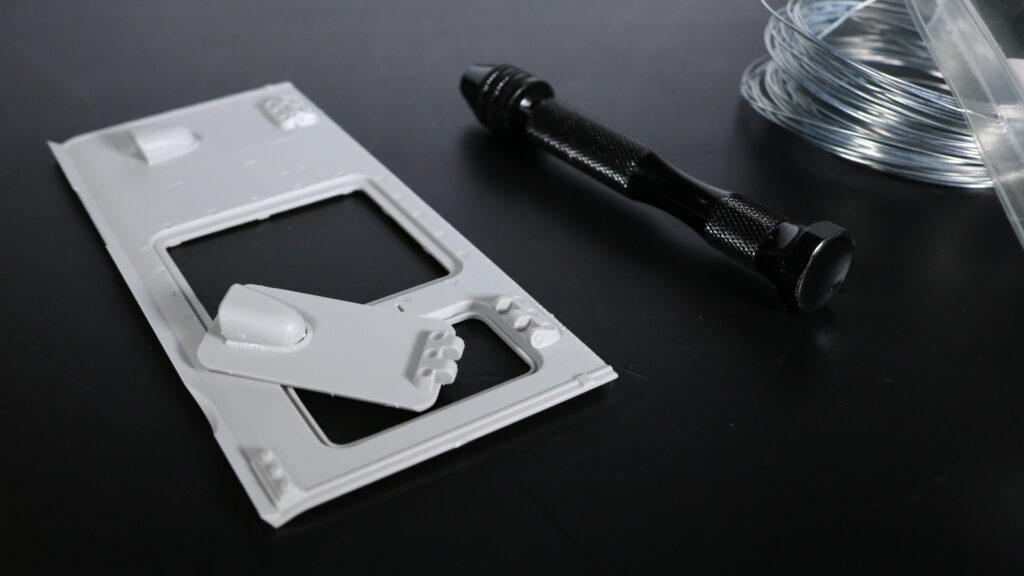
So, I am using mini-drill bits to make a tiny hole in the hinge and then insert a thin metal wire into it. This makes the hatches open and close properly. Thankfully, the hinges are big enough for this to work.
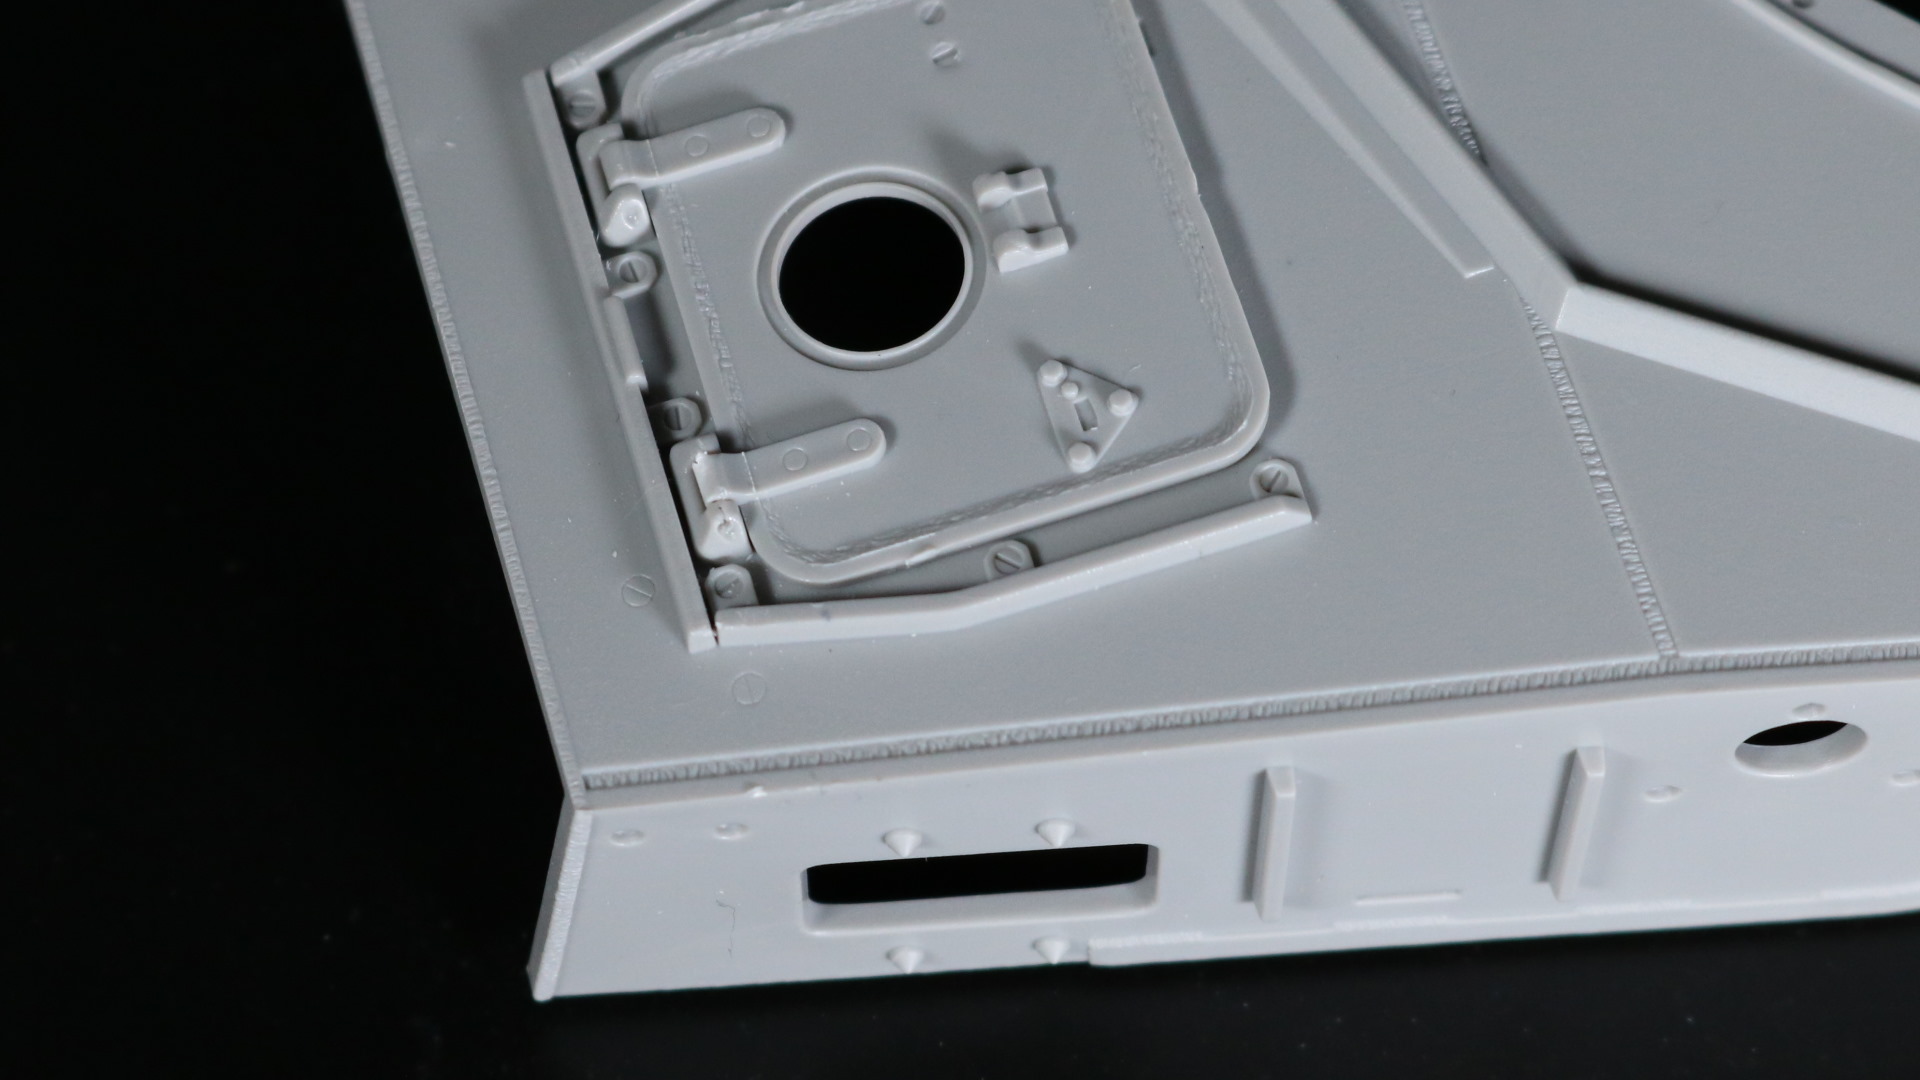
Sadly, the same method cannot work on hull hatches.
I did try to drill a hole but the hinges were too small that it destroyed them. I glued broken pieces back together. Once primed and painted, the scars should be invisible to eyes.
Regardless, I really want the hatches to work. Therefore, I am going to use another method of mine which is, well, friction. Since I will be priming the part as well as paint, some thickness will be added. I will add model paste if required to be articulate the hatch by just friction.
This isn’t exactly an elegant solution but I am not gluing the hatches shut because –
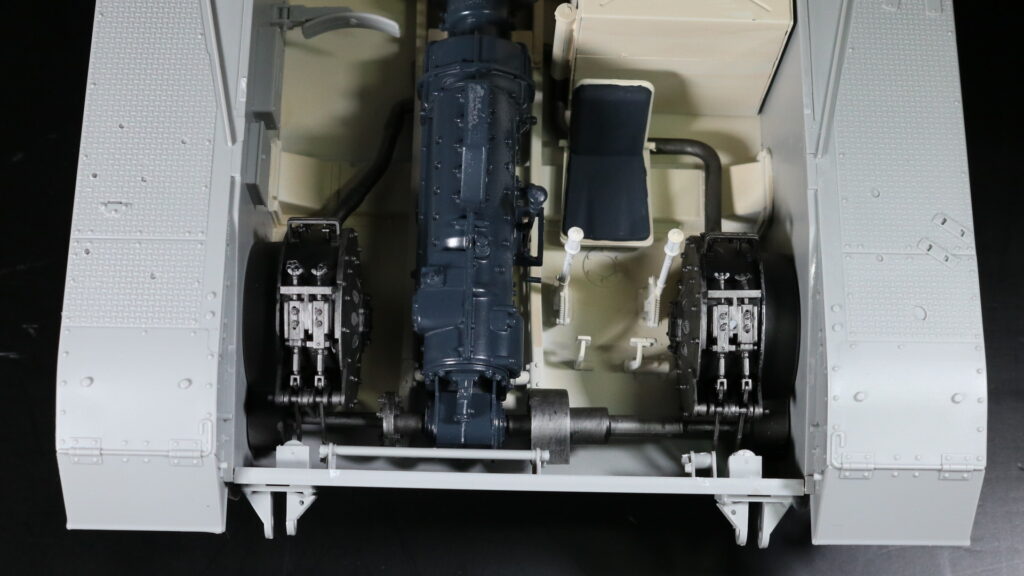
Because of this. Why would I spend hours working on the interior if most of it will be hidden? Although the giant gearbox will be hidden if I am correct in my assessment.
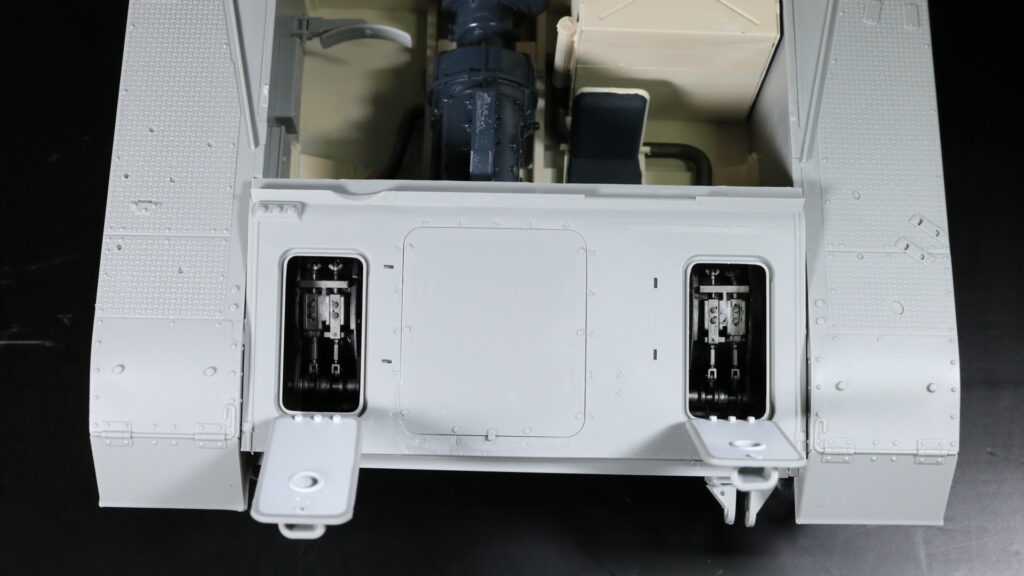
Speaking of which, I am not going to add any tank shells to the interior. The box has like 30 of them. There is an option to get the cabinets open and display the shells but I’d rather use the shells for other purposes, like diorama and photograph projects.
Besides, the cabinets won’t be seen once the tank is fully assembled. So, unless you are building a dissected tank on purpose to display its interior, there isn’t really a need to assemble and paint the shells.
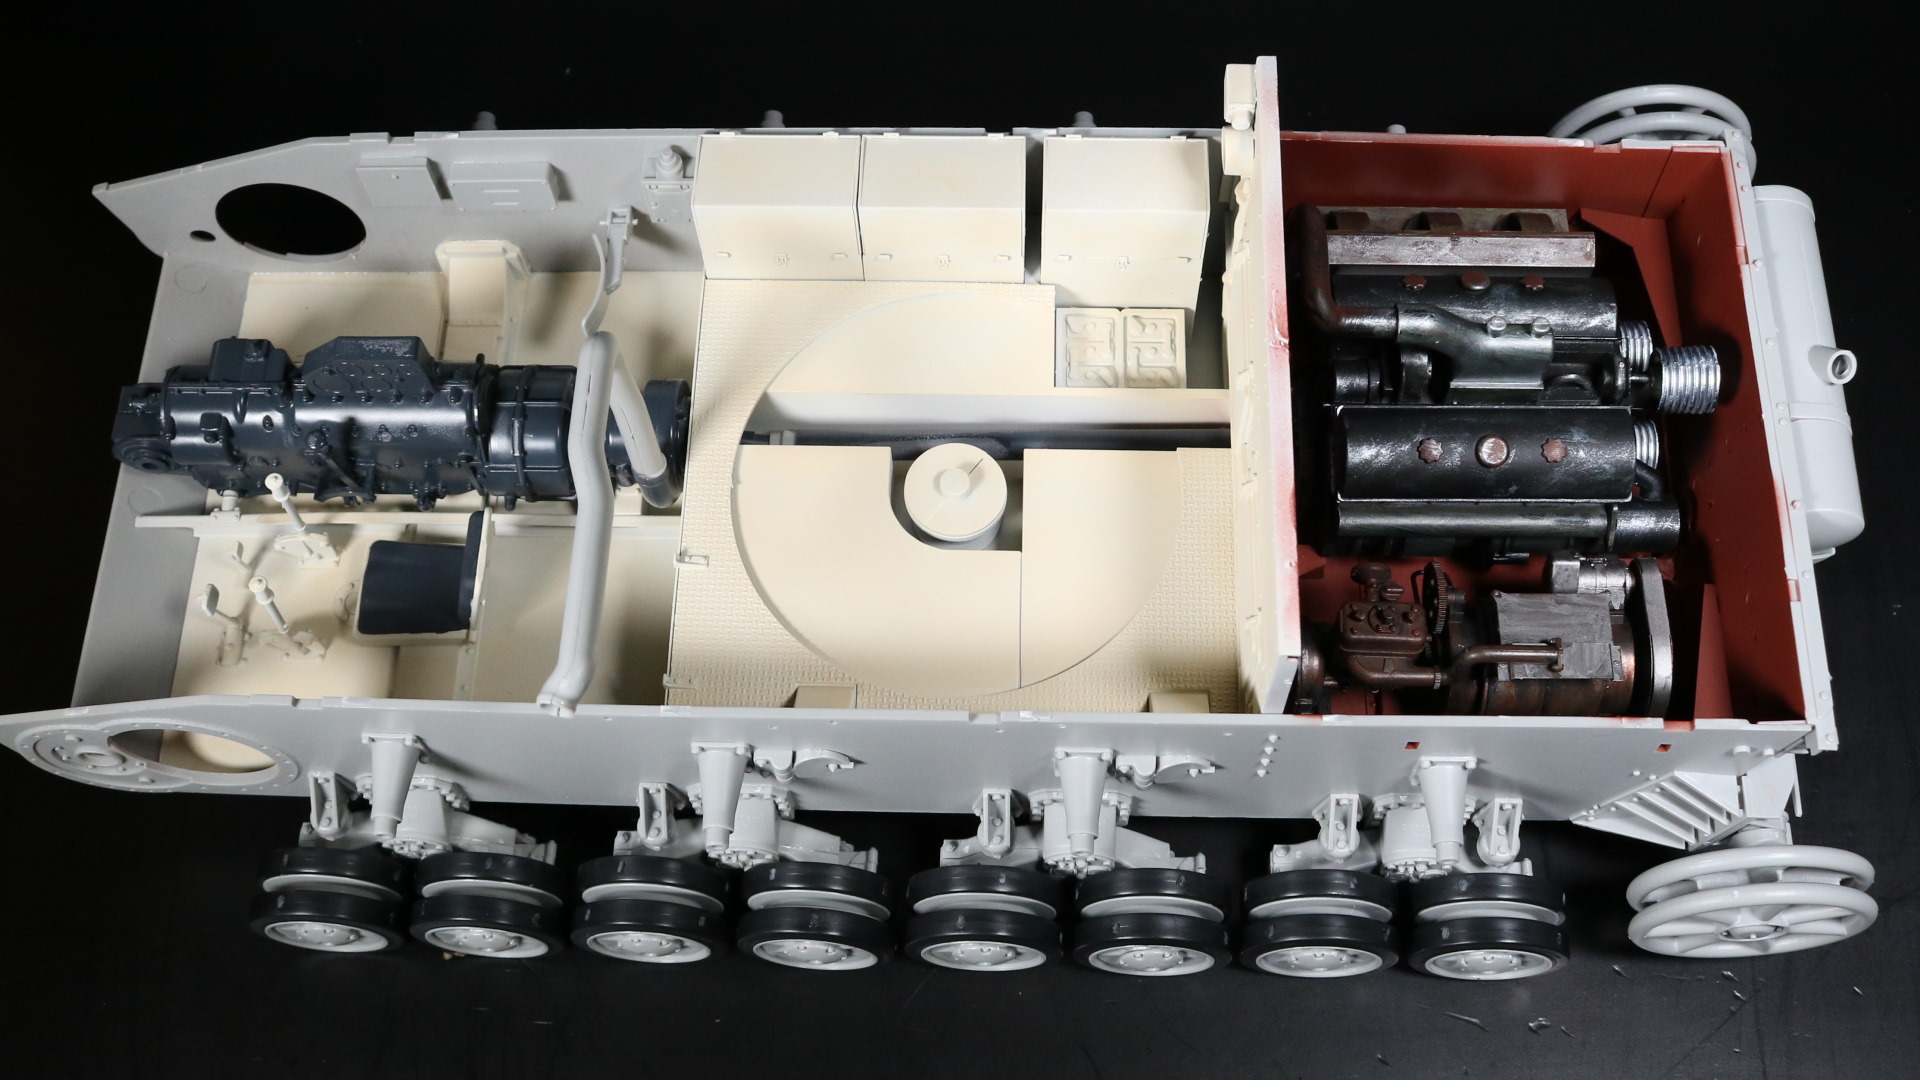
Above is a result of 4 days of labor. I spent about 4 hours a day. At this point, I believe 1/3 is done, but the hard part is done which is the interior and mechanical devices.
I painted the walls for the engine room. There are still some props to attach in the crew compartment which is why the walls haven’t been painted.
I feel a little let down that, after all my efforts to paint, in the end, I get to see only a tip of it. My disappoint would soon get enlarged.
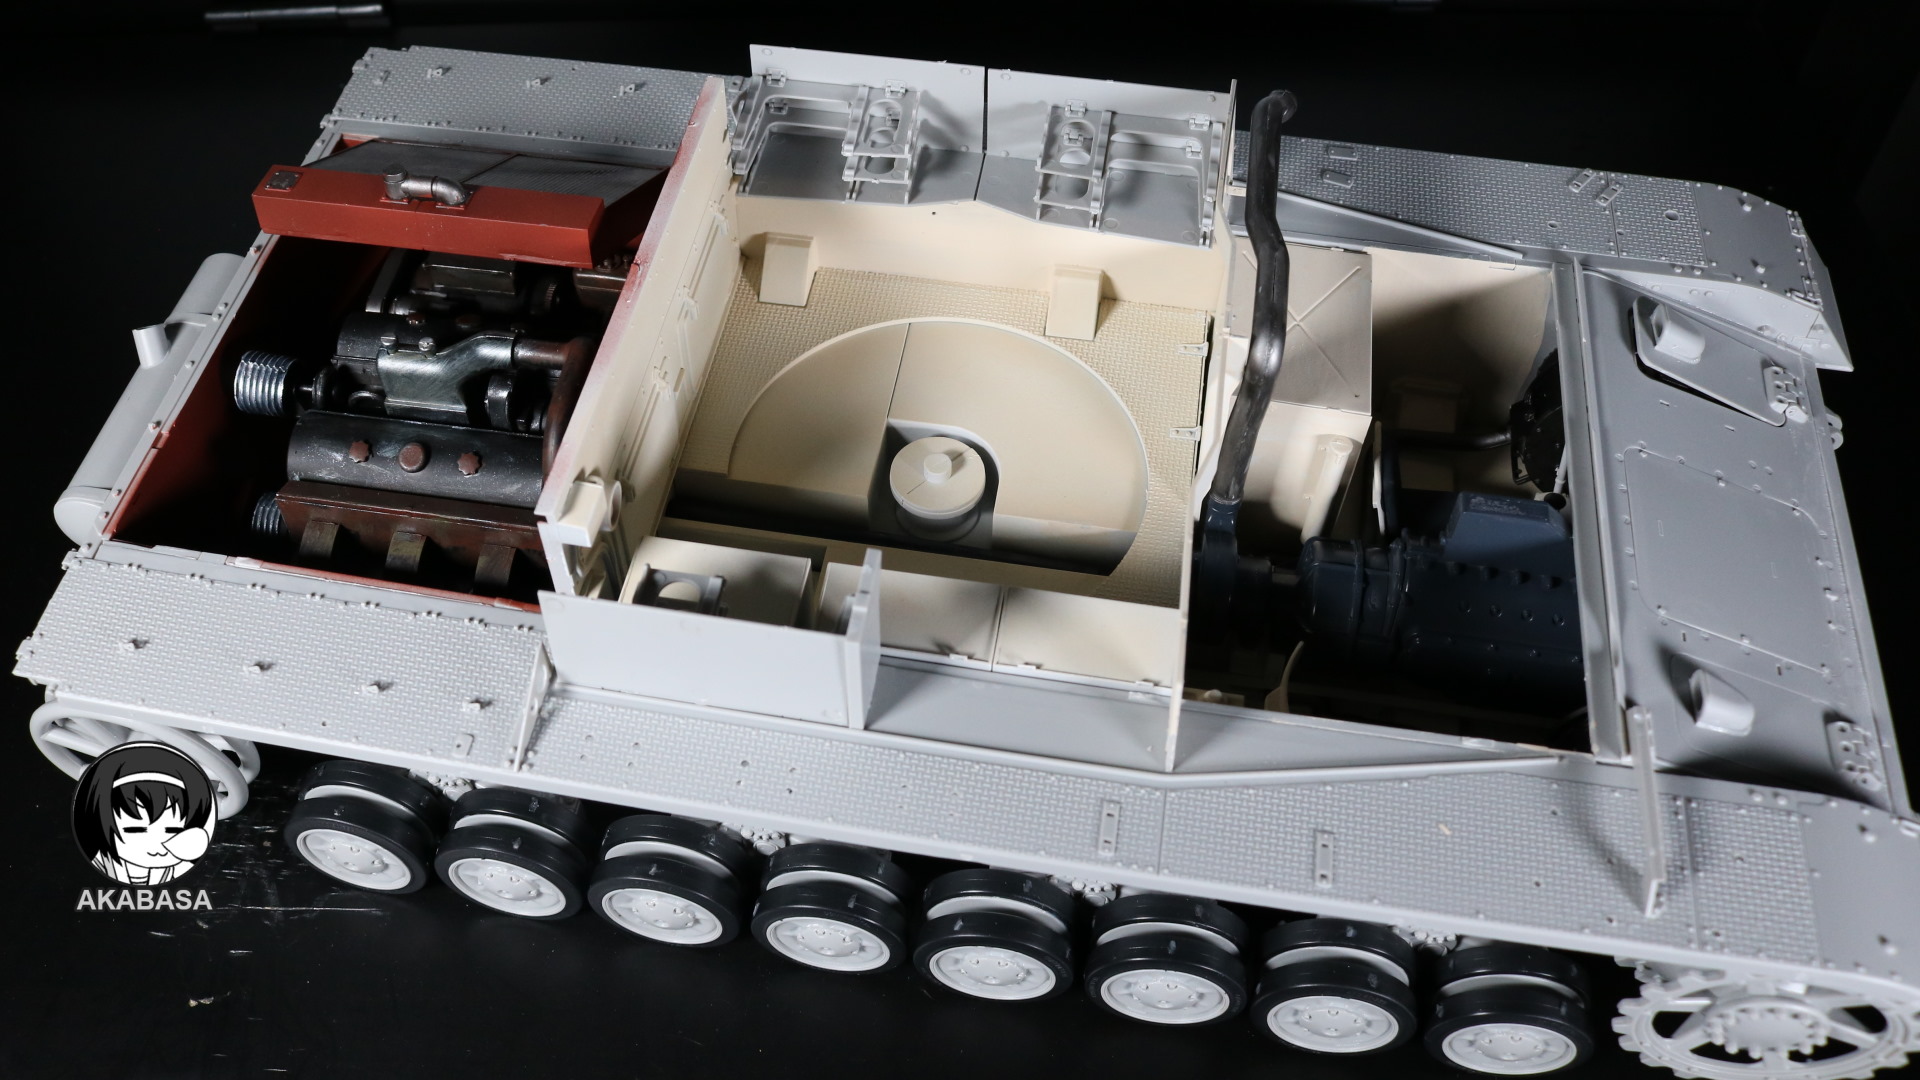
Perhaps I should have seen it coming, but about half of the engine compartment where I spent few hours would be blocked from view by a radiator on top.
It is this point that I begin to omit stuff that won’t probably seen or rarely seen. If parts were easy to do, I may as well do it, but they aren’t. They aren’t hard. It’s just that an each piece needs parts from all over labels which makes it practically frustrating at times.
Also some pieces are assembled from parts that are just few millimeters in length which generally end up being gluefest fiasco. Such parts should have come premolded. I feel like Trumpeter is artificially jacking up part count with these.
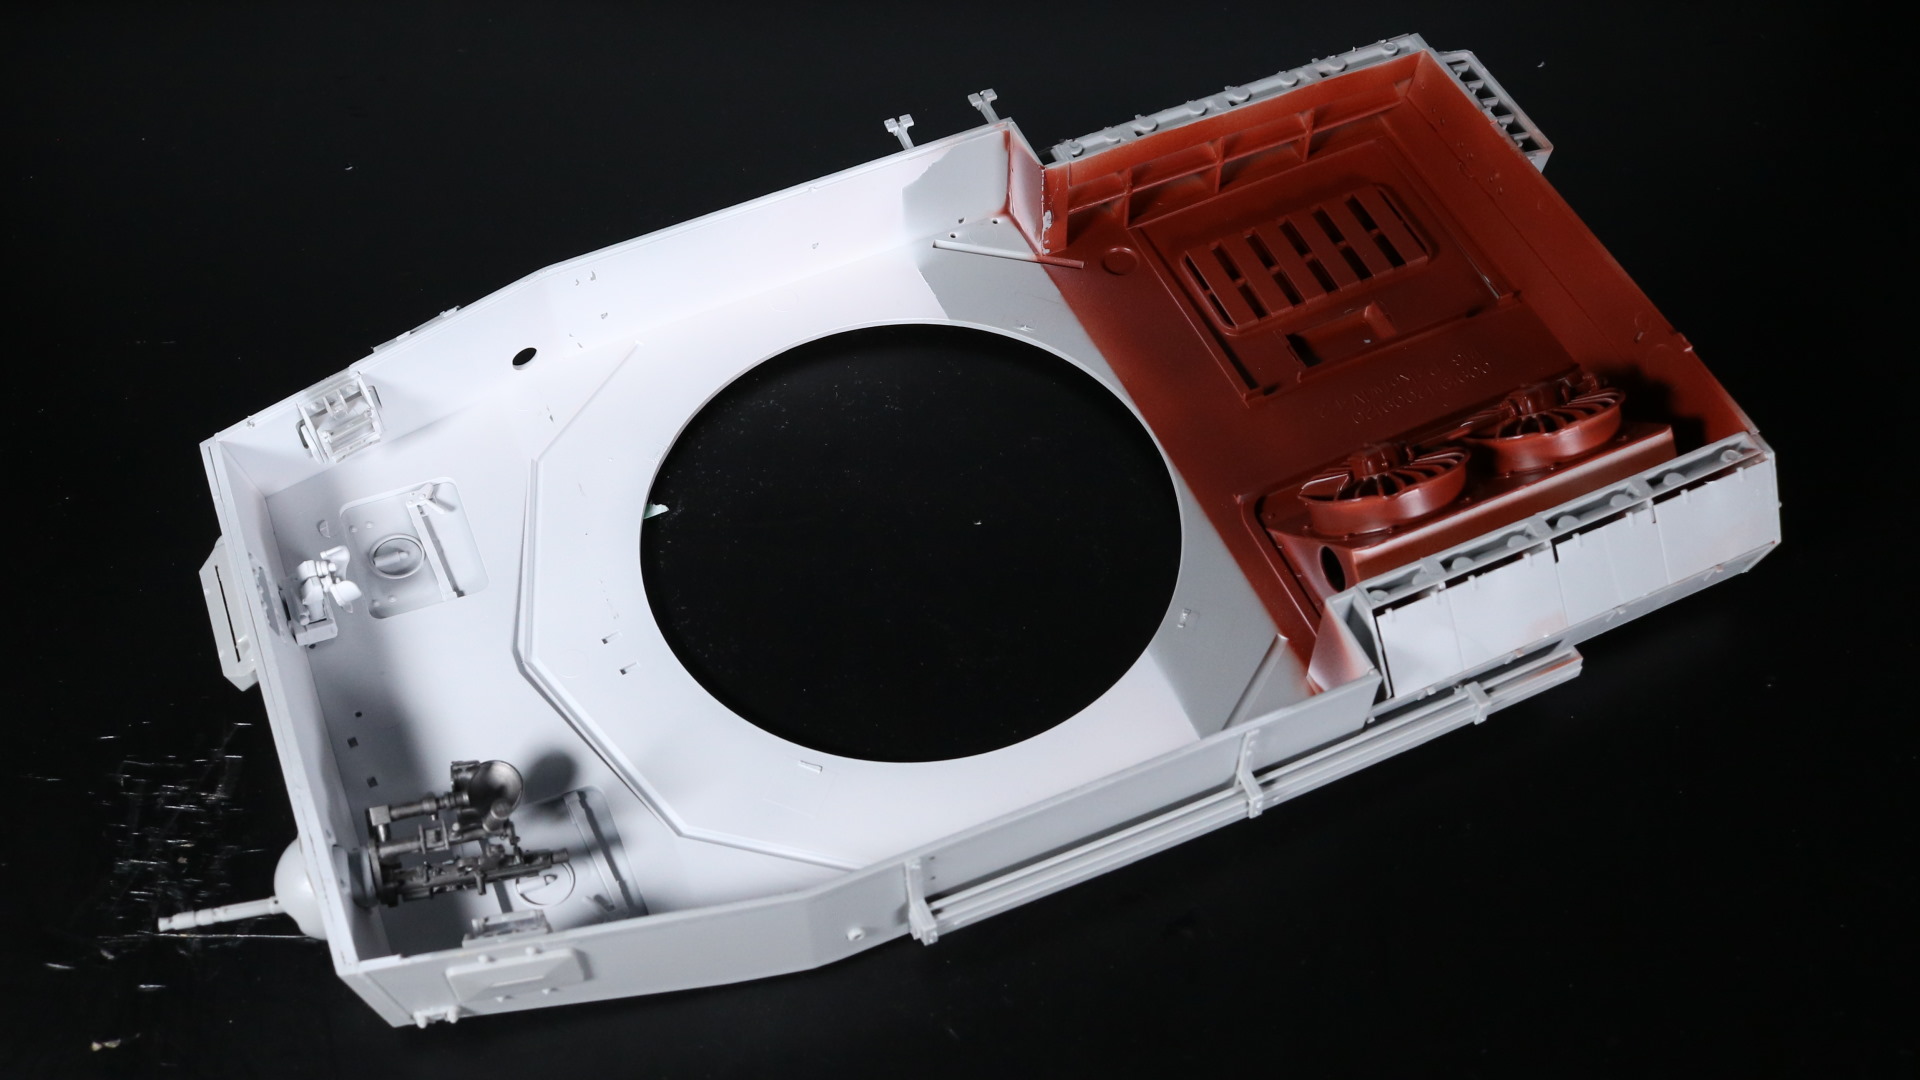
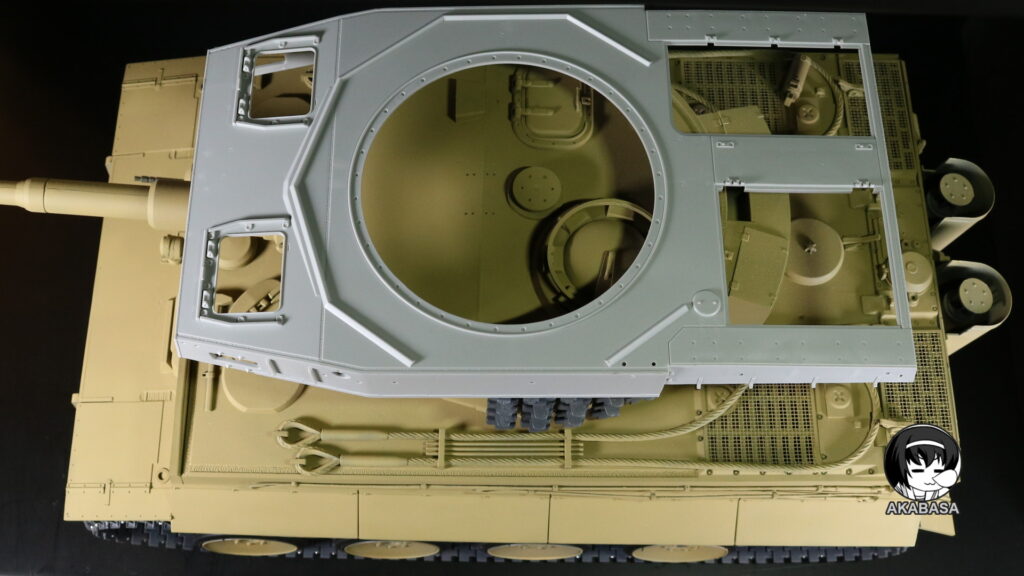
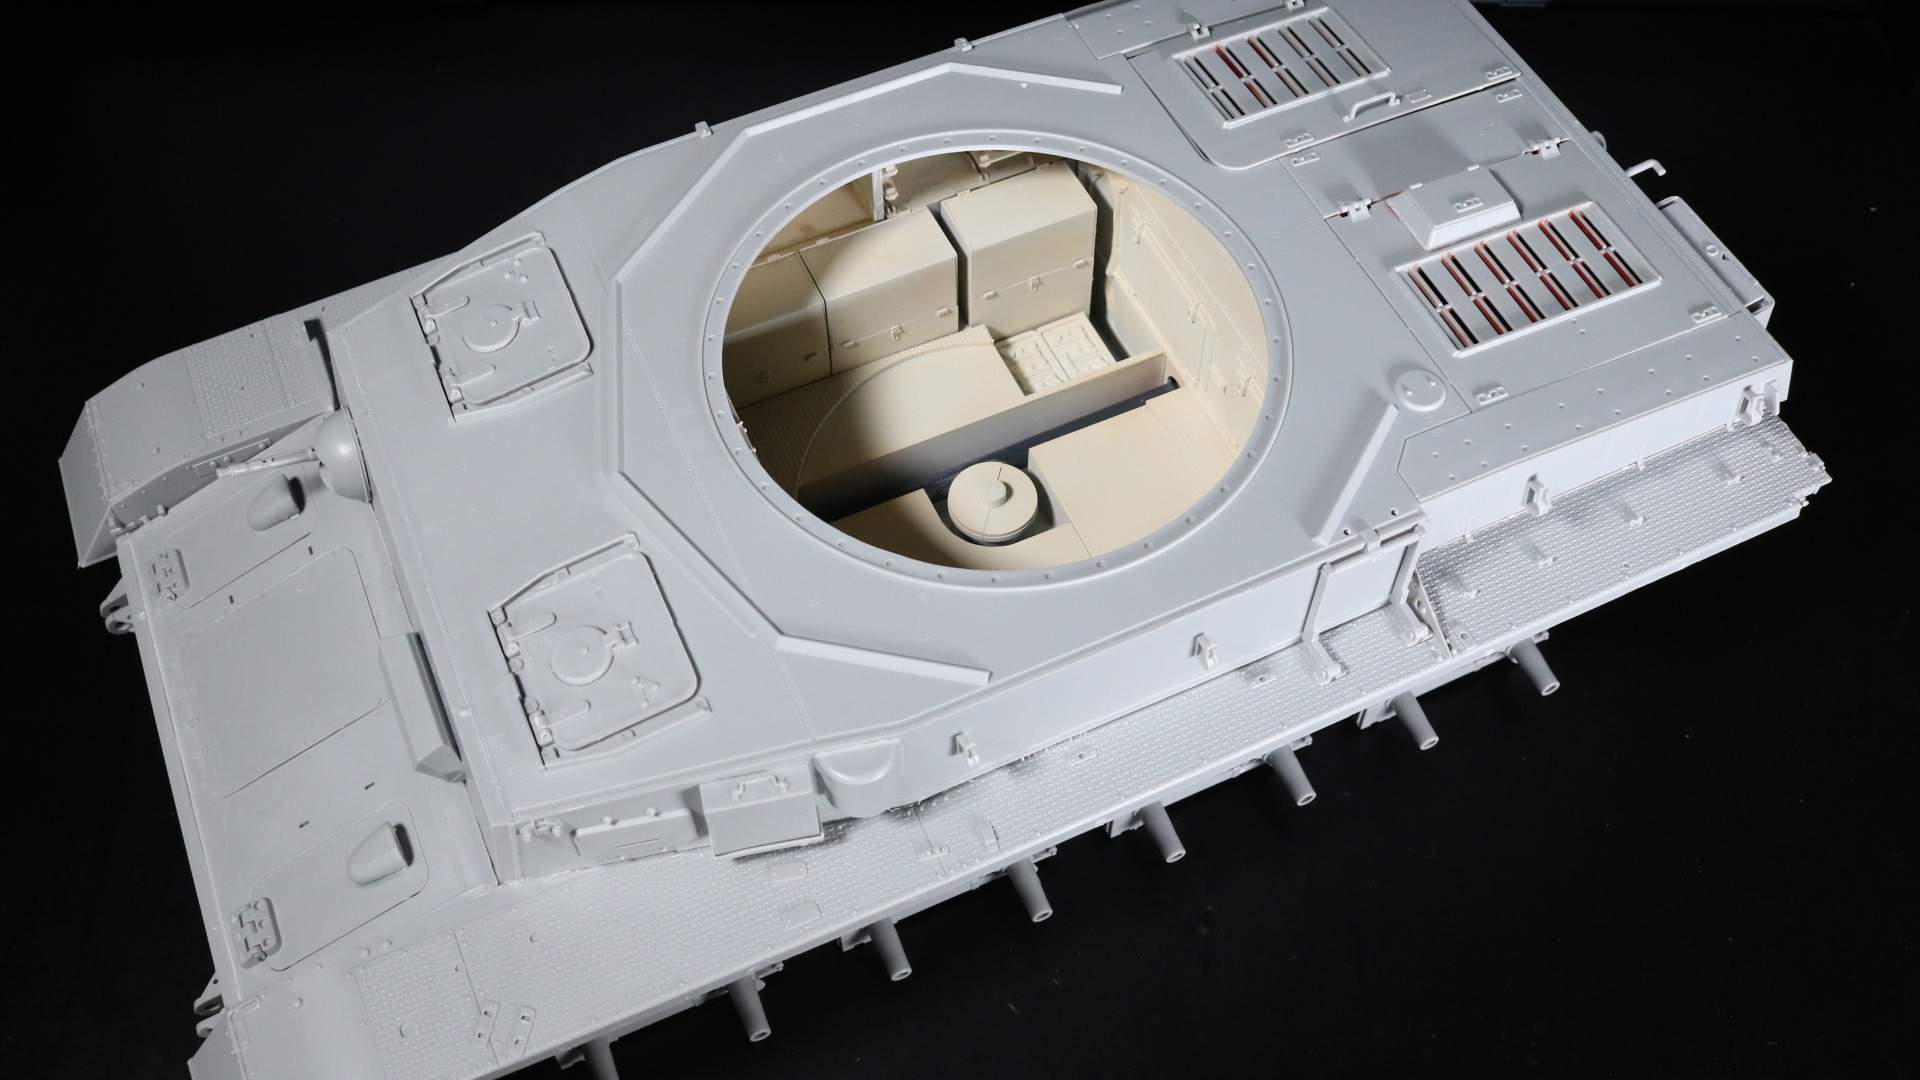
By time I was mostly done with the upper hull, it marks day 6 of the build. At this point, I am tired, not physically but mentally rather. It feels like there is no end to the tunnel.
After painting the upper hull interior with beige color with a brush, I glue top and the lower hull. Once this is done, I won’t be able to work on the interior anymore. In that sense, I feel the RC kits are better because they provide a way to open up. RC tank kits also have a functional suspension system whereas, in this kit, the suspensions are just for the looks.
Granted, this kit is strictly meant for display. But, if you have kids and have these out on display, they might play with it (and break?)
The lower hull is finally complete. It is missing several props because I want to attach them after painting. Wheels have also been taken off in preparation for priming. Gosh, it has taken so long to reach this point.
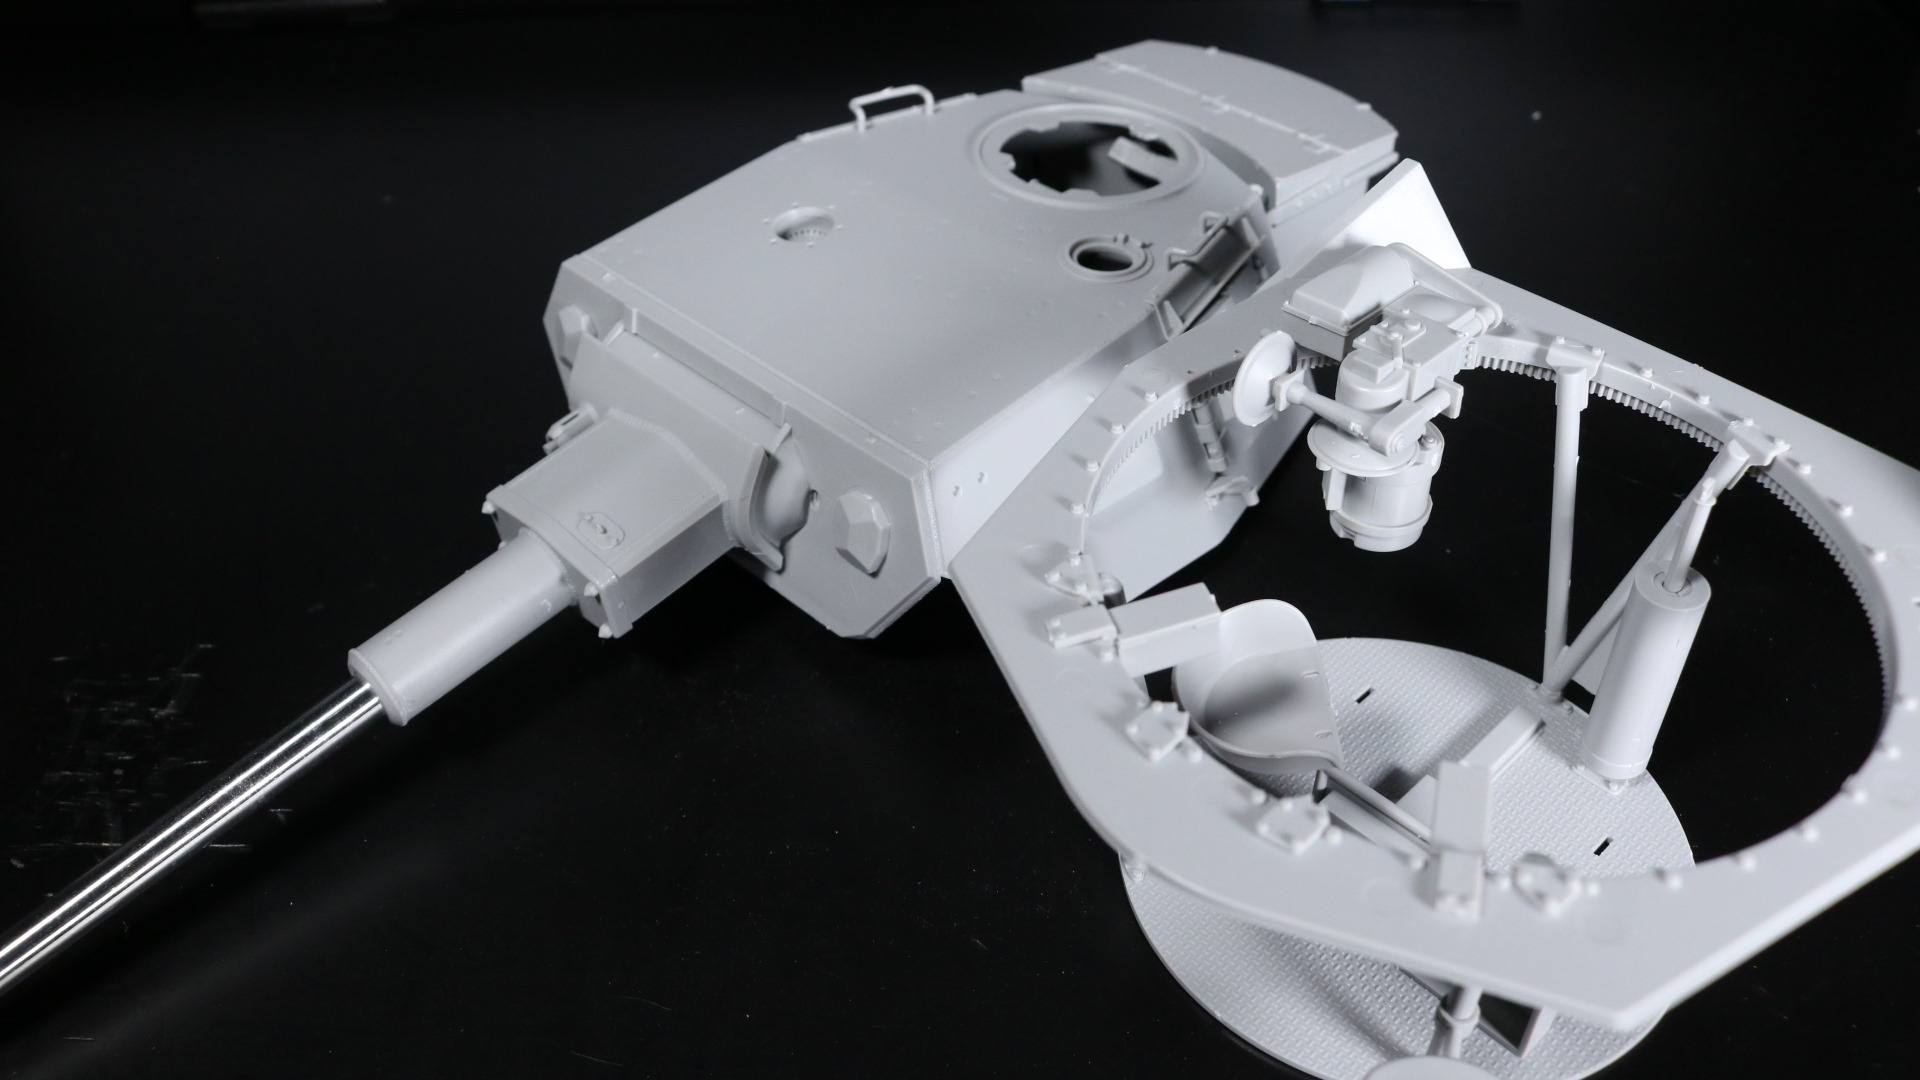
I did mention it is an expensive kit. So, I guess I shouldn’t be surprised that it comes with an aluminum barrel which can cost upwards 30 bucks on its own, and that’s not even including shipping.
Metal barrels are just superior due to its clean finish. Saves you time as well. Overall, metal barrels are one less headache to deal with.
I am also making sure that the turret hatches are fully operational. Do remember that I plan to add the entire Angelfish team, Miho, Mako, Saori, Hana, and Yukari. This is the reason I chose this kit because you cannot use any of hatches on RC tanks.
So, I need five hatches. The turret has three which can easily to be drilled into and add wires to make them articulate. Two front hatches on hull will be trickier.
This marks day 7. I took a few days off after this.
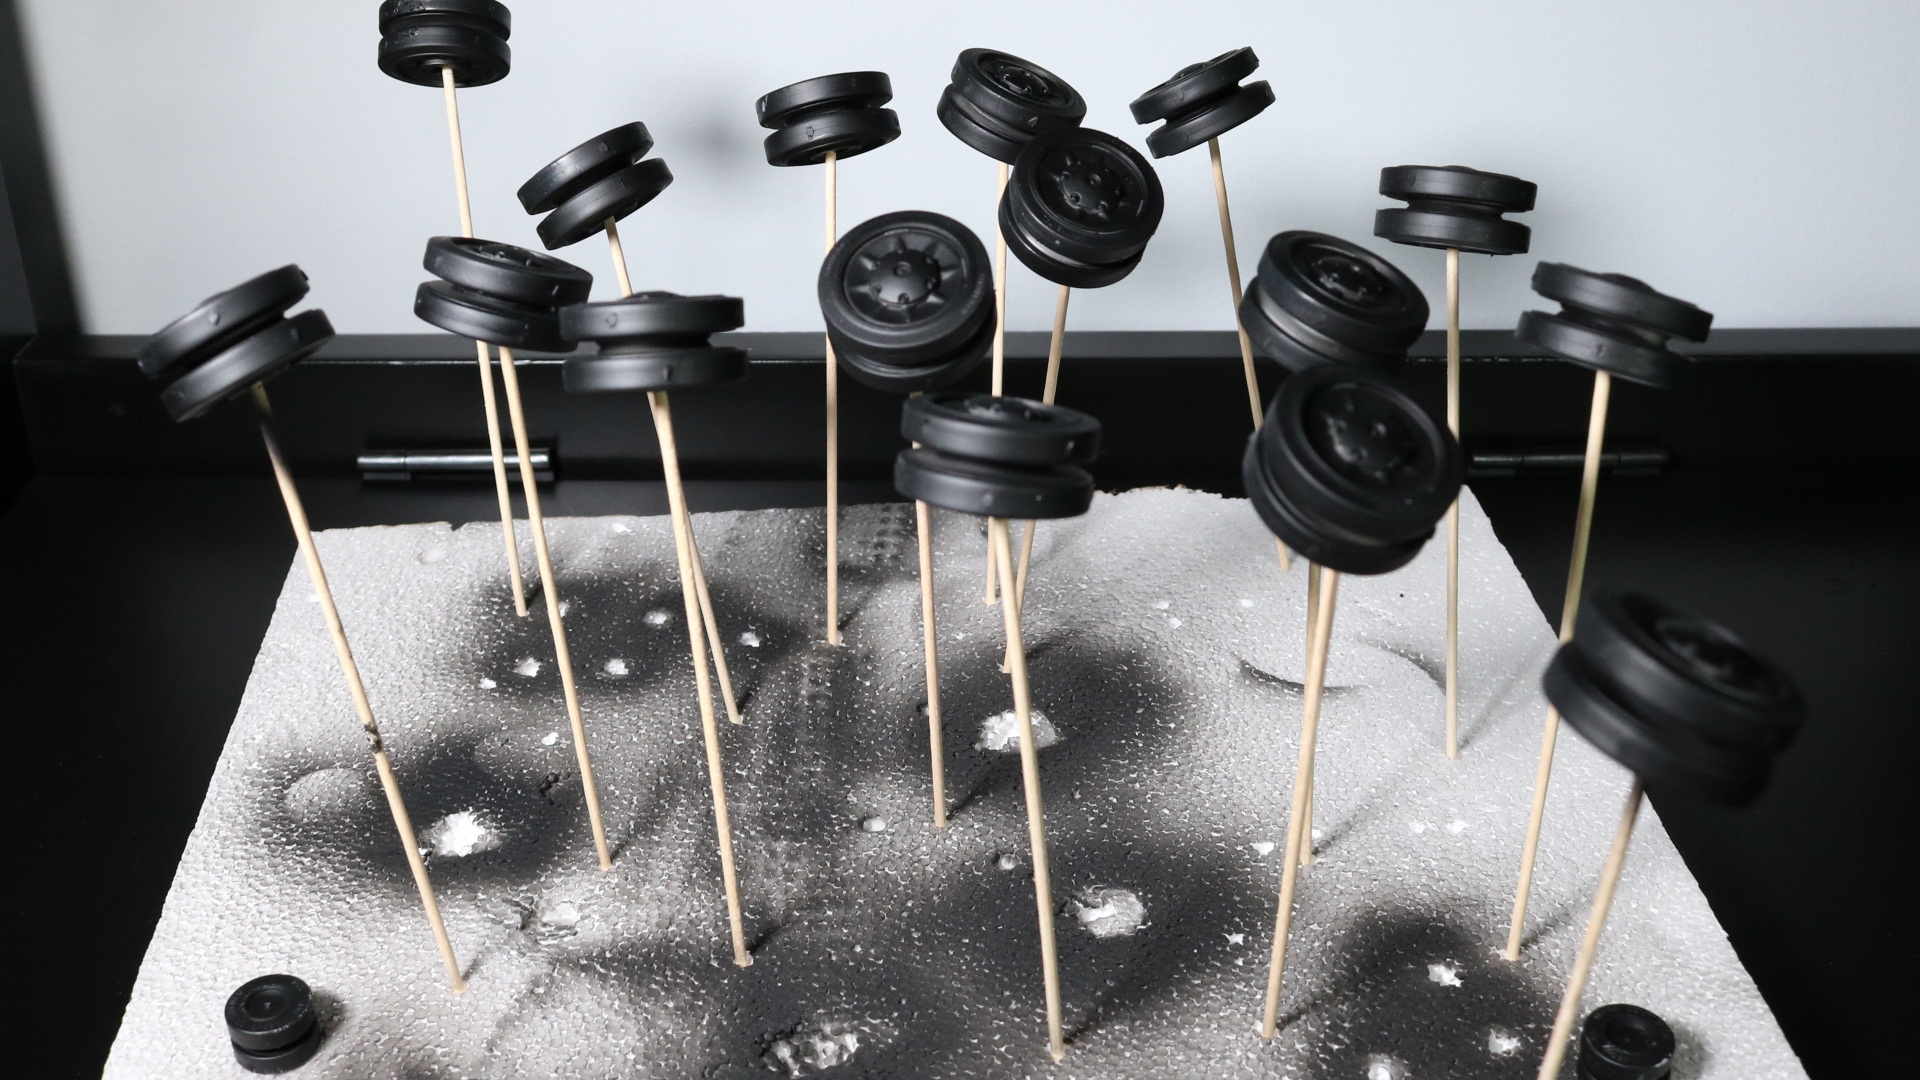
Day 8 is uneventful. I am adding minor props I’ve been postponing to add. Basically, I am doing final touches before priming and such. The wheels, though, I went ahead and primed them. You may notice that I didn’t bother to sand down mold injection point. Well, those can easily be hidden once tracks are on. If it remains to be an eyesore, I can still work on it later.
I am really bad at photo etched parts, especially when parts are few millimeters in length. I just don’t have tools to deal with them. So, when the manual shows me that I have to assemble several locking mechanisms for props on the hull by using such photo etched parts, I simply don’t.
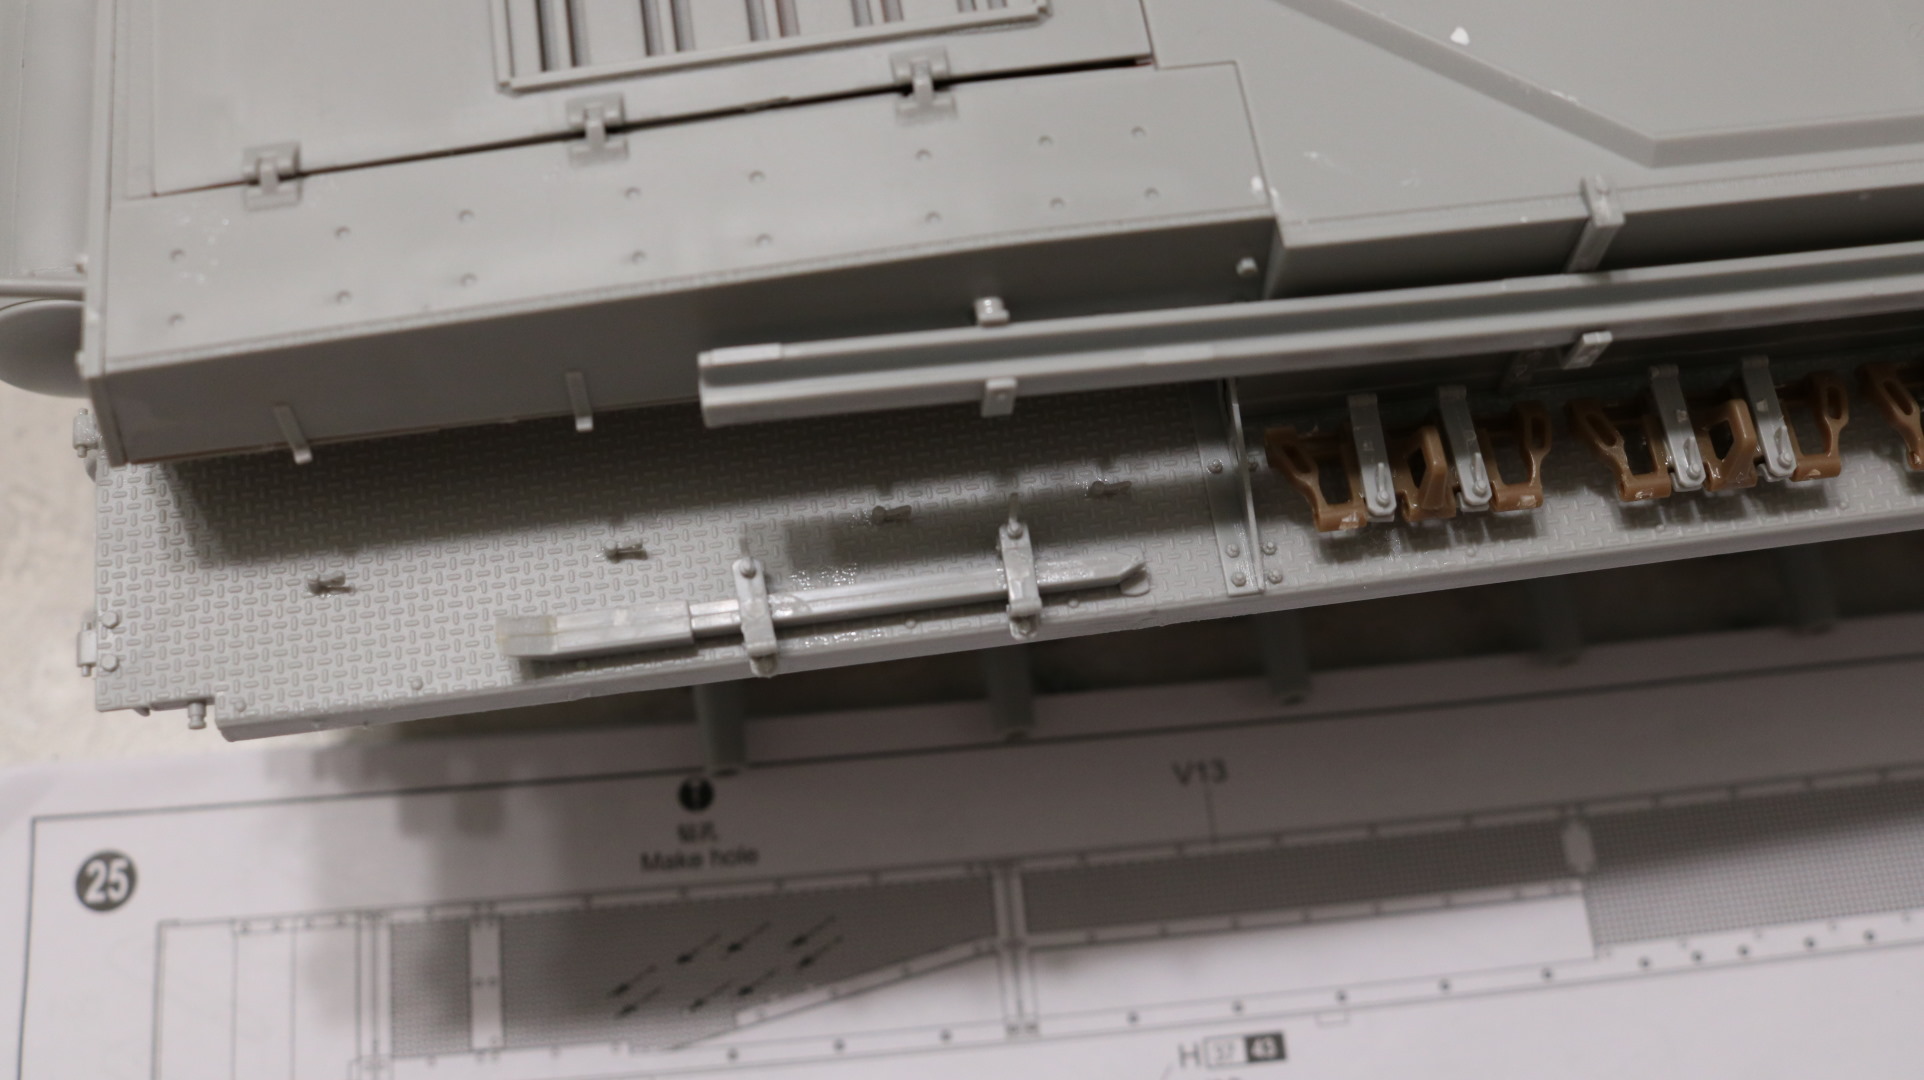
Instead, I begin to source for other plastics parts that I could use, and surely enough there are quite aplenty of them. There are some spare parts because Trumpeter appears to have included some extra parts that are from Panzer IV armor skirt version.
There aren’t enough spare parts for full armor skirt though. Just enough for turret armor skirt.
With props done, the time has finally come to prime and paint.
As this is Nishizumi Miho’s tank, it will be painted dark red or hull red as per Tamiya paint name.

For something that took 9 days for me to come this far, painting part is surprisingly anticlimactic. I mean, I just prime the parts in black, let it dry for a day. Prime more in case I missed some spots. Wait another day. Then airbrush with Tamiya Hull Red color.
This process takes time but this isn’t something you’d pull your hair over.

Additionally, I remind thee again that I am not building a World war era tank. This Panzer IV is supposed to be in a pristine condition, meaning there is no need for dirt and chipping effect. No weathering, either. Well, perhaps minimal weather effects later on.
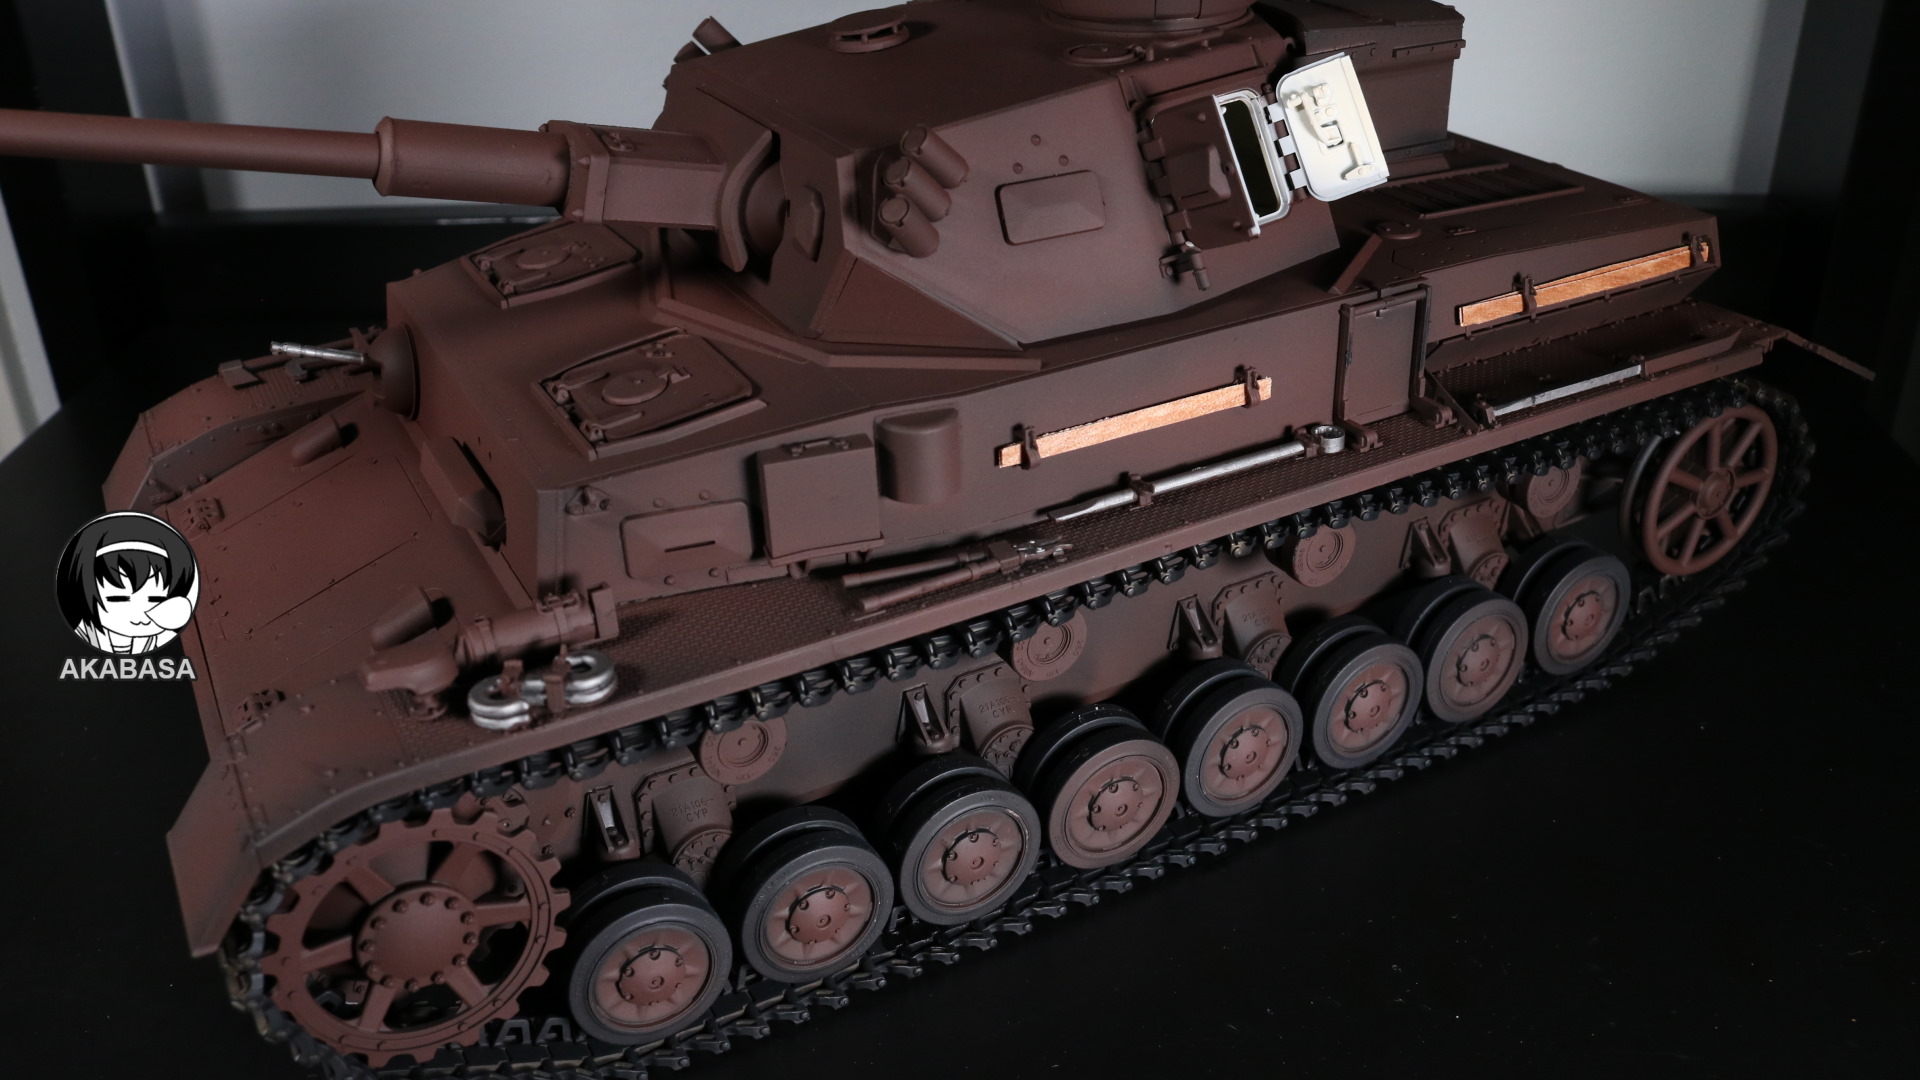
I am also using real wood props instead of what’s included in the kit. The 1/16 scale is big enough that you can do this. The attached tools are in a sparkling condition as well.
So, this is pretty much it. I don’t really … envision working with this kind of kit ever again because this kit has proven to be a giant pain in the arse. However…, there is another tank I’d like to build. It is SU-100 1/16 scale by Trumpeter. This tank would go to Pravda, and I want my 1/16 scale Clara to captain it.
So, yeah, I will have a 1/16 scale SU-100 tank build next month or so, I guess.
![[Murasame] Chibi Anchovy with CV33 garage kit](https://akabasa.com/wp-content/uploads/2021/09/murasame_anchovy_cv33_1-768x1024.jpg)
![[UKD Institute] Garage Kit Mika and Aki set](https://akabasa.com/wp-content/uploads/2021/09/ukd_mikaaki_14-768x556.jpg)
![[Takom] Panzer Pz.Kpfw.I Ausf.A 1/16 scale](https://akabasa.com/wp-content/uploads/2021/09/takom_panzer_pzkpfw-i-ausf-a_16scale_1-768x432.jpg)
Great job from what I’ve read.