
GuP Panzer 1 Memories ver by Platz
The actual title of this kit is rather long. I shortened it. The code for this kit is Platz GP-34. Google that, and you will find more info on the product.
The price for this kit is about 5,000yen. You may be able to find it cheaper if you shop around. I’ve got this from Amazon due to simplicity of shipping and customs, not to mention 2-day delivery time from Japan to Canada.

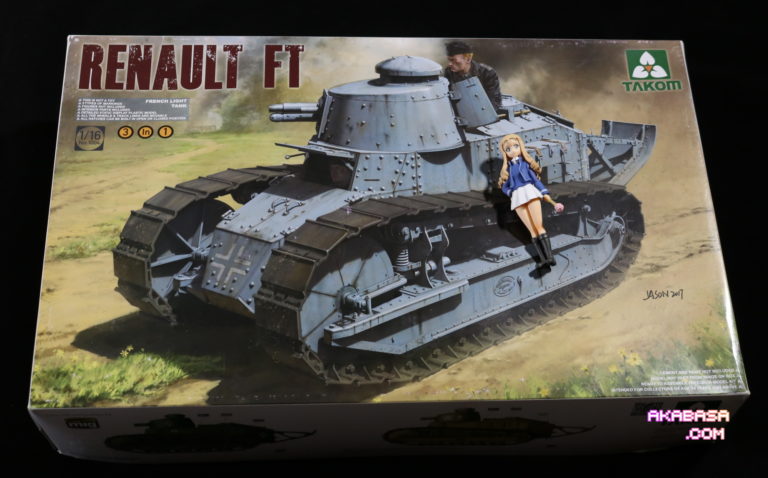
From the box, it appears that Platz is using Dragon Panzer 1 kit. As far as I know, Platz has always repackaged stuff. They’ve never molded their own tanks. They do, however, their own stuff in other areas.
Look below.
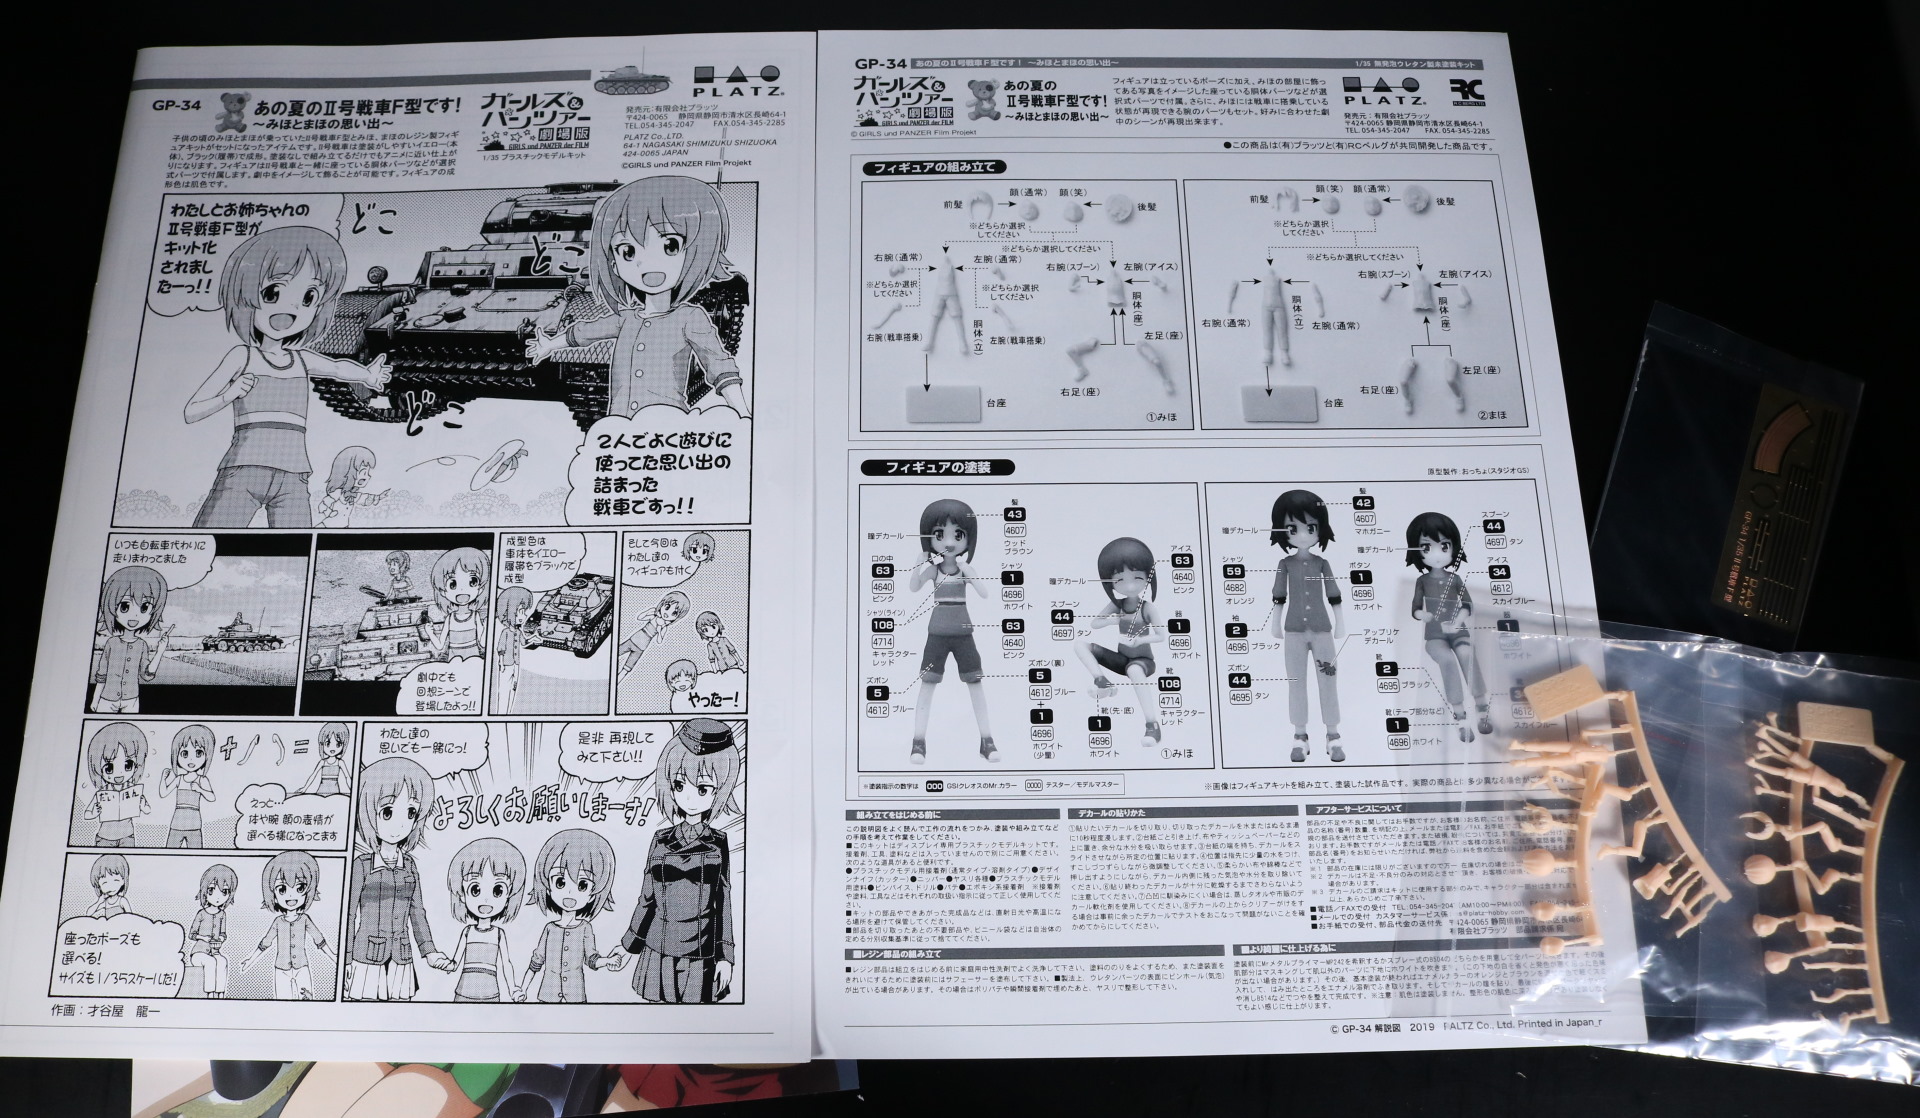
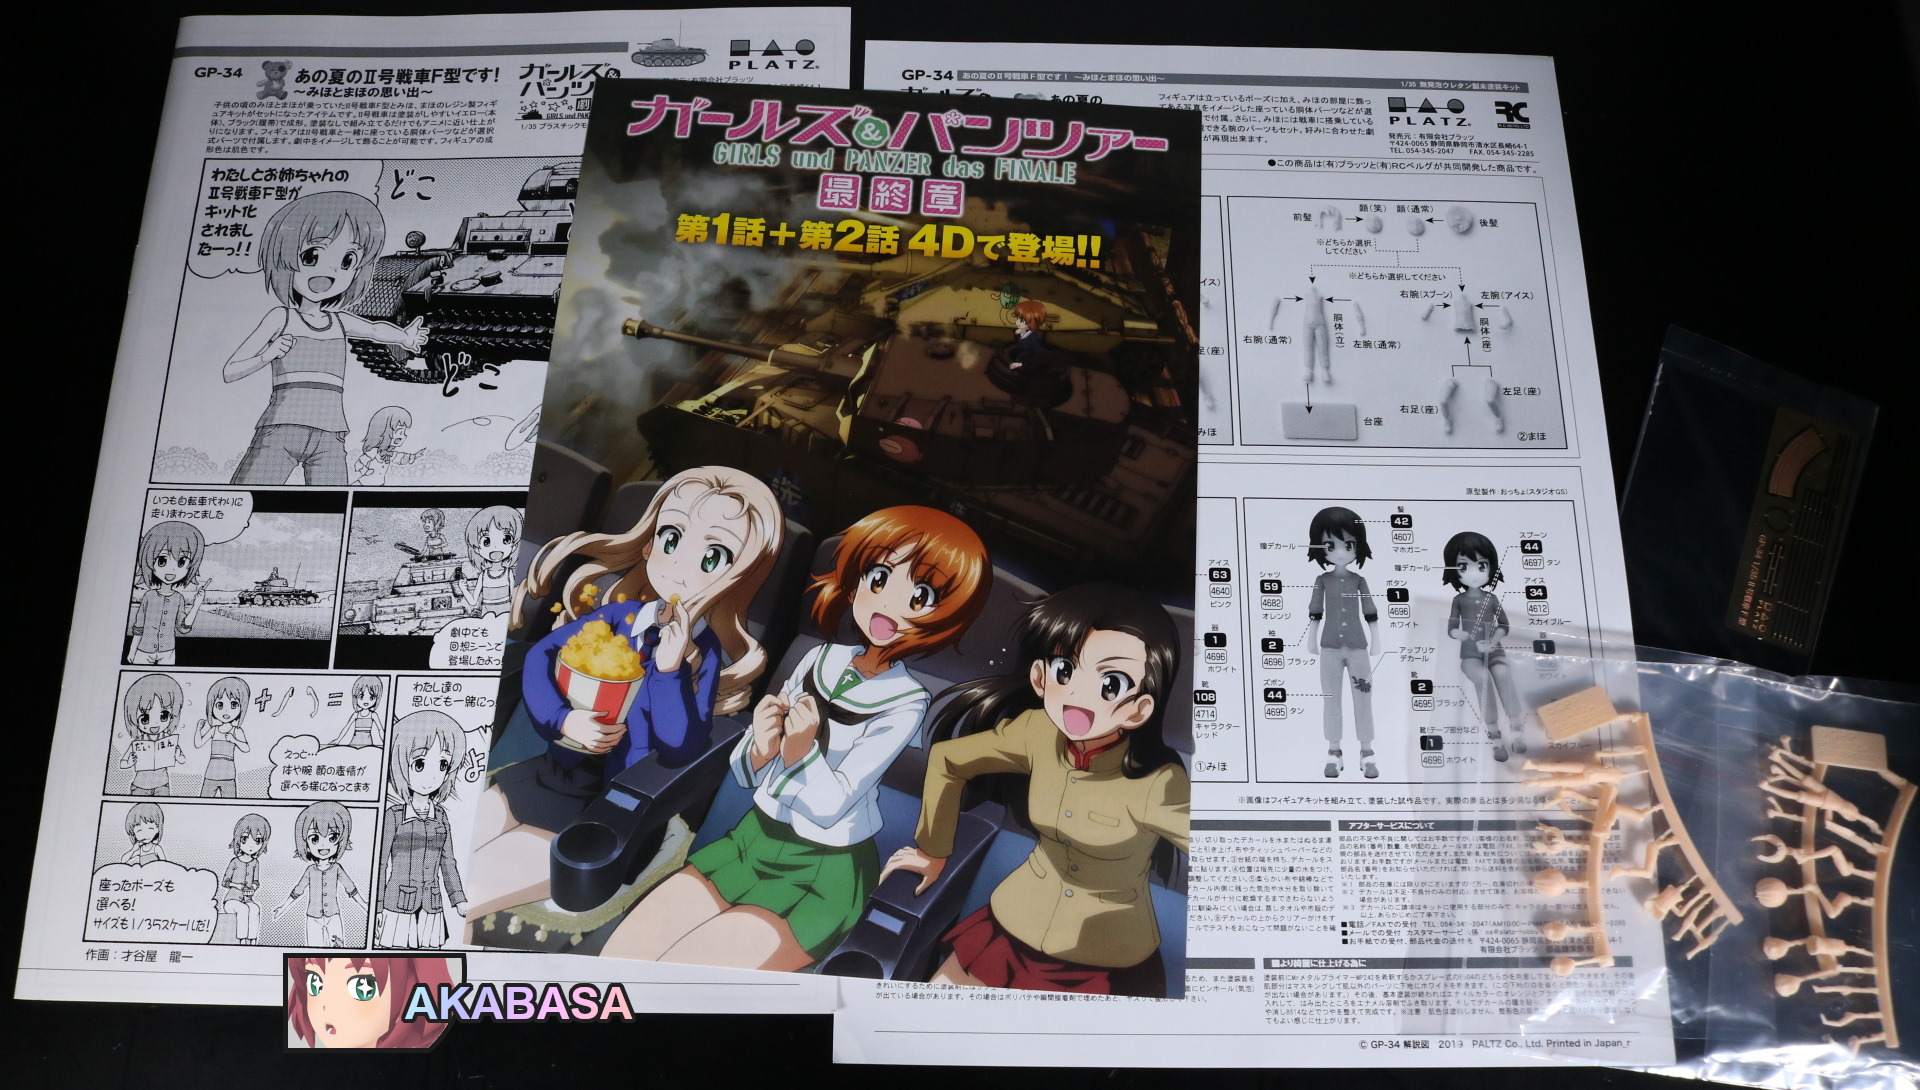
This is not the first GuP theme Platz tank model kit, so I was fully aware of what I was going to see.
We see a one-page GuP comic explaining few things about Panzer I and a short manual about the included 1/35 scale figures along with a promotional poster about GuP.
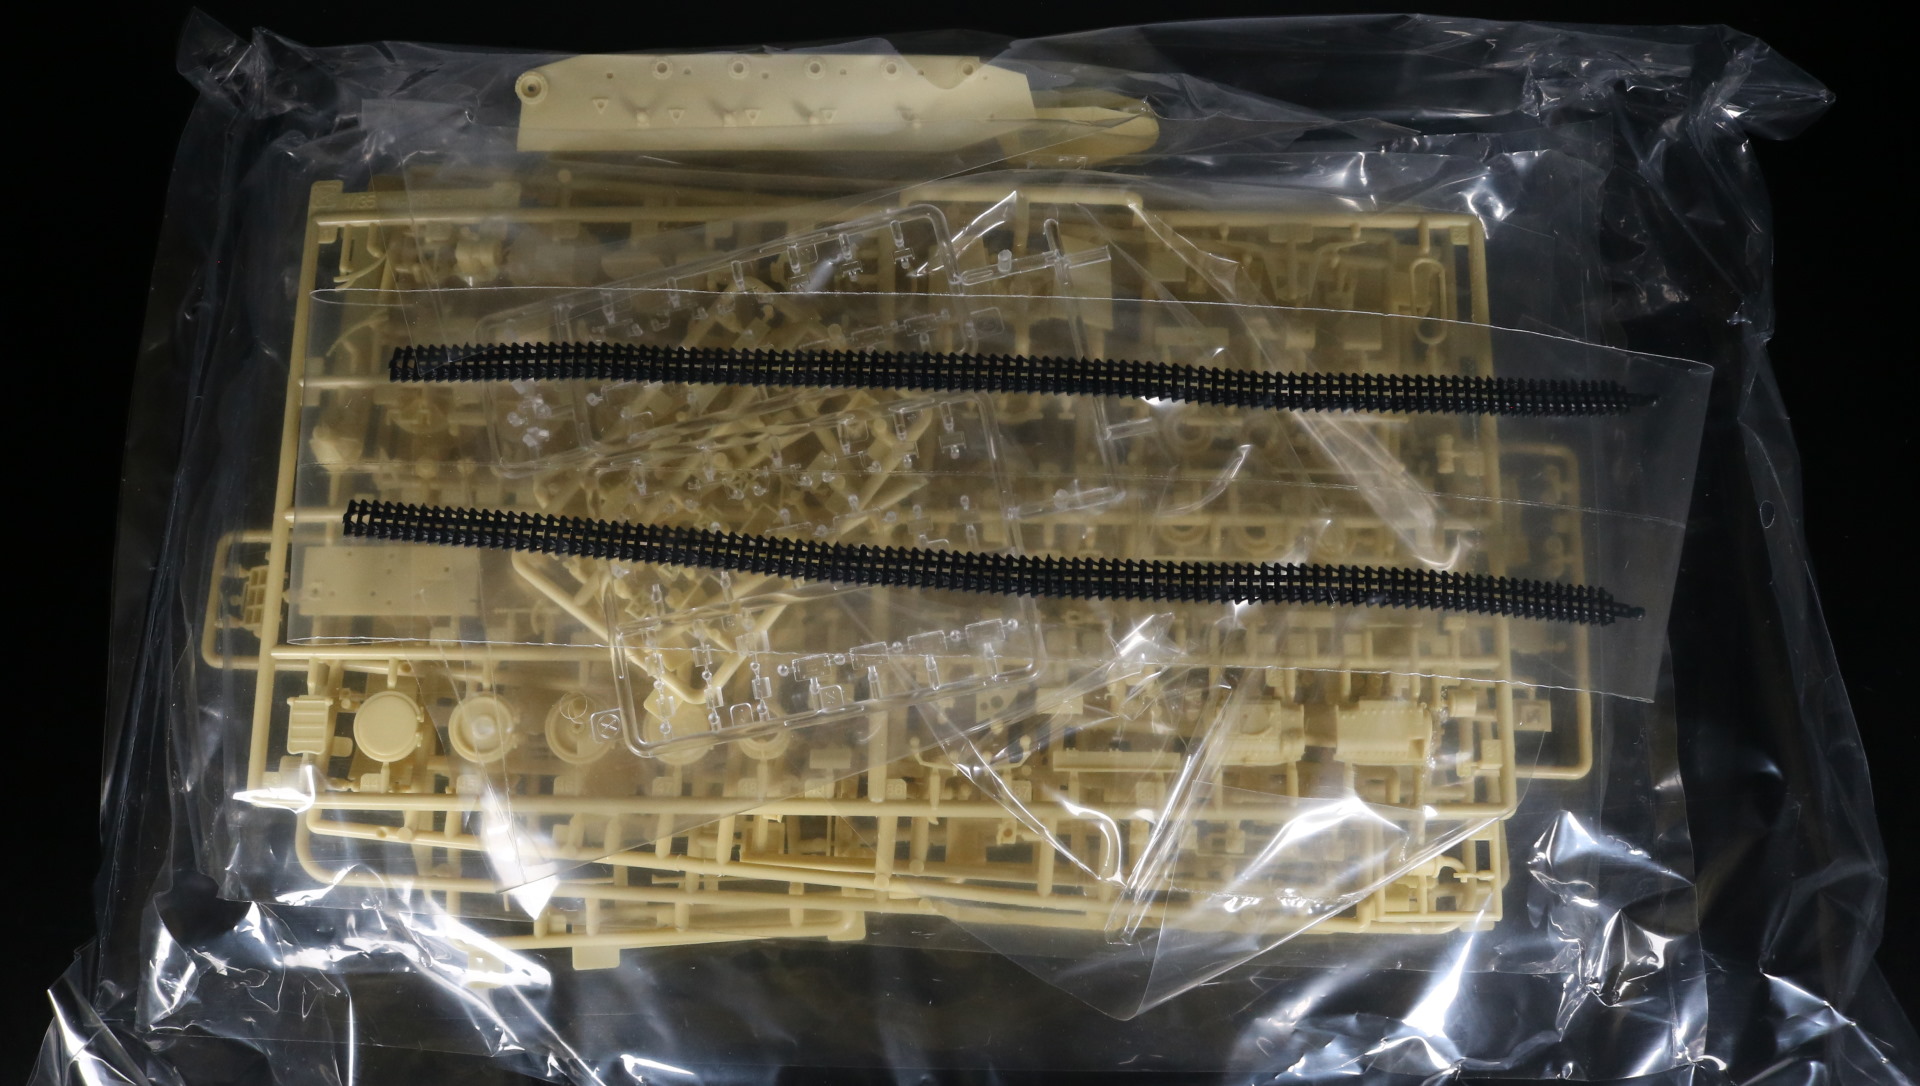
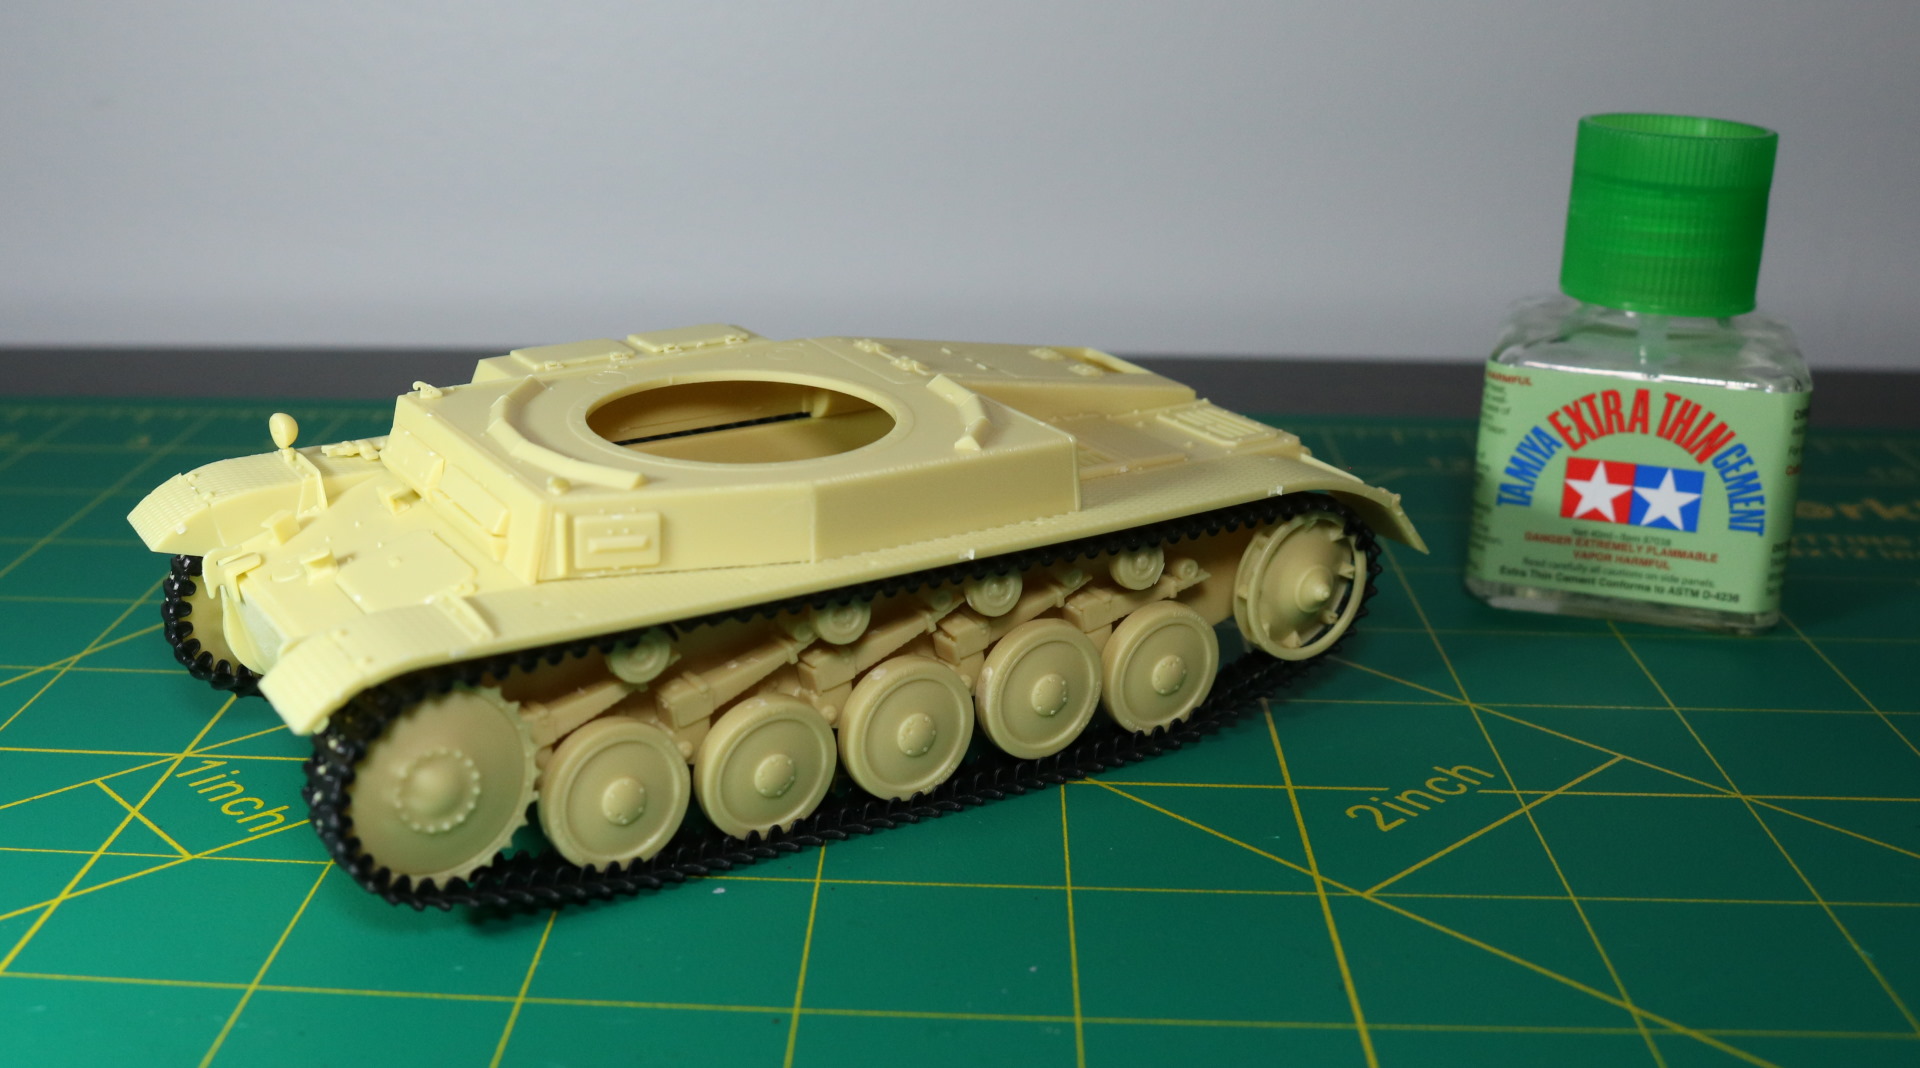
The tracks are rubber which I am thankful for. Manual tracks would have been a giant pain in the arse because parts would be tiny. The parts would be 1mm in size or less.
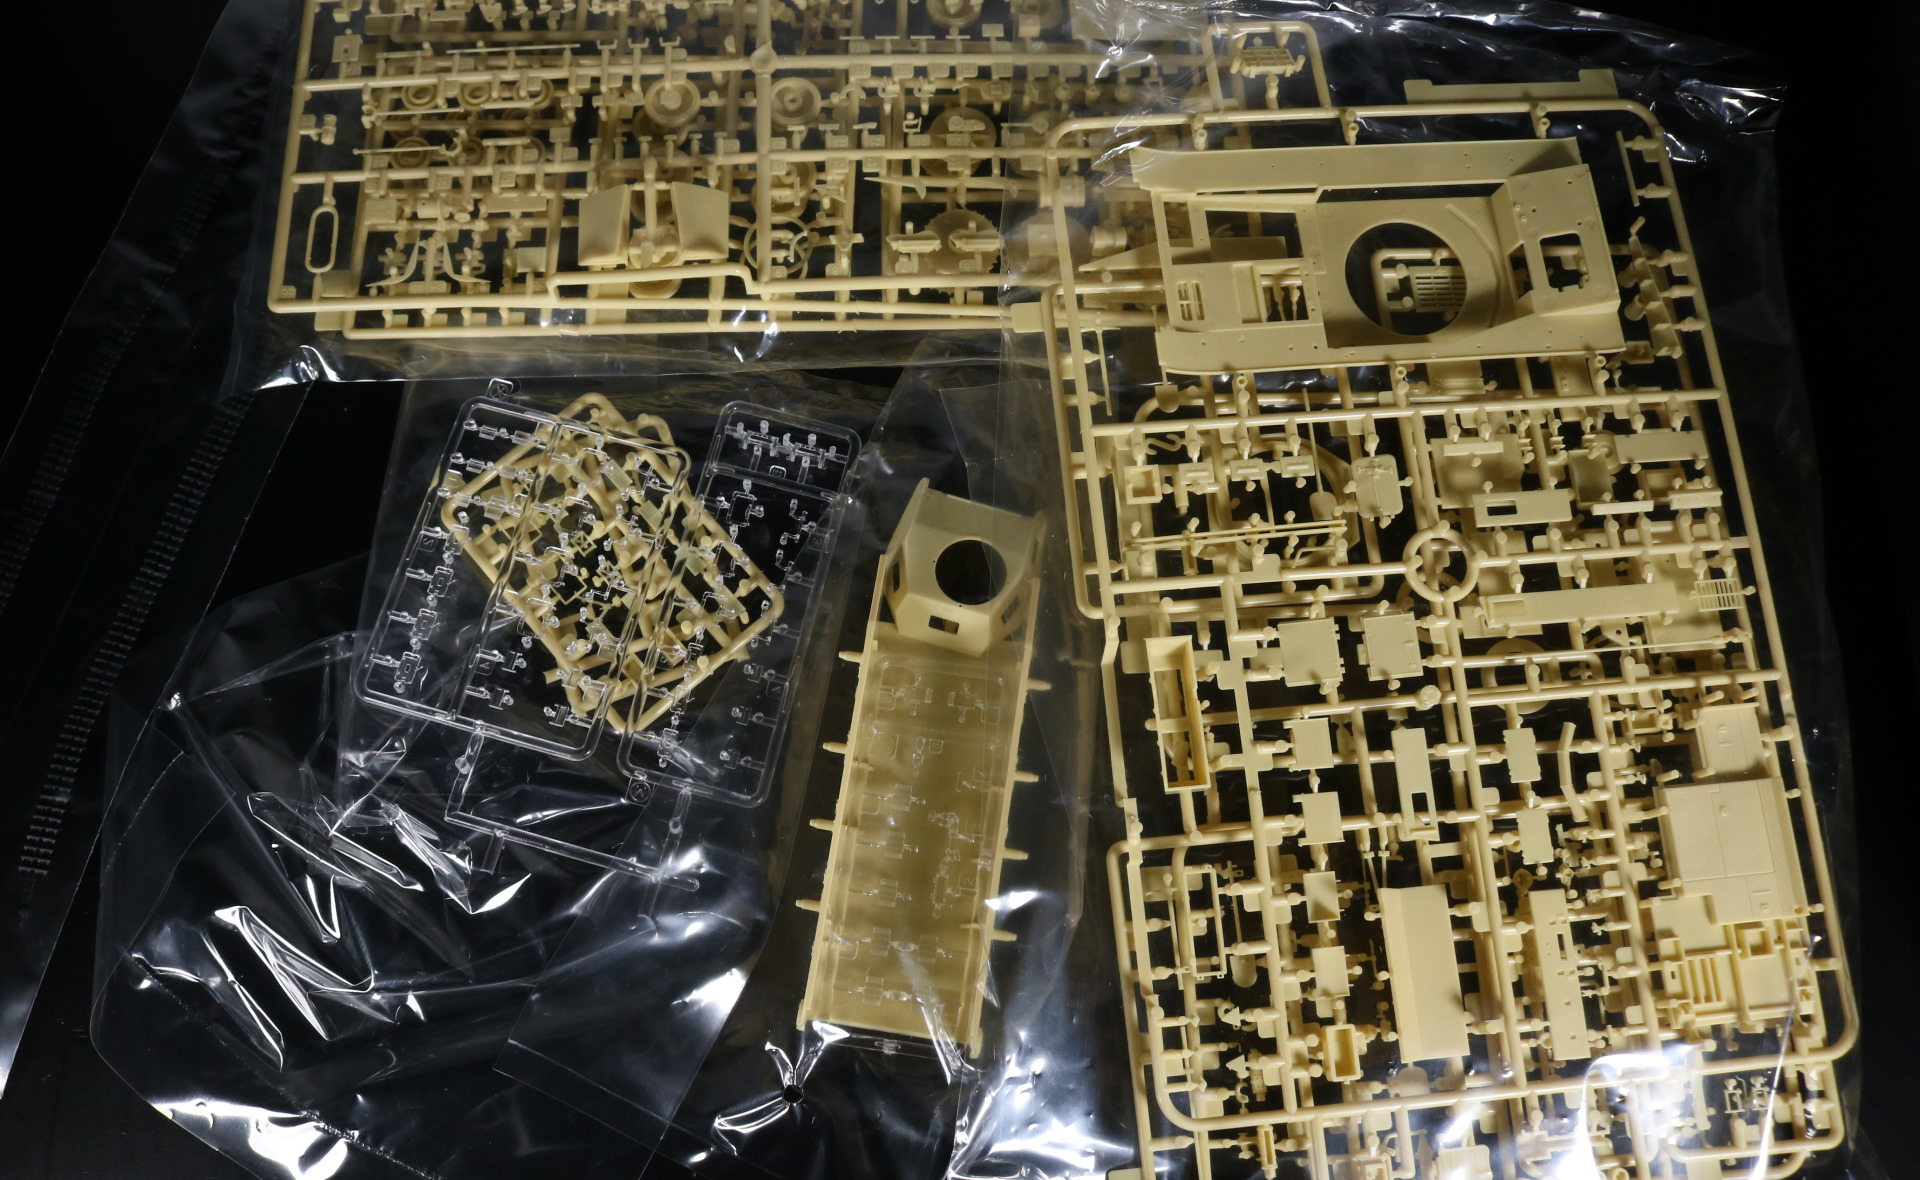
This is a full kit, meaning full interior. But I won’t be assembling the interior. I may if this kit was a 1/16 scale. At 1/35 scale though, it is way too tiring. Besides, unless you plan to specifically show off its interior, it won’t even be seen.
Above is about 4 hours of non-stop work at which point my neck felt so sore that I had to stop. Personally, I don’t feel this amount of tiredness when working on 1/16 scale kits. It’s mostly due to having to deal with really tiny parts.
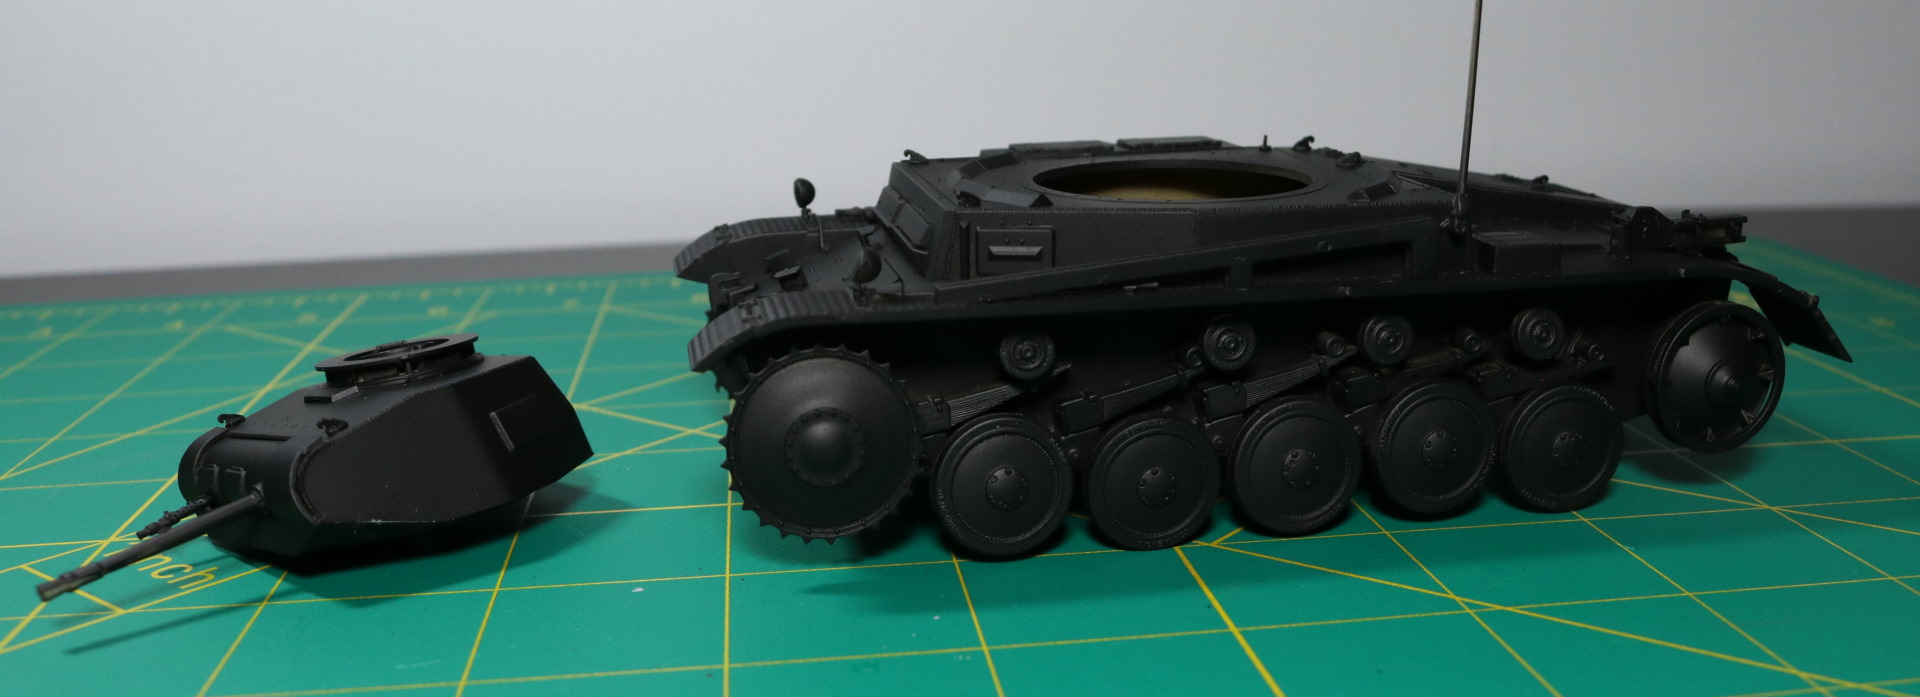
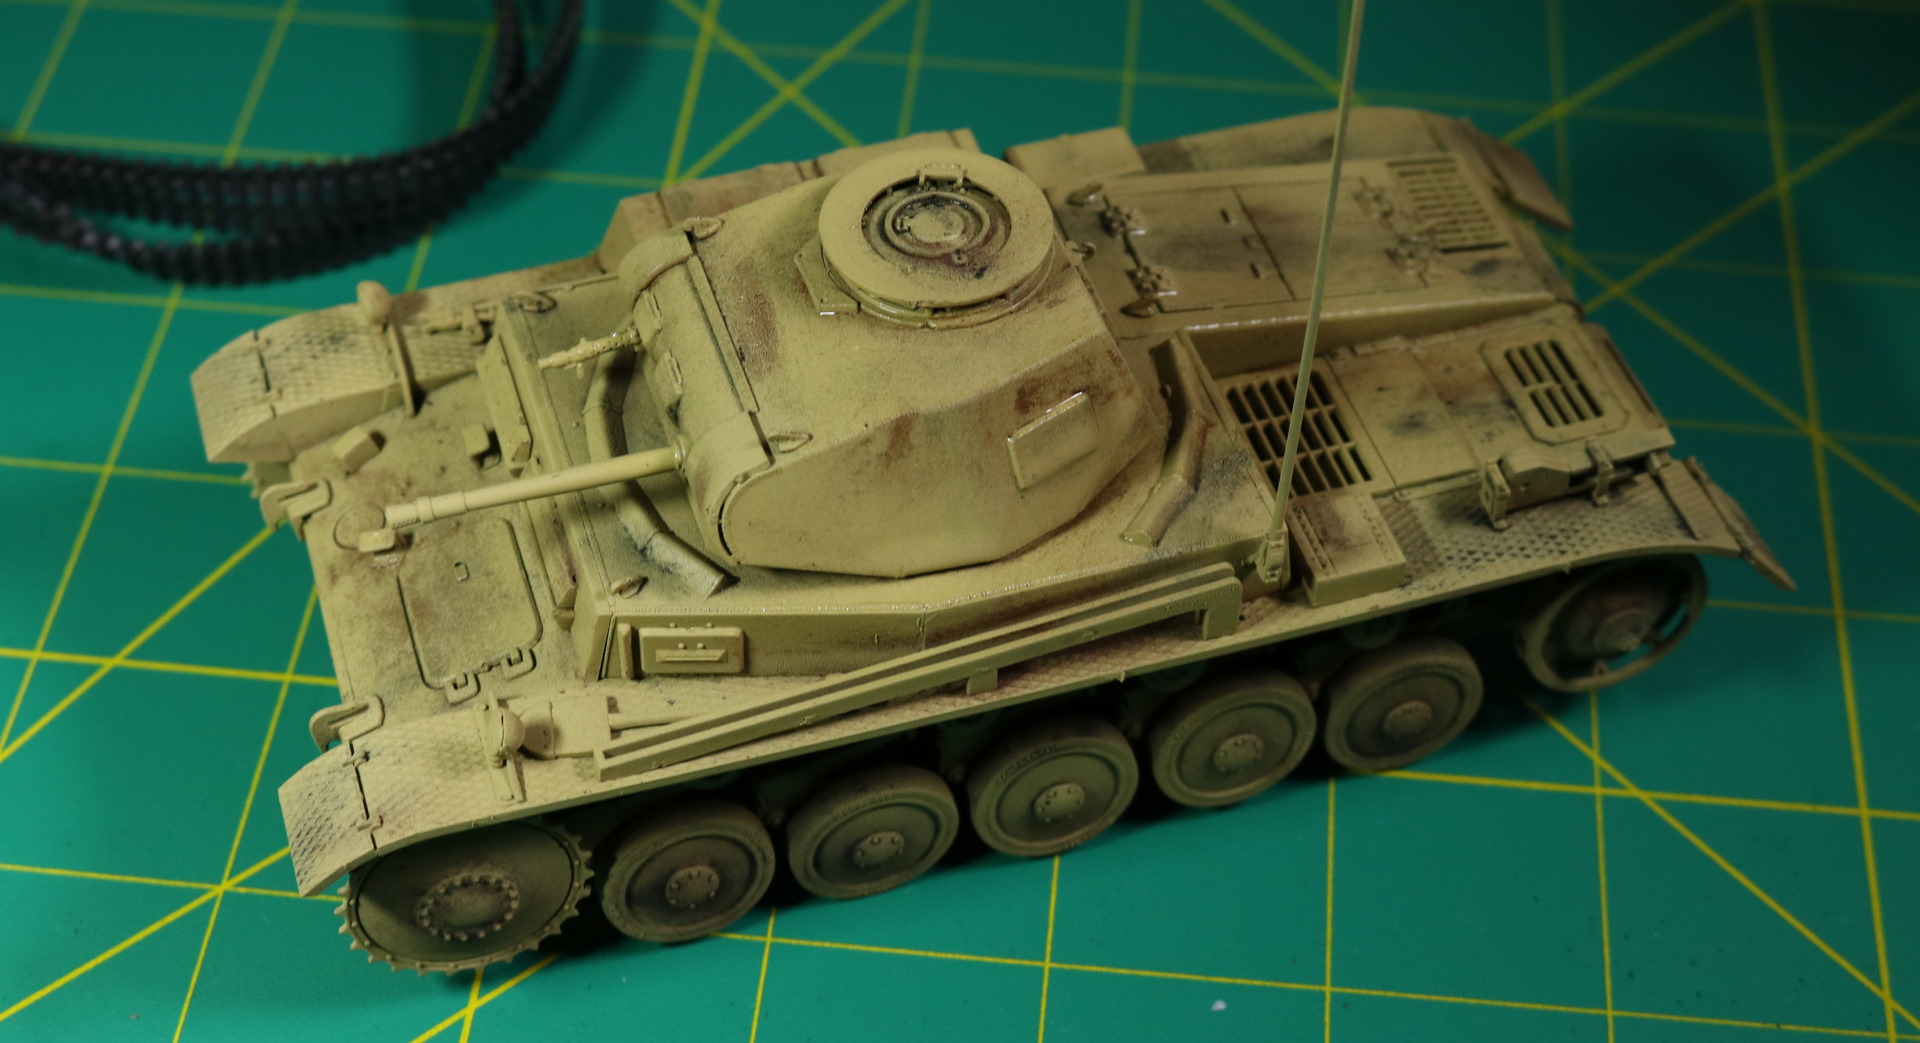
Above is after it has been primed in black. Now, the primer doesn’t have to be black. It is up to you. But black tends to make whatever colors above bolder which is ideal for tank.
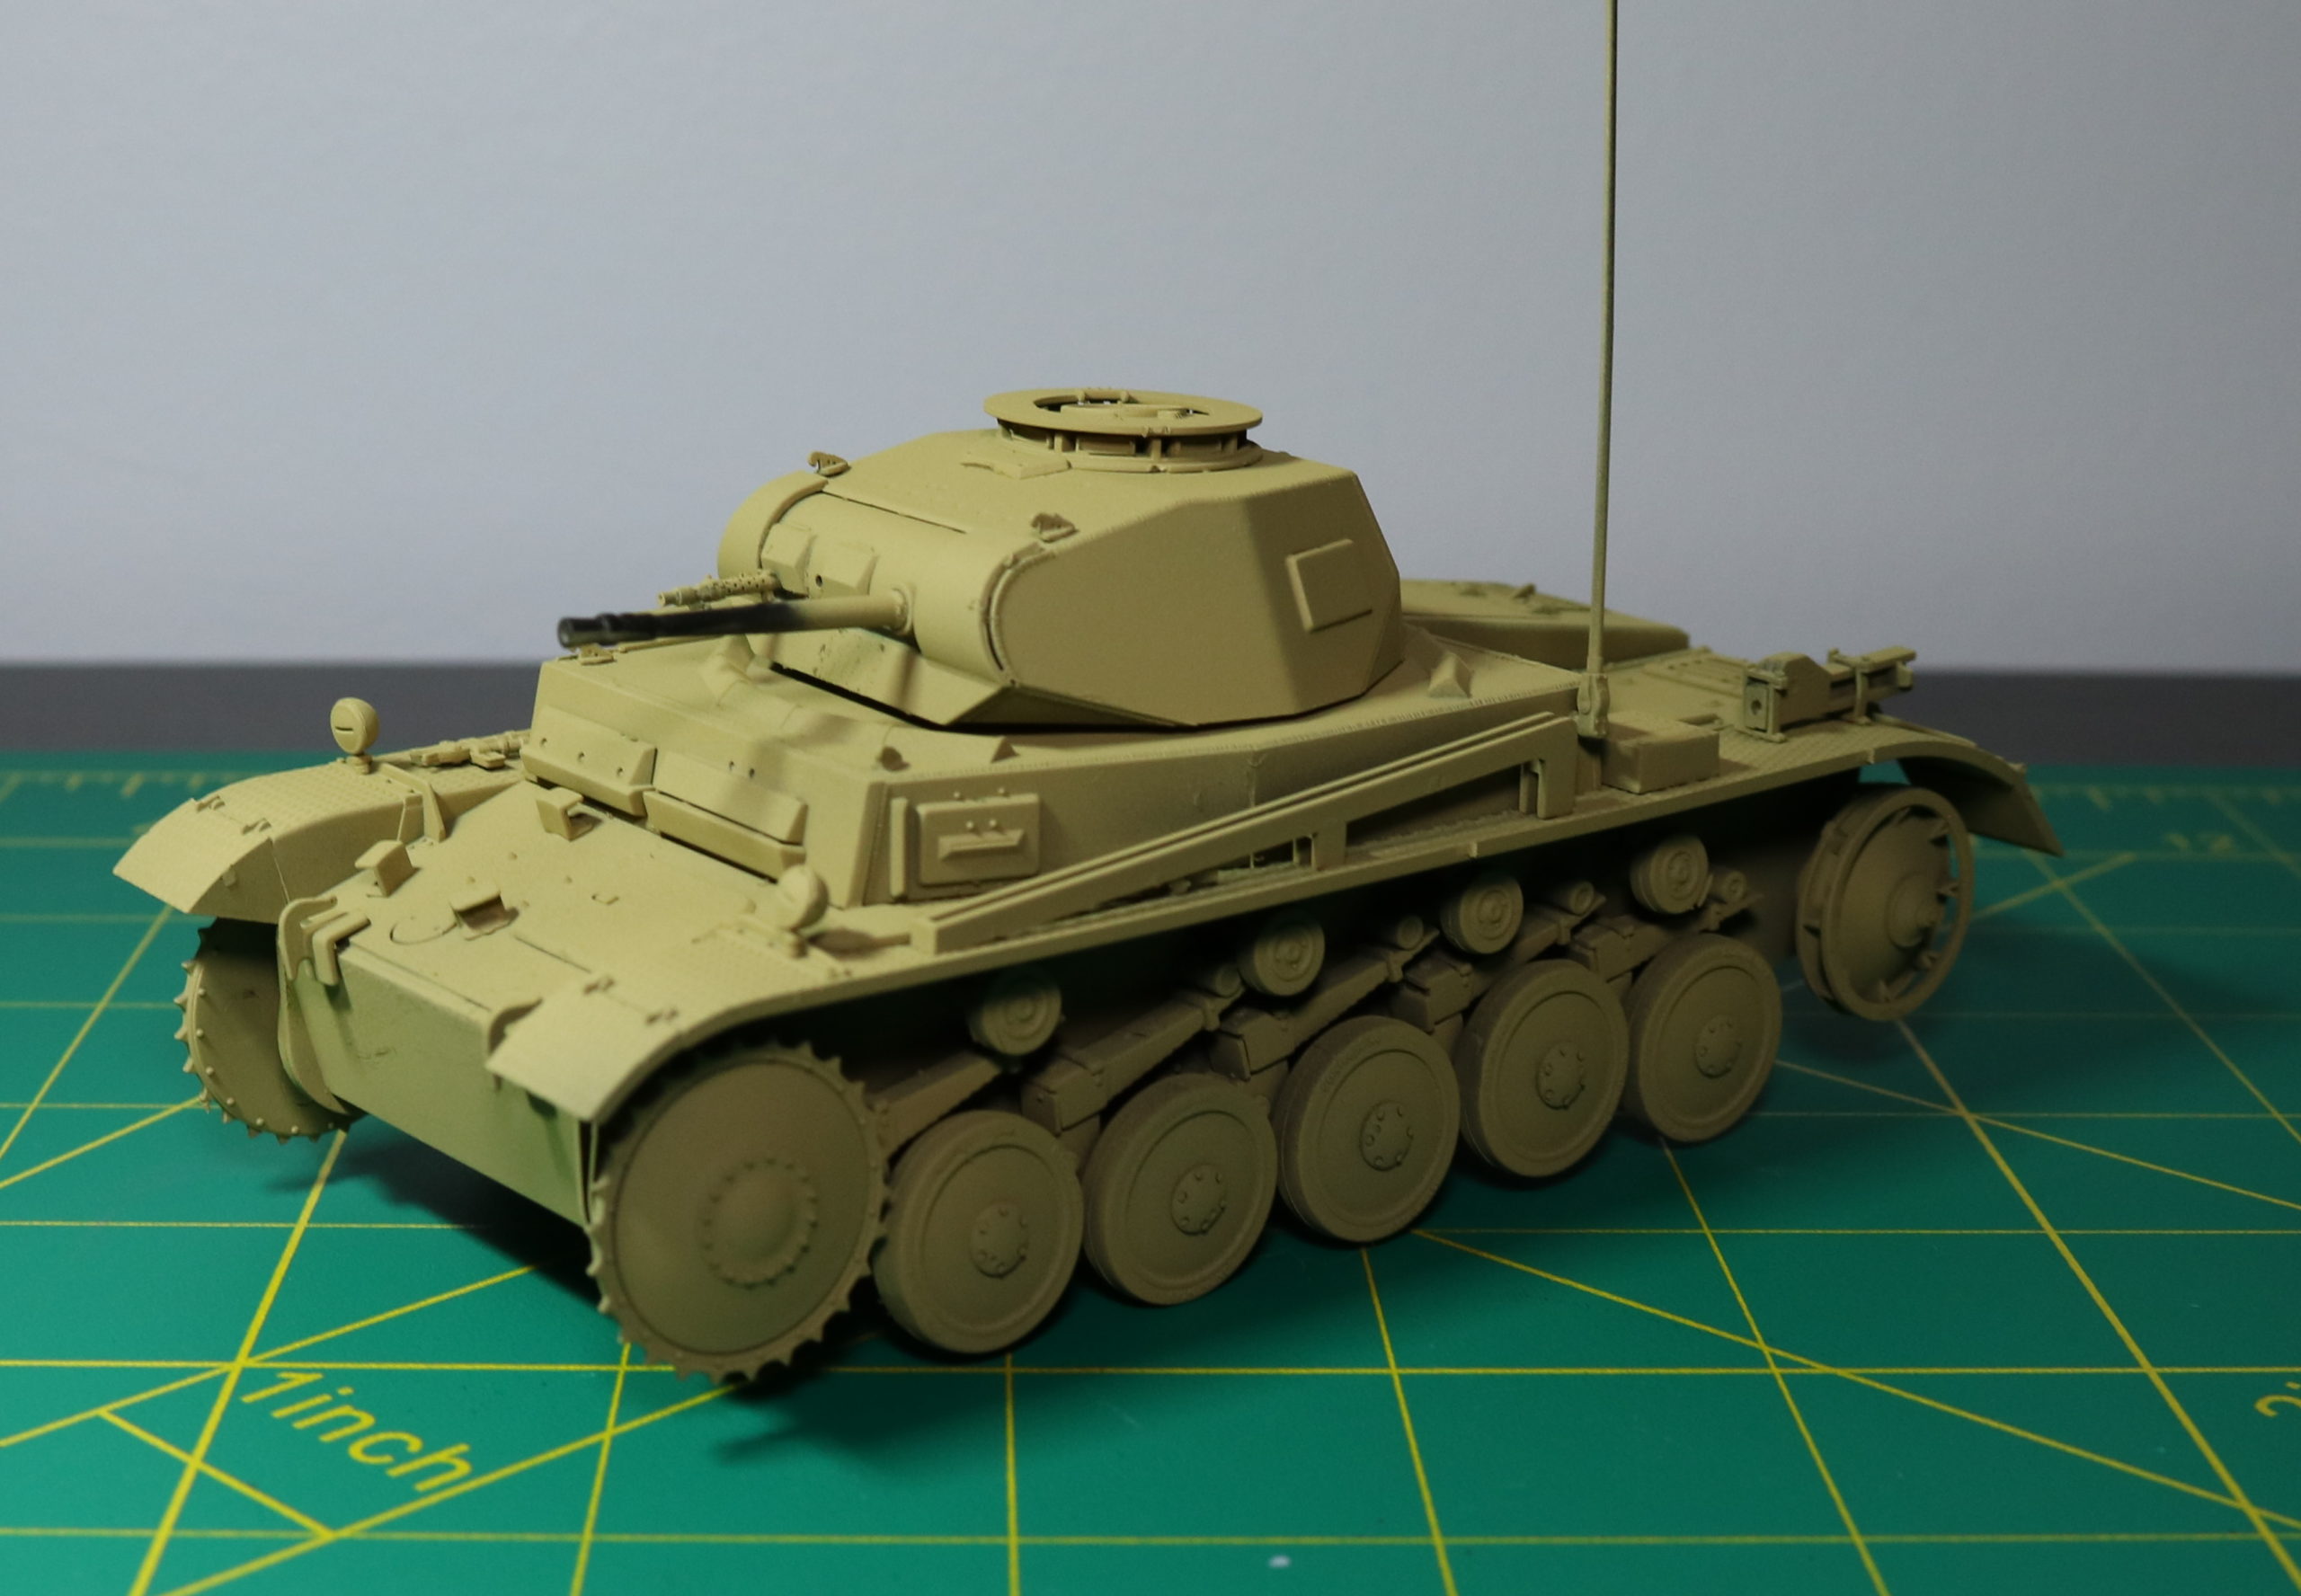
Then painted with Tamiya dark yellow.
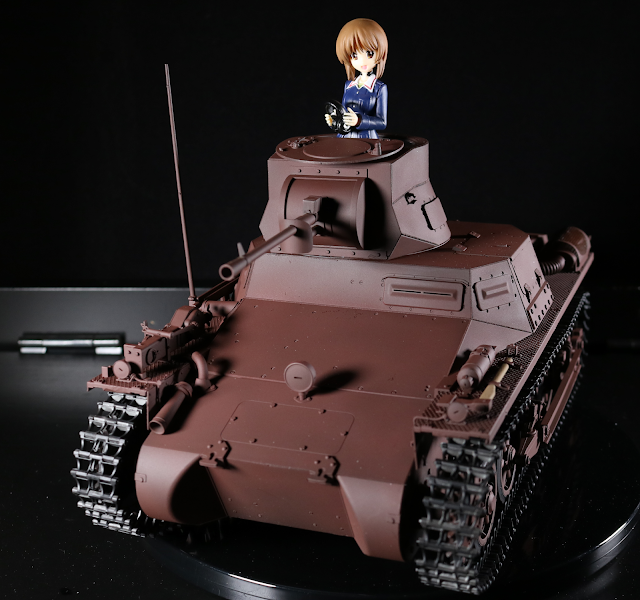
Now, I am going to weather this tank because this tank wouldn’t be clean. Kid version of Maho and Miho drive and play with this tank as if the tank is their dog. Therefore, it is only logical that this tank is weathered.
I am going to use a different method to weather this time. I am going to use pigments which is basically very fine powder. I am going to use brown and black with a brush.
I do warn you to wear a mask. A simple cloth mask will work. It’s due to a fact that the pigments are really fine powder. Apply it in a sink or some sort because aftermath cleanup isn’t pretty.
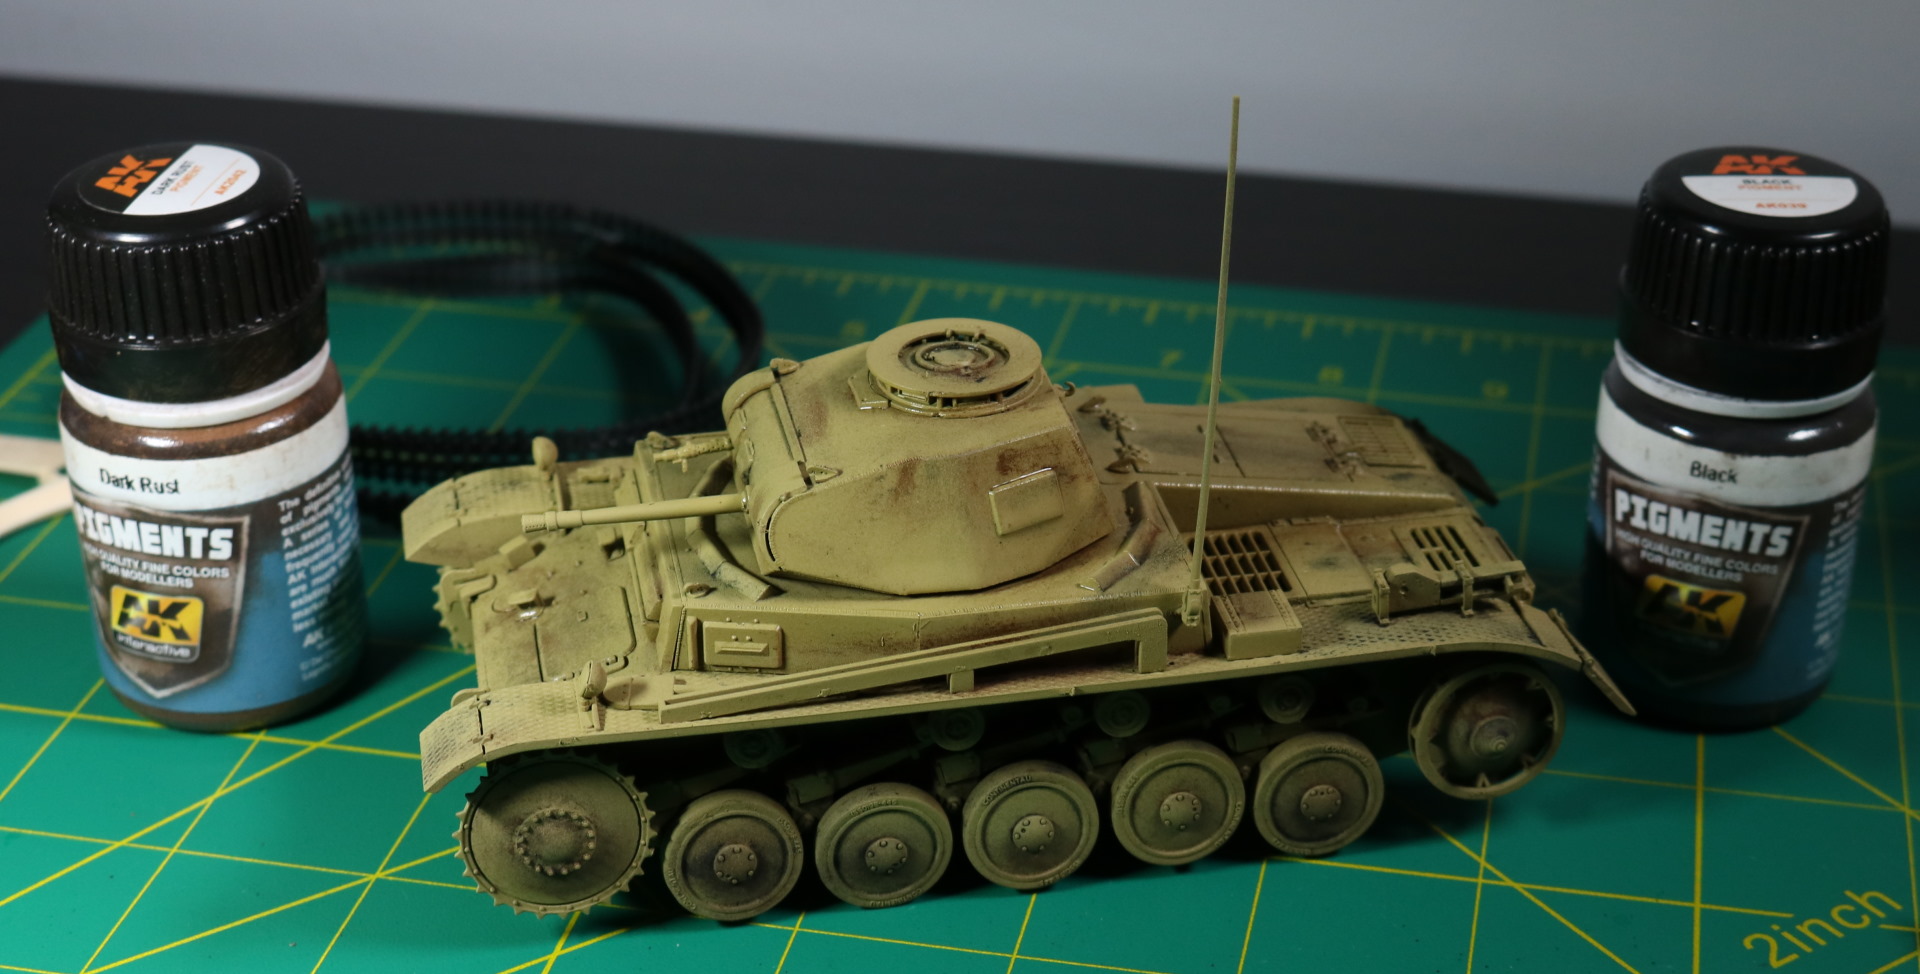
Above is the end result + varnishing. The varnish hasn’t dried up yet in the photo which is why some parts appear to be wet.
You can certainly use regular paint + brush to reach a similar result. I just wanted to try out pigments. I am not sure whether I want to recommend pigments indoors due to messy cleanup. I do feel pigments are better.
There are some minor touches left on the tank. Meanwhile, let’s move onto the figure.
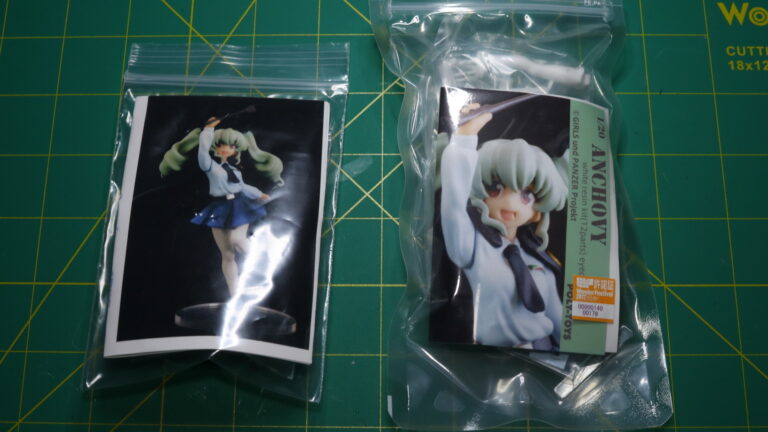
The box gives you two poses. One is seated. The other is standing. I’ve chosen seated position.
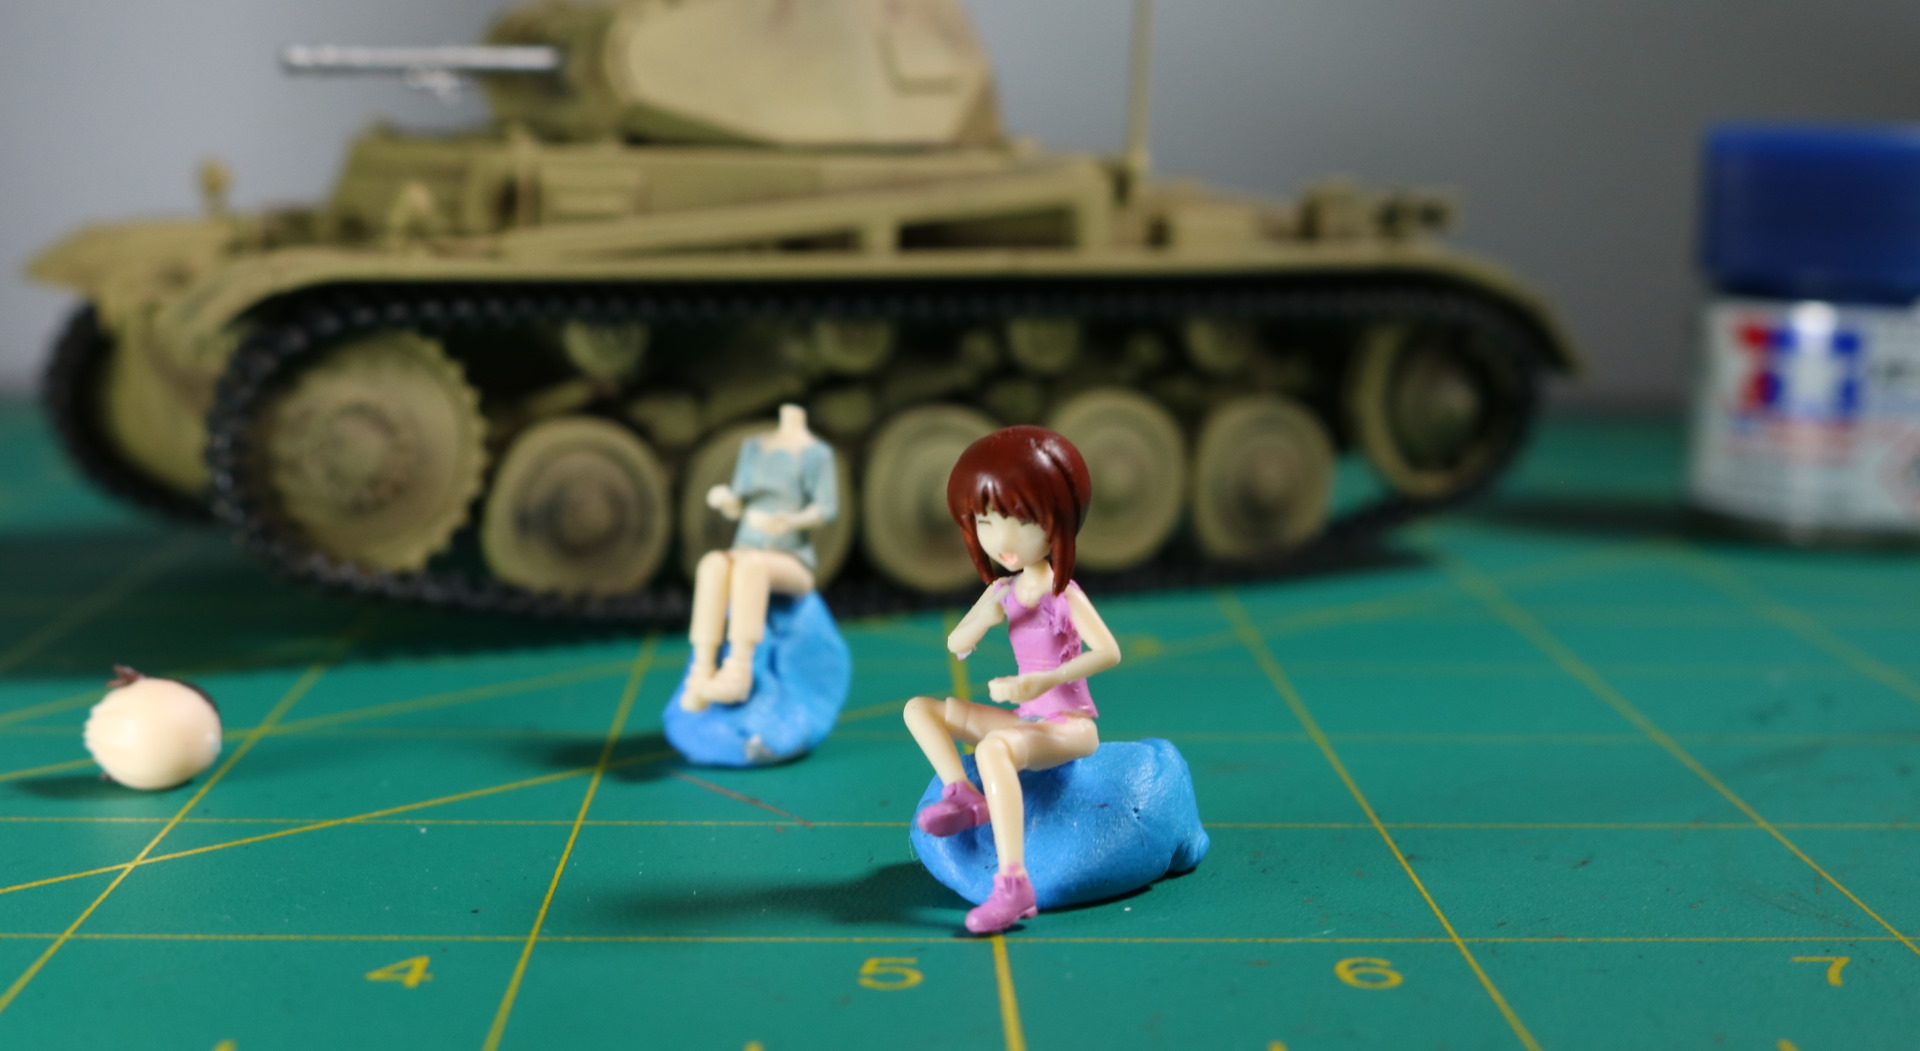
Working with 1/35 scale figures is never a fun affair. But I’ve done this so many times that I’ve grown my own know-how in how to approach these stuff.
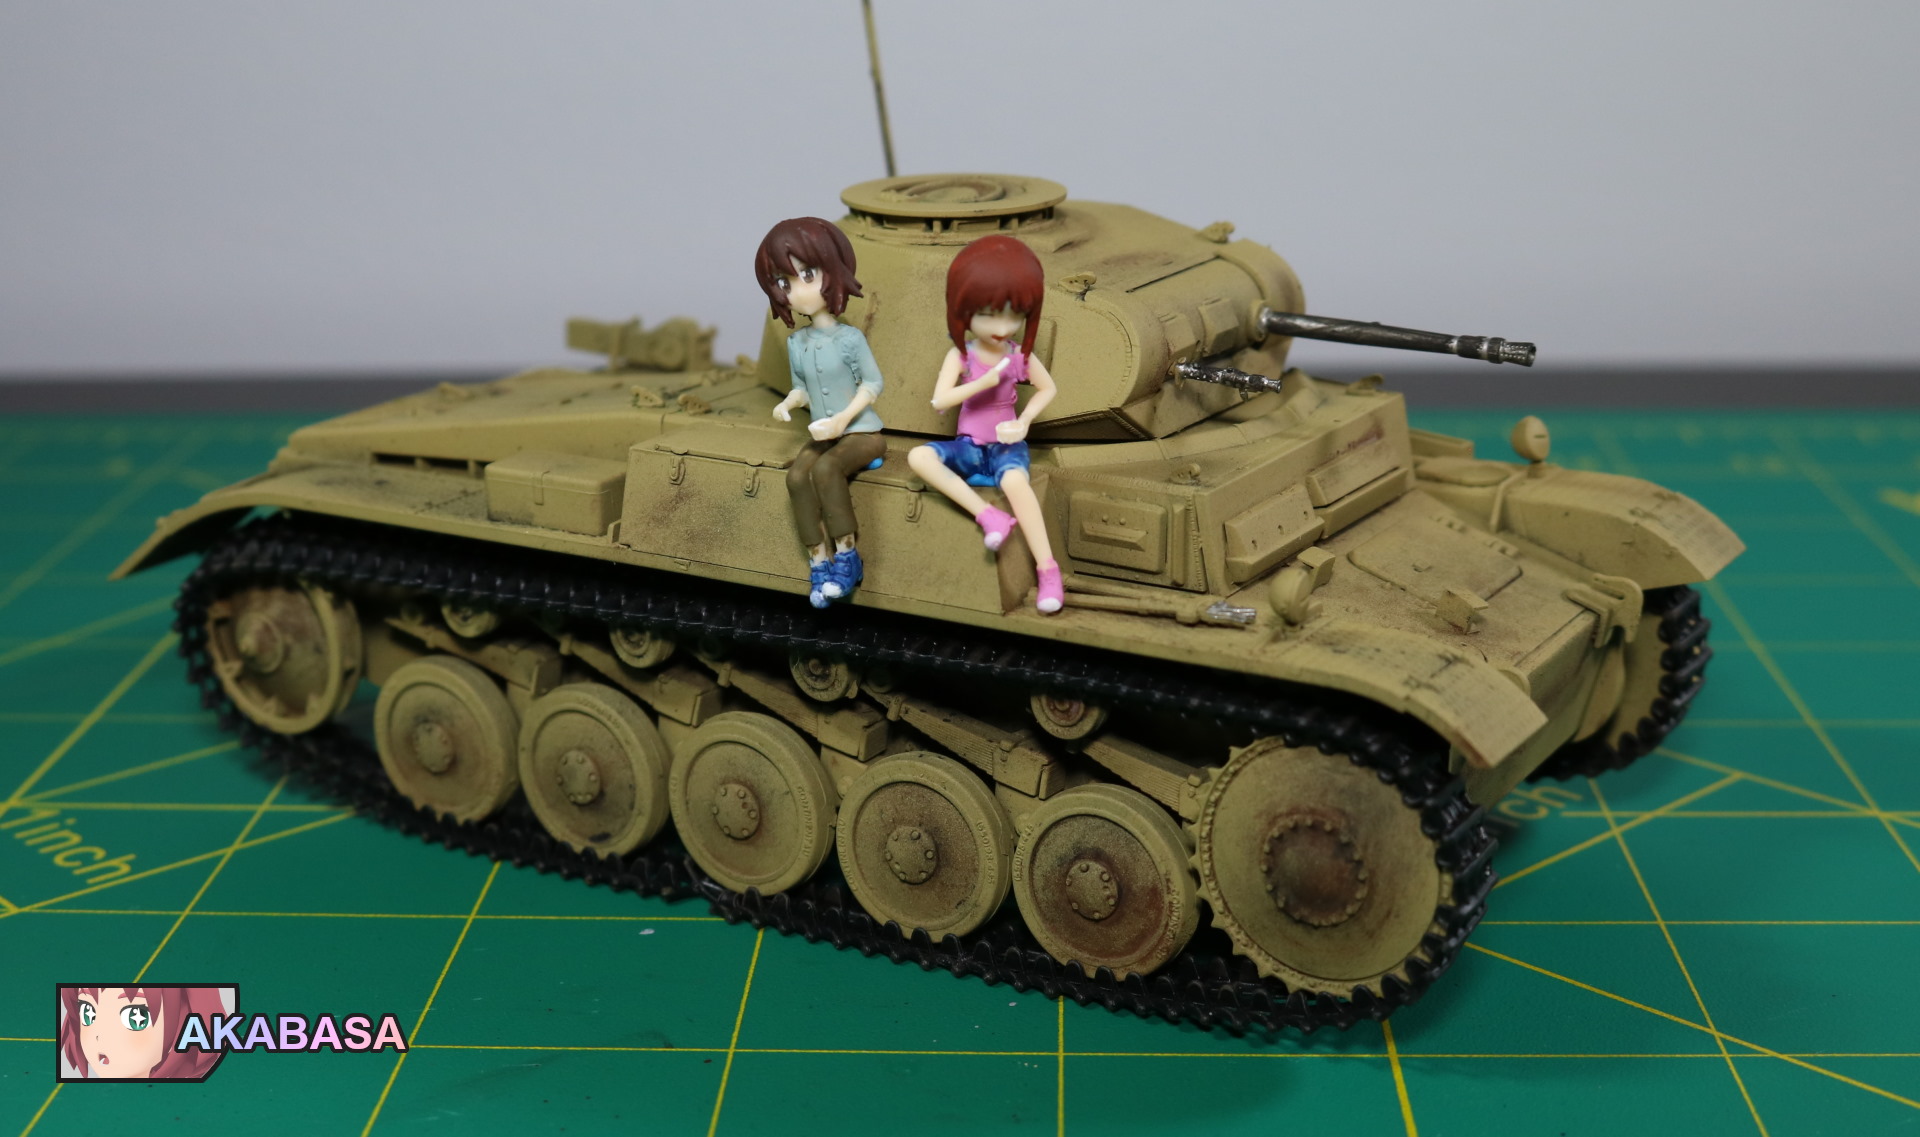

And that is it.
The pigment method of weathering the tank has come out better than I initially expected. Aftermath cleanup was a mess but I think this is how I will weather tanks from now on.
This kit is crying to be placed within a diorama, and I think I have a vision about that. How it will turn out, I have no idea. We will see.
Until next time.
![[Bronze Circus] GuP Ogin 1/9 scale garage kit](https://akabasa.com/wp-content/uploads/2021/09/bronzecircus_ogin_12-768x432.jpg)
![[Nightmare creates] Rosehip & Assam non-scale garage kit](https://akabasa.com/wp-content/uploads/2021/09/rosehipassam_nightmare_4-768x432.jpg)
![[Volks] CharaGumin Chilchuck](https://akabasa.com/wp-content/uploads/2021/09/volks_chilchuck_1-768x432.jpg)