
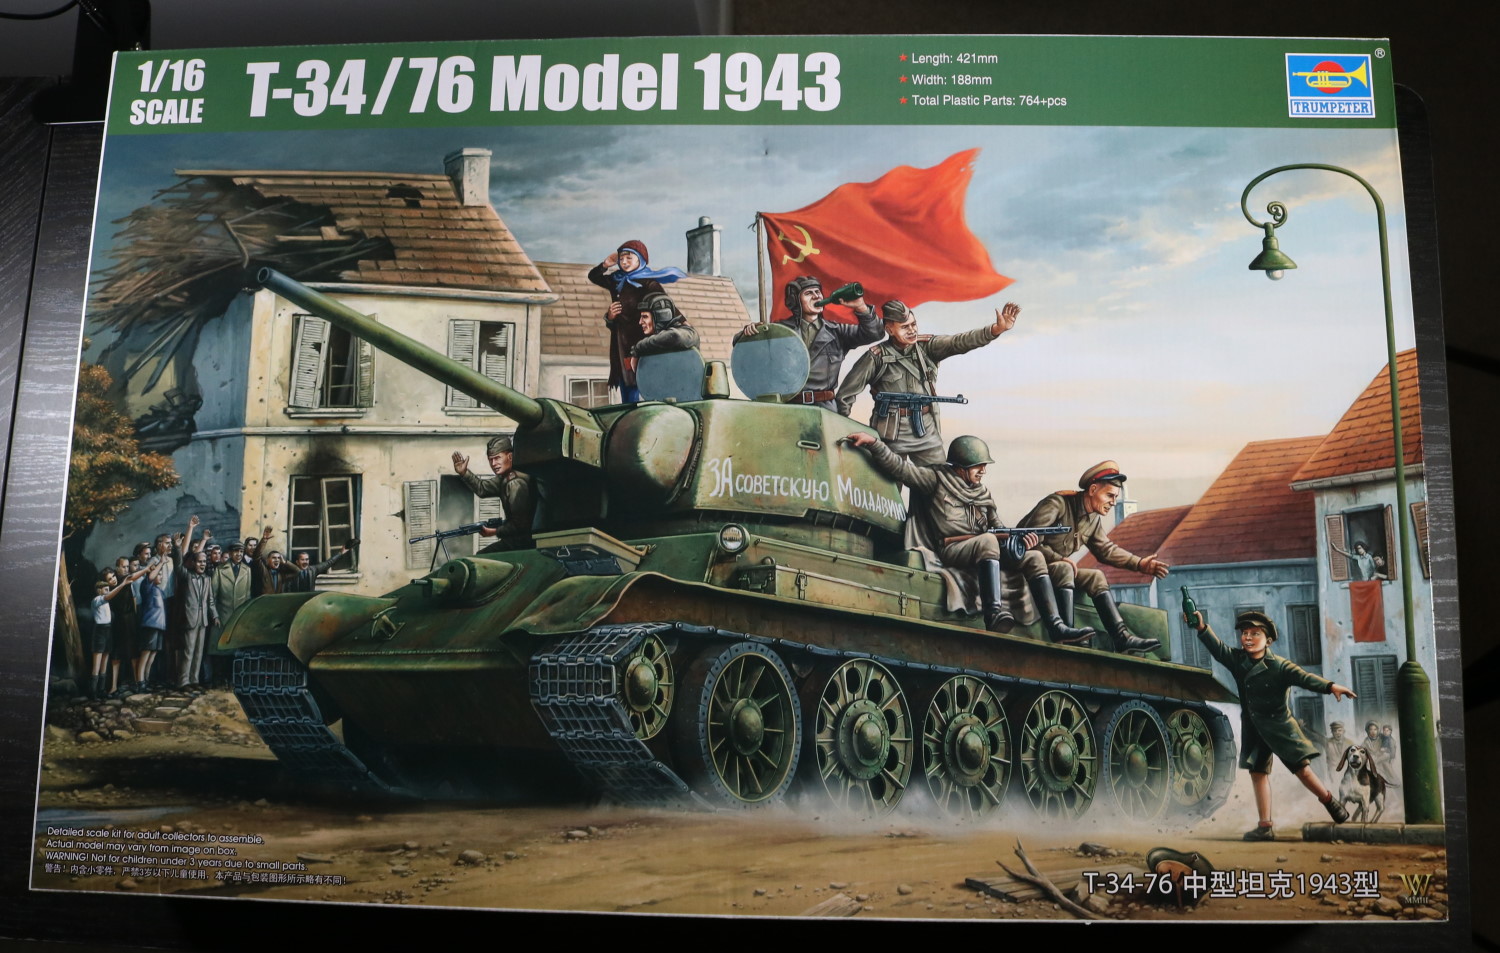
Trumpeter T34/76 Model 1943 1/16 scale
This is a T34 tank kit 1/16 scale by Trumpeter.
I do have a 1/16 scale T34 tank, but that is a RC tank. After all the tanks I’ve built, I’ve yet to actually build one of the most iconic tanks in World War. Therefore, I’ve decided to build one. I am talking about 1/16 tanks. I’ve actually built a 1/35 scale T34 which was used for a diorama.
The diorama was GuP Anzio and Pravda.
This kit was sourced within Canada and cost me 170 CAD. With tax and shipping, it cost me 210 CAD overall. T34 is actually one of the cheapest tanks you can find due to its abundance.
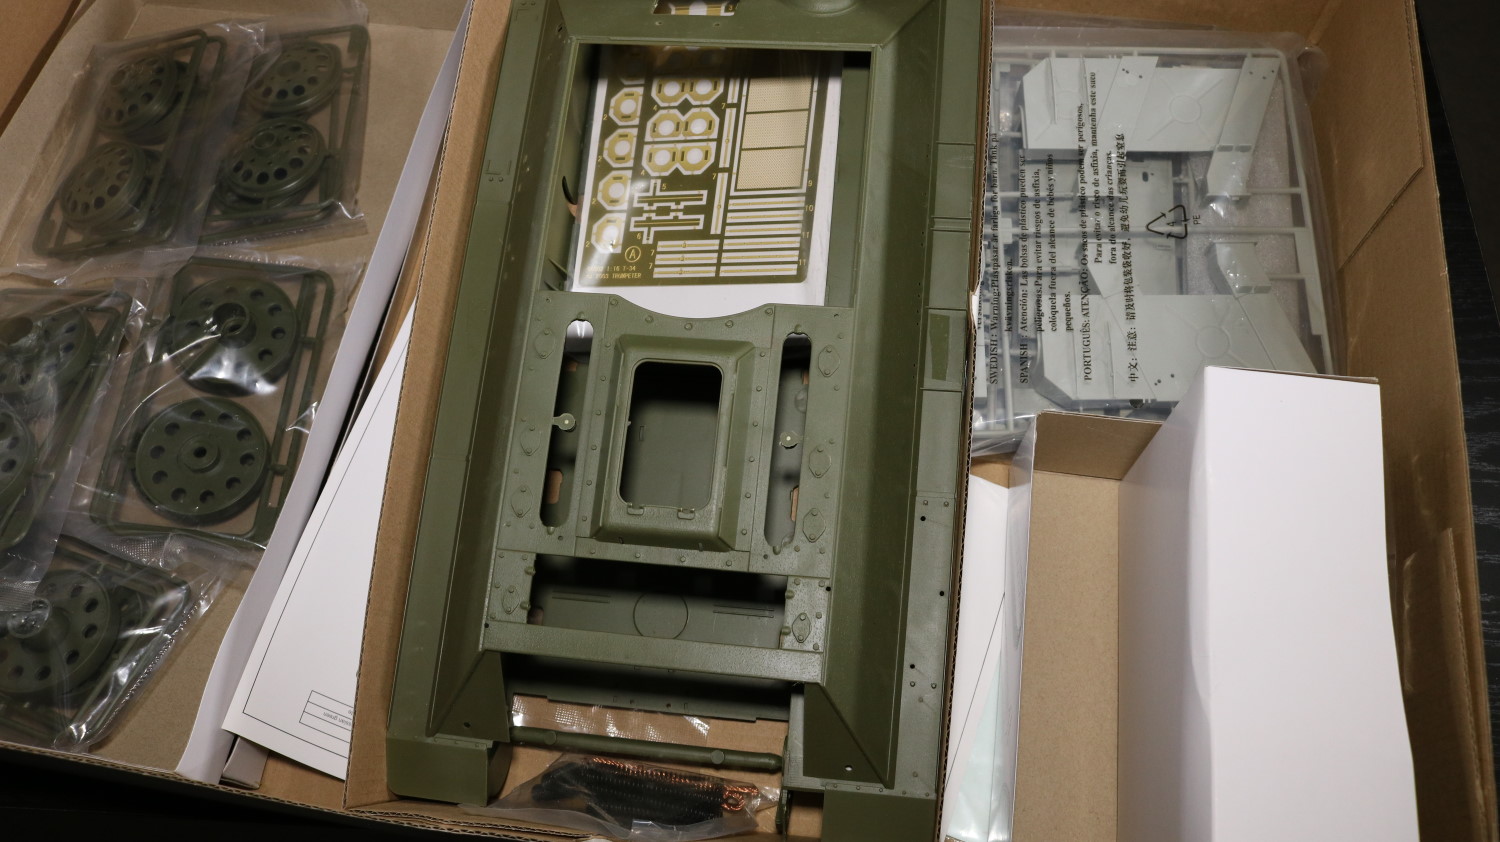
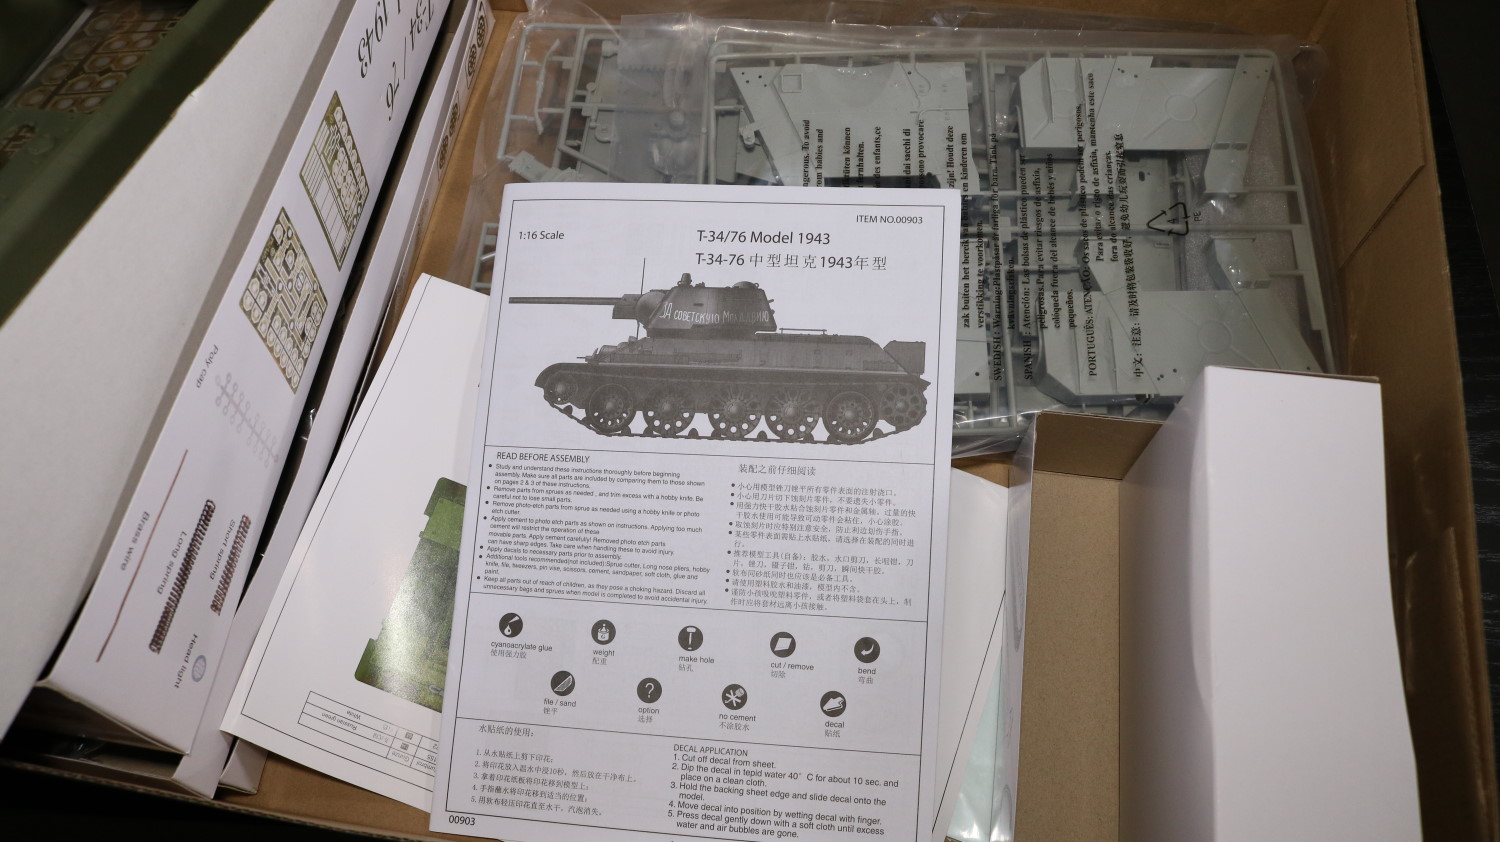
This is a full kit, meaning this kit has got a full interior. Now, if this was in my early days, I would have gone ahead and done the full interior. But I’ve experienced enough to a point that I know I do not need its interior.
In fact, the interior will hinder me rather than benefit me because I need to add platforms for 1/16 figures to be able to stand through hatches.
Therefore, I am going to skip most of internal assembly. It is a call I wouldn’t have been able to make before. It does feel like I am wasting money for not choosing to build the interior. But my purpose for 1/16 tanks is quite clear at this point. I do not need its interior.
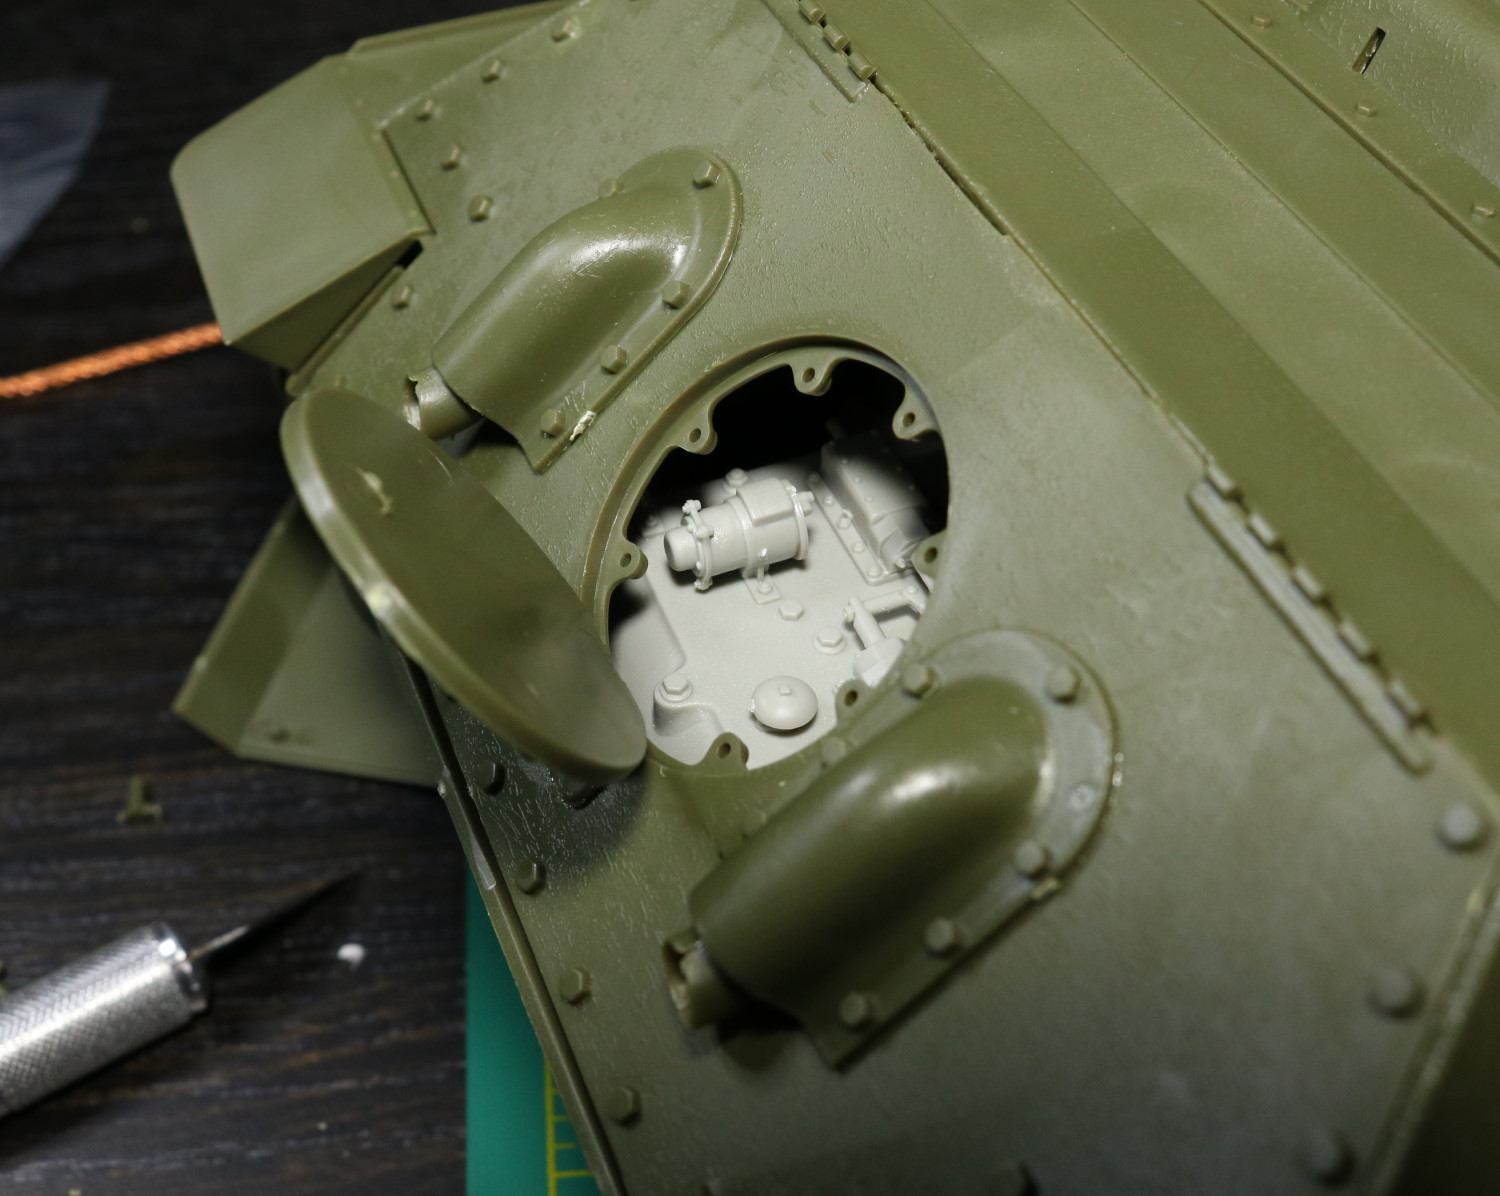
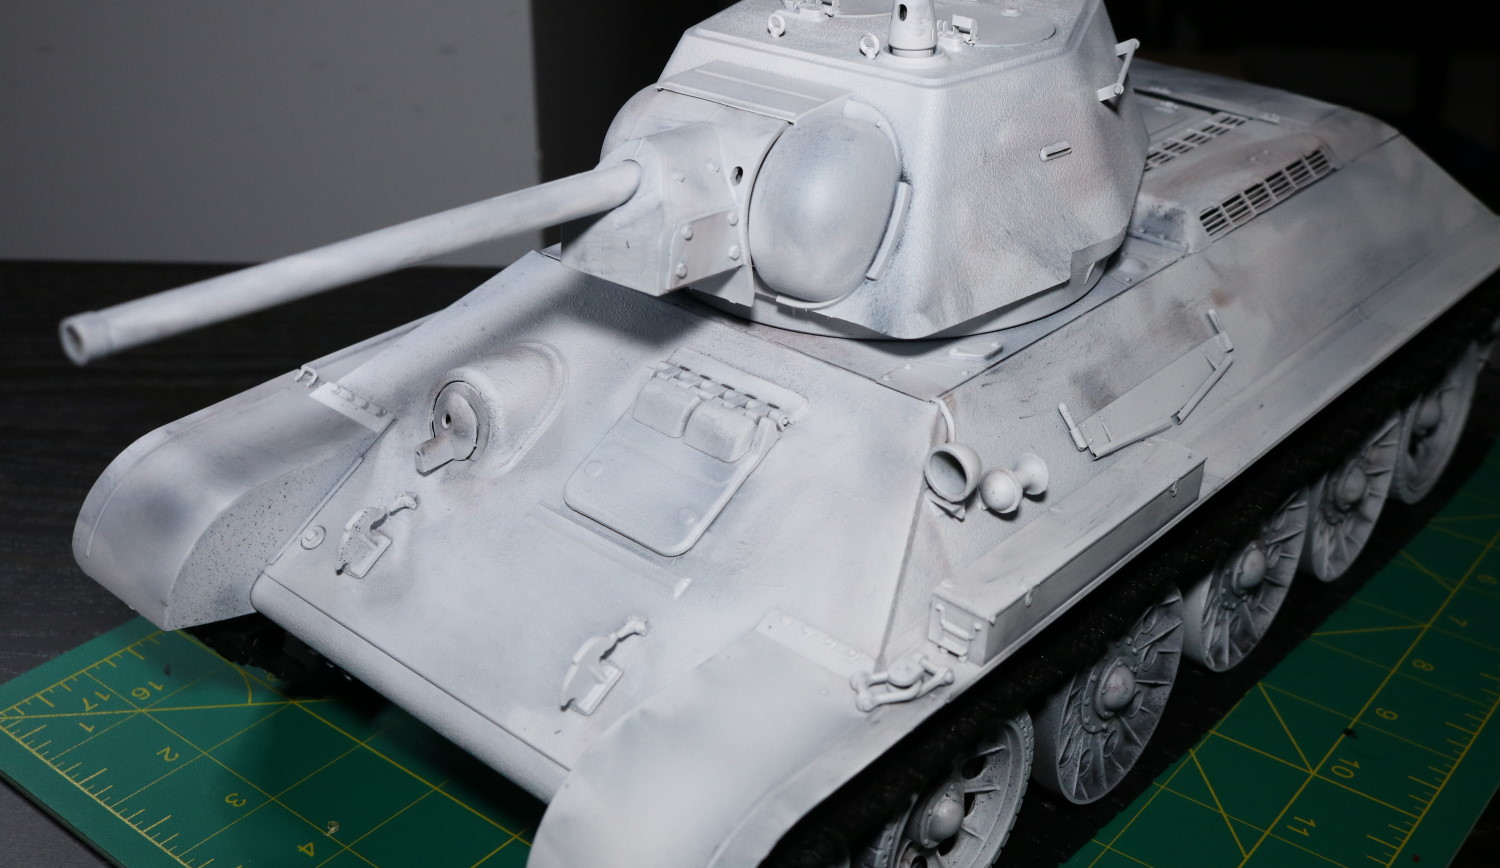
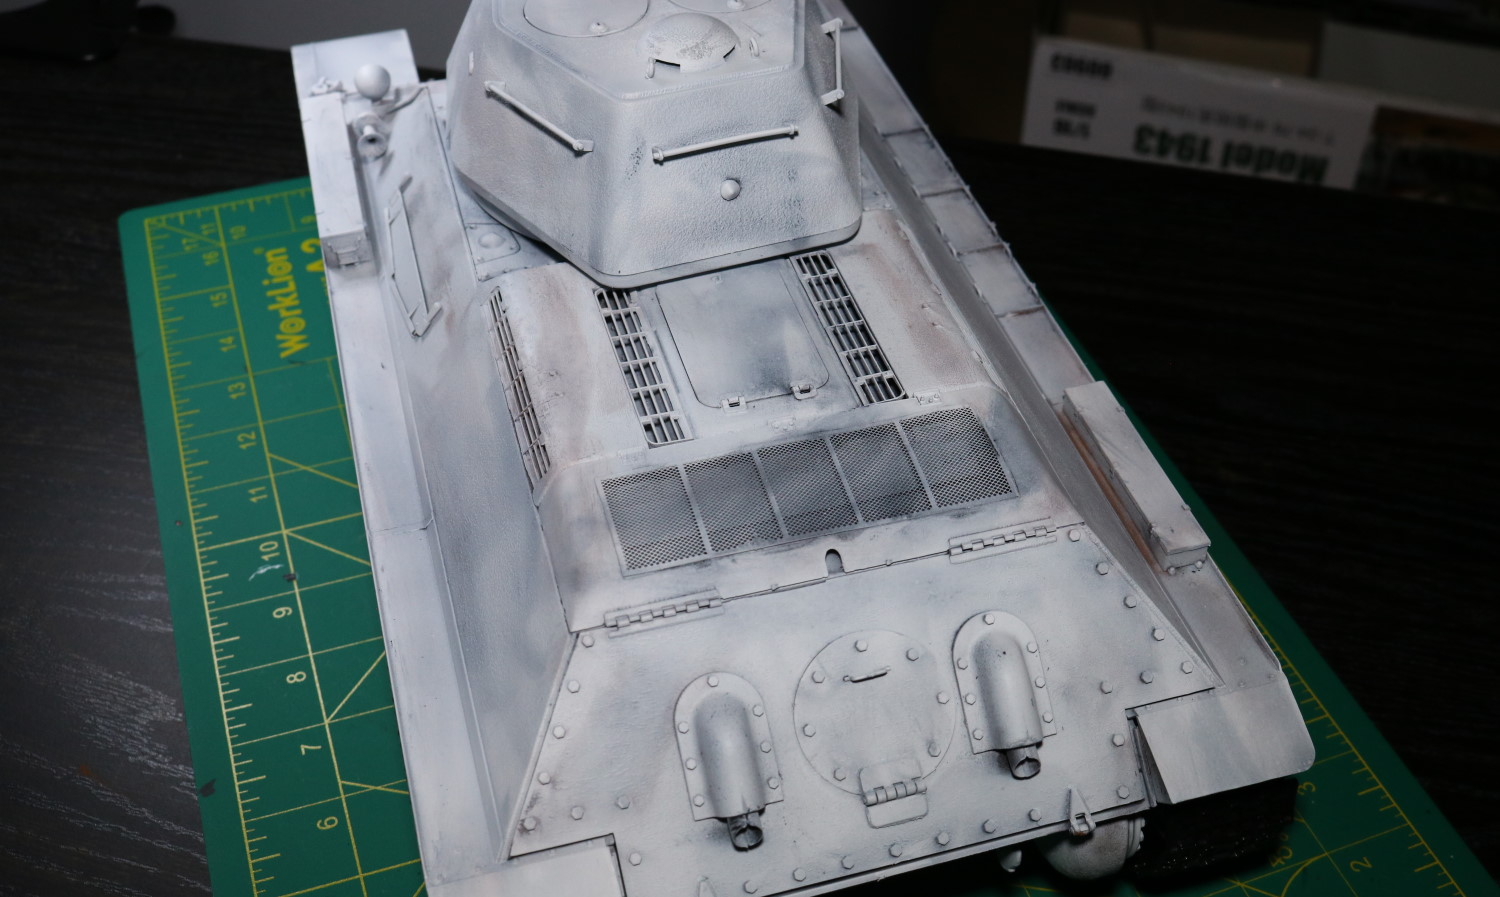
However, it makes sense to add an interior for its engine compartment, so I will do just that. I am also going to go with the winter theme for this.
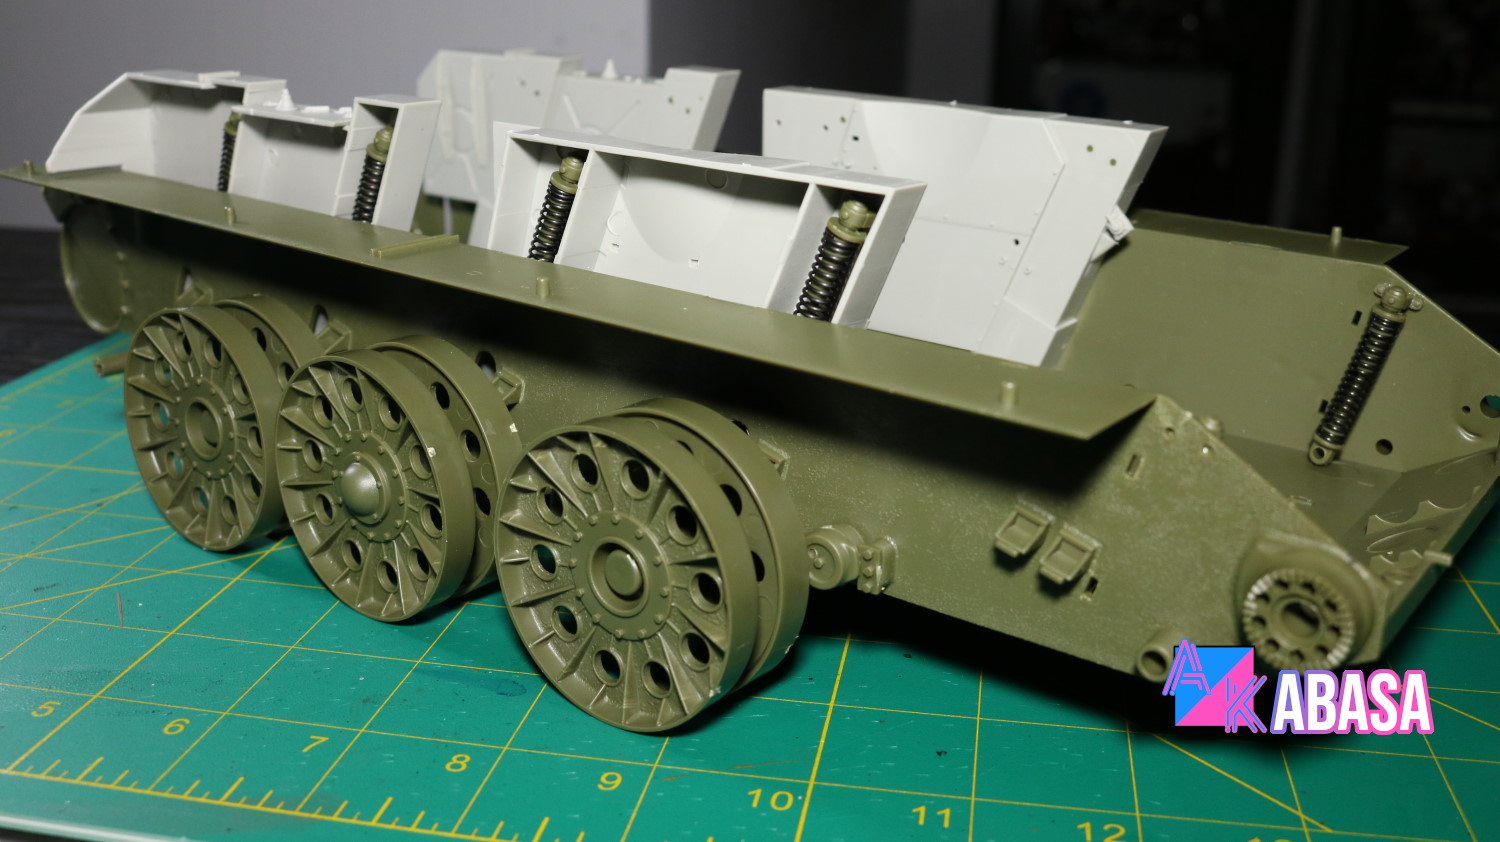
The overall assembly is also very similar to SU-100 by Trumpeter .
In fact, its lower hull assembly is virtually identical to SU-100 I’ve built a few years ago. It is because, even in real world, both tanks share the same lower hull. This was a common occurrence in World War era where they wanted a proven hull to work upon since there wasn’t enough time to test and certify new stuff.
To be clear, SU-100 borrowed T-34’s hull, the entire hull in general. Only top forward portion was reworked to mount a bigger gun. Therefore, I’ve found that assembly of this tank is eerily similar to SU-100 I’ve built about 2 years ago.
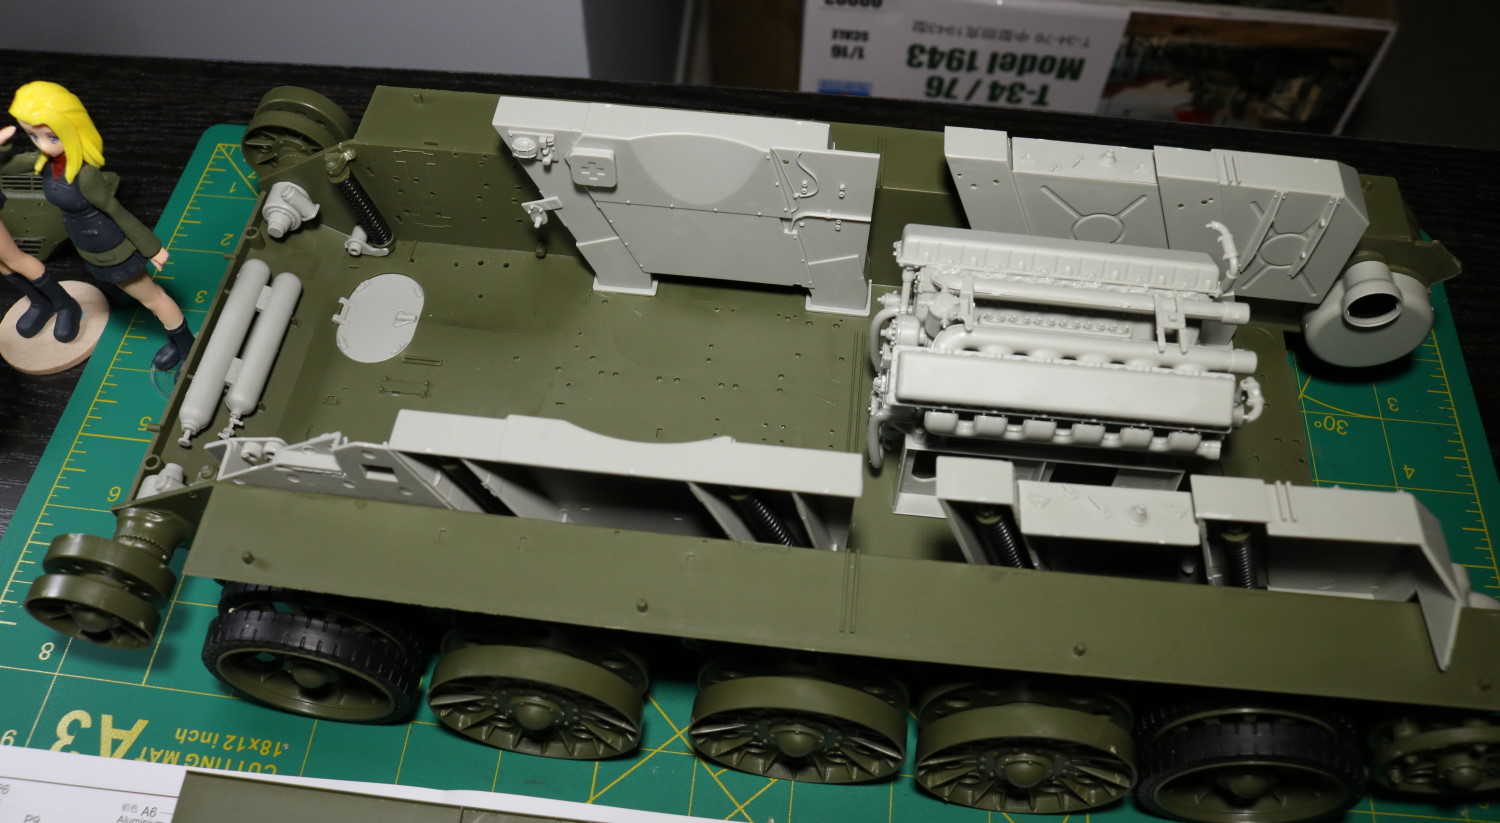
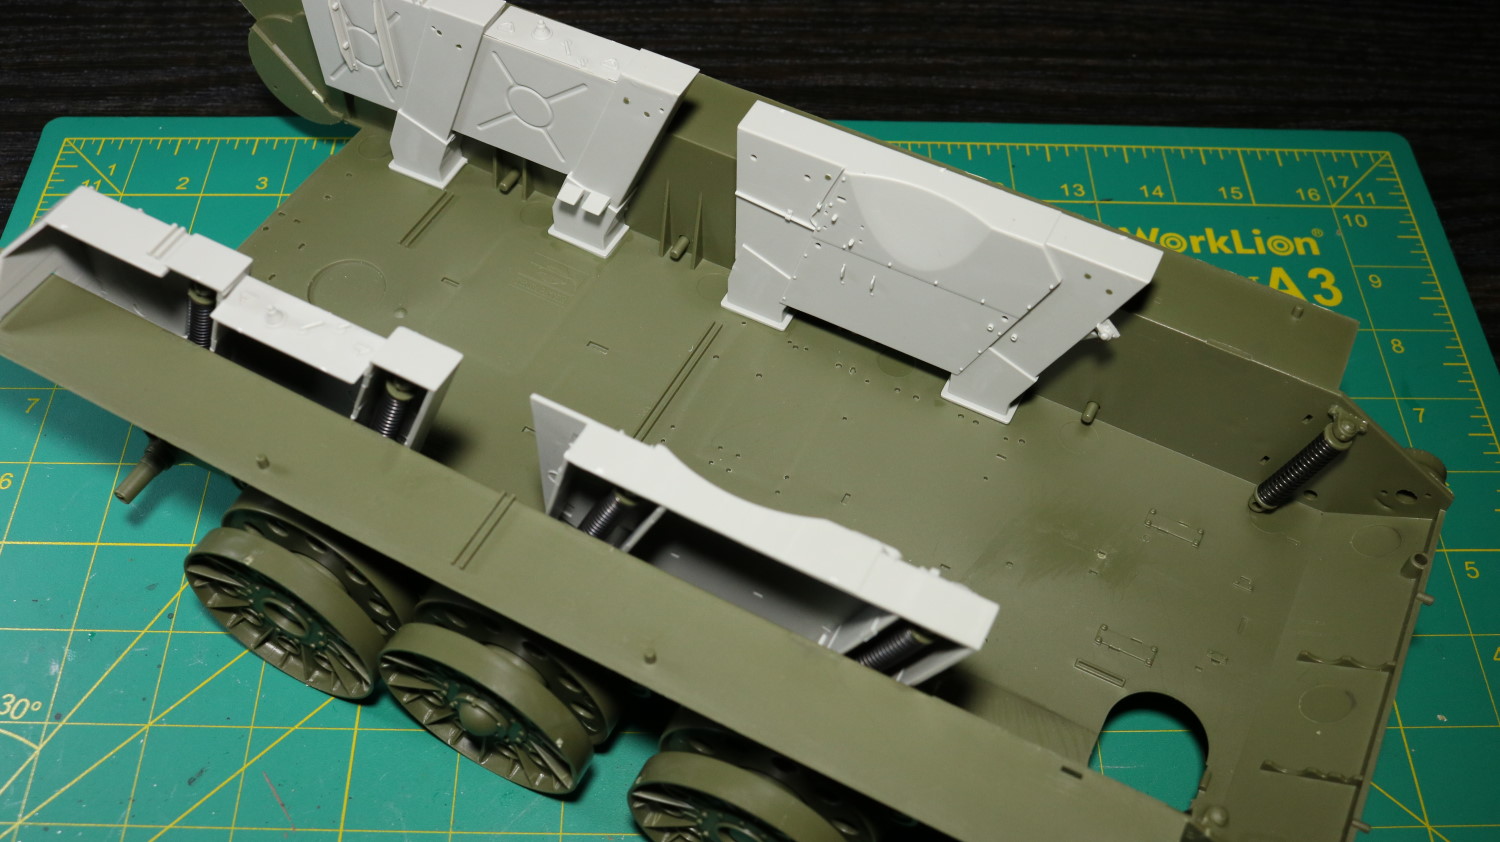
At this point, I am not following the assembly order from the manual. That is because I need to see where I must add wooden platforms, so I am assembling the top half while skipping its frontal interior. The engine block interior will be assembled.
These are the figures that must be able to be used with this tank. Three of them, and there are three hatches on T34. This ultimately means no interior for front, basically the driver’s seat and turret compartment. Basically anything that raises bottom level is no go, especially for the driver’s seat area.
Whether it will go according to my plan, it remains to be seen.
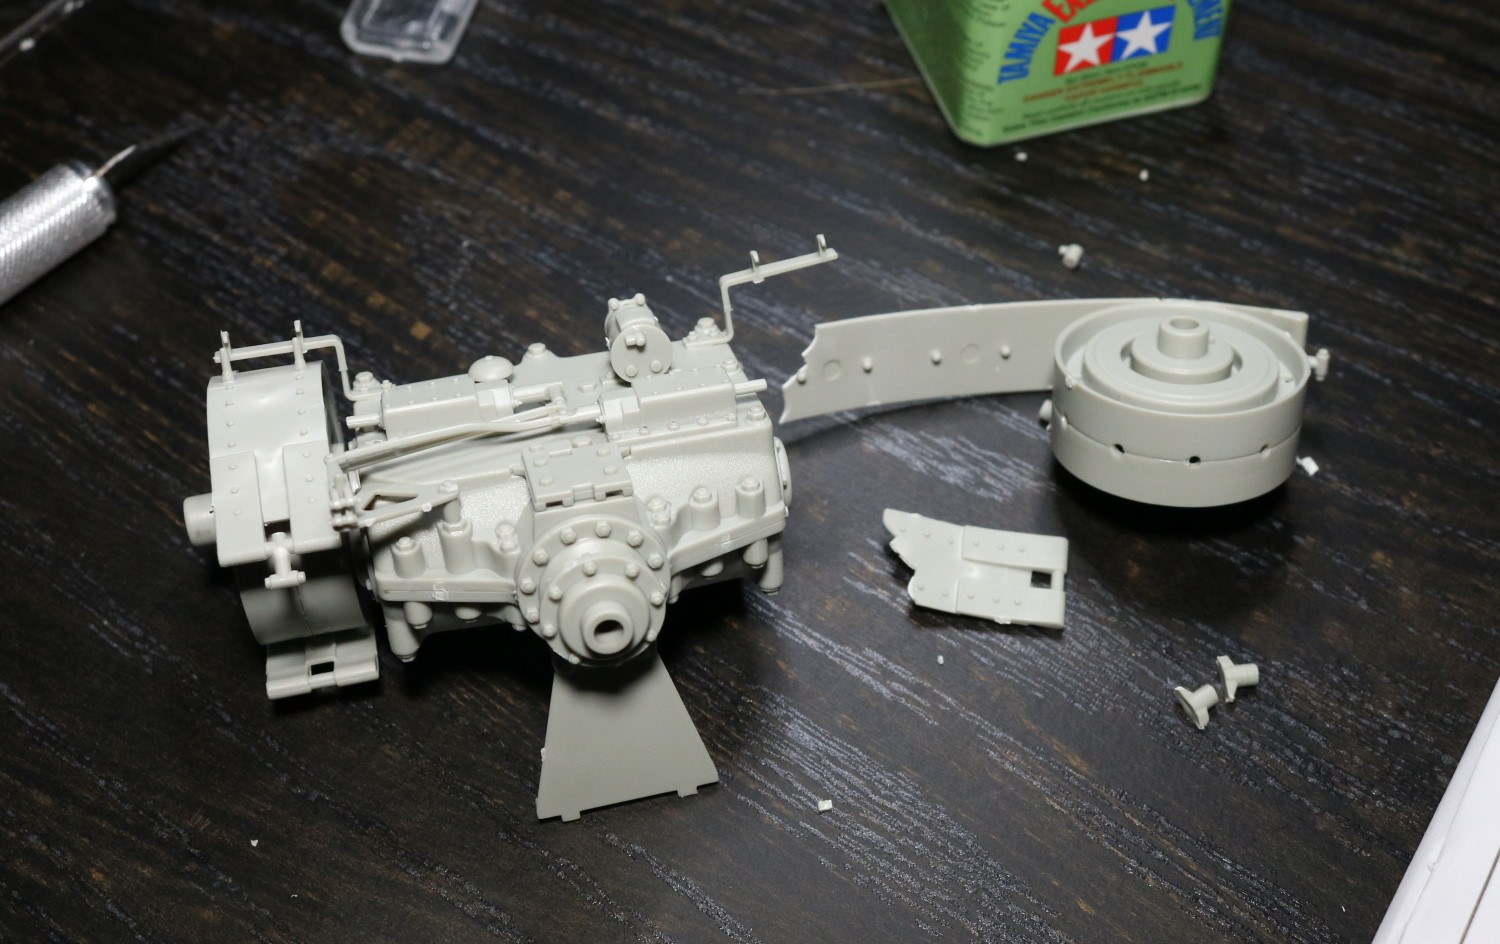
Meanwhile, while attempting to assemble the gearbox part which goes in the back with a small hatch, a crucial part or actually a pair of parts simply disintegrated. I have done this part before with SU-100. It didn’t go like this with SU-100. So, I am assuming that the plastic parts had become more brittle than it should have with aging.
This event is not actually devastating because those two shattered parts won’t show up.
See – only the middle part shows up.
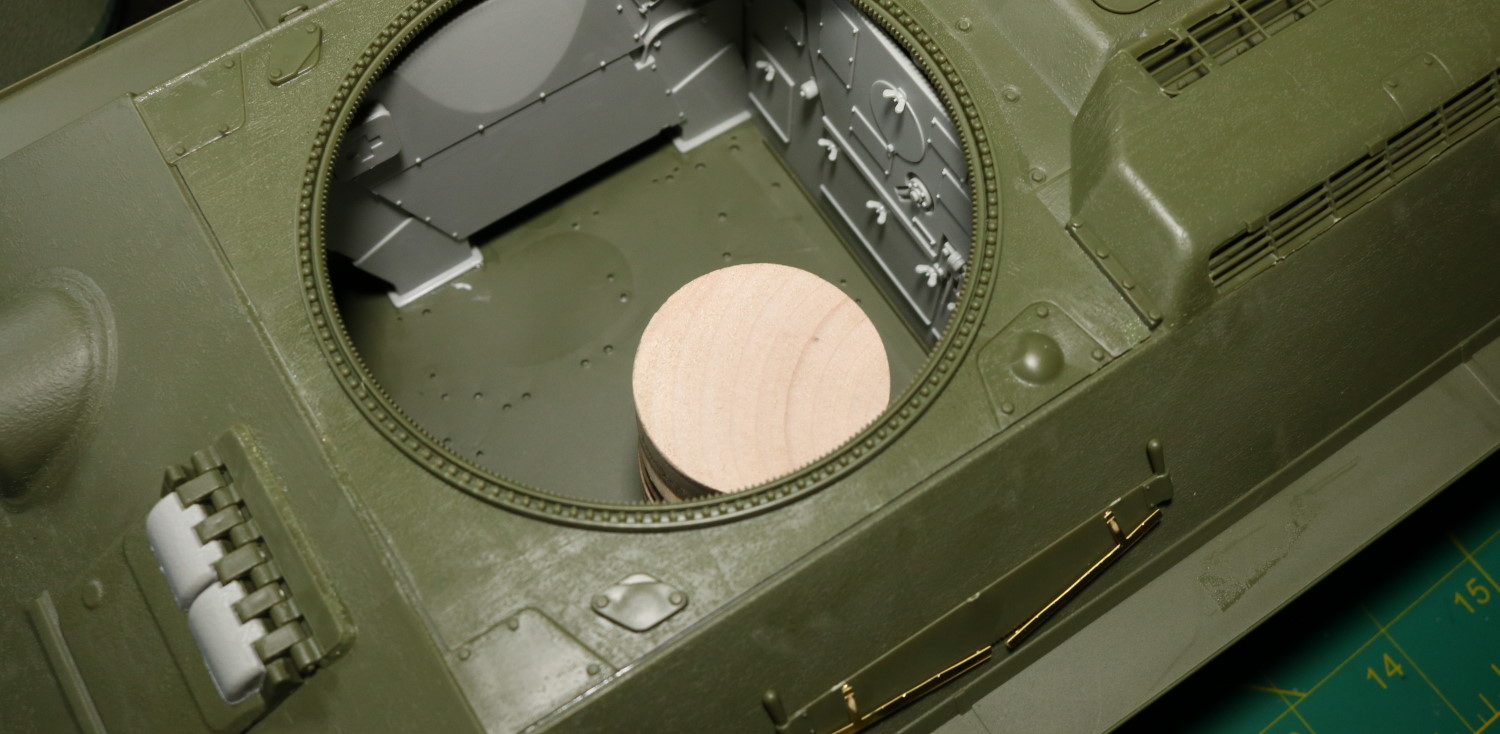
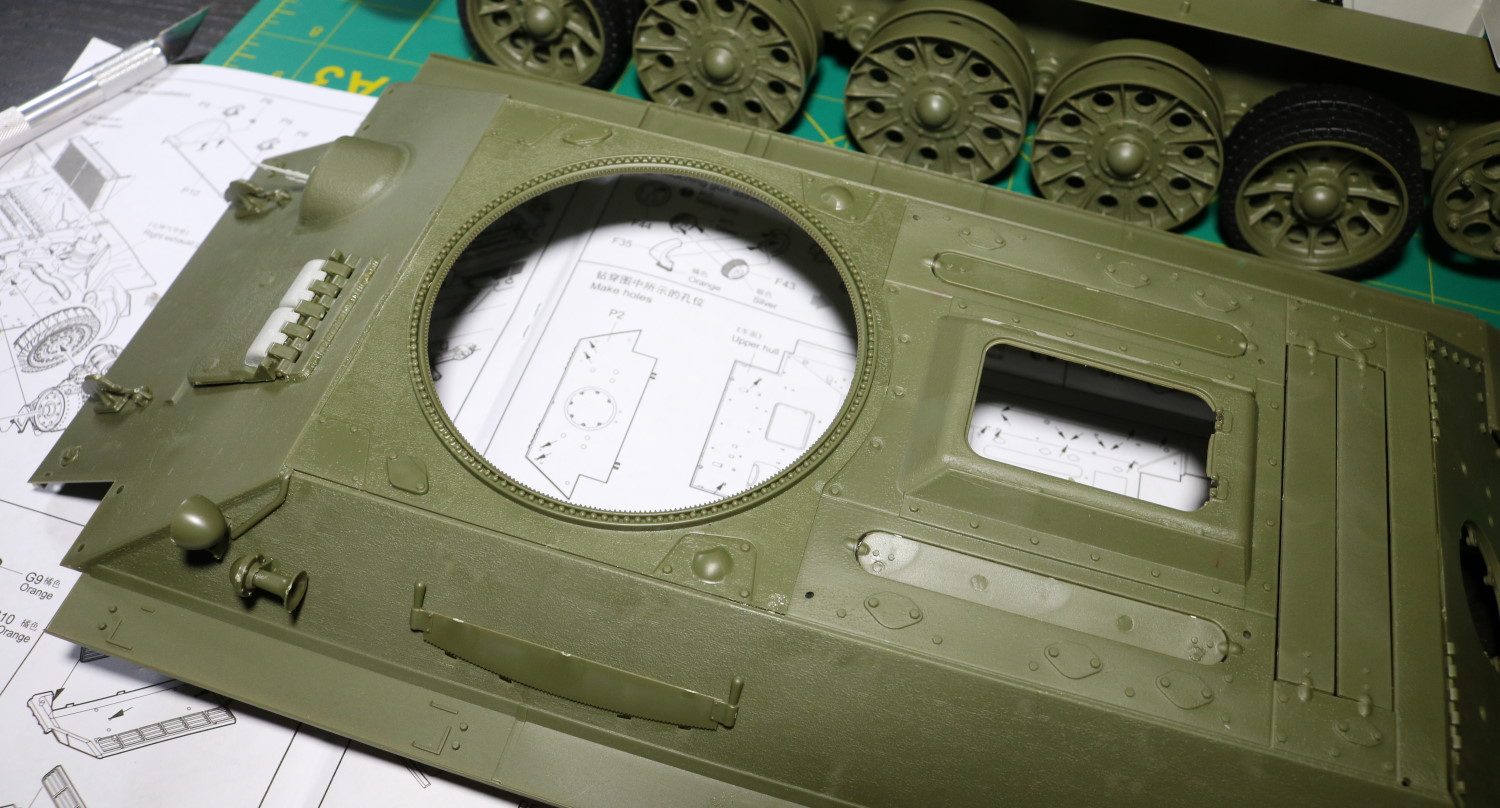
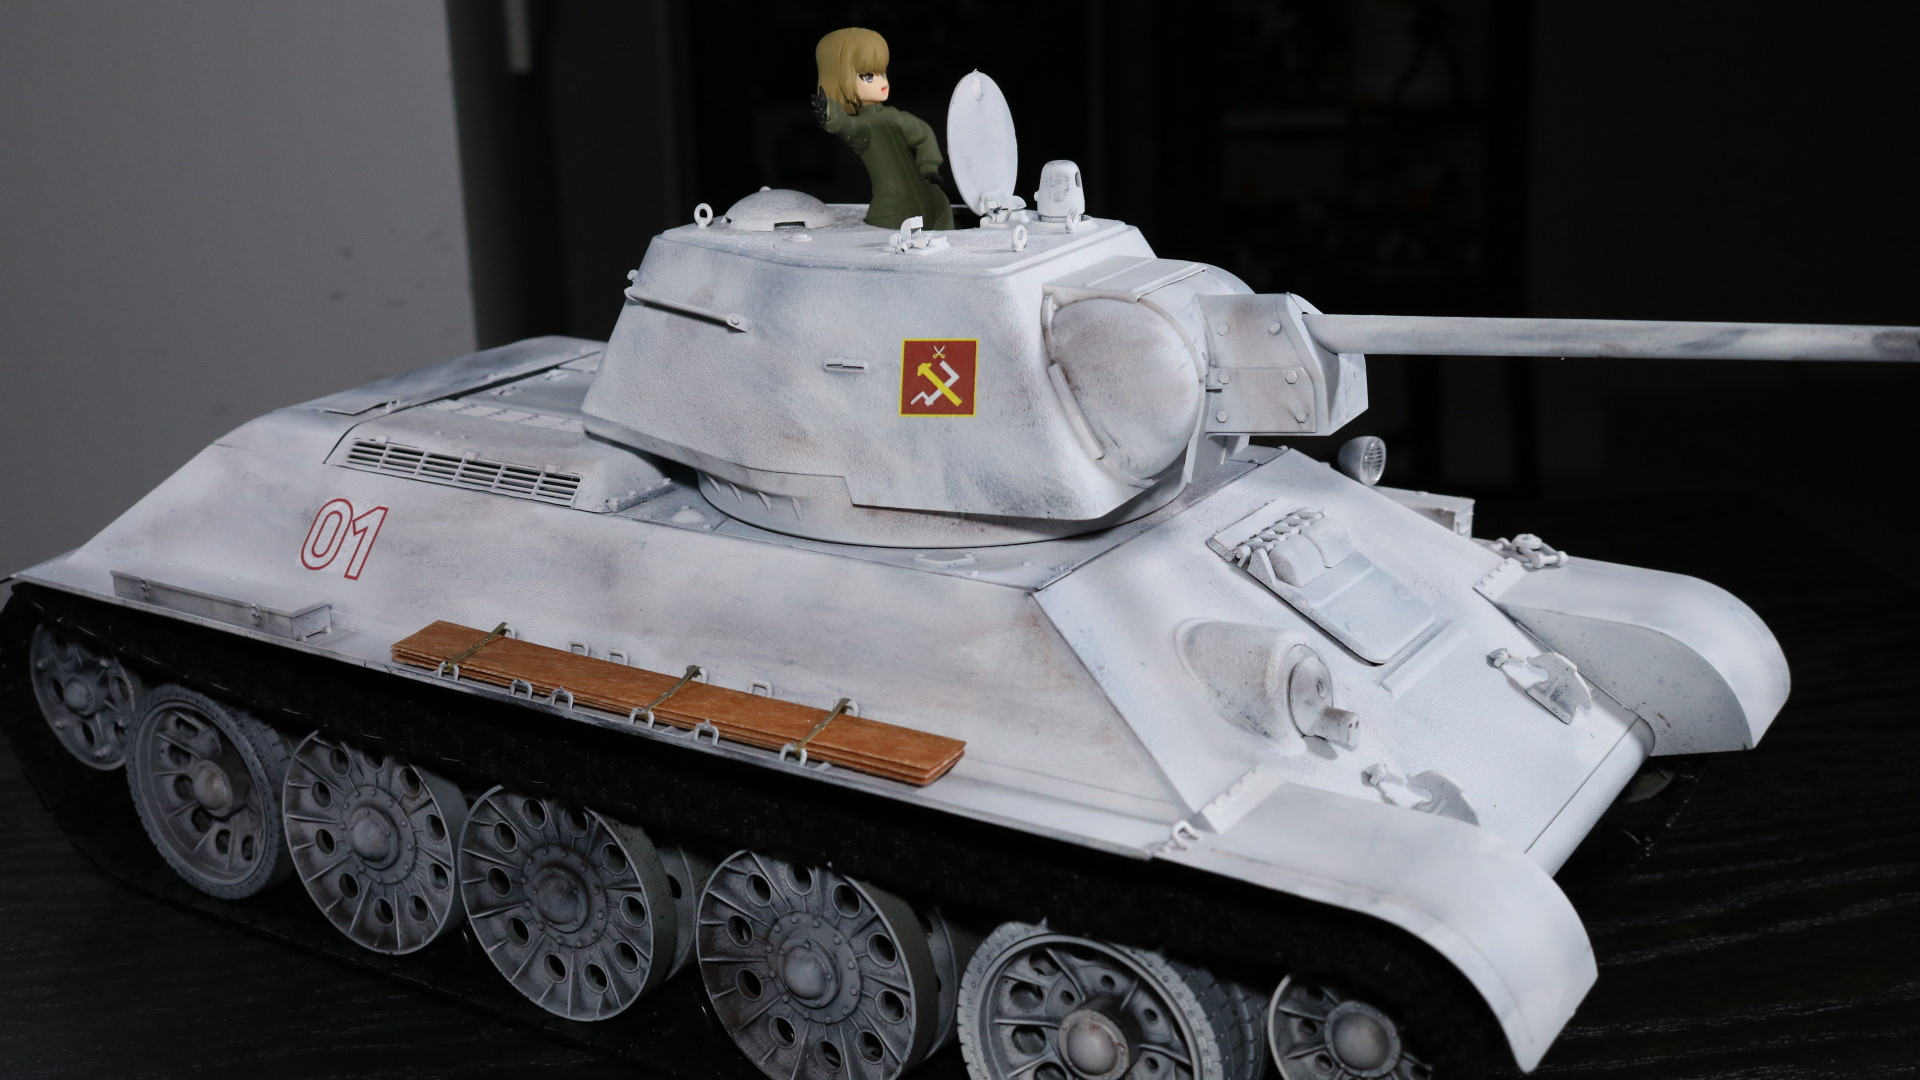
A wooden platform has been added to be able to make a figure stand. I’ve added only one because I was unable to make both of turret hatches articulate. You see, this kit does not support functional hatches for the turret. I had to improvise.
It means drilling a tiny hole into its already tiny hinges and insert a wire into it. I barely, just barely, made a hatch work. The other hatch…, its hinge is destroyed. I did put it together and gluefest it though.
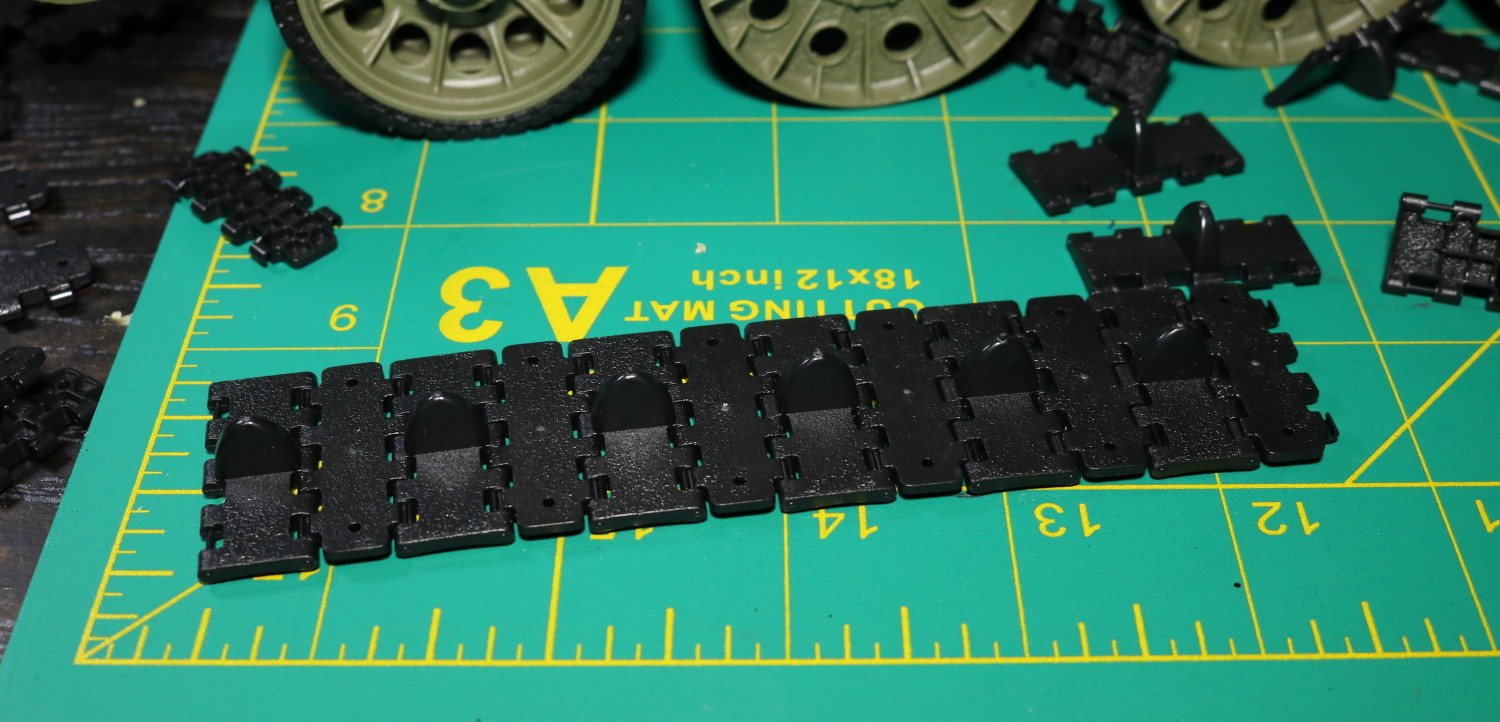
As for the tracks, it is using the same track which SU-100 uses, meaning each part snaps into each other. That makes track assembly a breeze. In fact, it took me only 10 minutes to assemble – both – of the tracks.
What is even better is that it’s already black, meaning I won’t need to paint it. I just need to varnish it.
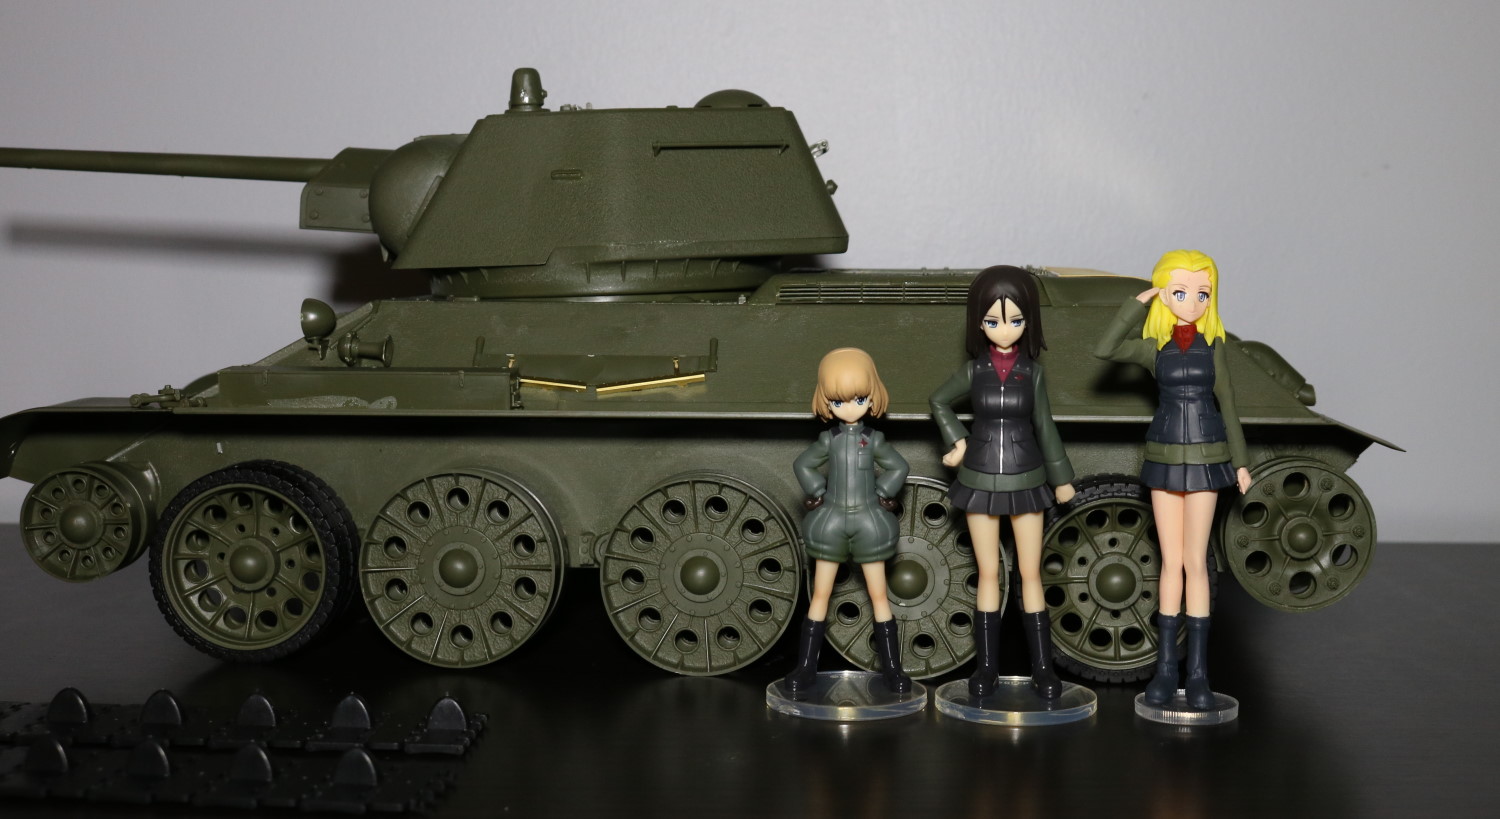
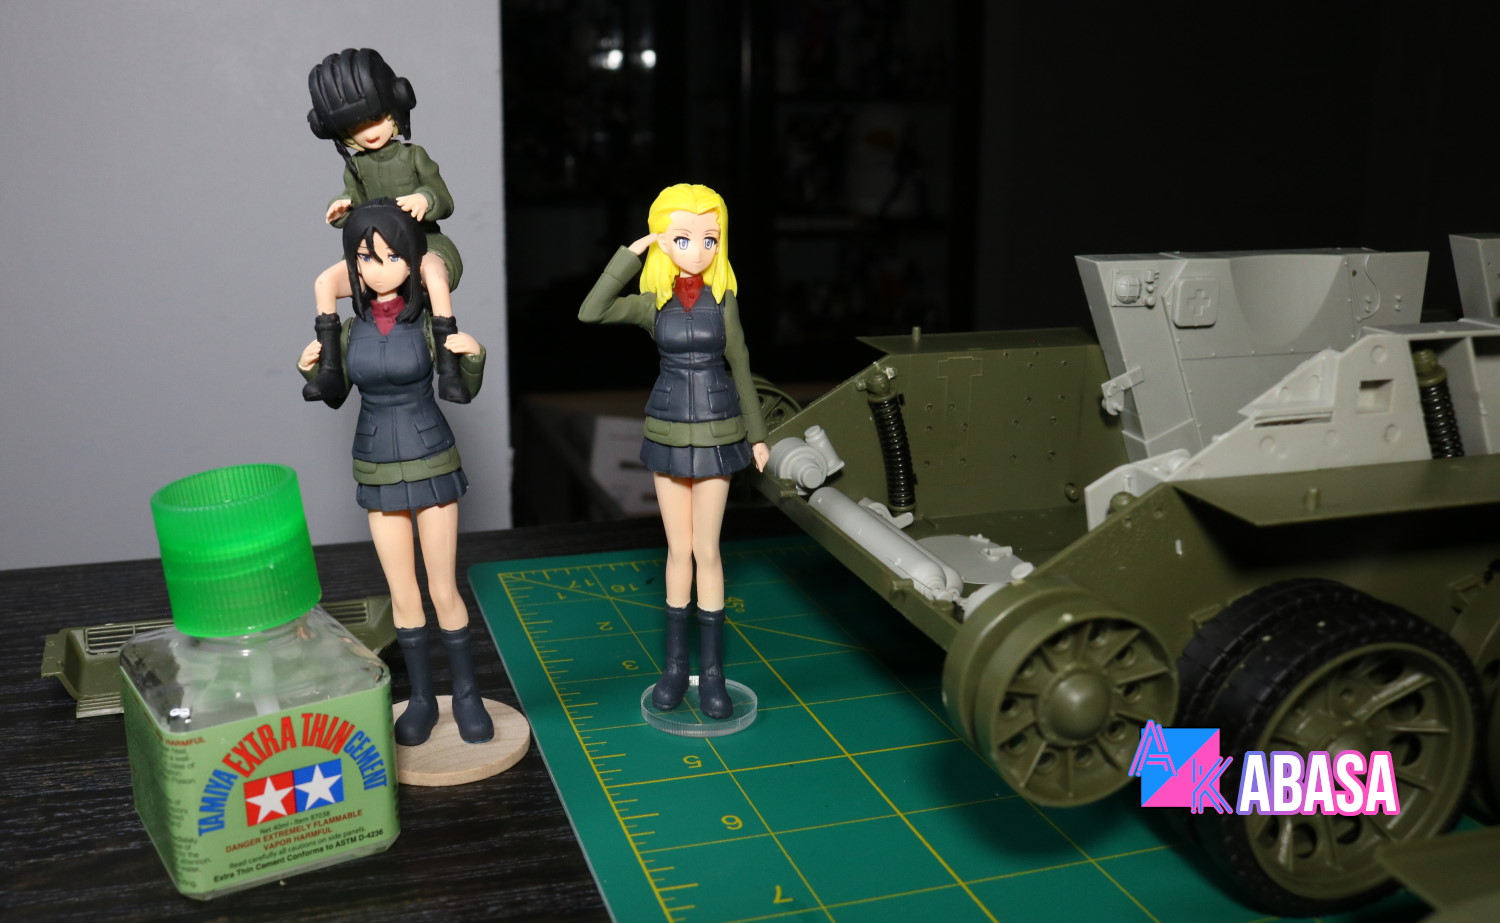
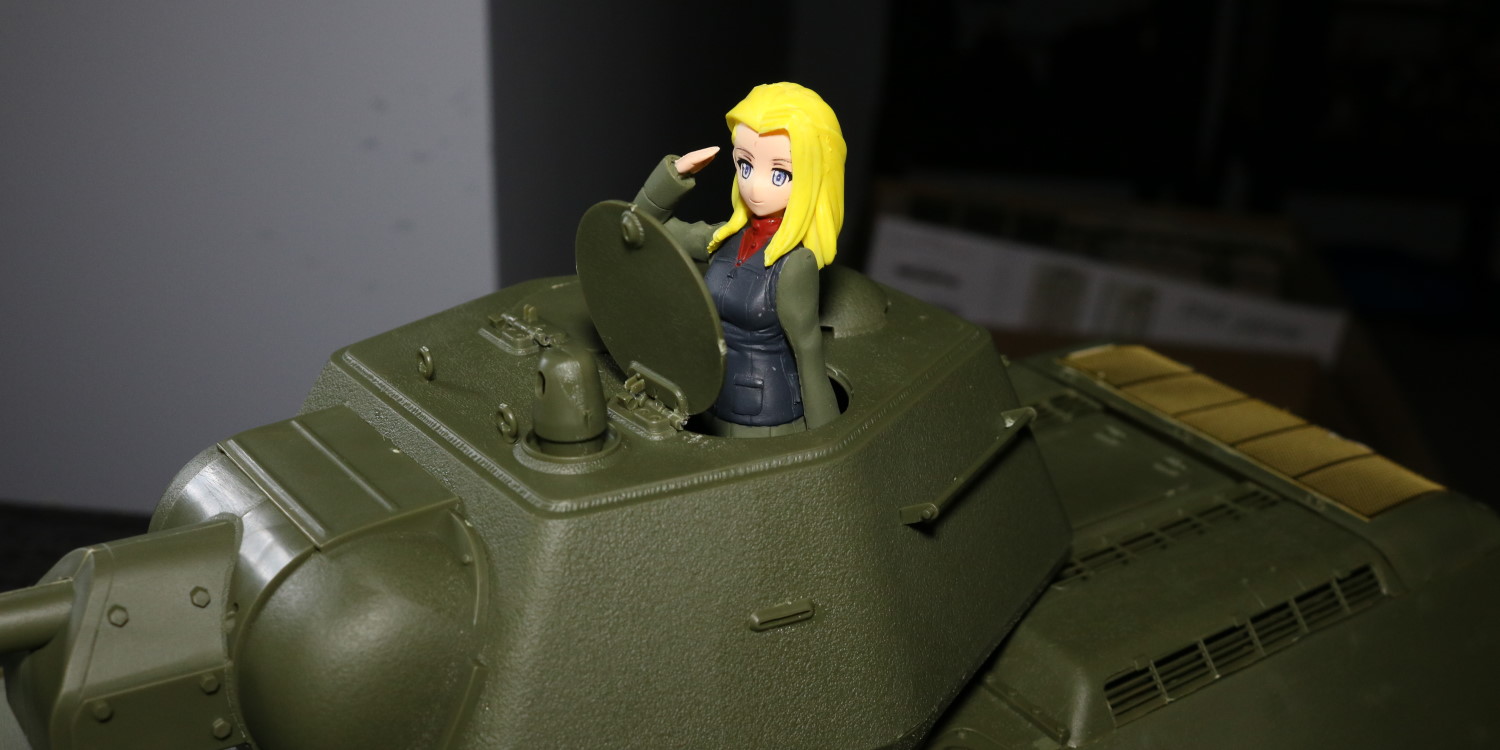
This is a shot I’ve taken right before moving onto painting part. You see Katyusha (left), Nonna (Middle), and Clara (right).
My original plan was to get all three of them into the tank. Alas, only two can enter because I couldn’t make one of the two turret hatches articulate.
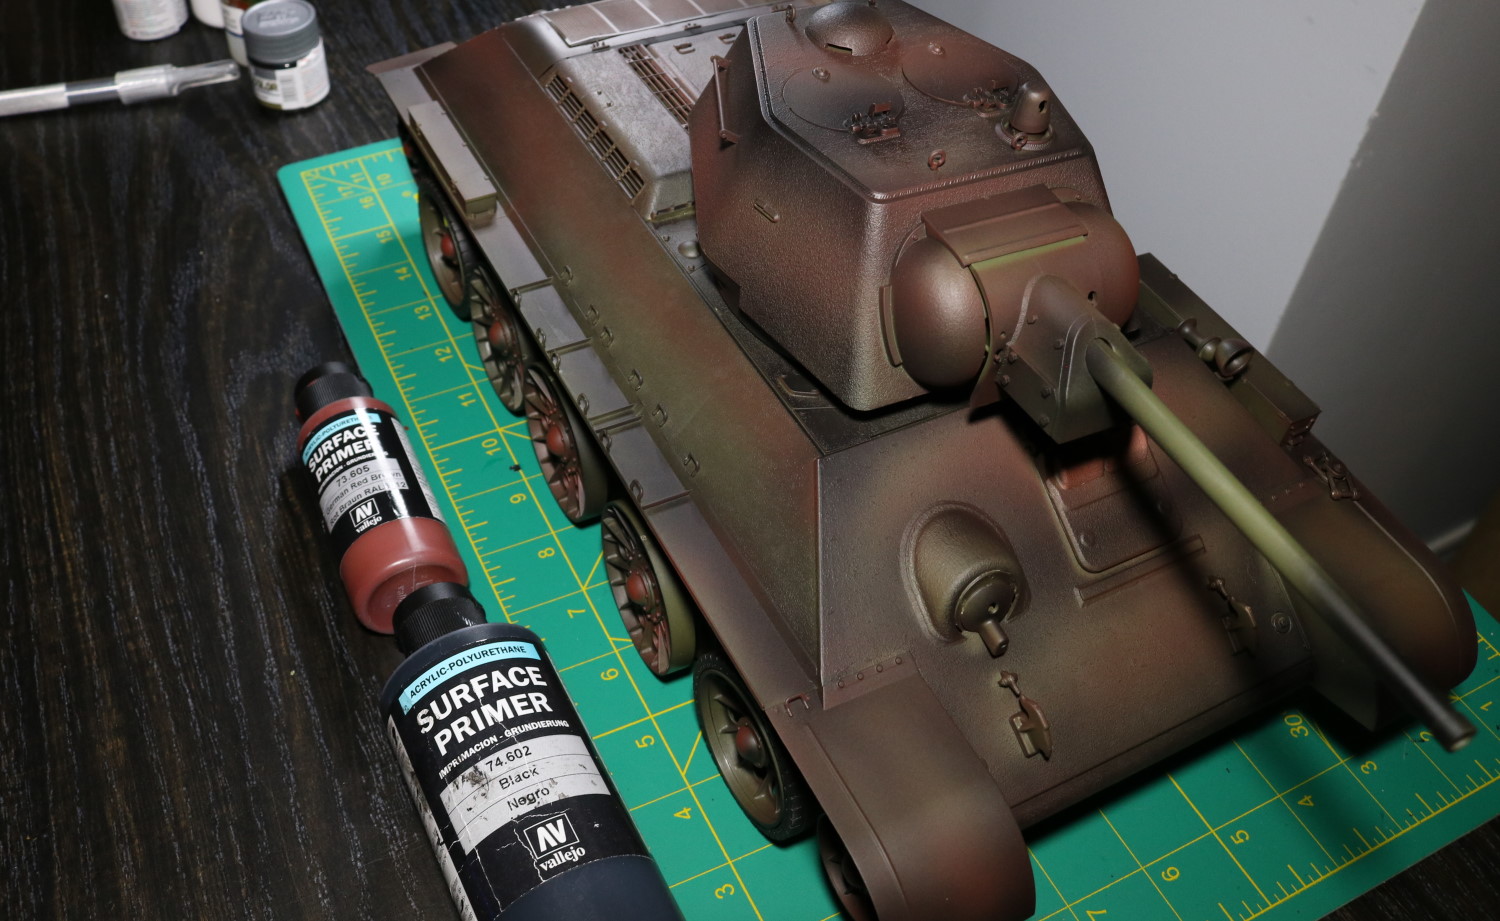
In this attempt, I tried not to use the messy weathering method I’ve used previously. Needless to say, it didn’t quite work out.

No, it didn’t work out. This was supposed to be the final coat.
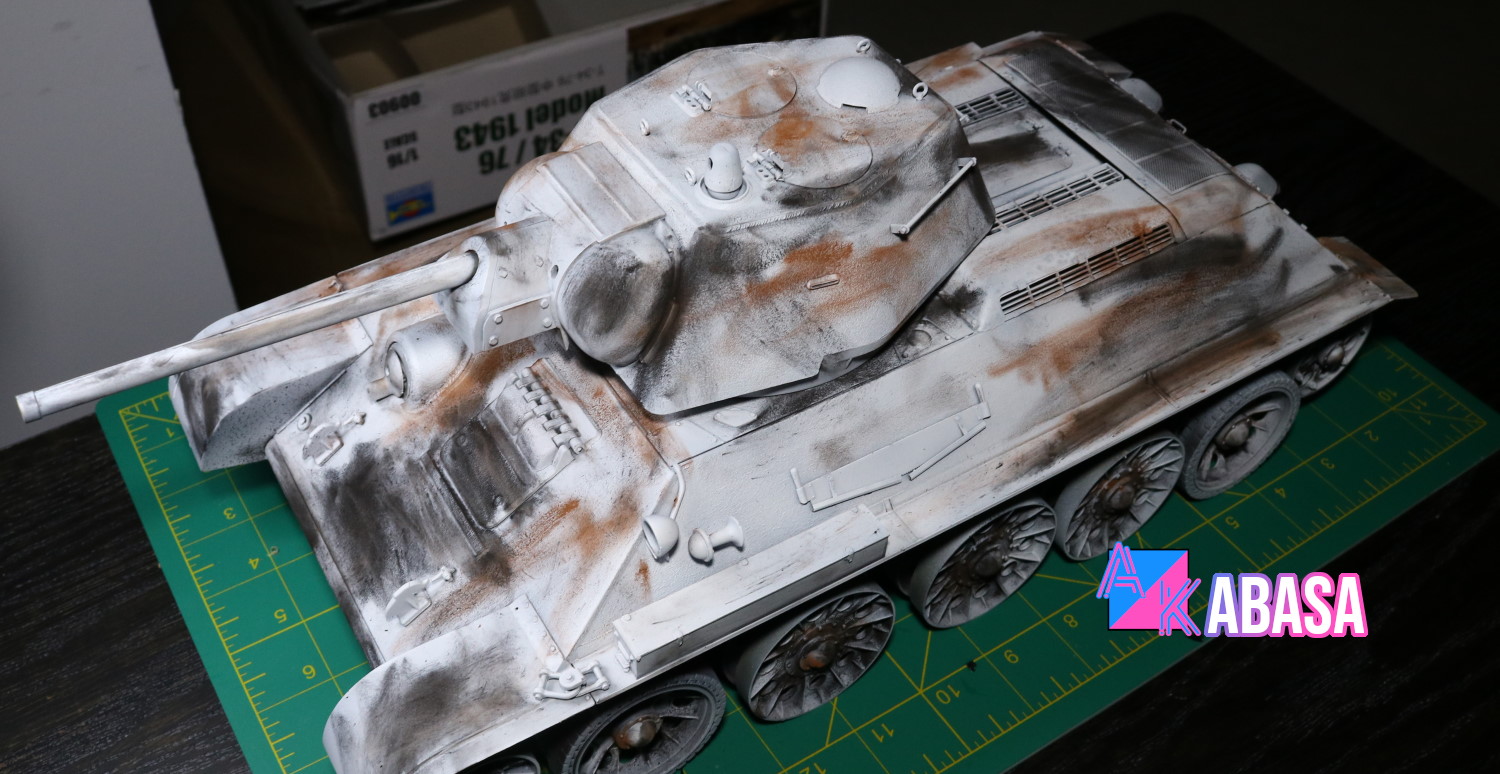
Therefore, I opted to use the messy method again. I should have done the white base coat first and then should have done the black/red airbrushing next. I will try that next time.
Much better, this time. Now, this was when I realized I ran out of Pravda decals…. Those decals are from China via lettermail. You can guess how long it would take them to arrive….
Unspecified number of weeks later –
Okay, here we are.
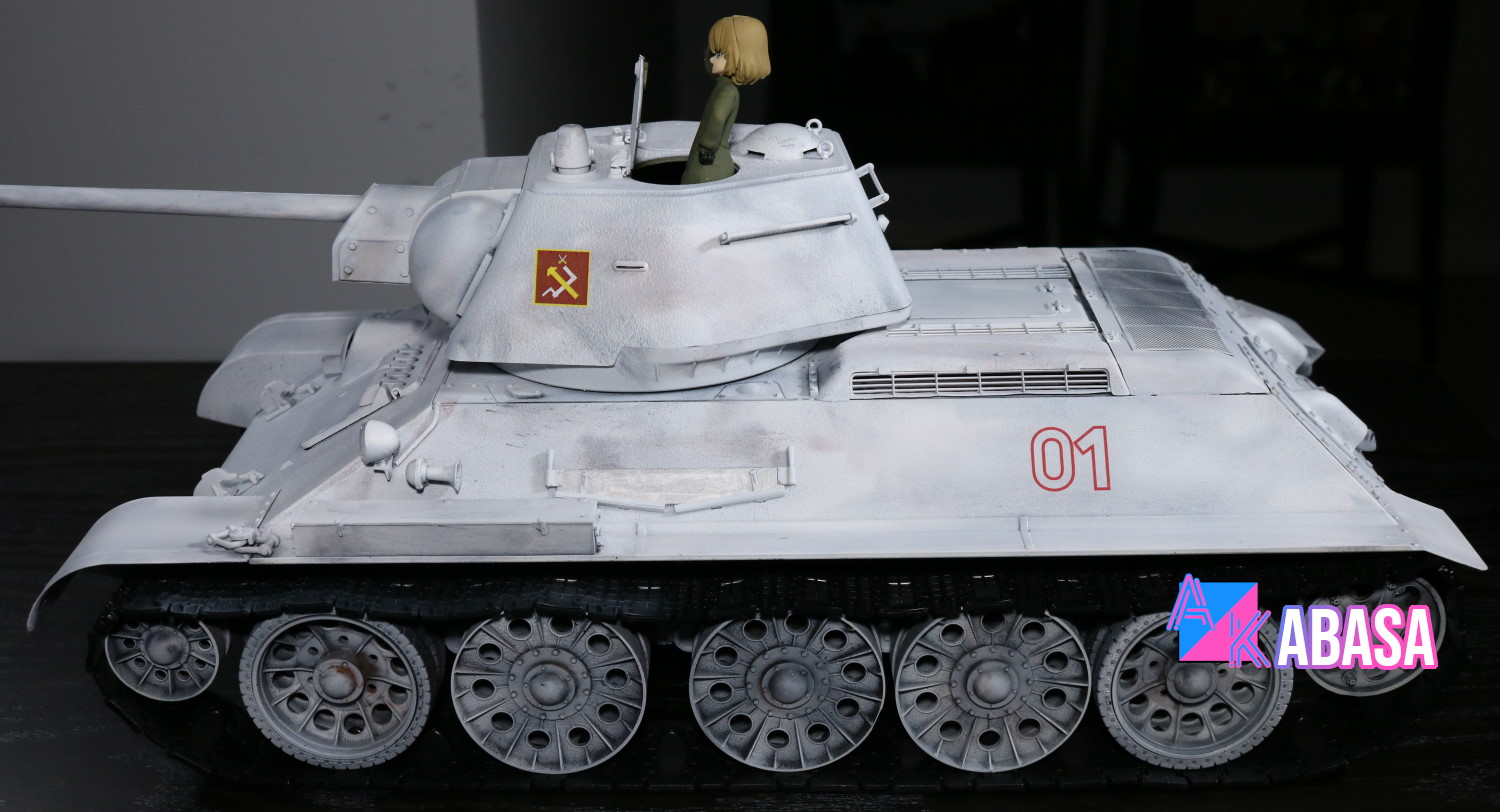
I have not followed the manual exactly. I mean, why should I? The manual is just a guide. The wooden planks, it’s where three groups of spare tracks are supposed to be. 1/16 scale is big enough to be able to improvise like this easily.
I have also not attached a lot of things on its back. Two spare tank fuel barrels are missing as well as numerous handles. That’s because I wanted to add “01” on both sides. The number means that this is the flag tank of Pravda.
Until next time.
![[Amie-Grand] Pravda girls’ school kit](https://akabasa.com/wp-content/uploads/2021/09/amie-grand_pravda_kit_2nd_1-768x432.jpg)
![[Takom] Panzer Pz.Kpfw.I Ausf.A 1/16 scale](https://akabasa.com/wp-content/uploads/2021/09/takom_panzer_pzkpfw-i-ausf-a_16scale_1-768x432.jpg)
![[Bronze Circus] Darjeeling & Pekoe 1/9 scale garage kit](https://akabasa.com/wp-content/uploads/2021/09/bronze_circus_darjeelingpekoe_1-768x432.jpg)
![[UKD Institute] Garage Kit Mika and Aki set](https://akabasa.com/wp-content/uploads/2021/09/ukd_mikaaki_14-768x556.jpg)
![[Metal box] [Recast] Deedlit](https://akabasa.com/wp-content/uploads/2021/09/metal_box_recast_deedit_sss_1-768x431.jpg)