A 4U rackmount PC build
The last piece of puzzle for my 14U rackmount setup.
I’ve decided to move my main rig into a 4U unit, freeing up my desk and completing my 16U rack setup at the same time. This decision didn’t come easily but logically there is no difference between a rackmount PC or a desktop PC.
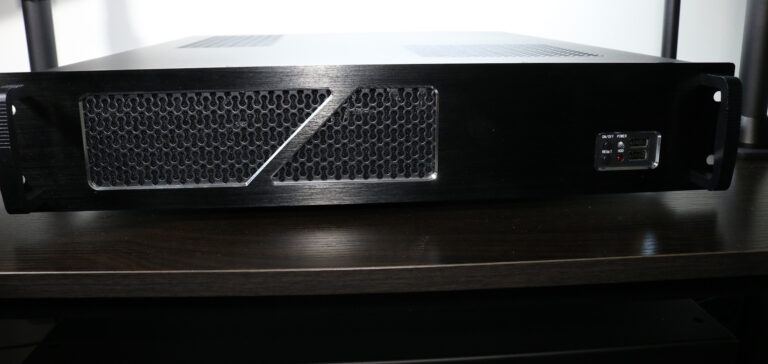
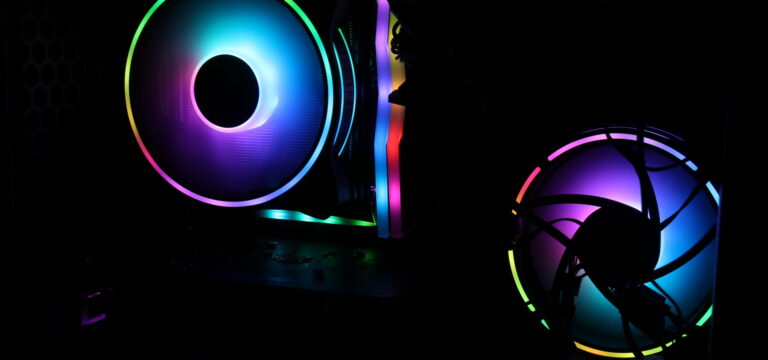
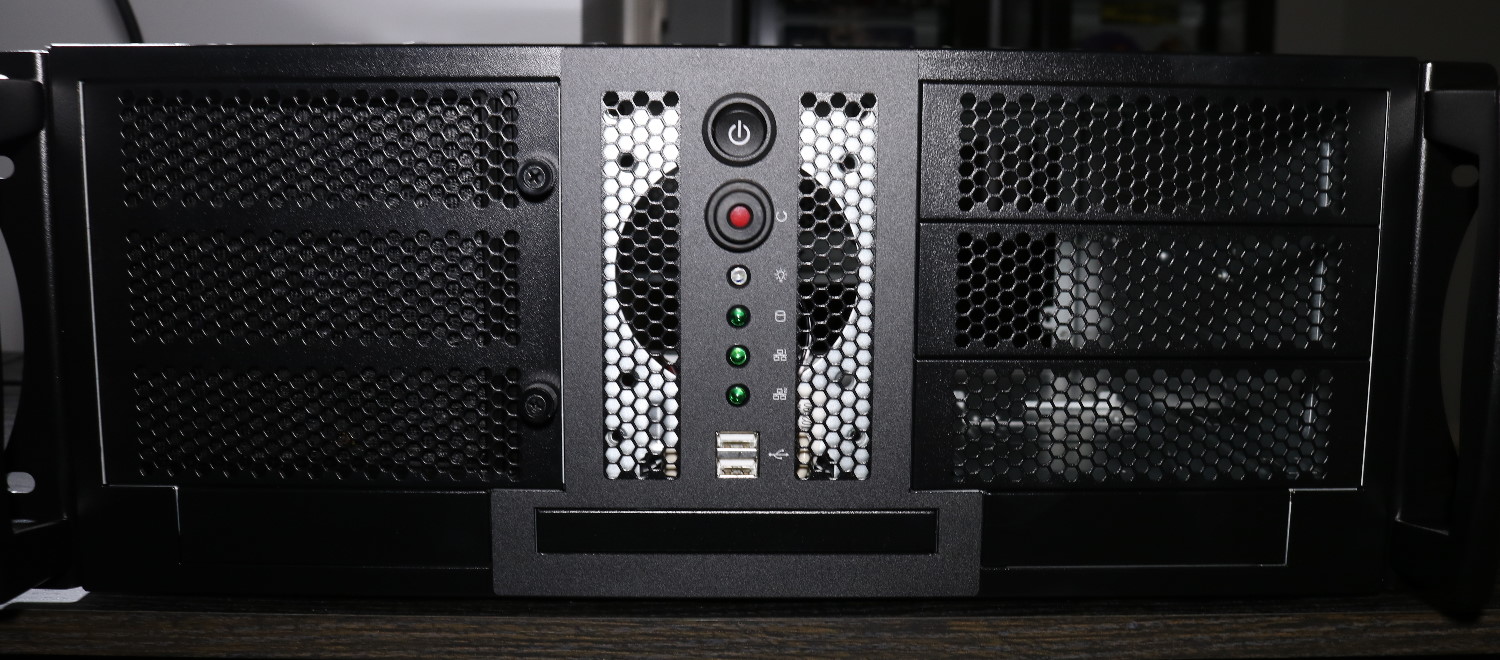
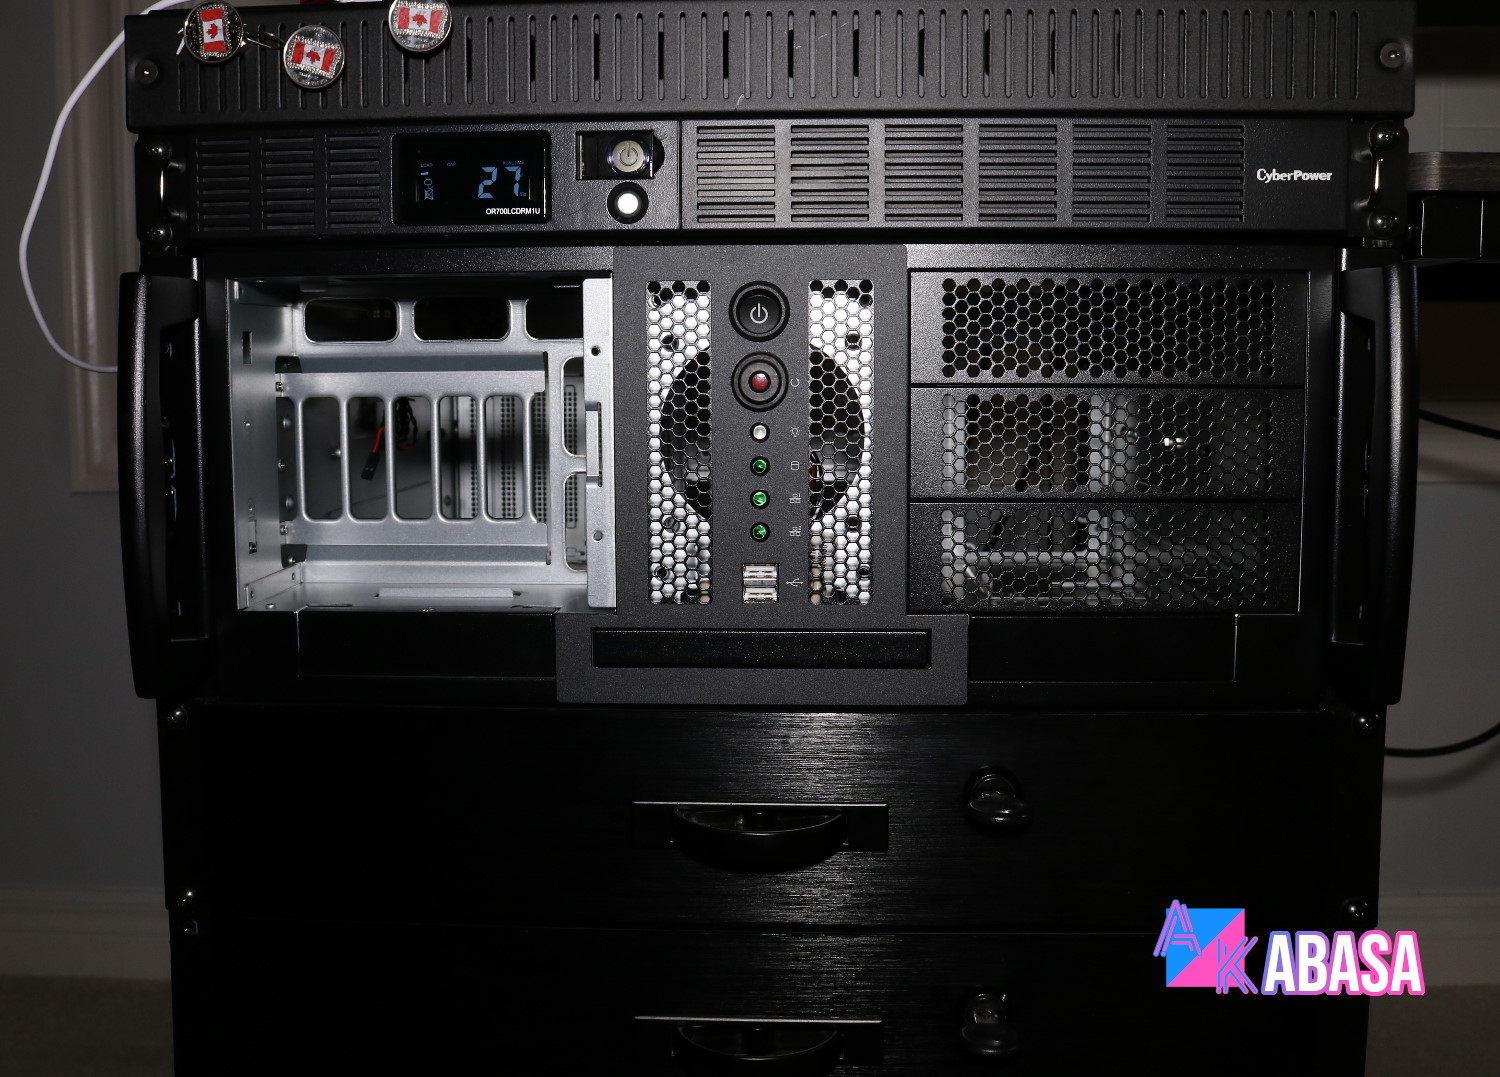
The 4U case I’ve chosen is Chenbro RM42300-F. I originally wanted to go with a 3U but that would block me from installing 1650 Super, so I’ve opted for a 4U. This specific case also lets me install a swappable 120mm fan from front which I will use for a small bit of RGB.
While I am not a fan of excessive RGB, I do think it will spice up otherwise dull front.
A 4U case is basically a tower case but laid down horizontally. Imagine 80s and 90s PC. It’s almost exactly the same size, so there isn’t much ordeals to be found. That was also why I was originally looking for a 3U case to give me some challenges, but wanting to use a 1650 super instead of a 1650 won me out ultimately.
As mentioned earlier, this chassis does feature a swappable 120mm fan from front. It also features a rather ineffective filter. I say ineffective because, in my experience, case filters are a pointless gimmick unless the filter is HEPA grade which it isn’t.
This feature is not that rare in rackmounts. Because it’s usually a pain in butt to take it out, these cases sometimes feature front-accessible fans or at least provide means to access front fans with relative ease.

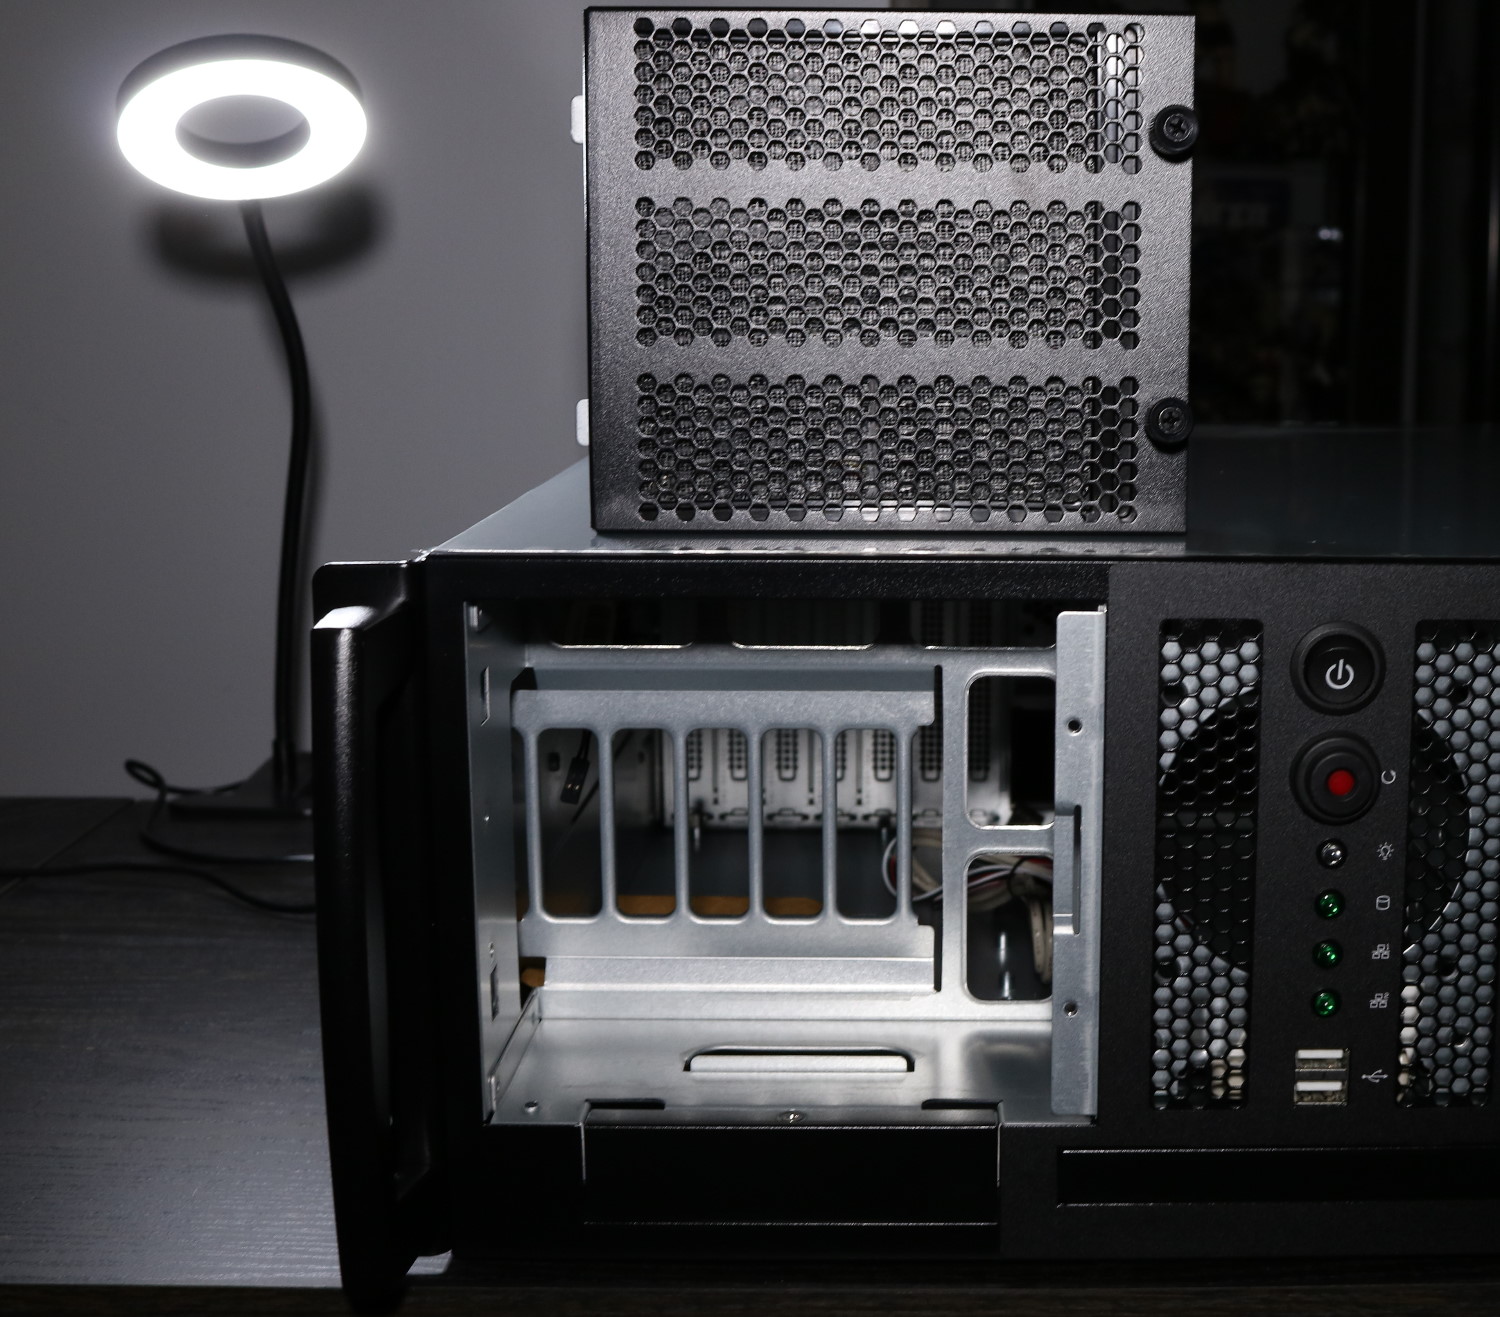
The one advantage of a rackmount PC is that GPU sits up, preventing GPU sag. It also features card secure holder. It’s what the bar thing on top. Those exist in case an assembled server is transported to elsewhere. It features several plastic arms that secures PCI/PCI-E cards. It won’t work for GPUs due to their custom fan shroud though.
The plastic arm, however, can loosely hold it down, preventing it from popping out during a rough transport incident.
Now, this is what it will look like in my 16U rack. I am going to assemble this way after it’s been installed. It’s on rails, so I can just slid it out and work on it.
Reason being is that a finished rig will be far heavier to deal with. The case, made of full steel, is already heavy enough. Rackmount cases are rarely plastic since they are meant for commercial places.
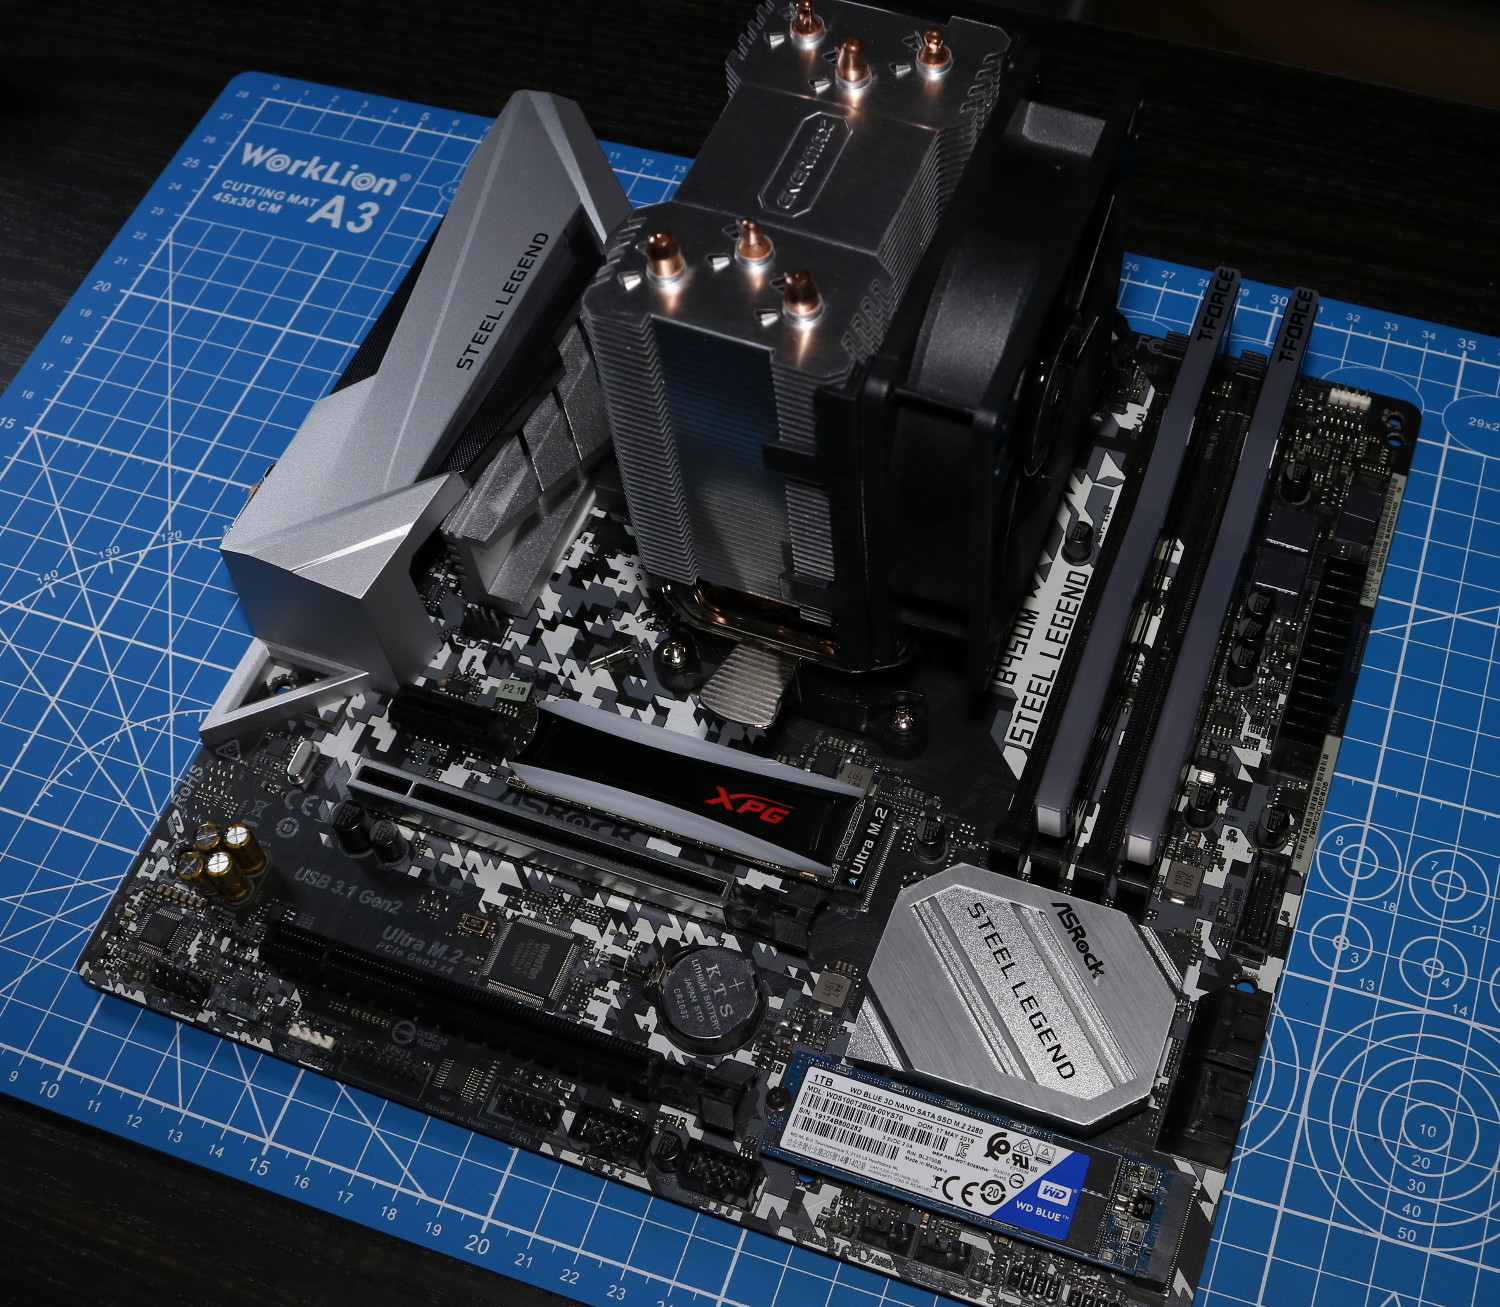
Above is my main PC, featuring AMD 5900x with 32gb RAM. I do not use mechanical hard drives, and those two M.2 drives are all I need. One’s for OS and is of 256gb capacity. The other is M.2 SATA SSD but has 1TB capacity.
This setup basically means I just need to drop it the whole thing as is and insert a GPU, then I am done.
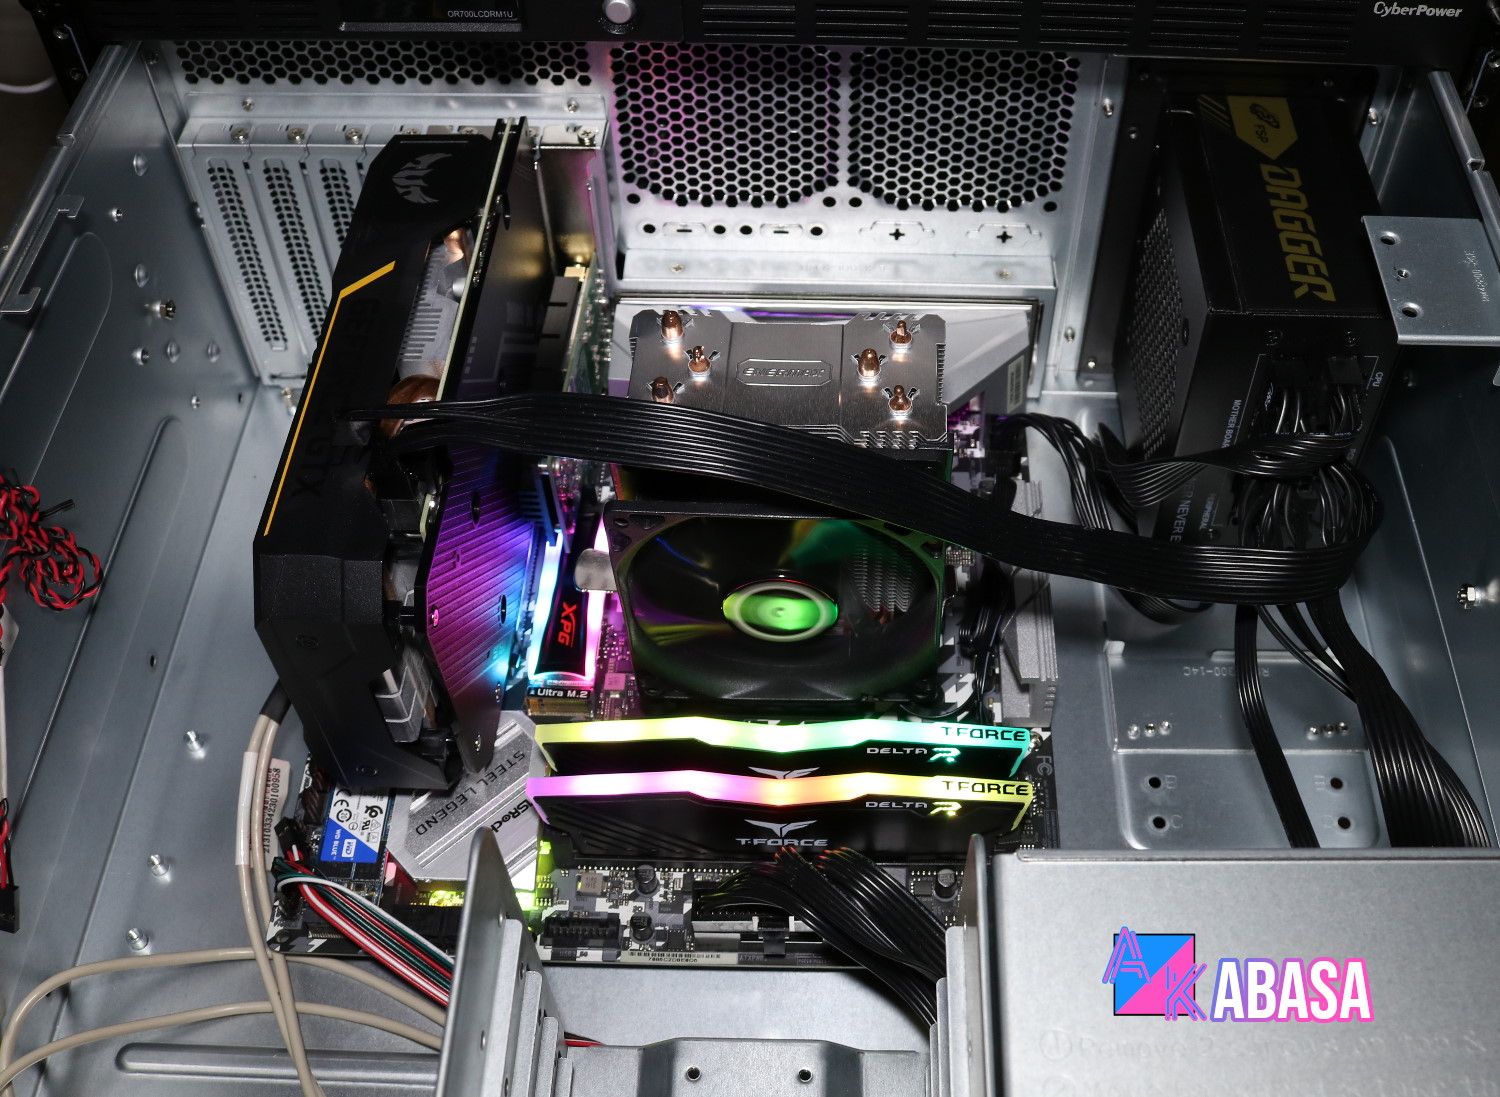
And it works right away. Really simple. I am using a SFX PSU here to reduce space wasted by long cables. You may have noticed that all my builds use a SFX PSU. That is because I am a big fan of those. I do not see a need for the big, bulky, regular PSU, and because I do mostly space-challenged builds, SFX PSU has been rather essential.
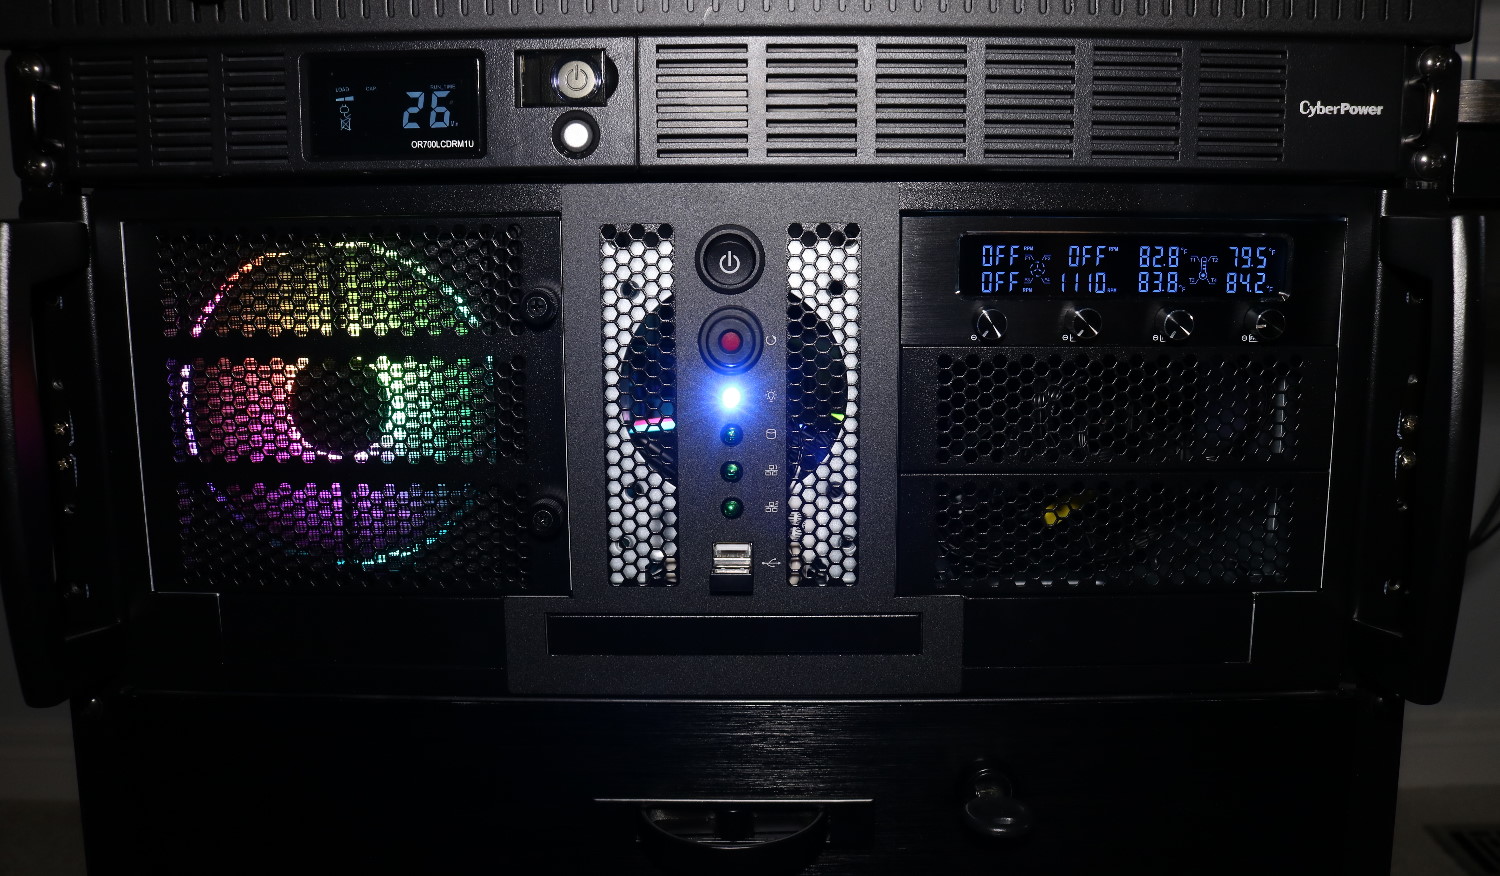
I did say I wanted to add a bit of RGB, and here we are. The 120mm fan is ARGB. I’ve also added a 5.25 bay fan controller to spice things up from front. It displays various numbers that makes it sophisticated.
I hope.
The rig features a 120mm fan on front and two 80mm fans in rear.
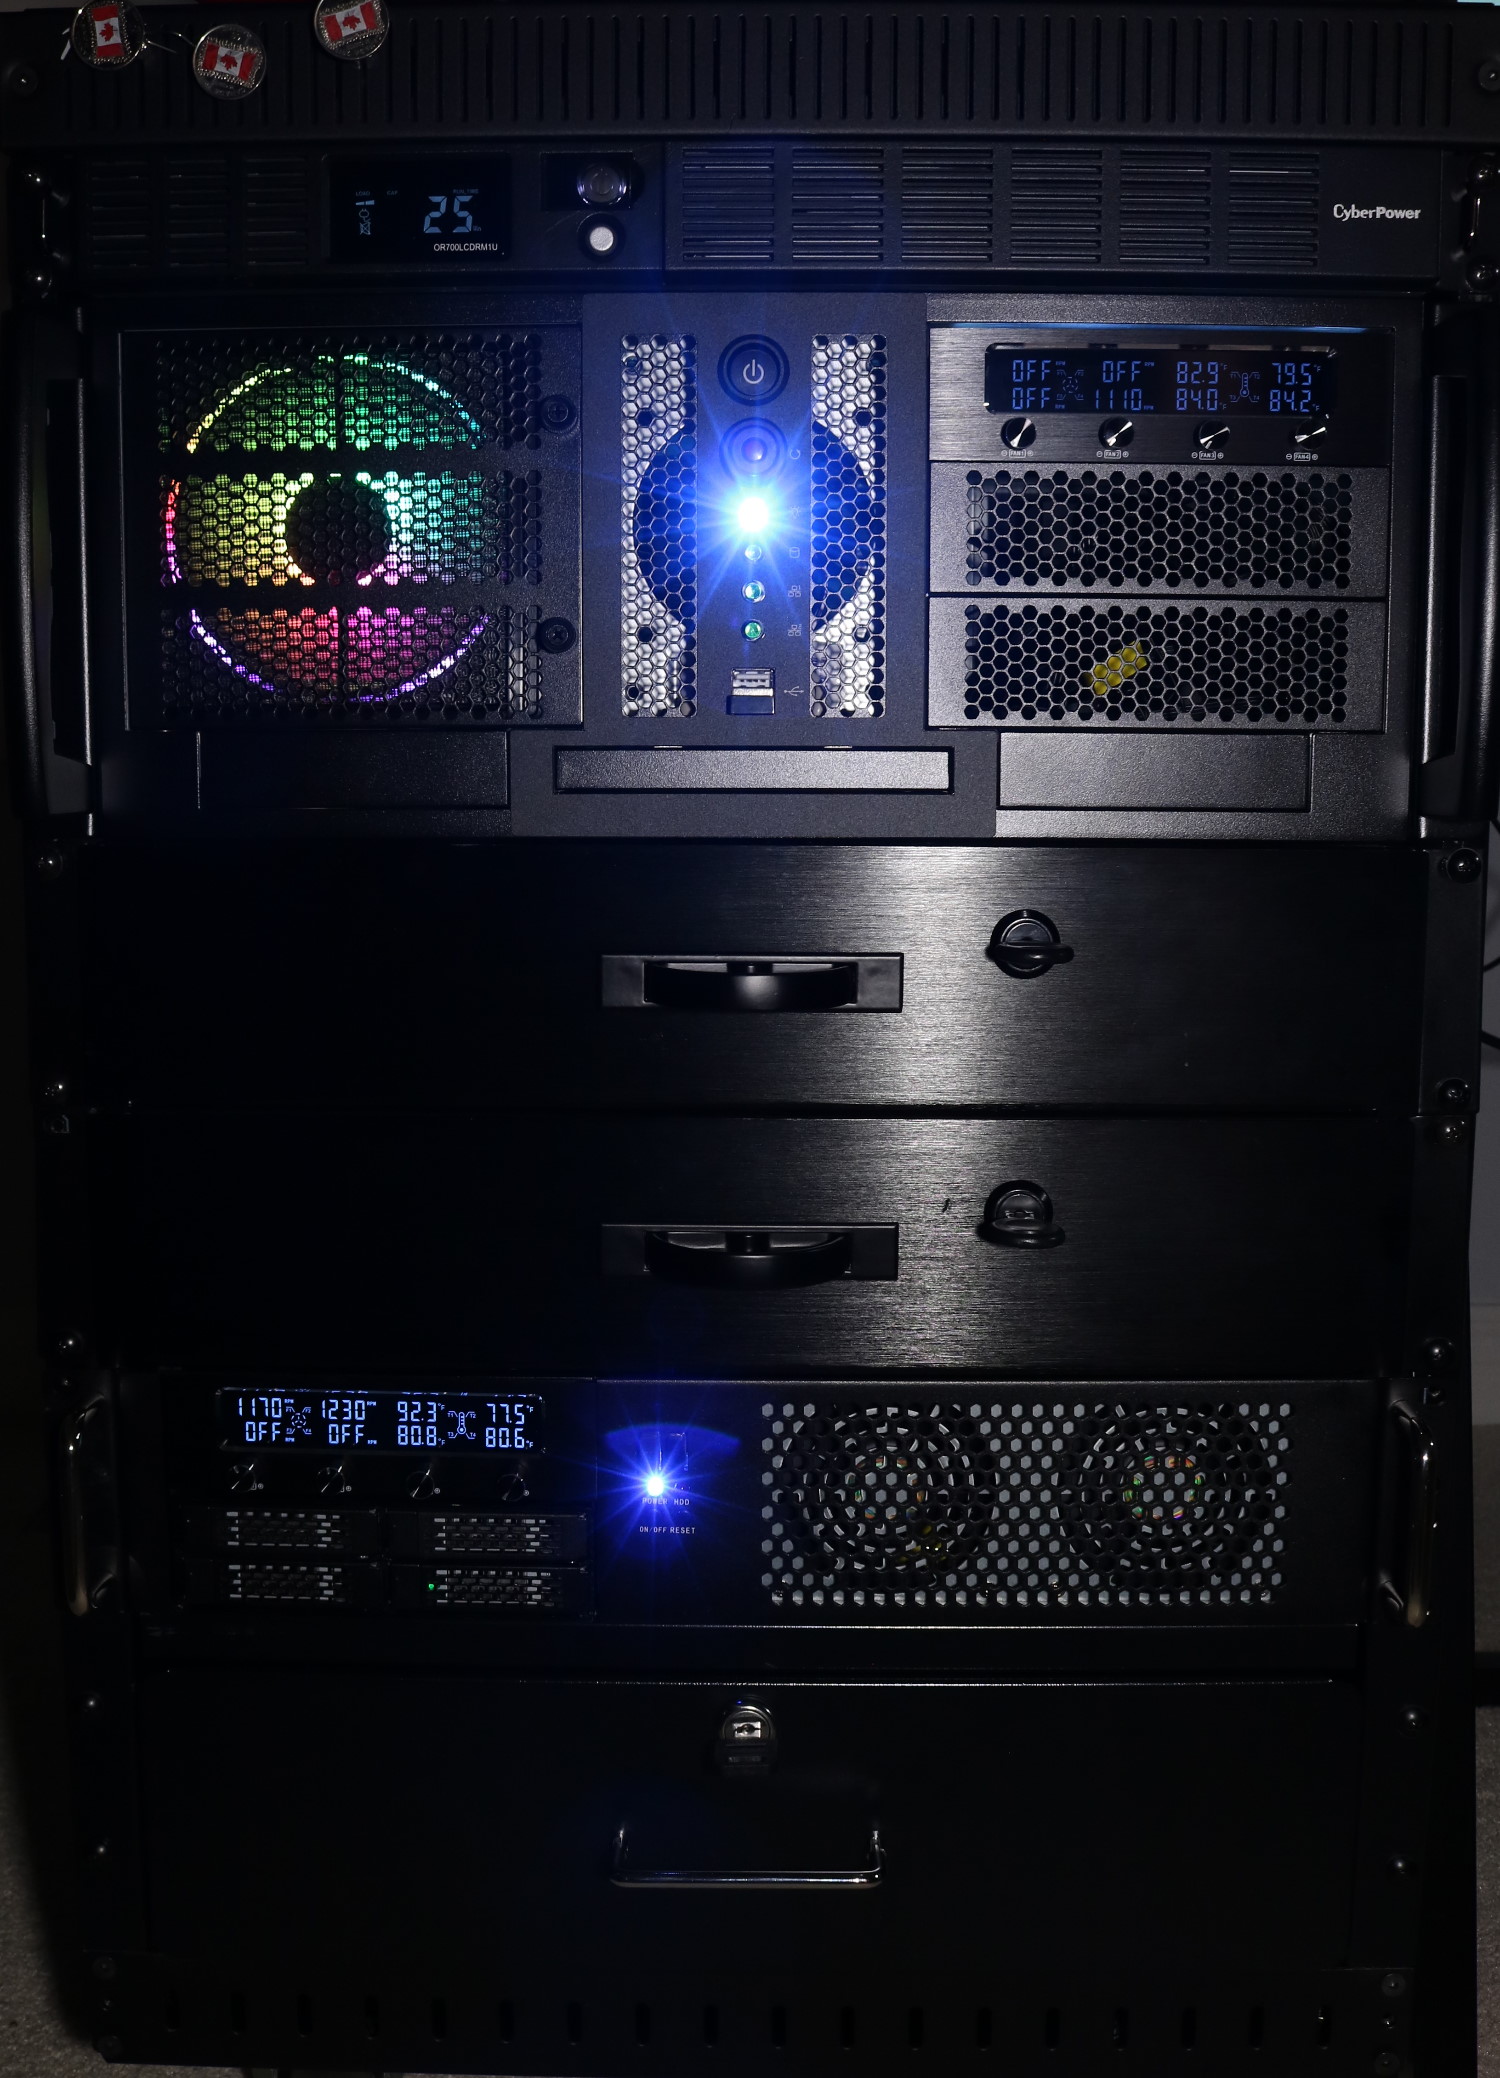
And this is my fully populated 14U rack. It holds an UPS on top, followed by my main 4U rig. Then there are two 2U drawers for storage. And then there is a 2U rig that is used as a backup storage (4TB SSD) as well as a secondary PC to play videos while I am doing something.
The 2U rig can also be powered by a small battery pack since its power draw is 20 watt, meaning under a power outage, I can still use my 2U rig to play videos.
Finally, on the bottom, I have a 3U drawer for more storage. The computers are on rails, so they can slide out for maintenance and whatnot. I am also using wifi to reduce cables. The UPS on top acts as a power strip. Everything is plugged on it.
Well, that’s it. Until next time.