Renault FT 1/16 by Takom
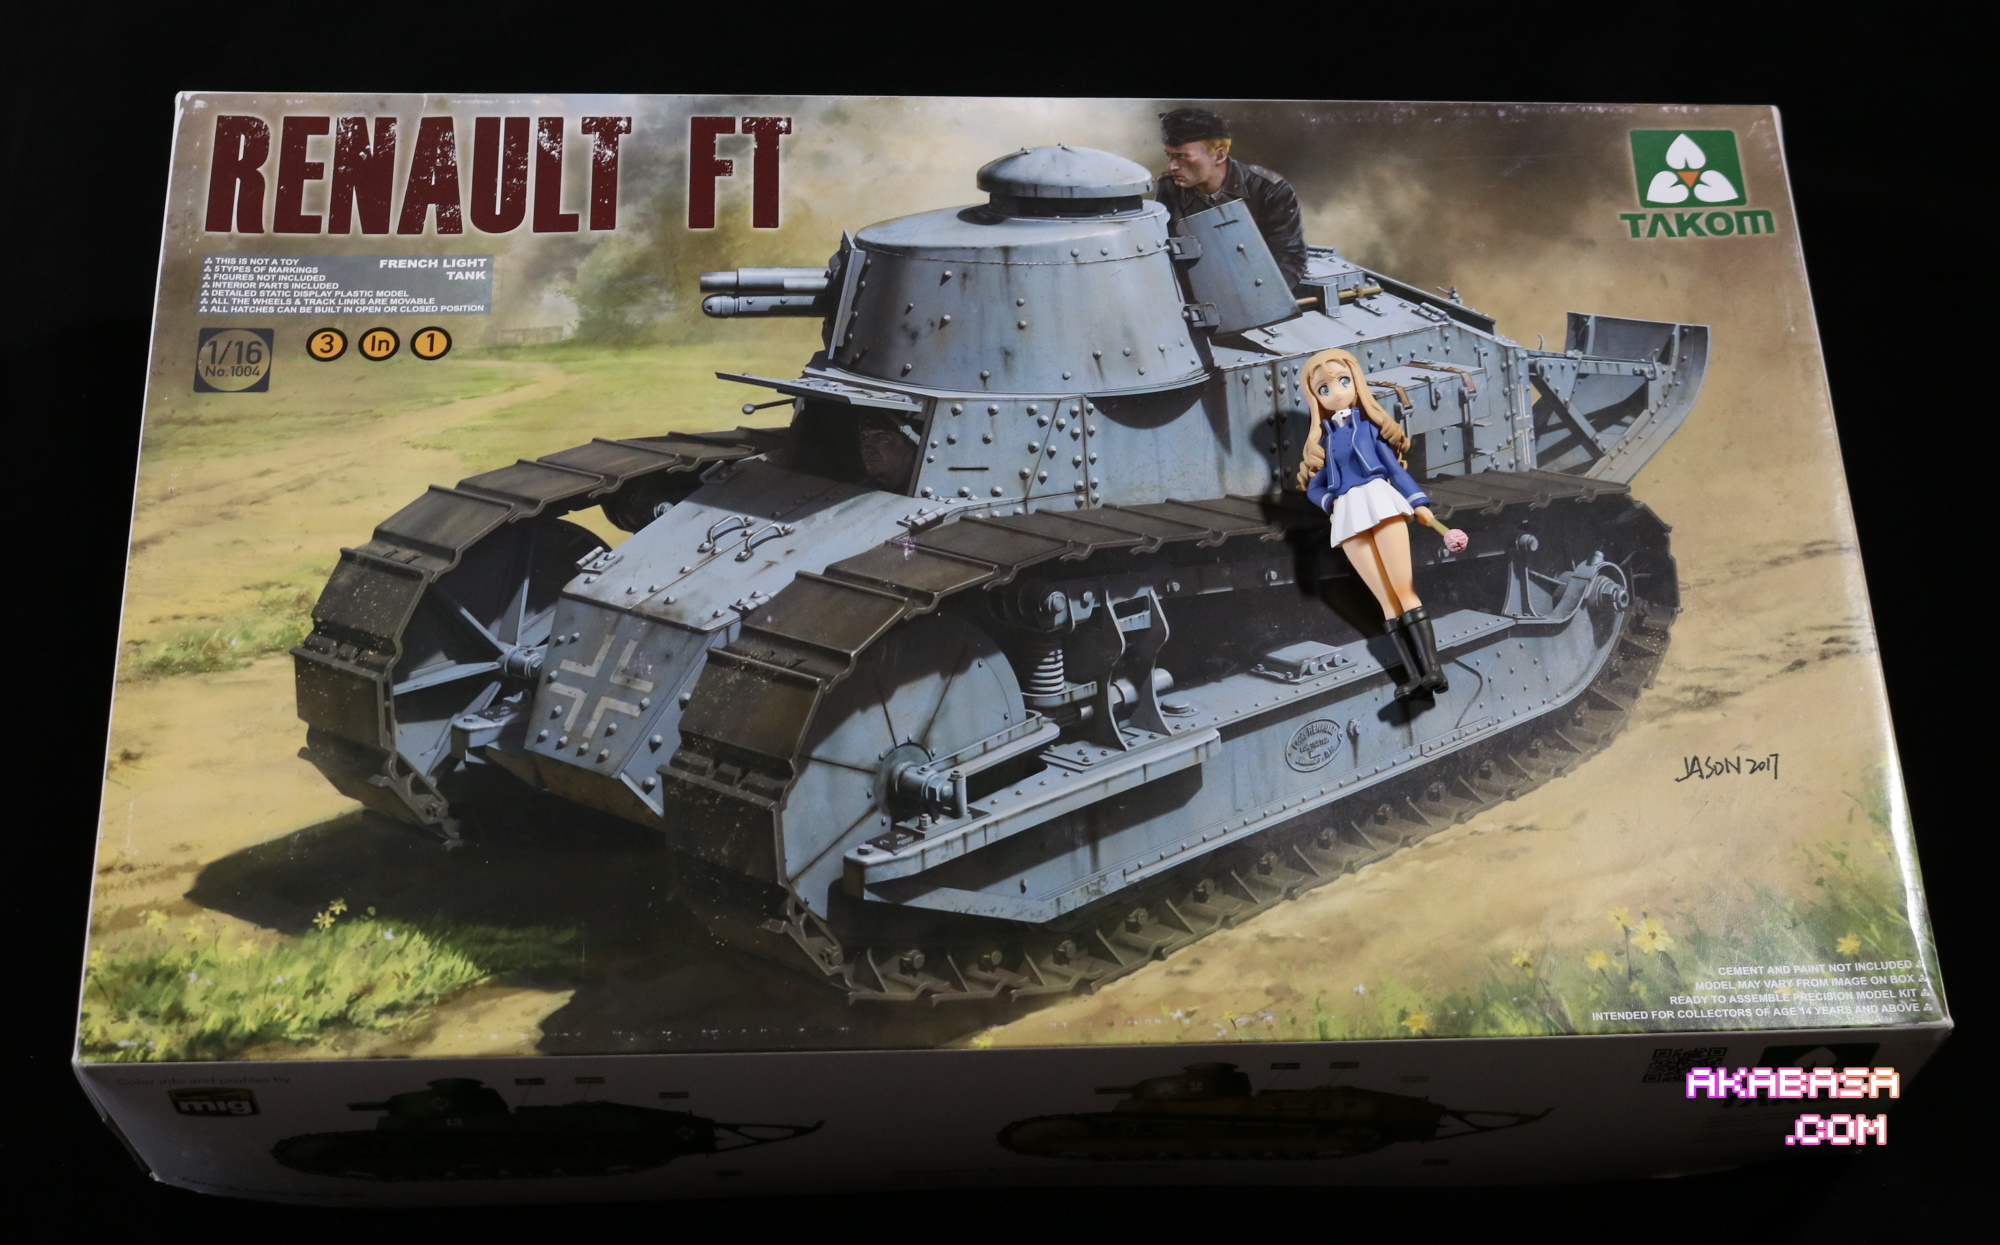
This is Renault FT 1/16 by Takom. I actually sourced this within Canada which surprised me since it’s rare to be able to get anything uncommon in this country.
Granted, I had to wait about 25 days for the vendor to “source it” but I got it nevertheless. The Renault FT is an iconic French tank. It was one of first tanks that had a fully rotating turret in its era (1918).
It was hardly a capable tank though for the world wars.
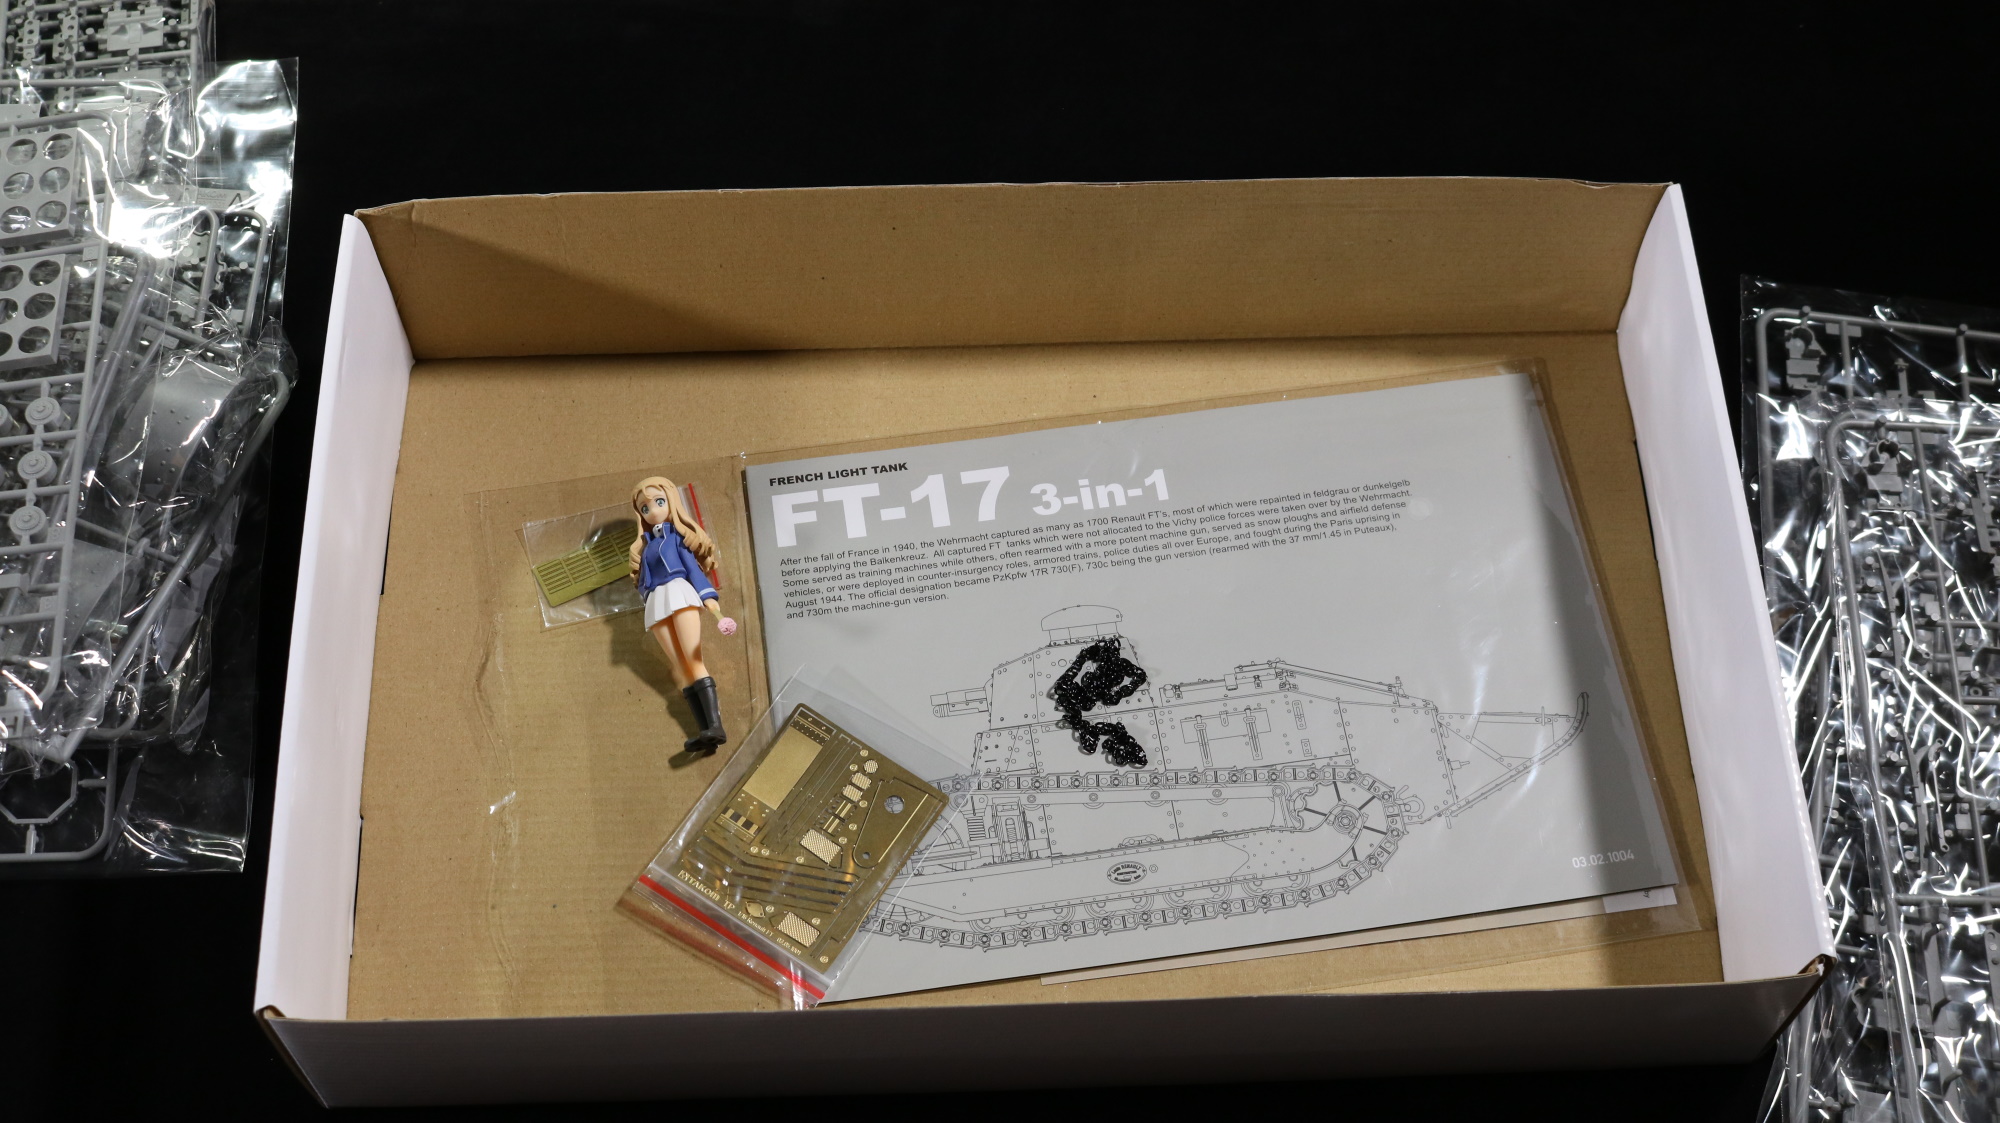
This tank is going to be the smallest tank I build in 1/16 scale. For small tanks like these, 1/16 scale is just better. In 1/35 scale, this tank would be tiny.
It says “3 in 1”. I would later find out what it means.
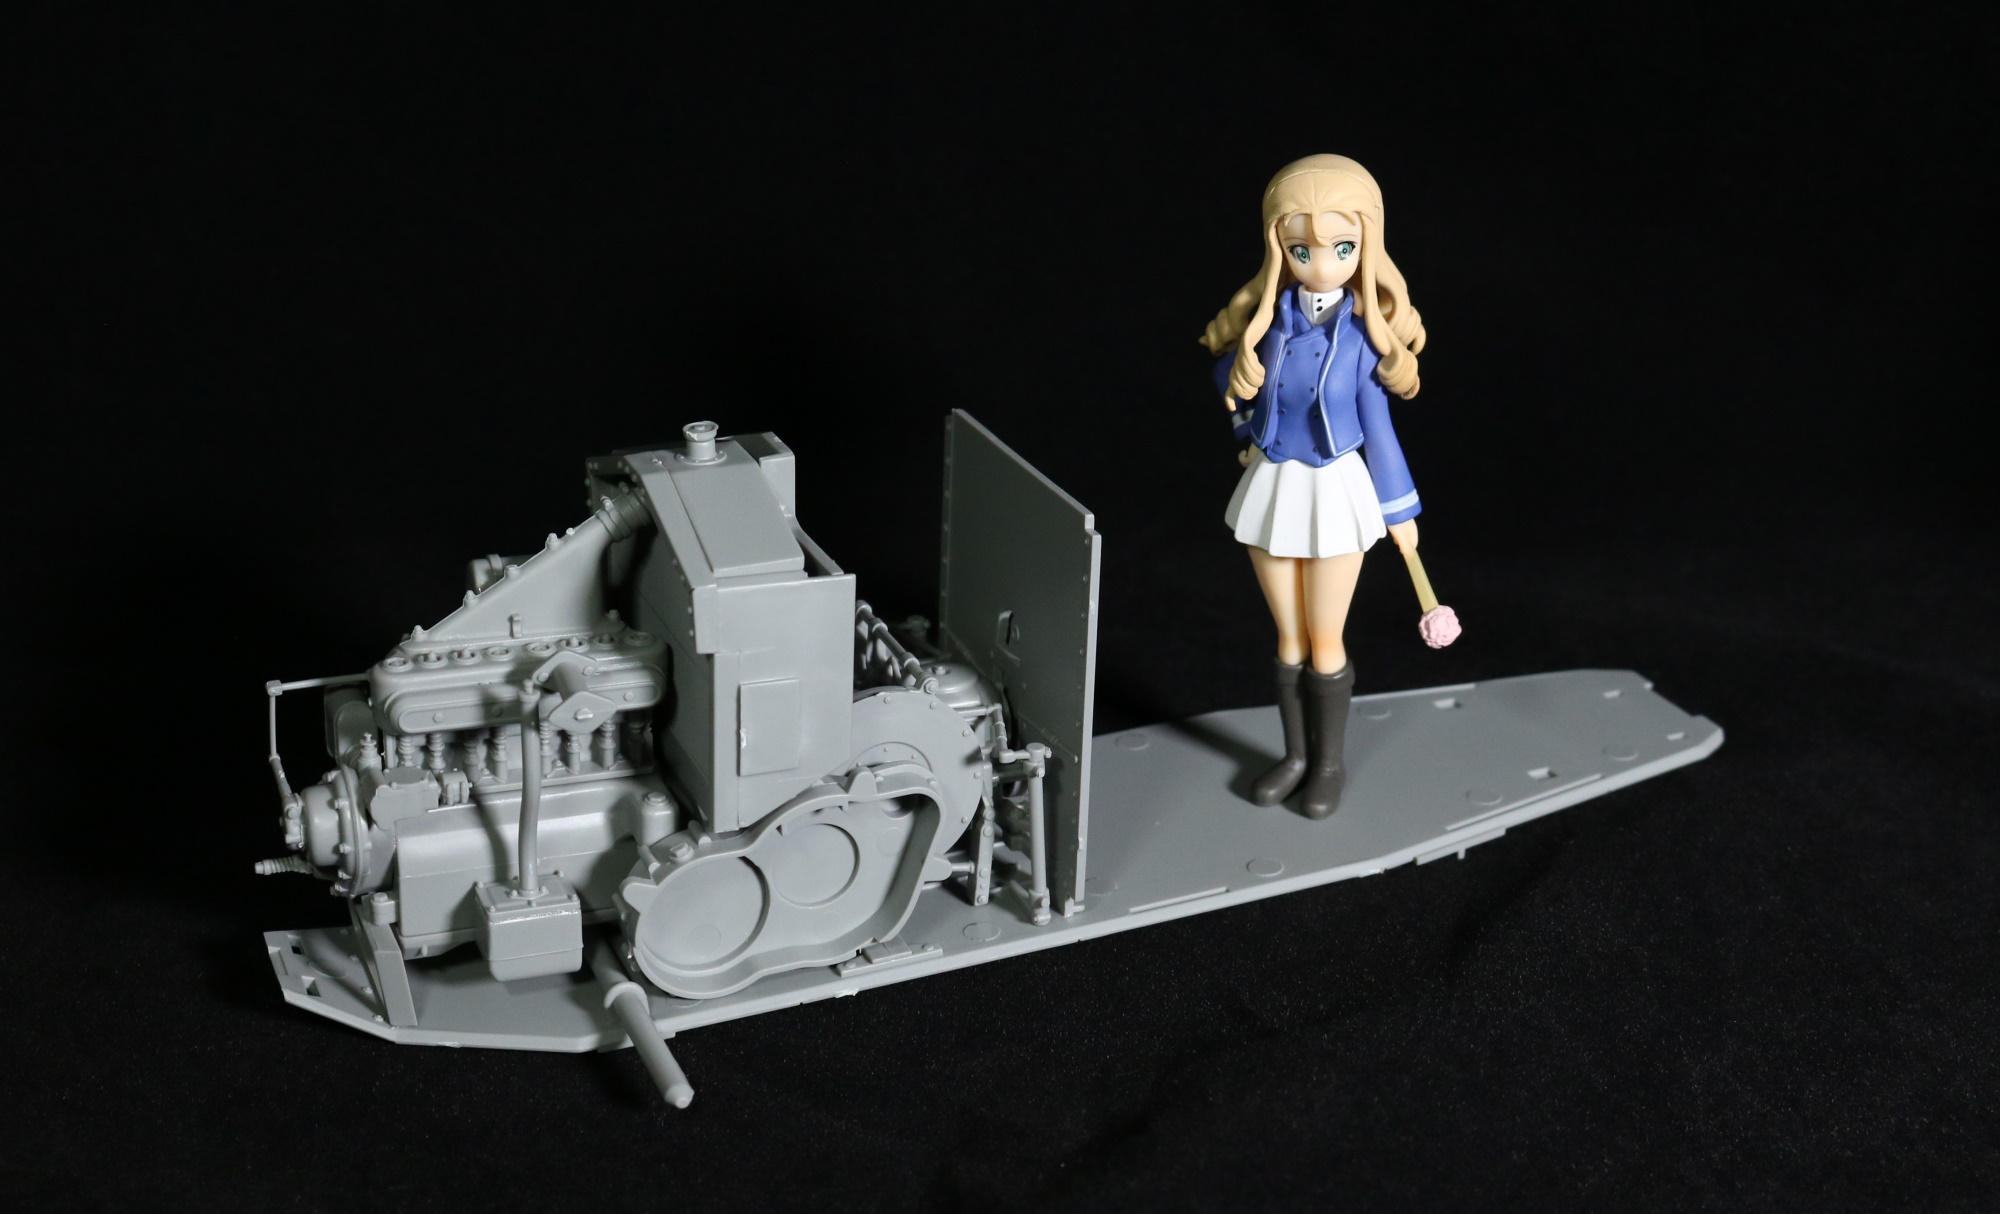
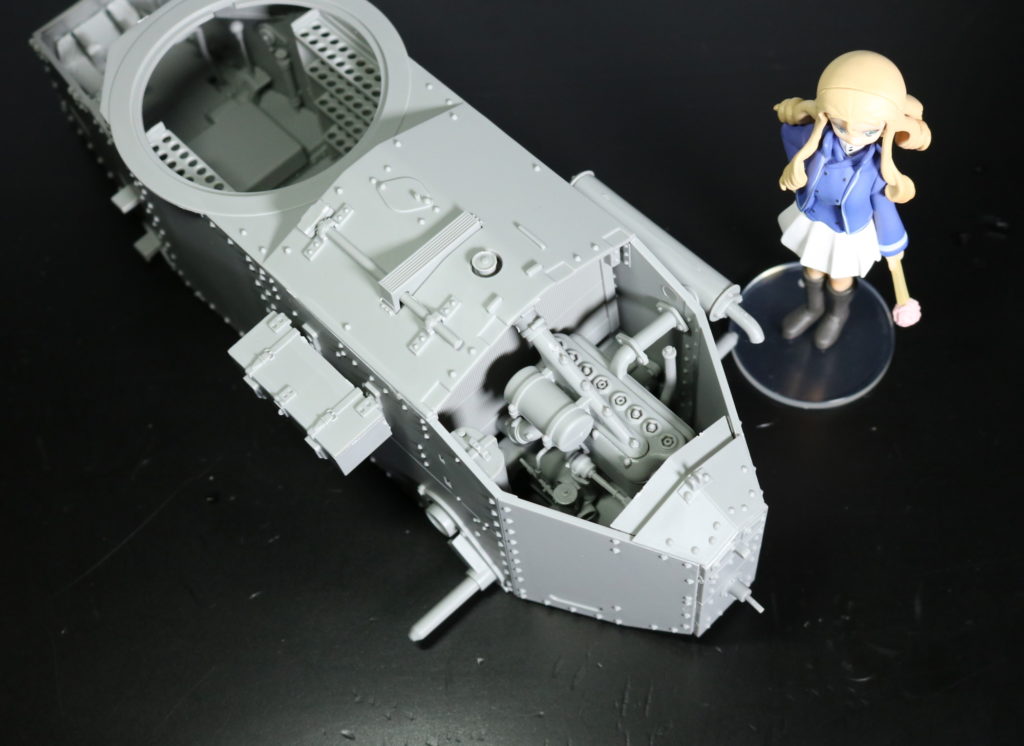
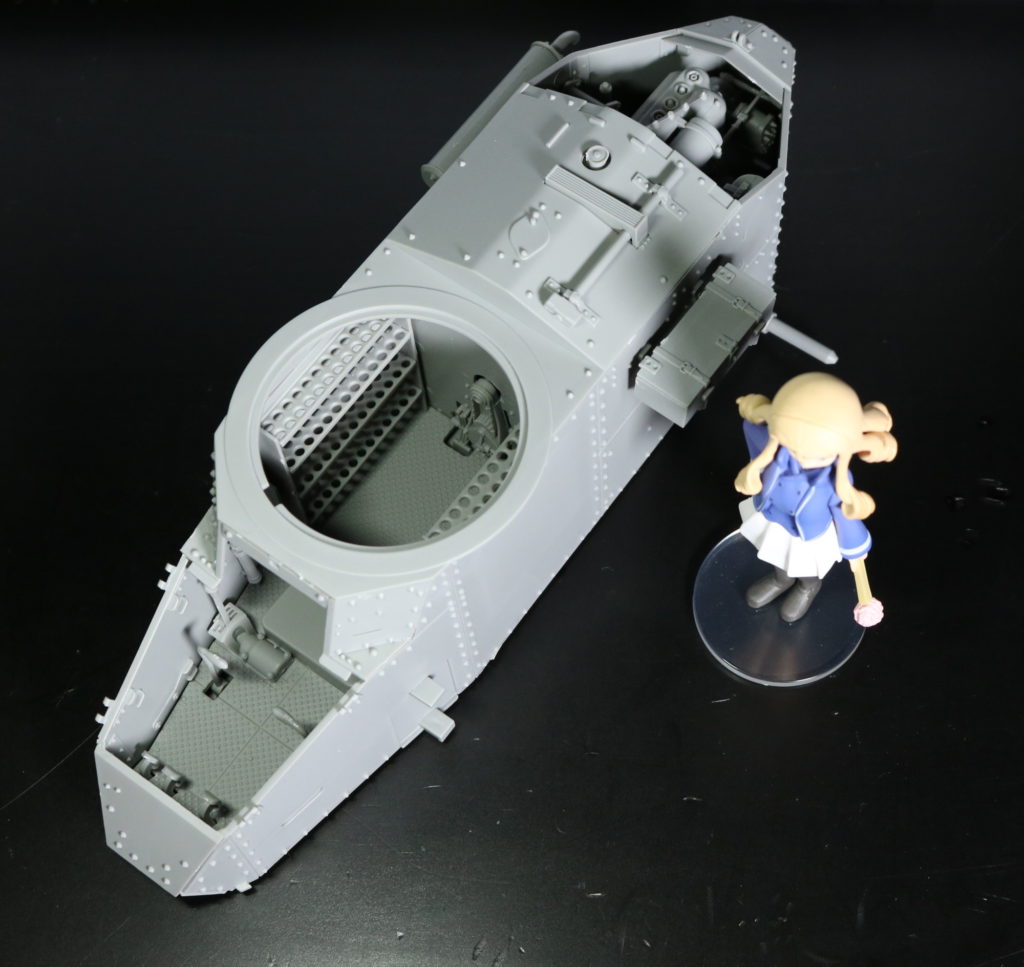
You know, when I am putting together a tank model kit, I’ve never had to assemble an engine for its tank. For this kit though, that was what I had to do. I was assembling its engine and every single bit of its interior.
Later, I found out that this part was completely optional as a complete model would generally not reveal its engine. However, this is what “3 in 1” means. You have three options and having the engine panels open in a completed model is the first option.
I wish I knew about that sooner because I would have loved to have used the engine elsewhere in a diorama or something.
Also, as you can see from above photos, the tank is really small. Marie who is a loli seems big to fit inside of the tank.
And, if I recall correctly, in Des Finale part 2 of GuP, three girls rode in the tank which I highly doubt. Only two people could barely fit in the tank. The first would ride in the driver’s seat. The second would control the turret.
But then Marie was hardly in the tank; she sat on tank.
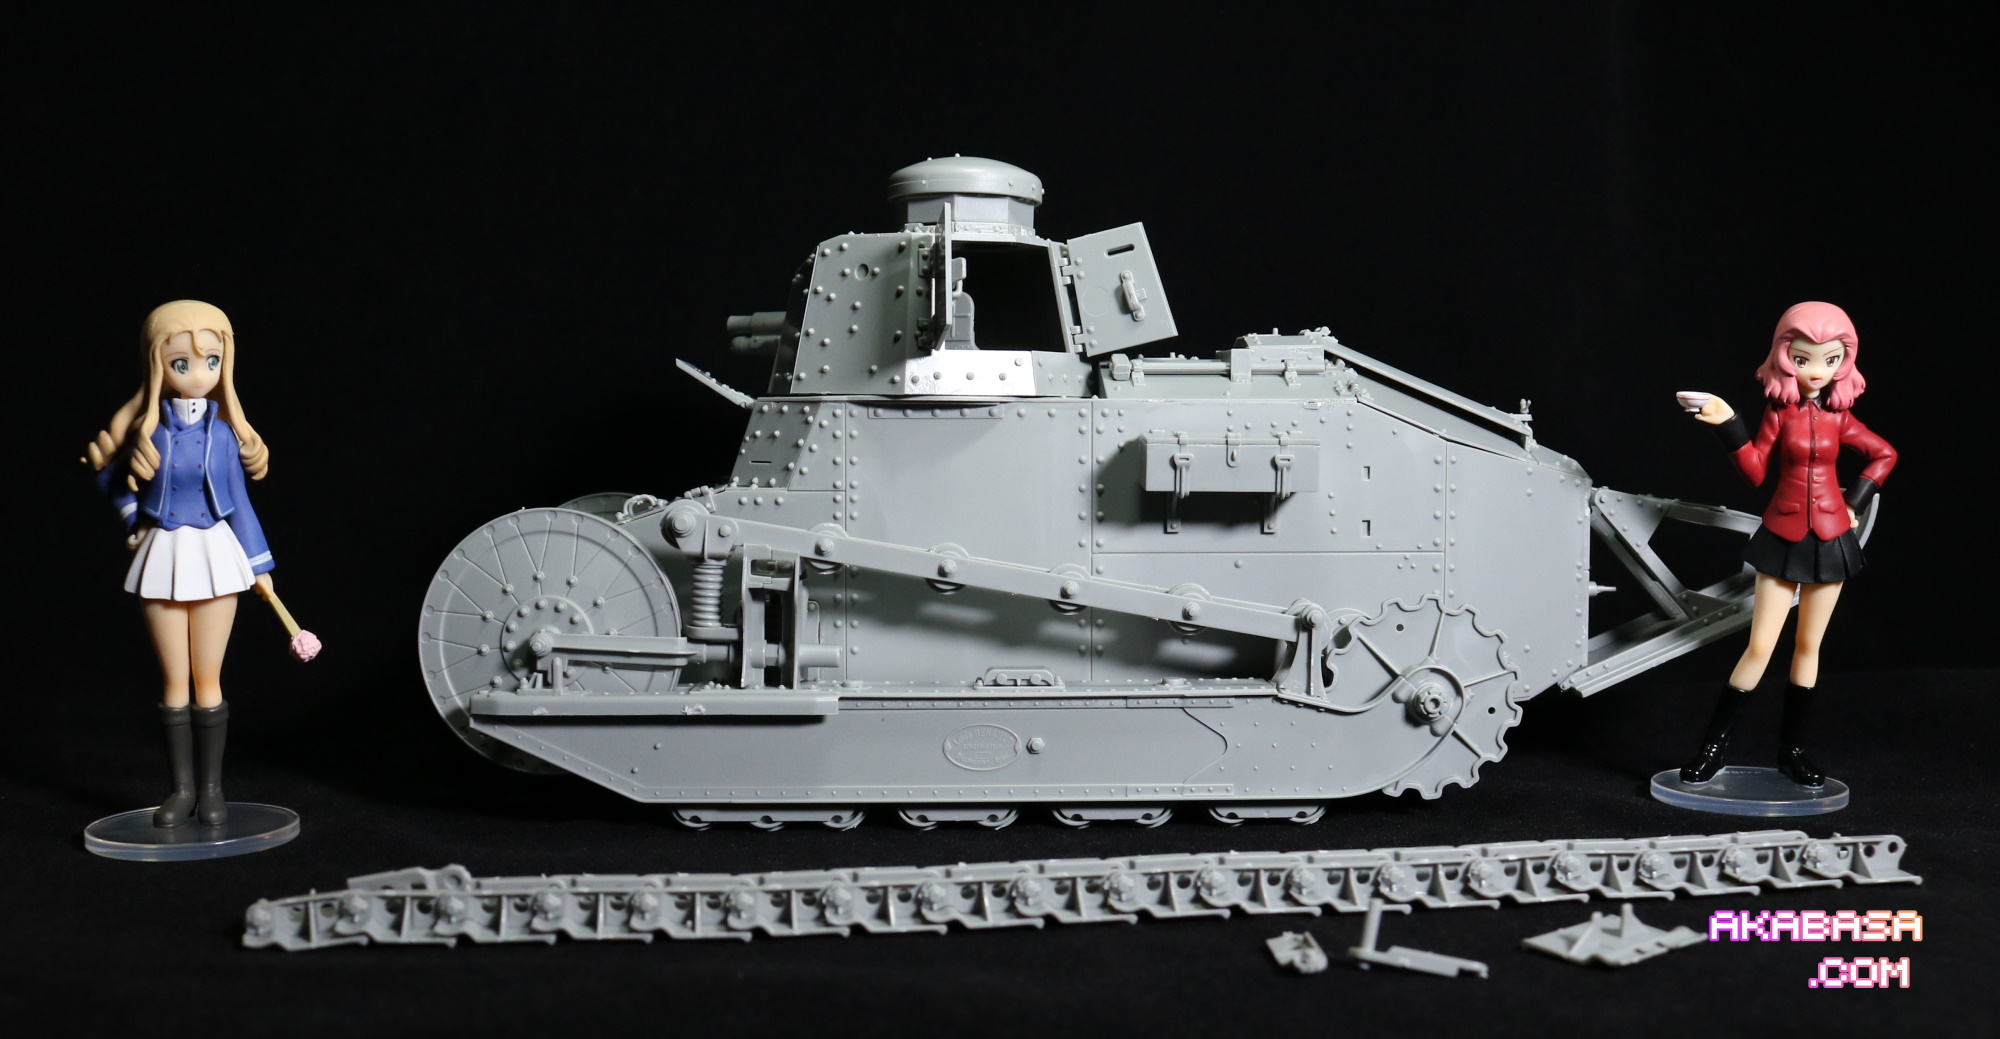
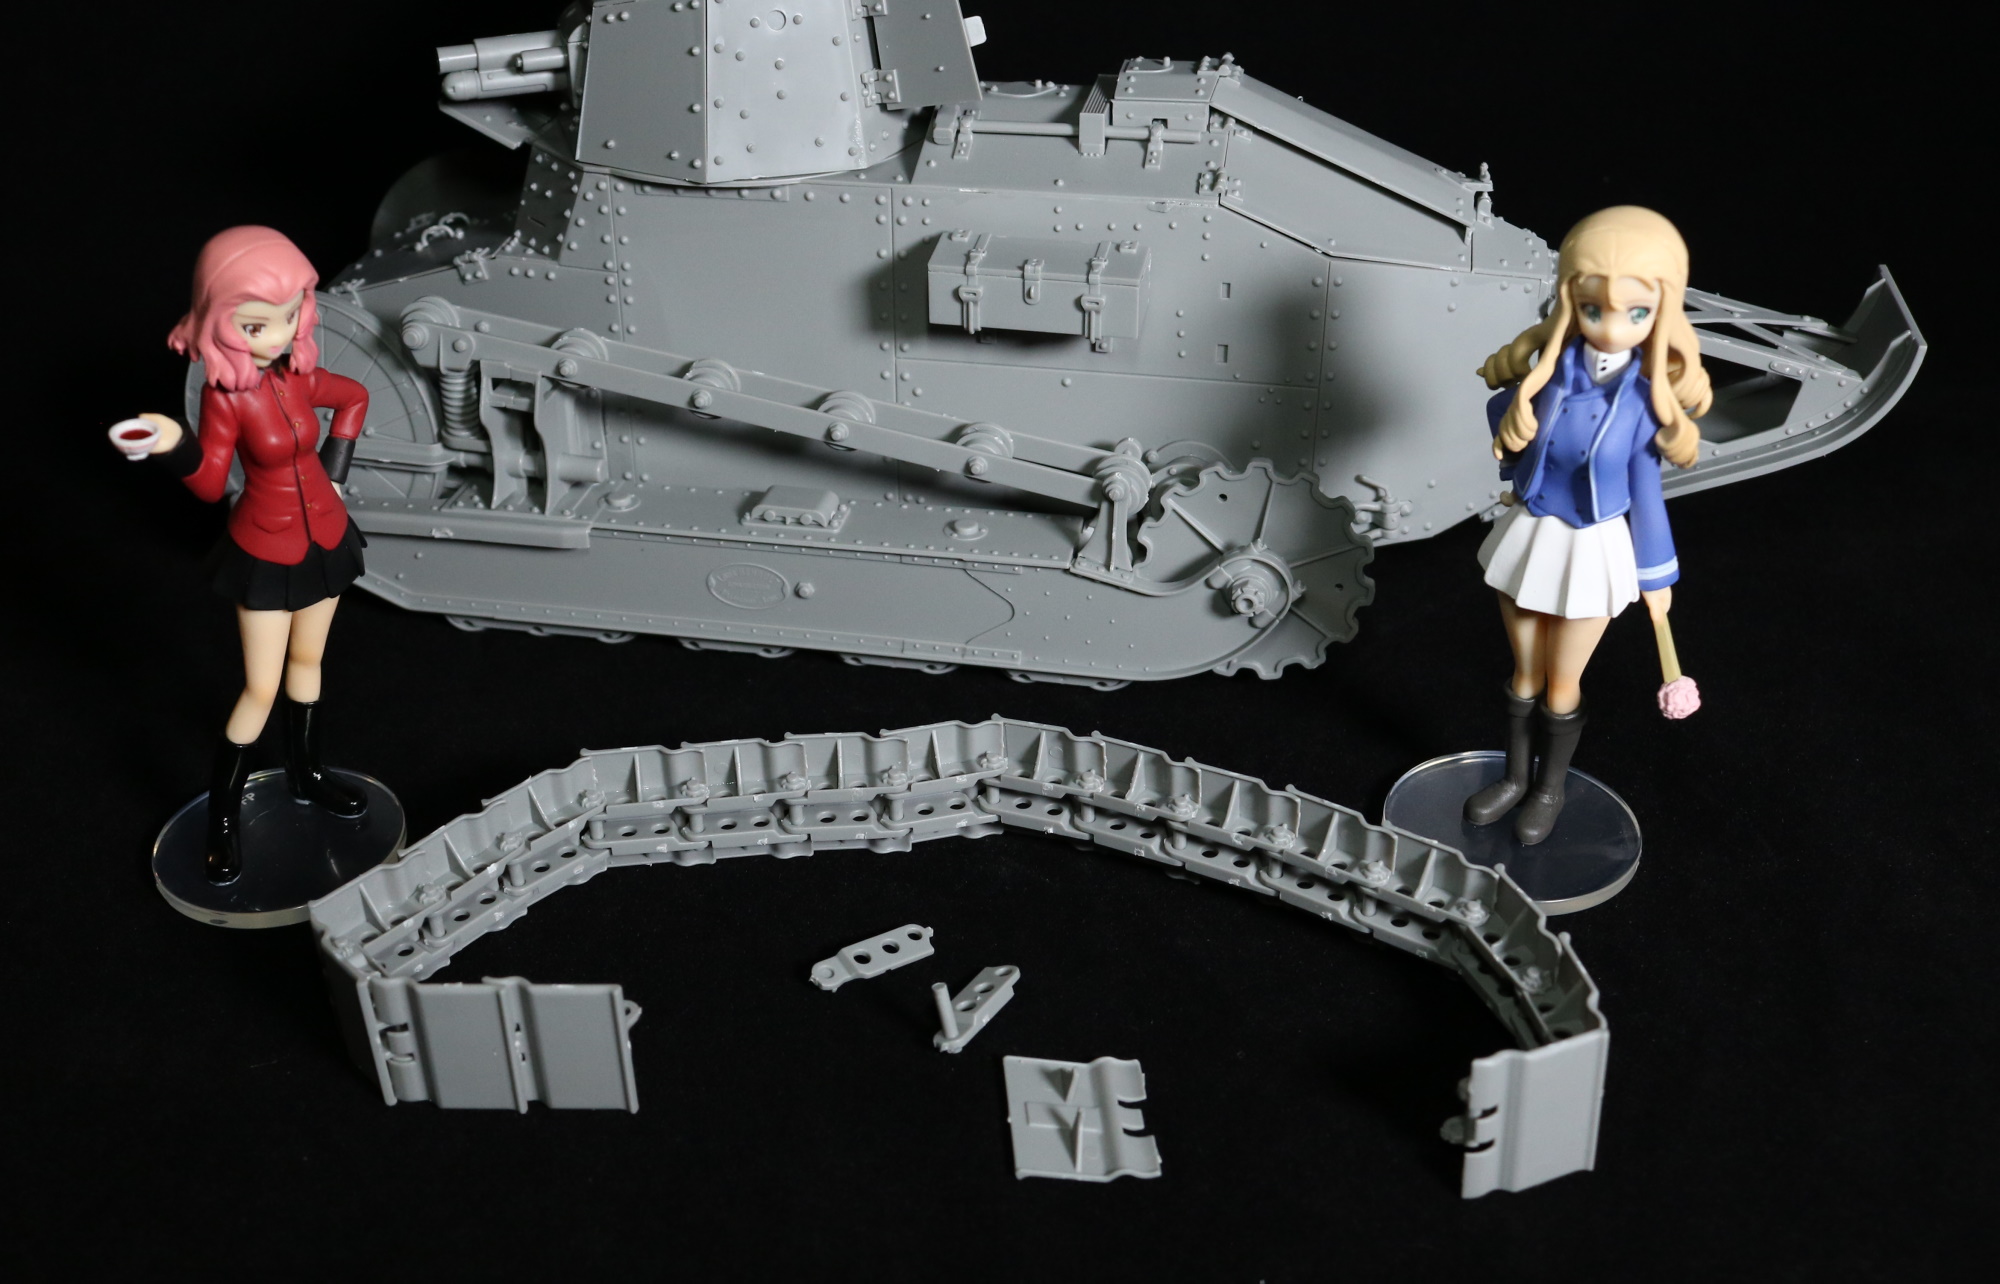
Oof, the tracks. The tracks for this tank has given me some horrid moments. In the past builds for 1/16 scale Tiger I and Pazner I, assembling tracks was simply time consuming. Neither tracks required gluing.
Renault’s tracks, however, require both gluing and assembly. A simple track has three components that need to be glued. Two need to be glued right away and the third need to be put in later and glued. All in all, the tracks were bothersome. It wasn’t hard by any means but a moment of lapse in concentration could result having to destroy an entire track to revert a mistake, which happened to me once.
What is worse is that the track cannot be taken off once fully assembled. I will talk about this later.
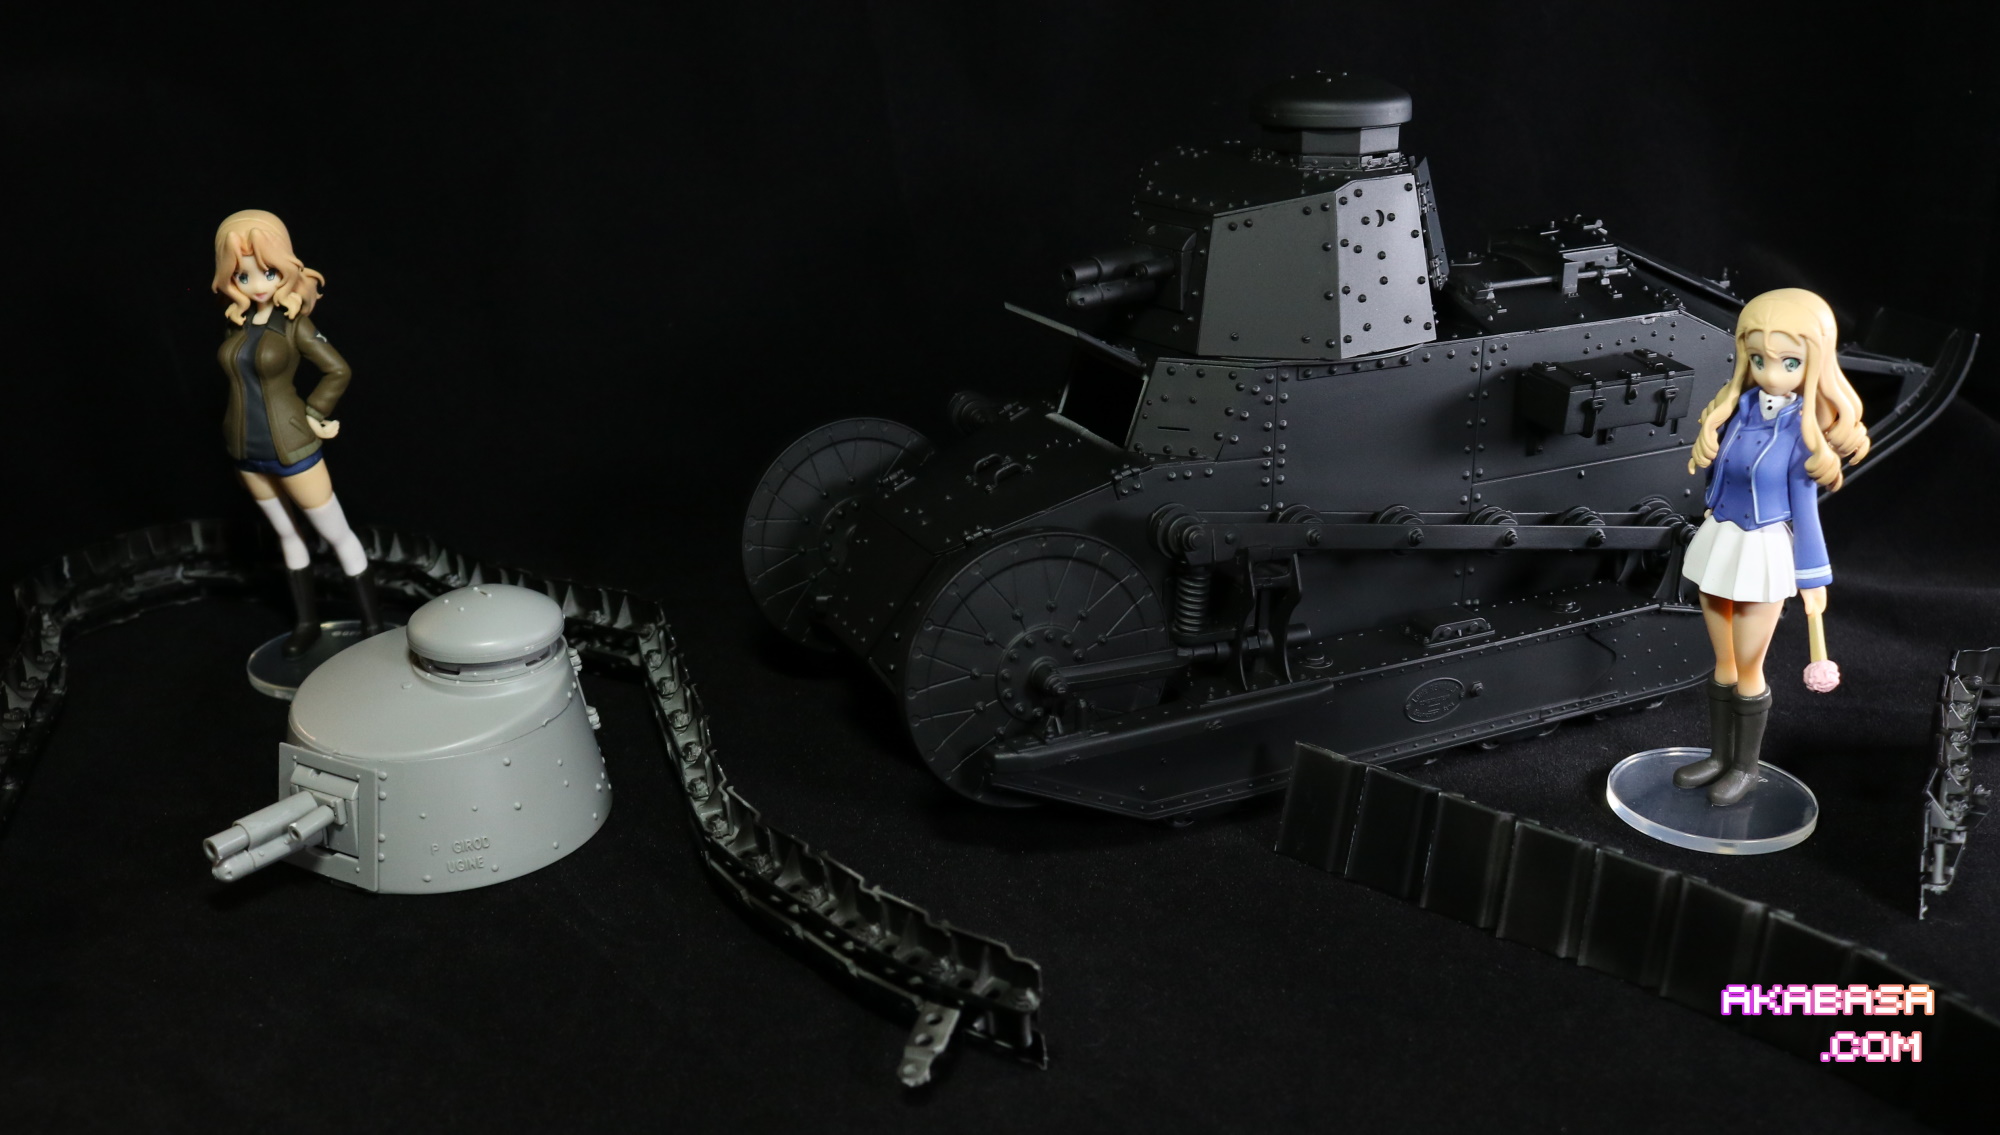
Remember “3 in 1”? The first option was the interior. I am thinking that the second option is the turrets. The kit comes with two turrets. Both are historically accurate. I opted for a more boxy version of turret despite a fact that the round turret was seen in GuP Des Finale.
The third option is turret guns. There is a flamethrower gun option in the kit.
So, that is what “3 in 1” means, I think. I am not 100% certain.
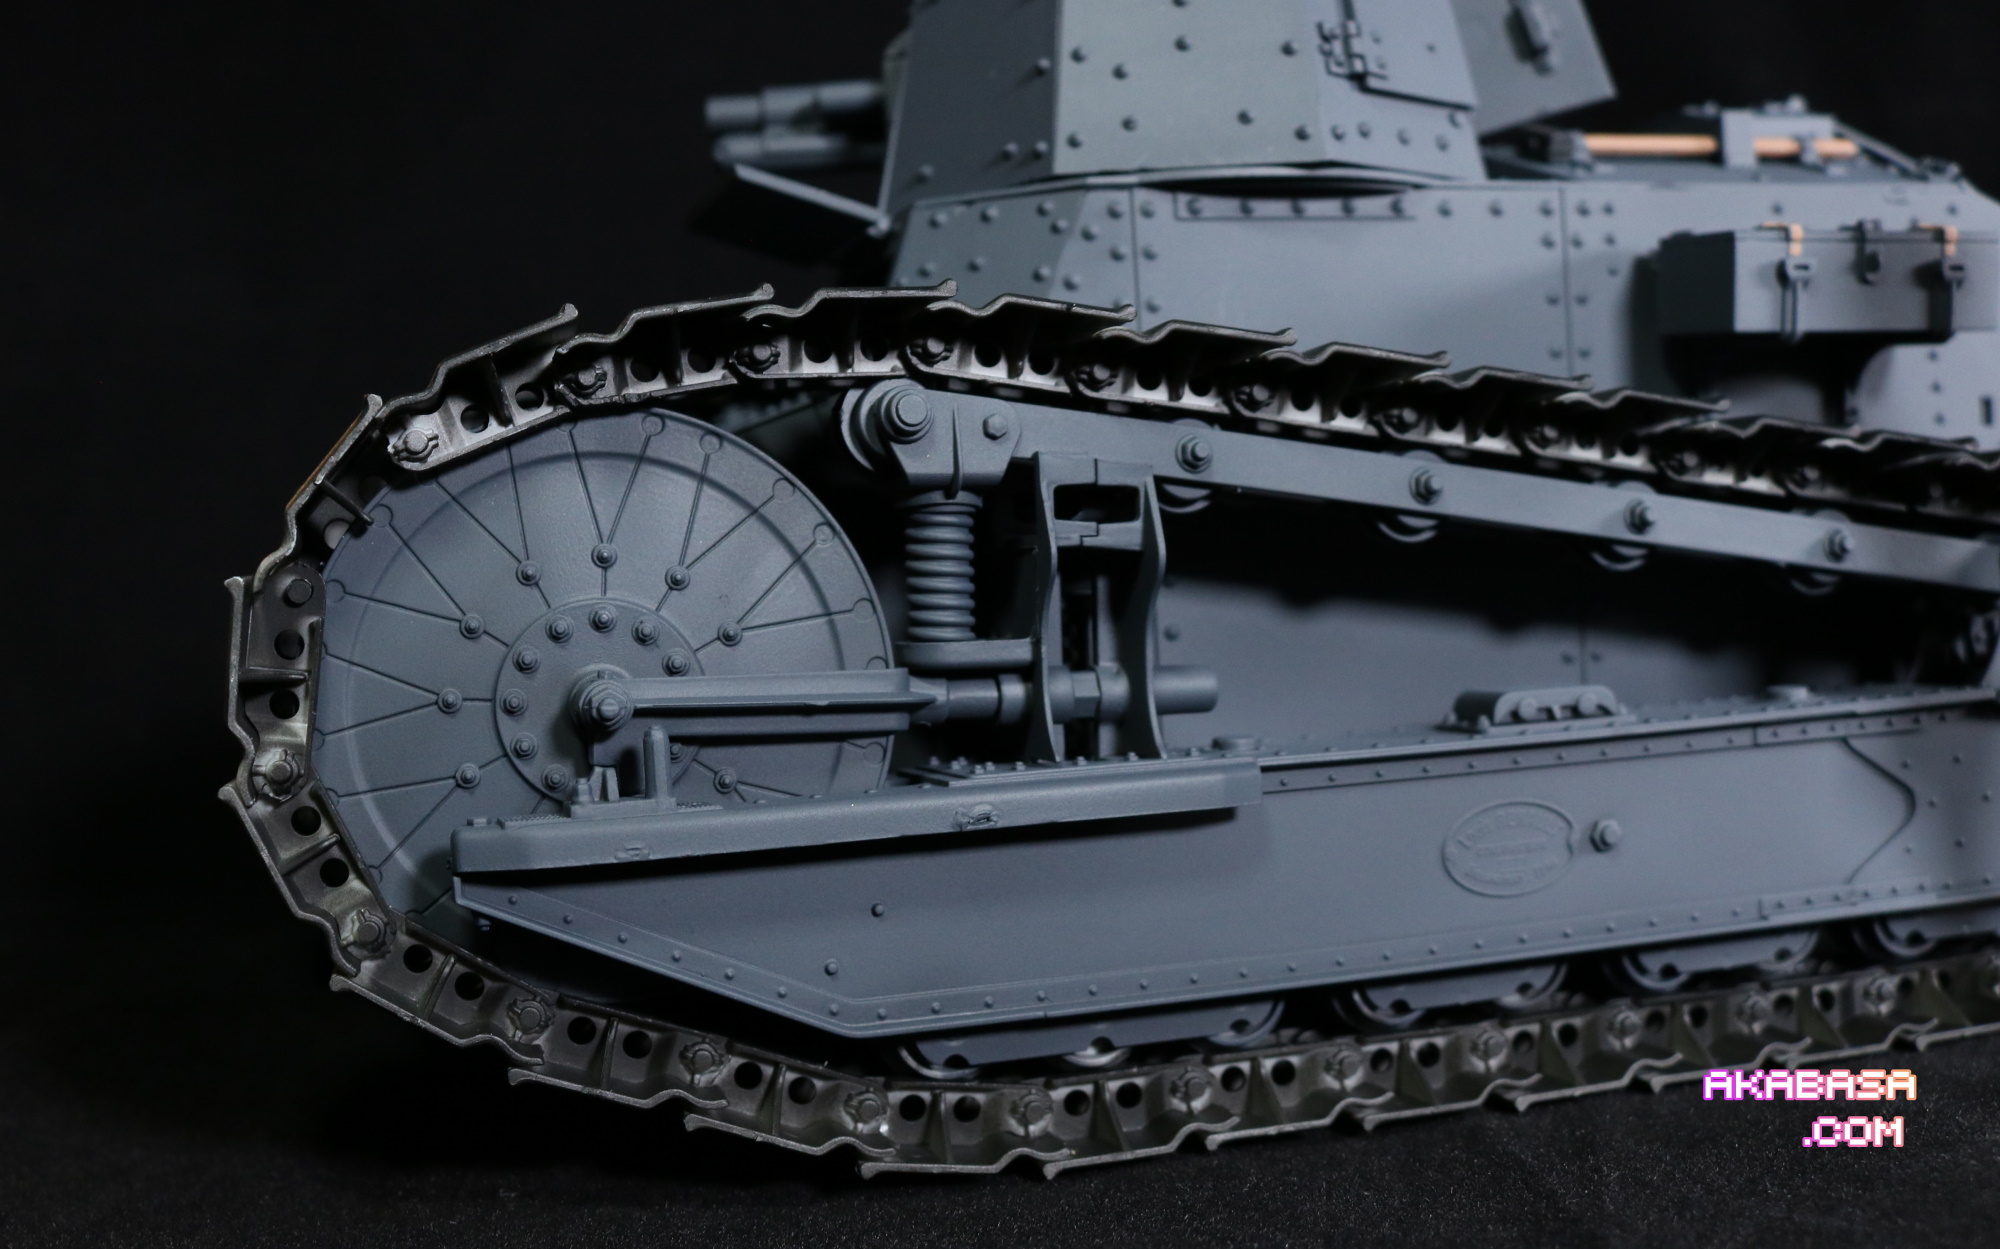
If you look at closely at the above photo, you may find a track missing a component on top left portion. I intentionally did not assembled the last part. Because, if I do that, the tracks will not be able to be taken off unless I destroy it.
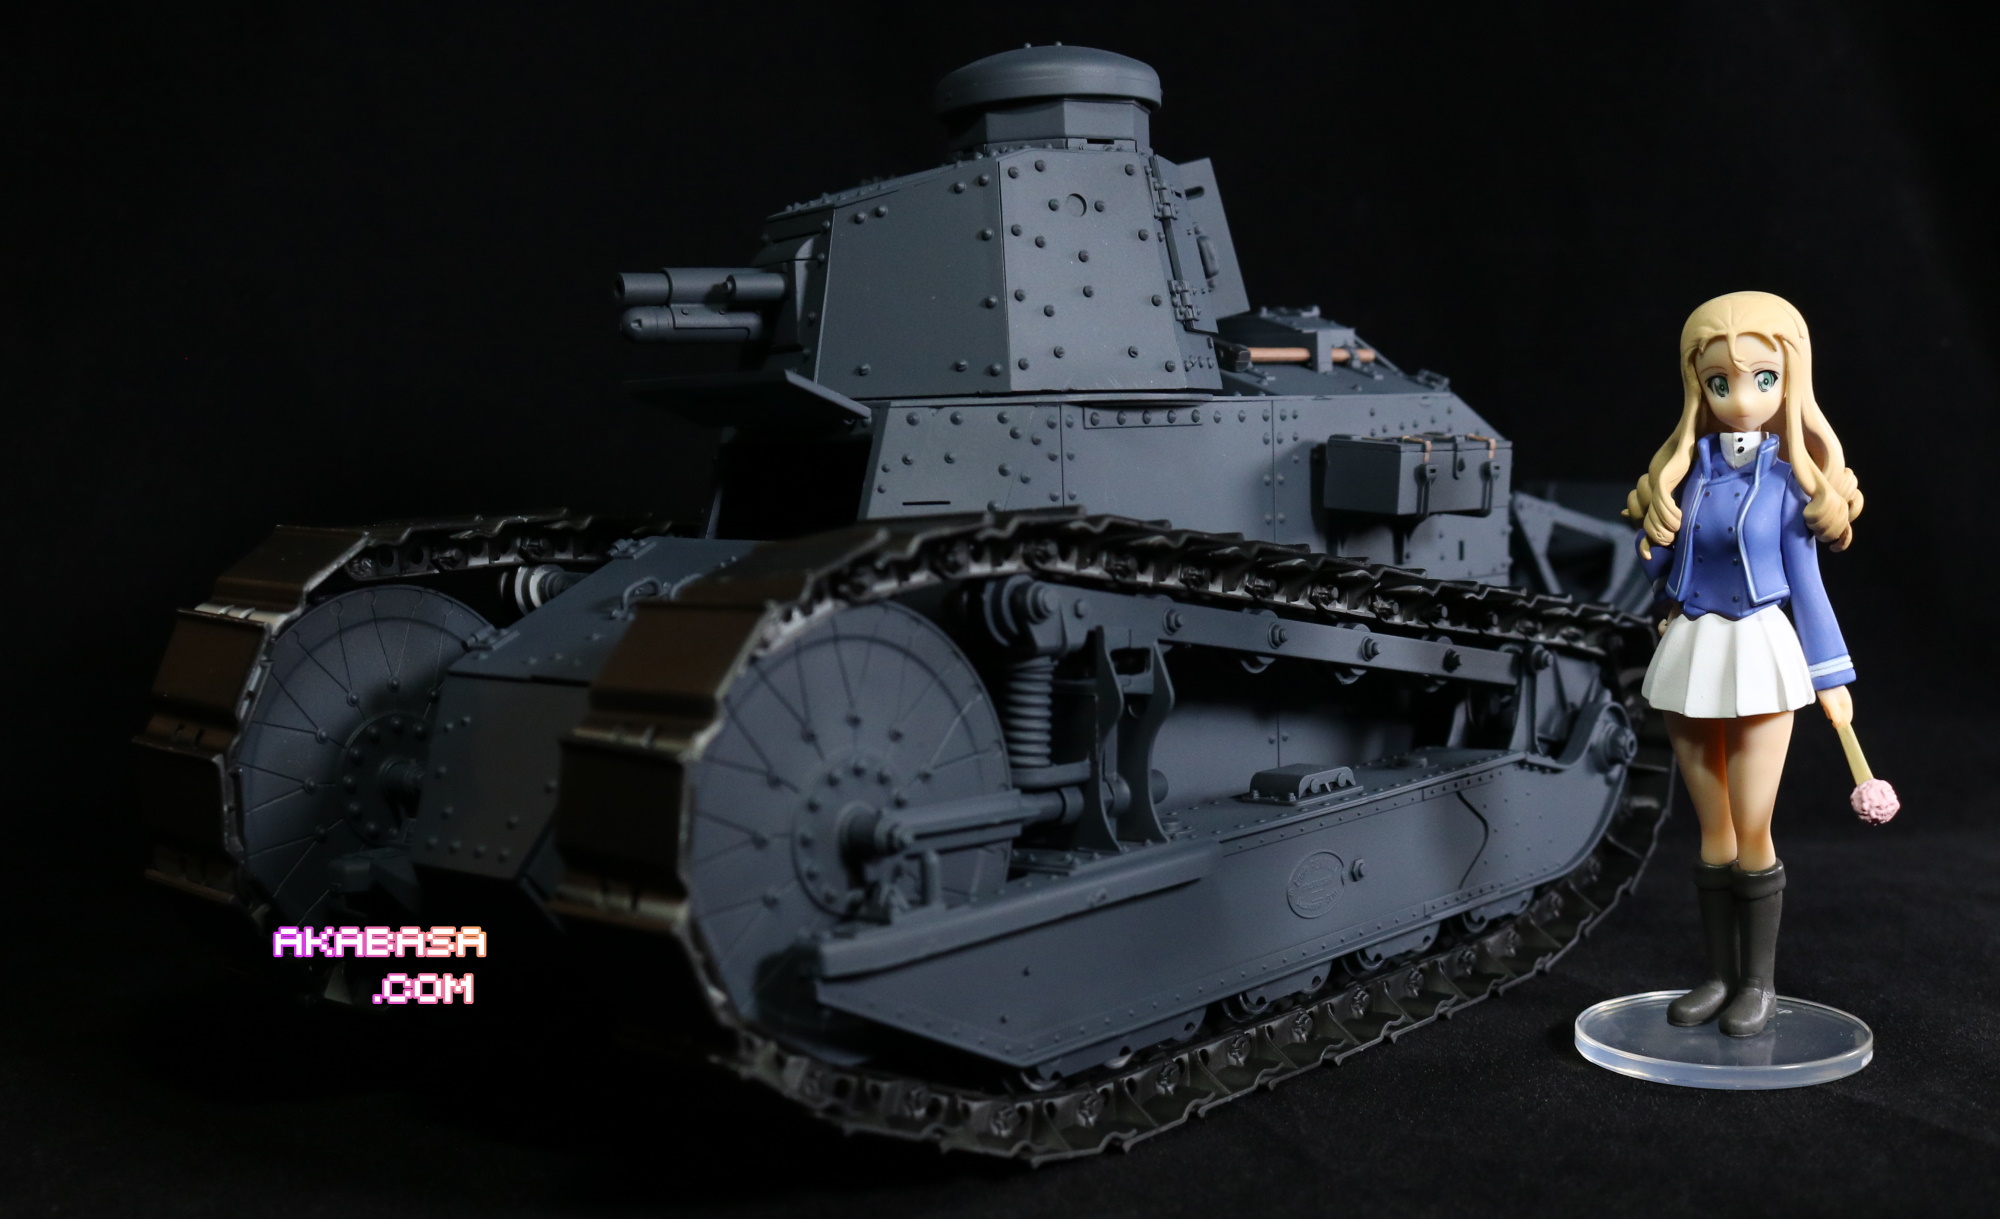
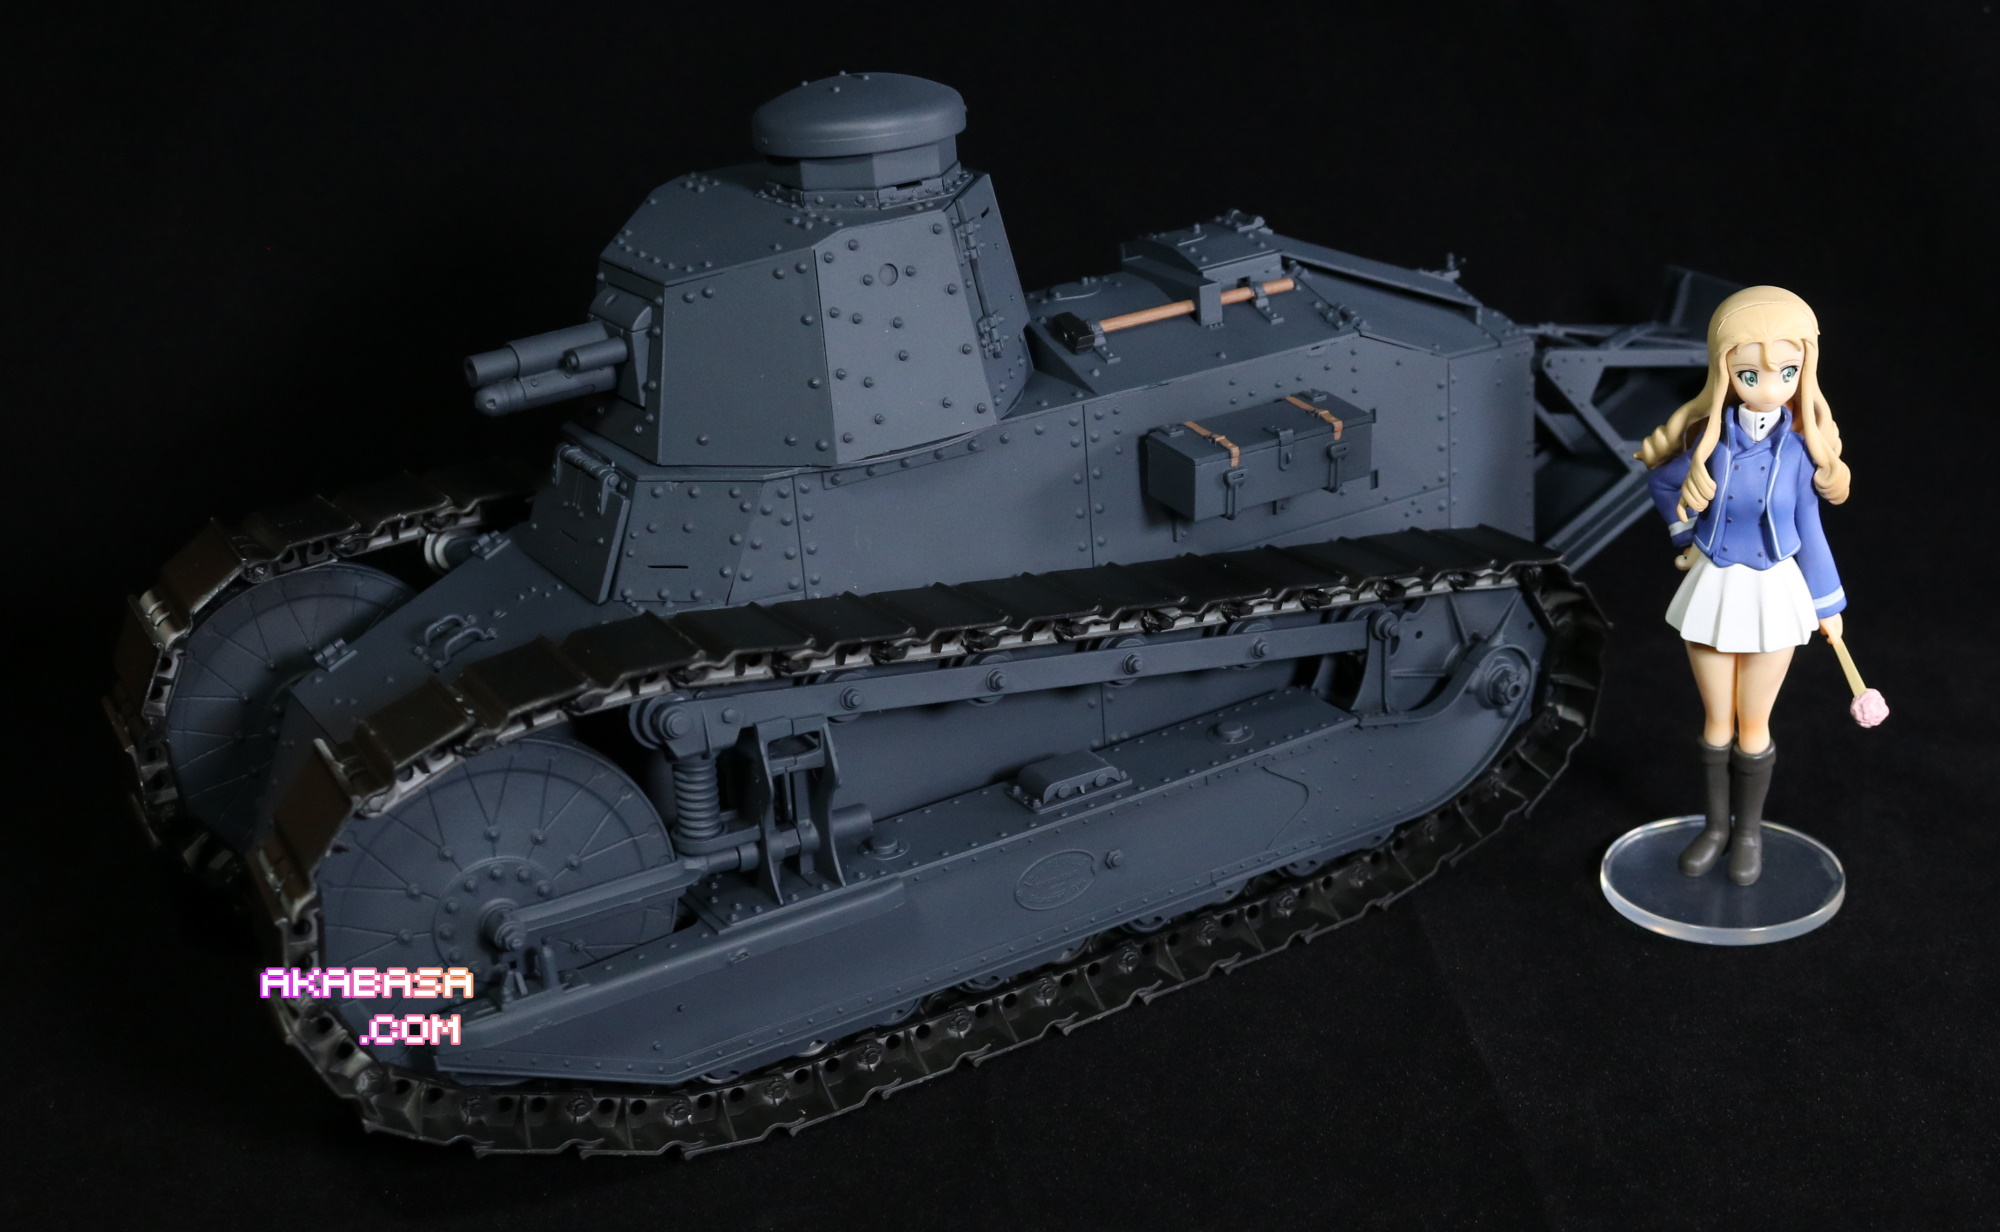
Choosing the color for the tank was easy as there was only one choice to consider. I primed in black and then airbrushed in a color called “Gray Gray”. The tracks were airbrushed once but will need to be manually painted to close the gaps.
Sadly, I do not have decals for BC Freedom school.
Overall, the assembly of this tank wasn’t particularly hard but it started off unconventionally and then the tracks gave me sore eyes, fingers, and back.
I really wish I had kept the engine out of the tank. It would have been really useful as a diorama prop.
Oh, well.

![[Maid-san] [Recast] GuP Amaretto 1/12 scale garage kit](https://akabasa.com/wp-content/uploads/2021/09/amaretto_maidsan_11-768x413.jpg)
![[Poly-Toys] GuP Nishi Kinuyo 1/20 scale garage kit](https://akabasa.com/wp-content/uploads/2021/09/poly-toys_gup_nishi-kinuyo_1-768x432.jpg)
![[Volks] CharaGumin Mariclle](https://akabasa.com/wp-content/uploads/2021/09/volks_marcille_1-768x432.jpg)
