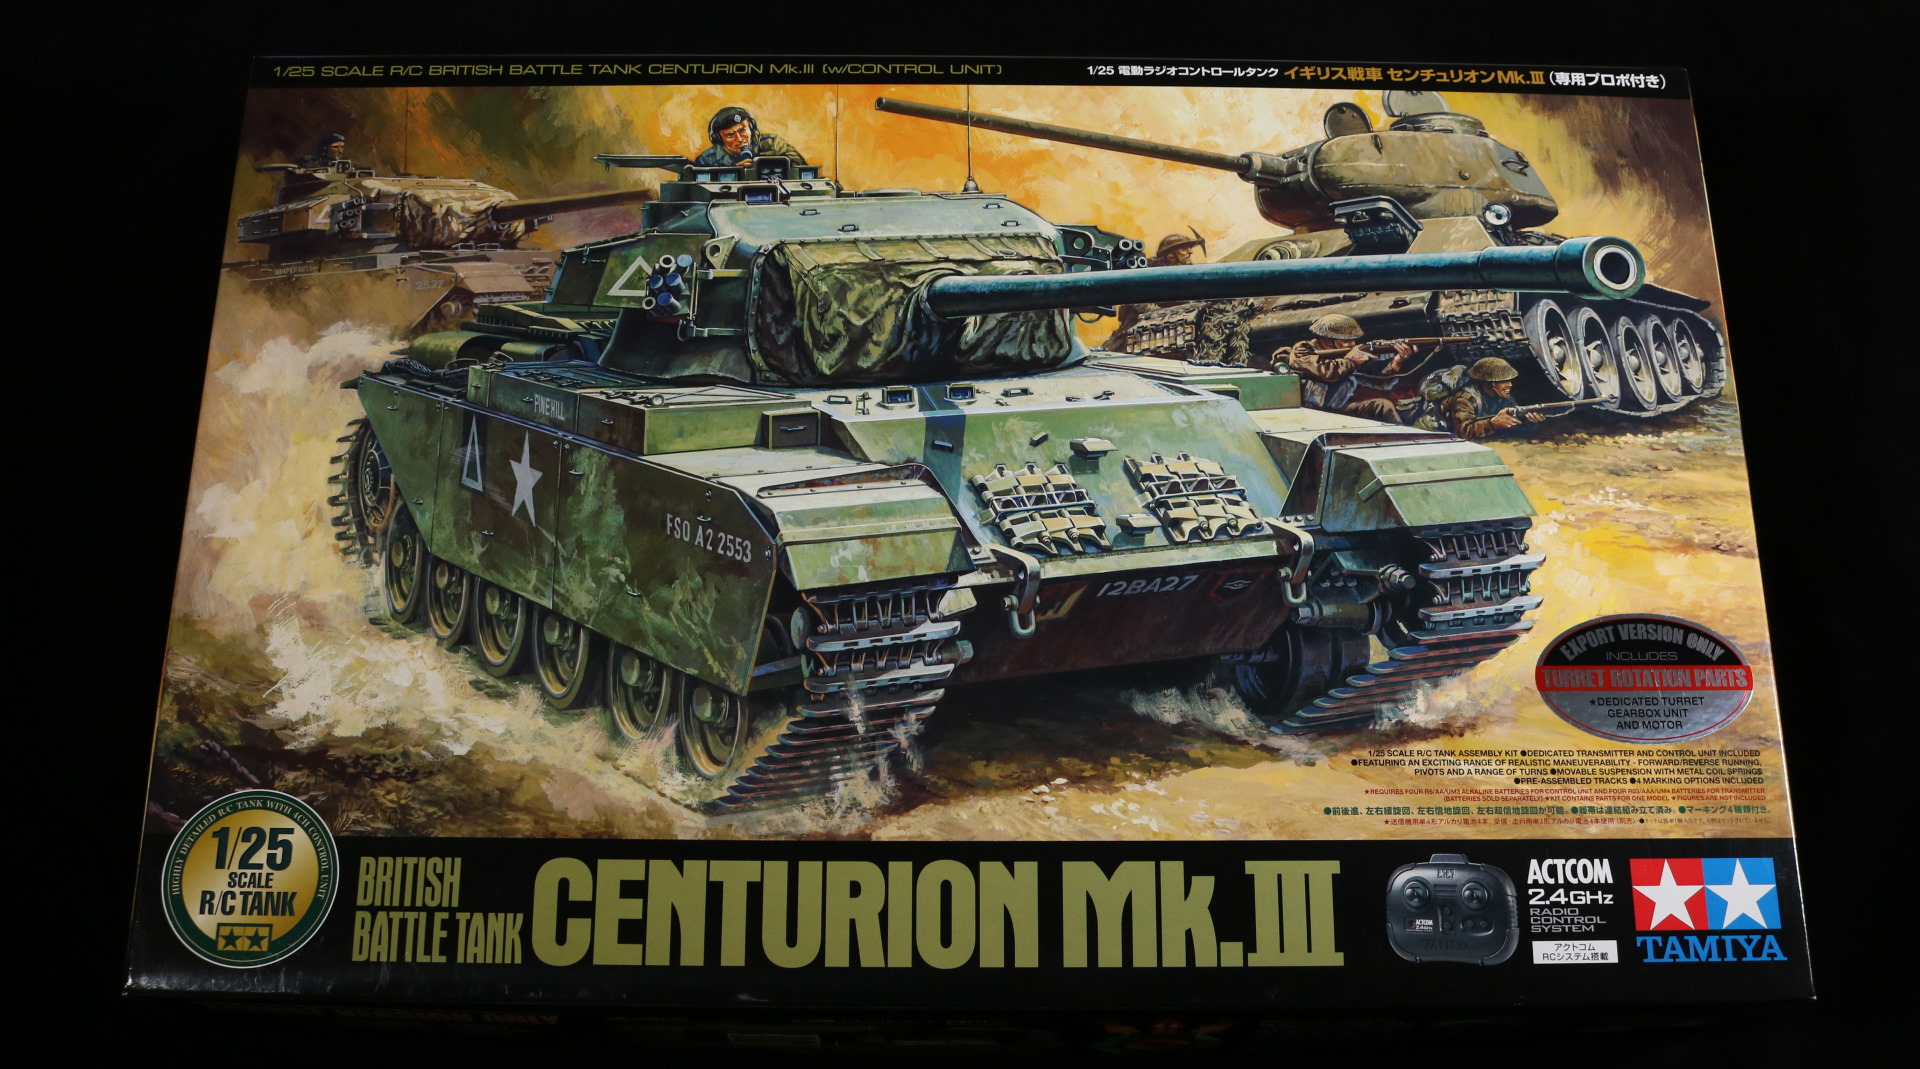
[Tamiya] Centurion MKIII RC 1/25 scale
This is a 1/25 scale British Centurion MKIII with RC components included. Tamia has two versions of Centurion MKIII 1/25 scale. One is a full kit. The other is a RC kit. The full kit contains full interior. The RC kit excludes interior for RC components.
Now, I had a chance to buy either. I eventually chose the RC version. Here is why.
From my own experience, RC tanks tend to be more durable and have a way to open up. In addition, they have a functional suspension system. Unless you specifically need the interior, the interior always gets wasted. The wheel shafts used in RC tanks tend to be metal as well instead of plastic.
So, I’ve chosen the RC version which costs a tad more. I have two RC tanks in US Sherman and Soviet T-34 but those are preassembled tanks. This one, I do have to assemble and paint, which I don’t mind at all.
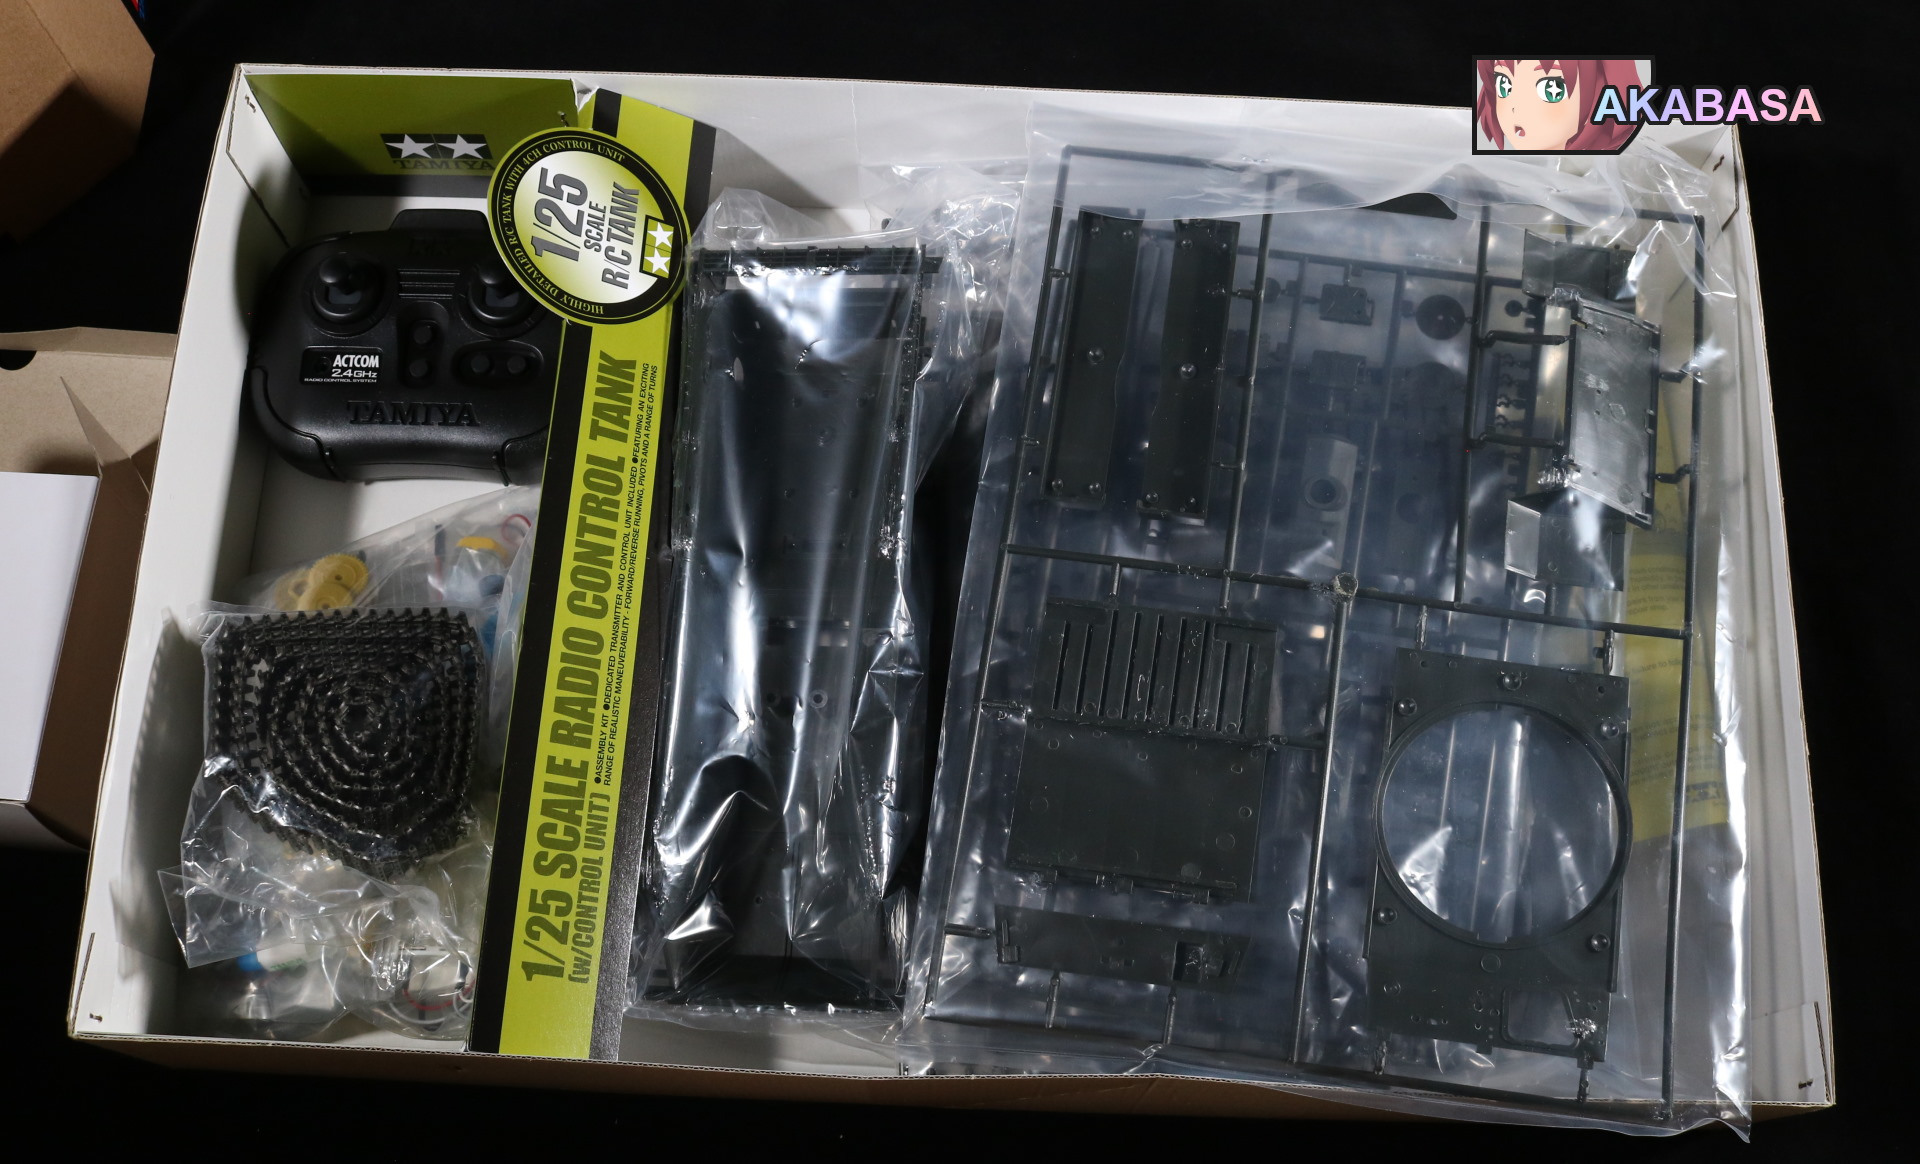
The box content is very well organized although I will say that the plastic is too dark. It matters because I could barely see numbers and labels.
More importantly, the tracks come preassembled. This is pretty huge since assembling tracks can easily take hours on its own. It is also already painted.
Makes me wonder why they didn’t just do a completely assembled tanks. It’s probably to keep overall price low but this kit is already pretty expensive to begin with. I got this for a total of 400 CAD that includes tax and shipping. Tax and shipping themselves cost around 80 CAD. I can get a RC tank for far less than that although, granted, this kit is by Tamiya (Japan). Tamiya kits are always a tad more expensive.
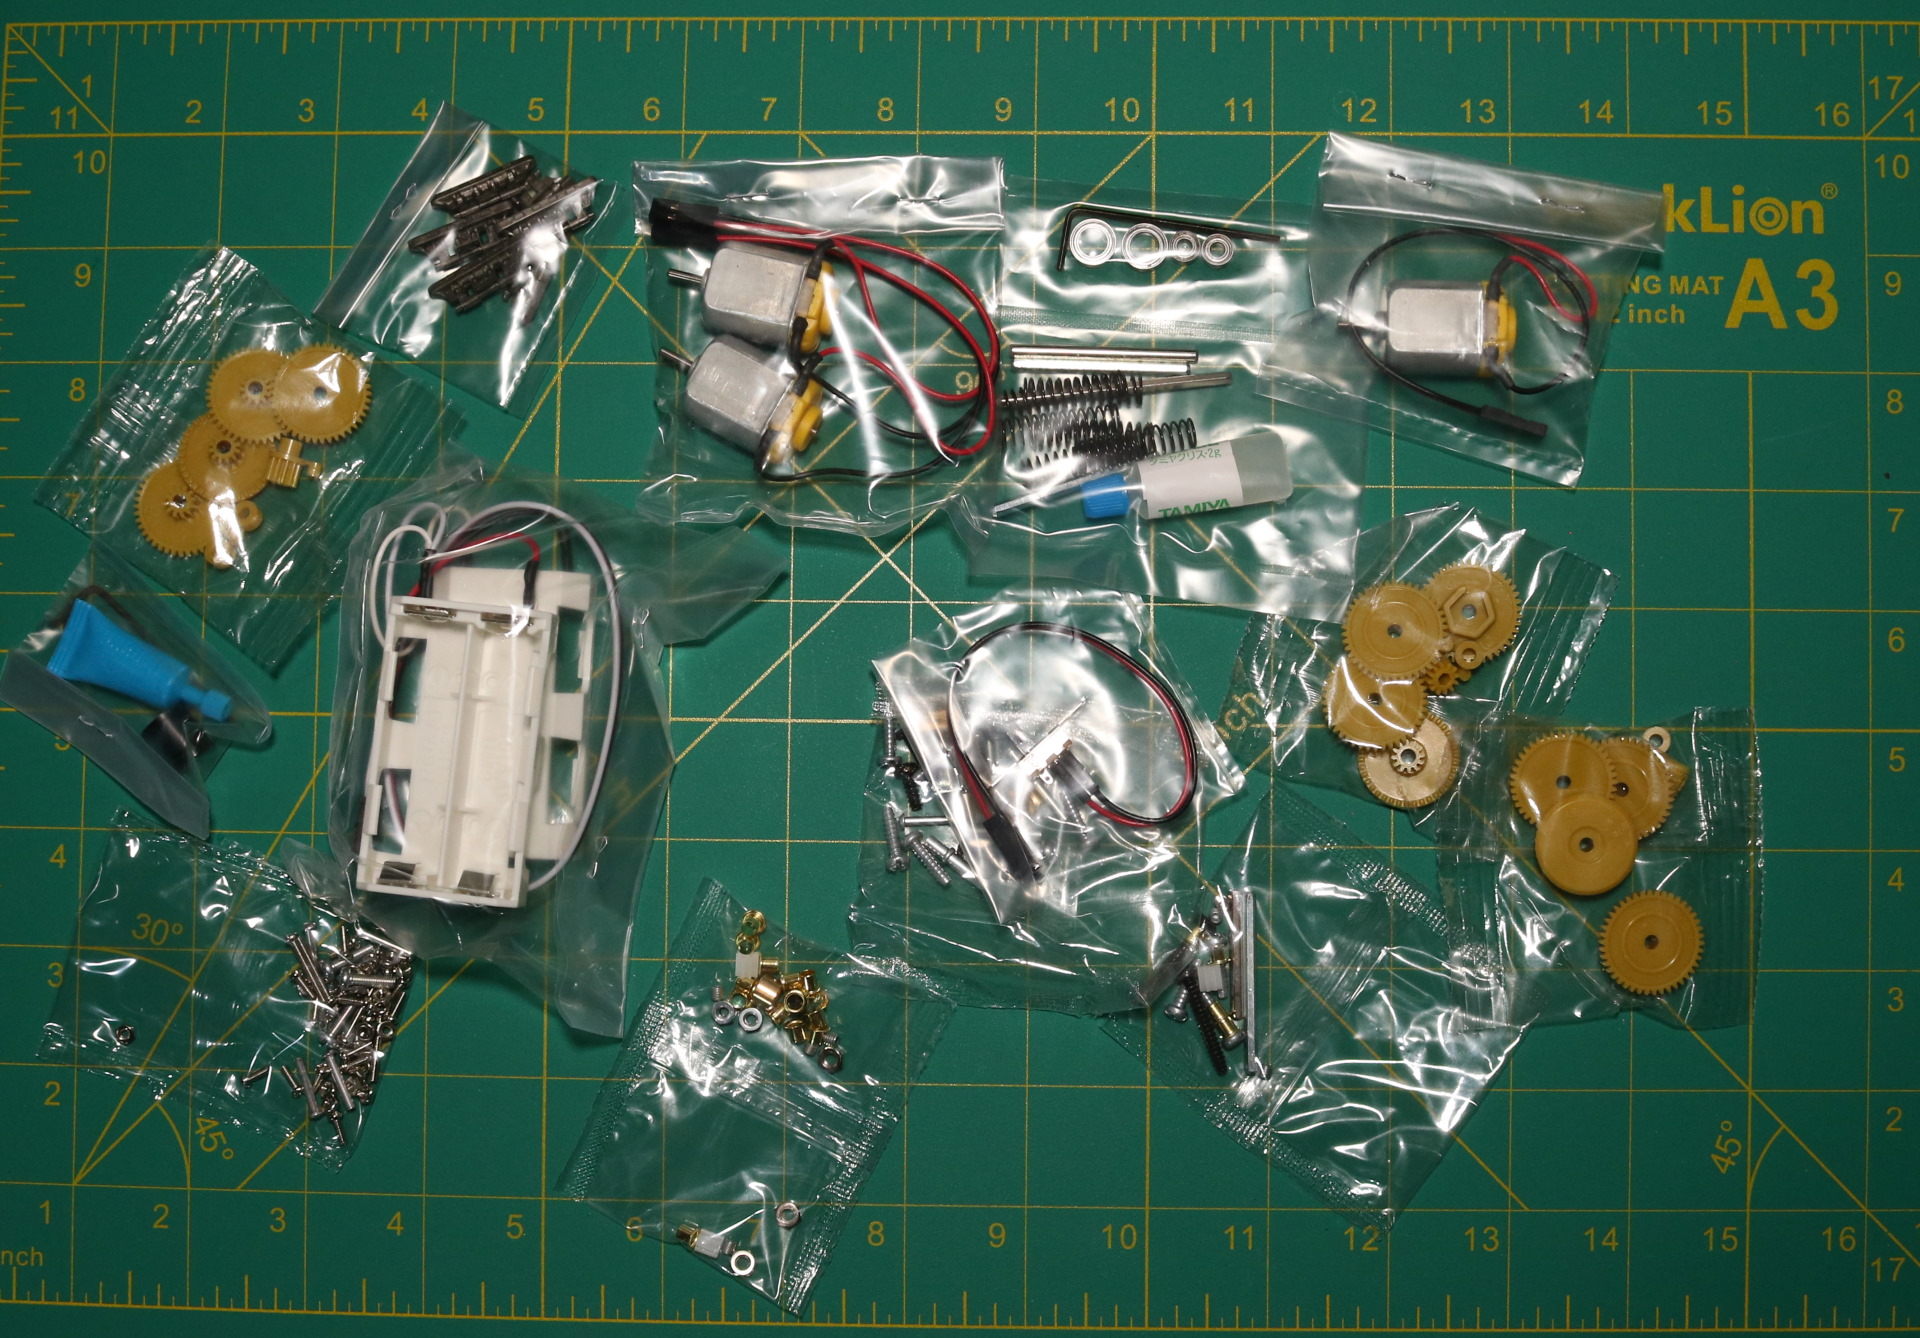
The first thing you do when you start assembling is two gear boxes. One is for the wheels. The other is for the turret. The turret uses a pretty interesting way to rotate. More on that later. They are not preassembled and you do have to assemble every single stuff for the gear boxes.
But the two gear boxes are pretty easy to assemble. Tamiya instruction manuals are very good, I can tell you that. The electronical components are pretty much ready-to-go on its own. All you need to do just connect them together.
I did test the gear boxes rigorously before moving on. It’d become a headache when it doesn’t work properly after you assemble the whole thing. All of gears are plastic but it is a different kind of plastic that does not react to plastic cement. It’s basically far more rigid.
Plastic gears in general are okay as long as big dirt particles don’t get in. Basically, you shouldn’t run this on dirt and sand terrain. Steel gears are for those terrains.
The rest of build, once you get past the gearbox stage, is pretty straightforward.
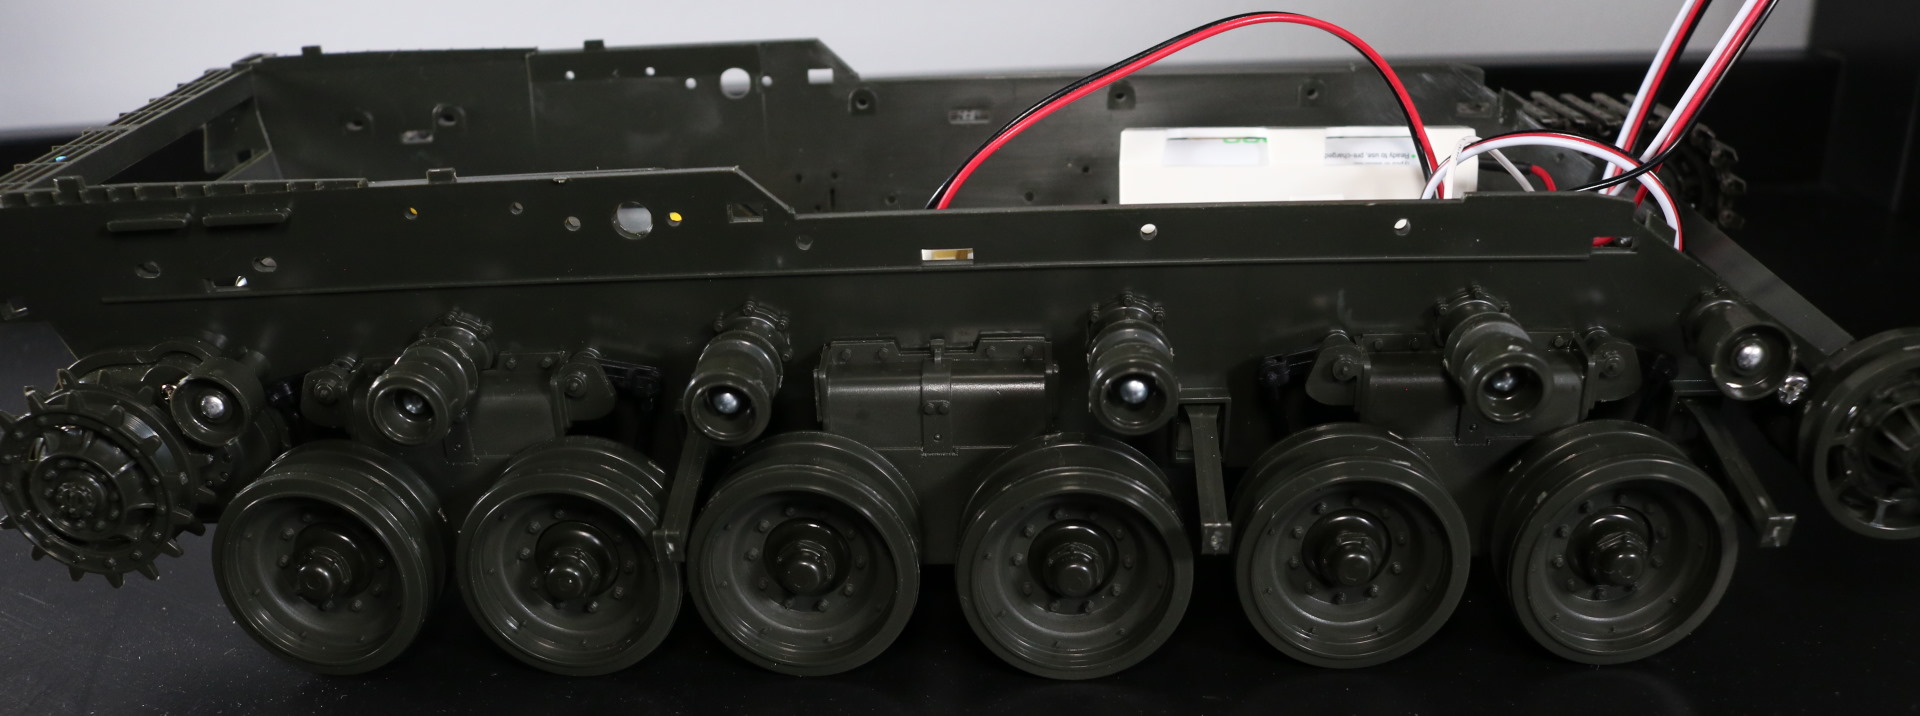
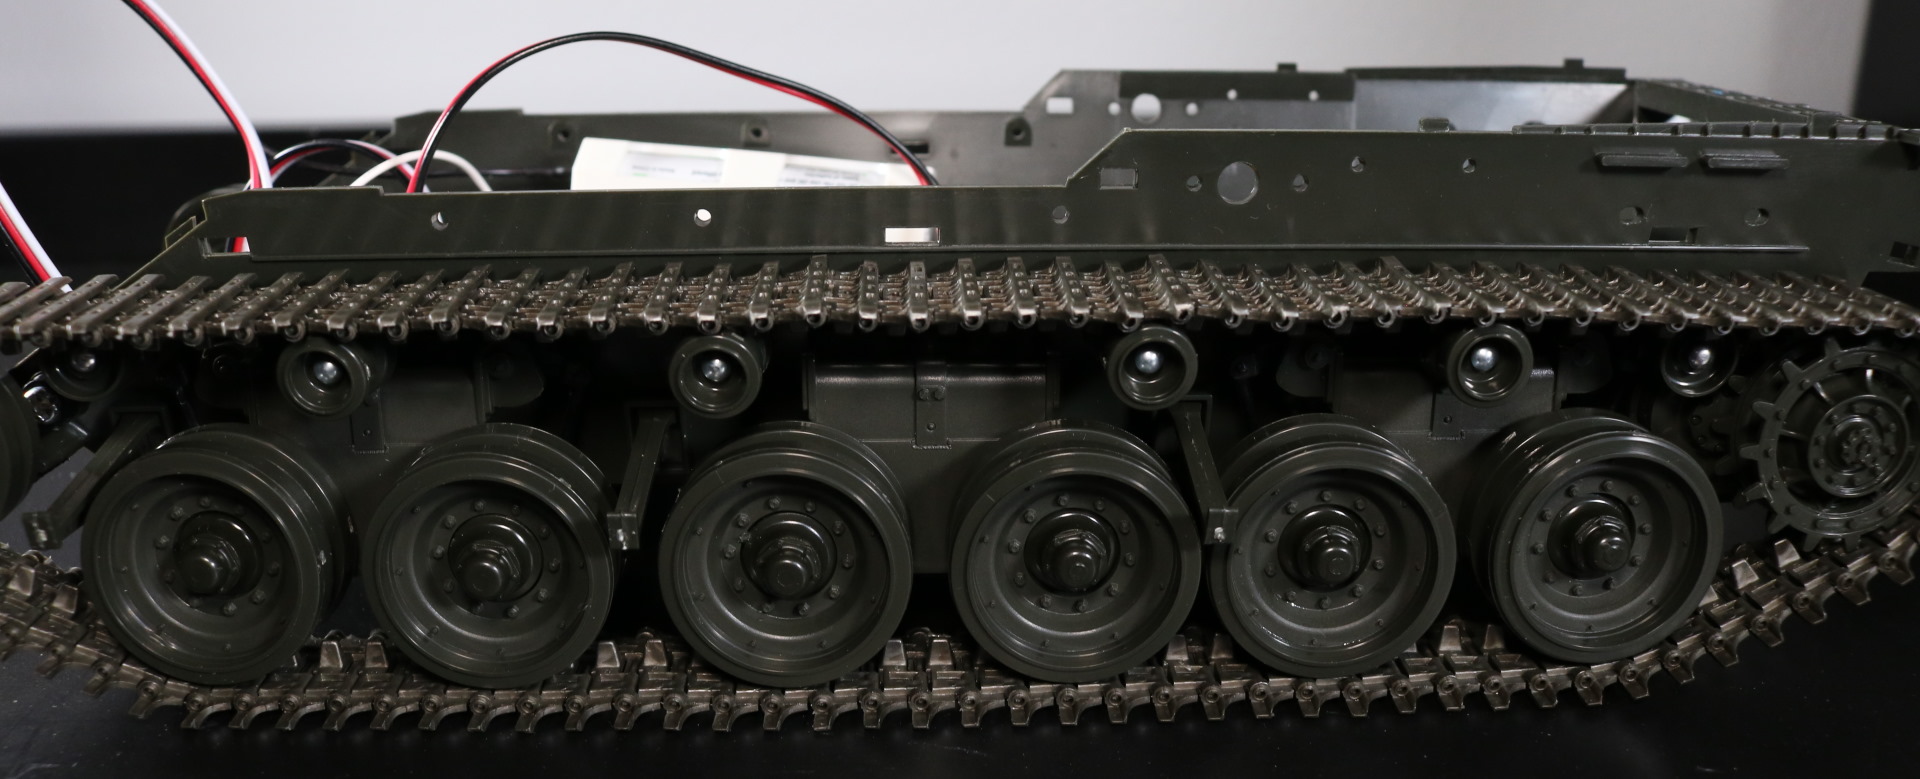
The track is interesting. It’s semi-sort rubber. Each track snaps into each other. Note that the entire tracks are all rubber; there is no metal or hard plastic rods that connect each track.
It is also not painted. It is material color which is a good choice if you think about it. Tracks would be worn down when used. Even then it’s not going to lose its color.
I have done a simple test to see whether it works. It works pretty good. Tracks will need to be taken off since I will need to paint the tank body later.

Above is the receiver. It can apparently handle four motors. I will be using three in this build. It needs 4 AA batteries.
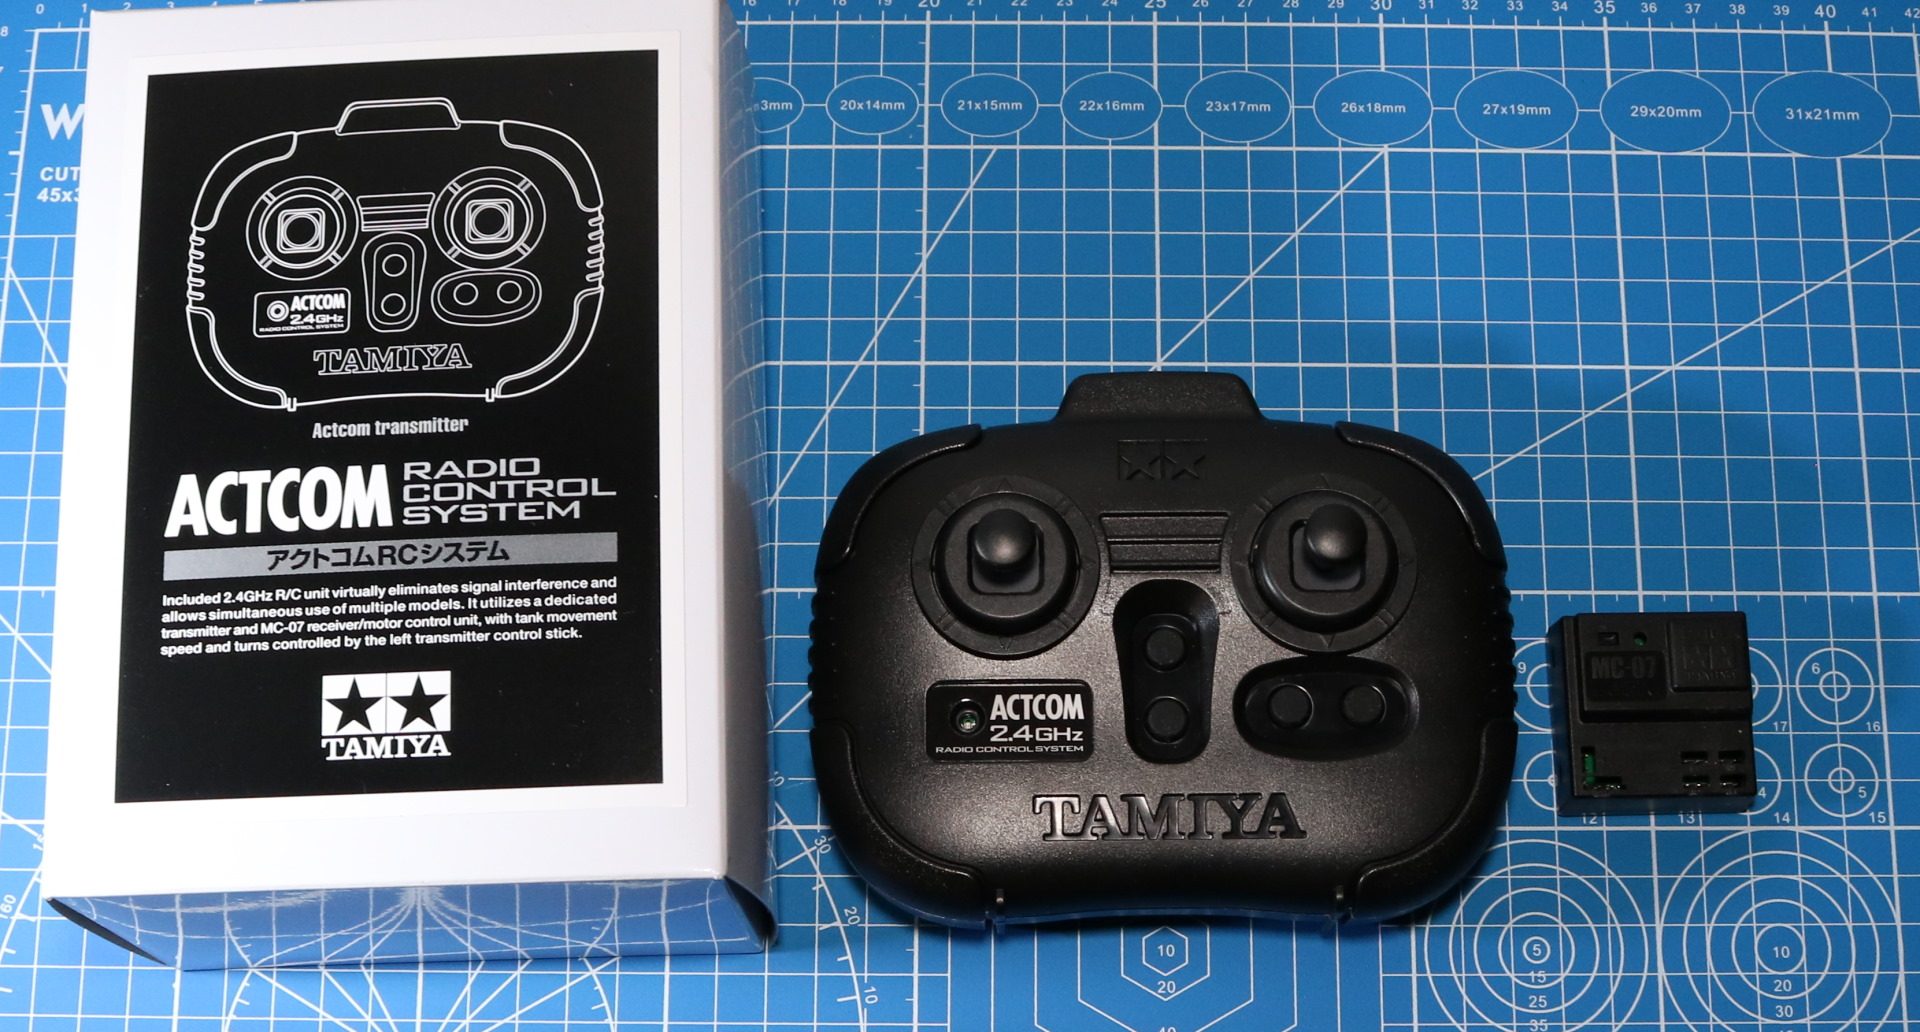
And this is the controller. It requires 4 AAA batteries. It is very light. It feels cheap. Doesn’t matter though. It works.
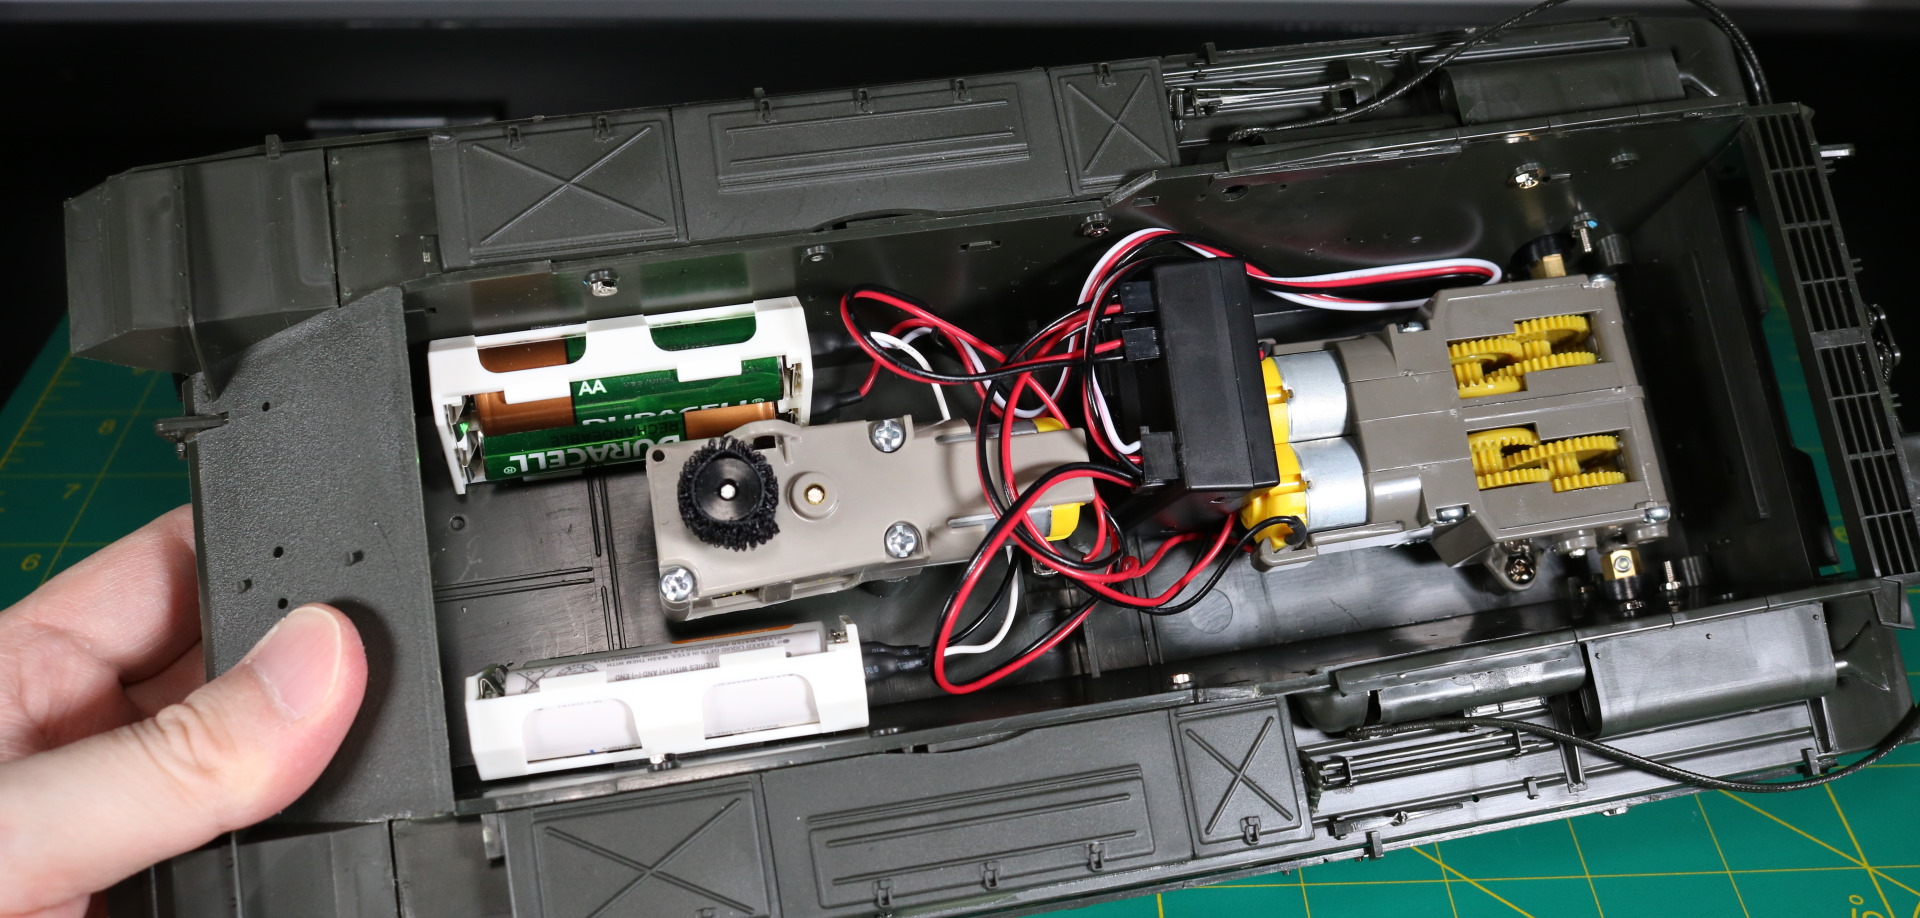
Above is when everything is installed. The interior gets pretty cramped.
At one point, it wasn’t powering on. It turned out that, because I had to push wires so hard into tight space, one of wires wasn’t making a good contact.
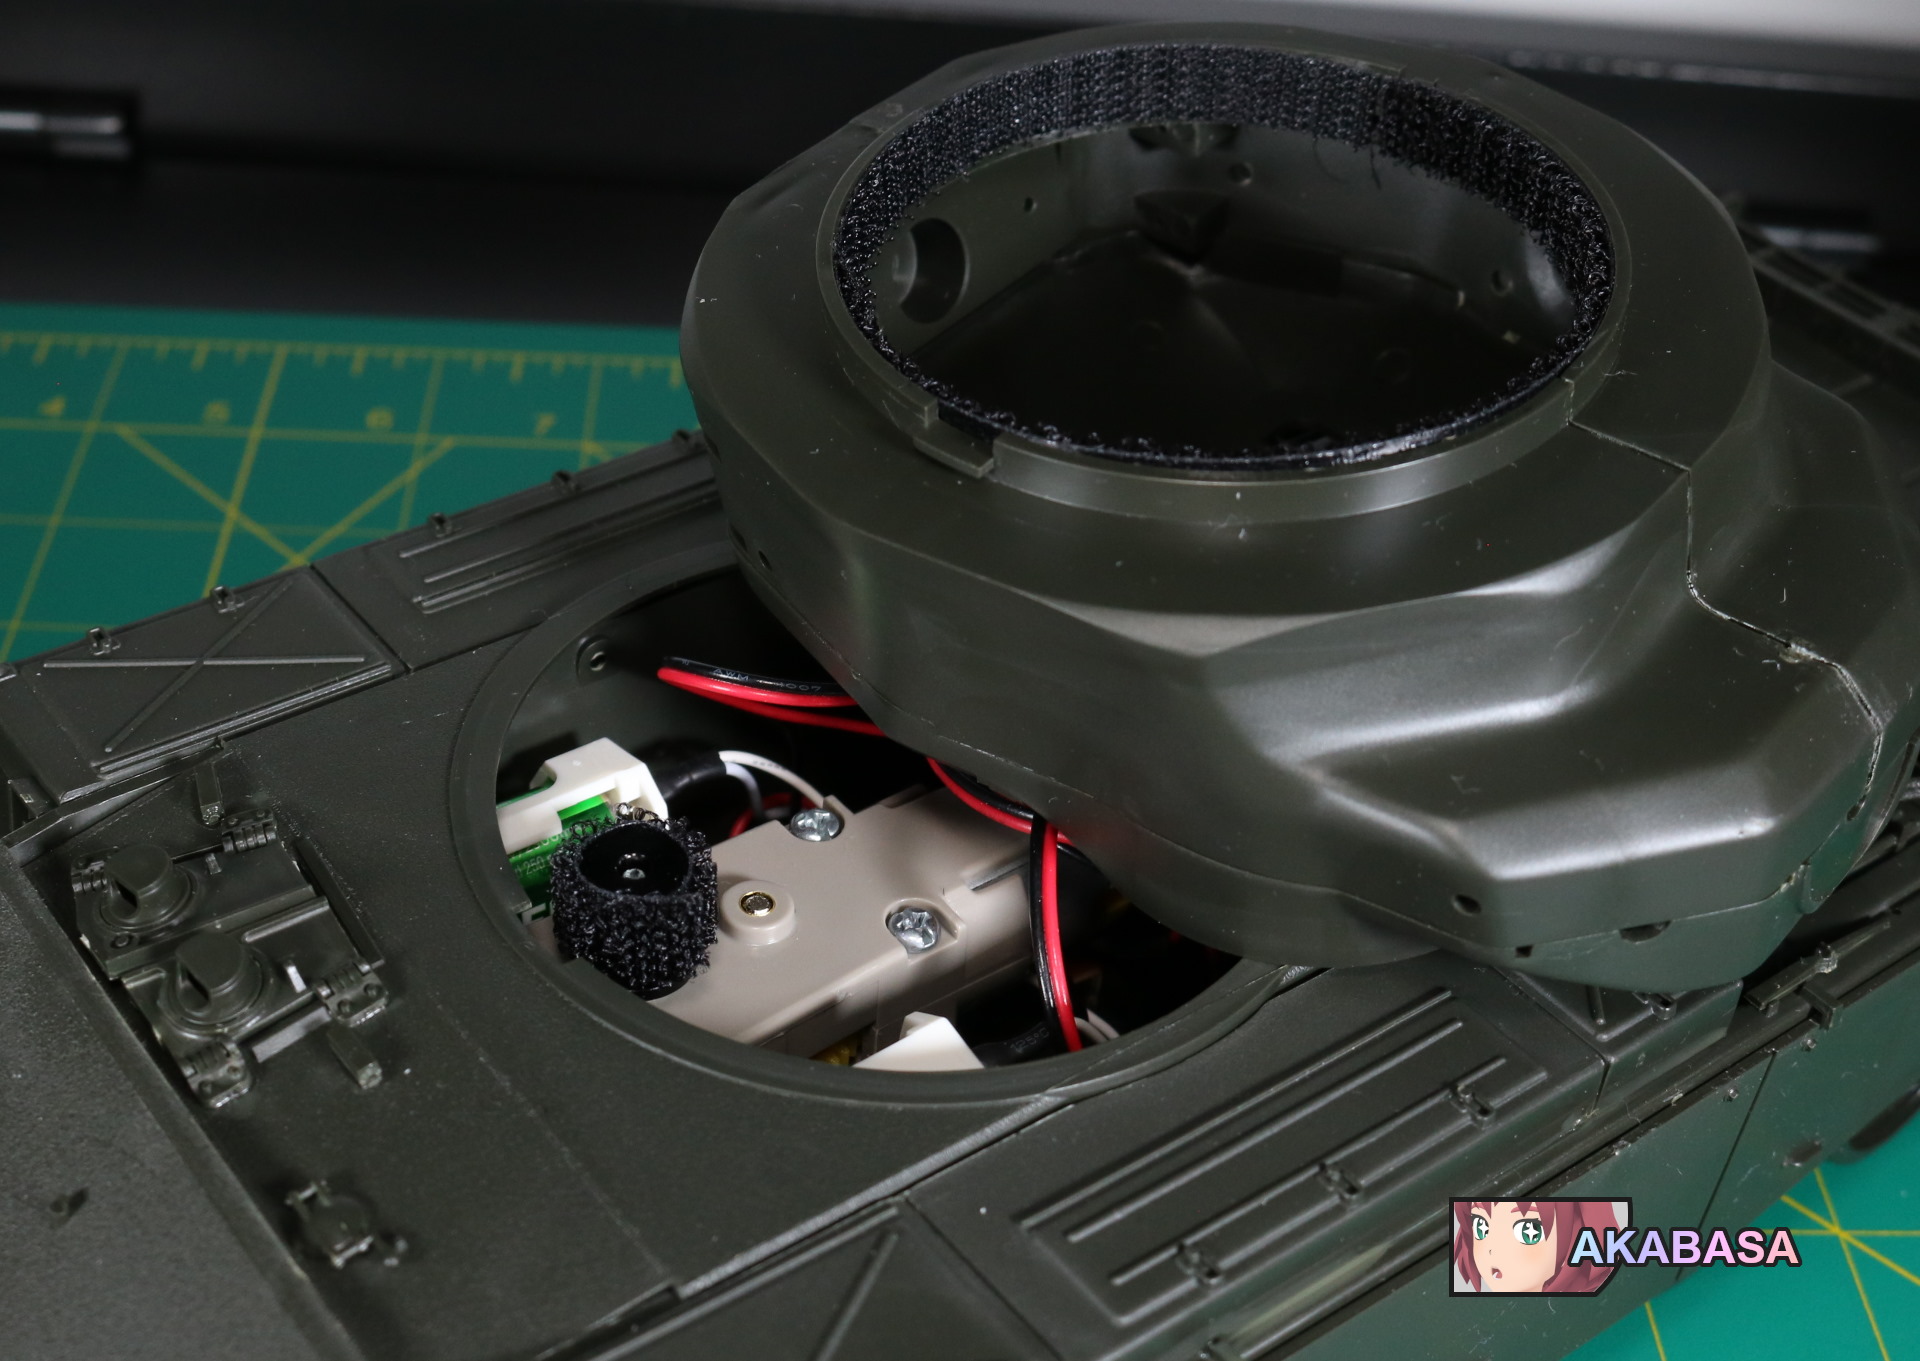
I did mention that the turret has an interesting mechanism. It is using …., actually I don’t even know the name of it. It one of those cable management thingy where one piece sticks really good to another.
I think it is an ingenious solution. It’s cheap and it is functional although I don’t know why they didn’t choose to use gears in the first place. It may have been due to extra cost, but it doesn’t look like it’d cost a lot. I mean you’d need just two gears to make it work.
I think it is mainly because Tamiya did not want to create two different model kits. The RC kit is virtually identical to the full interior kit. I bet they didn’t want an extra variant for the RC kit.
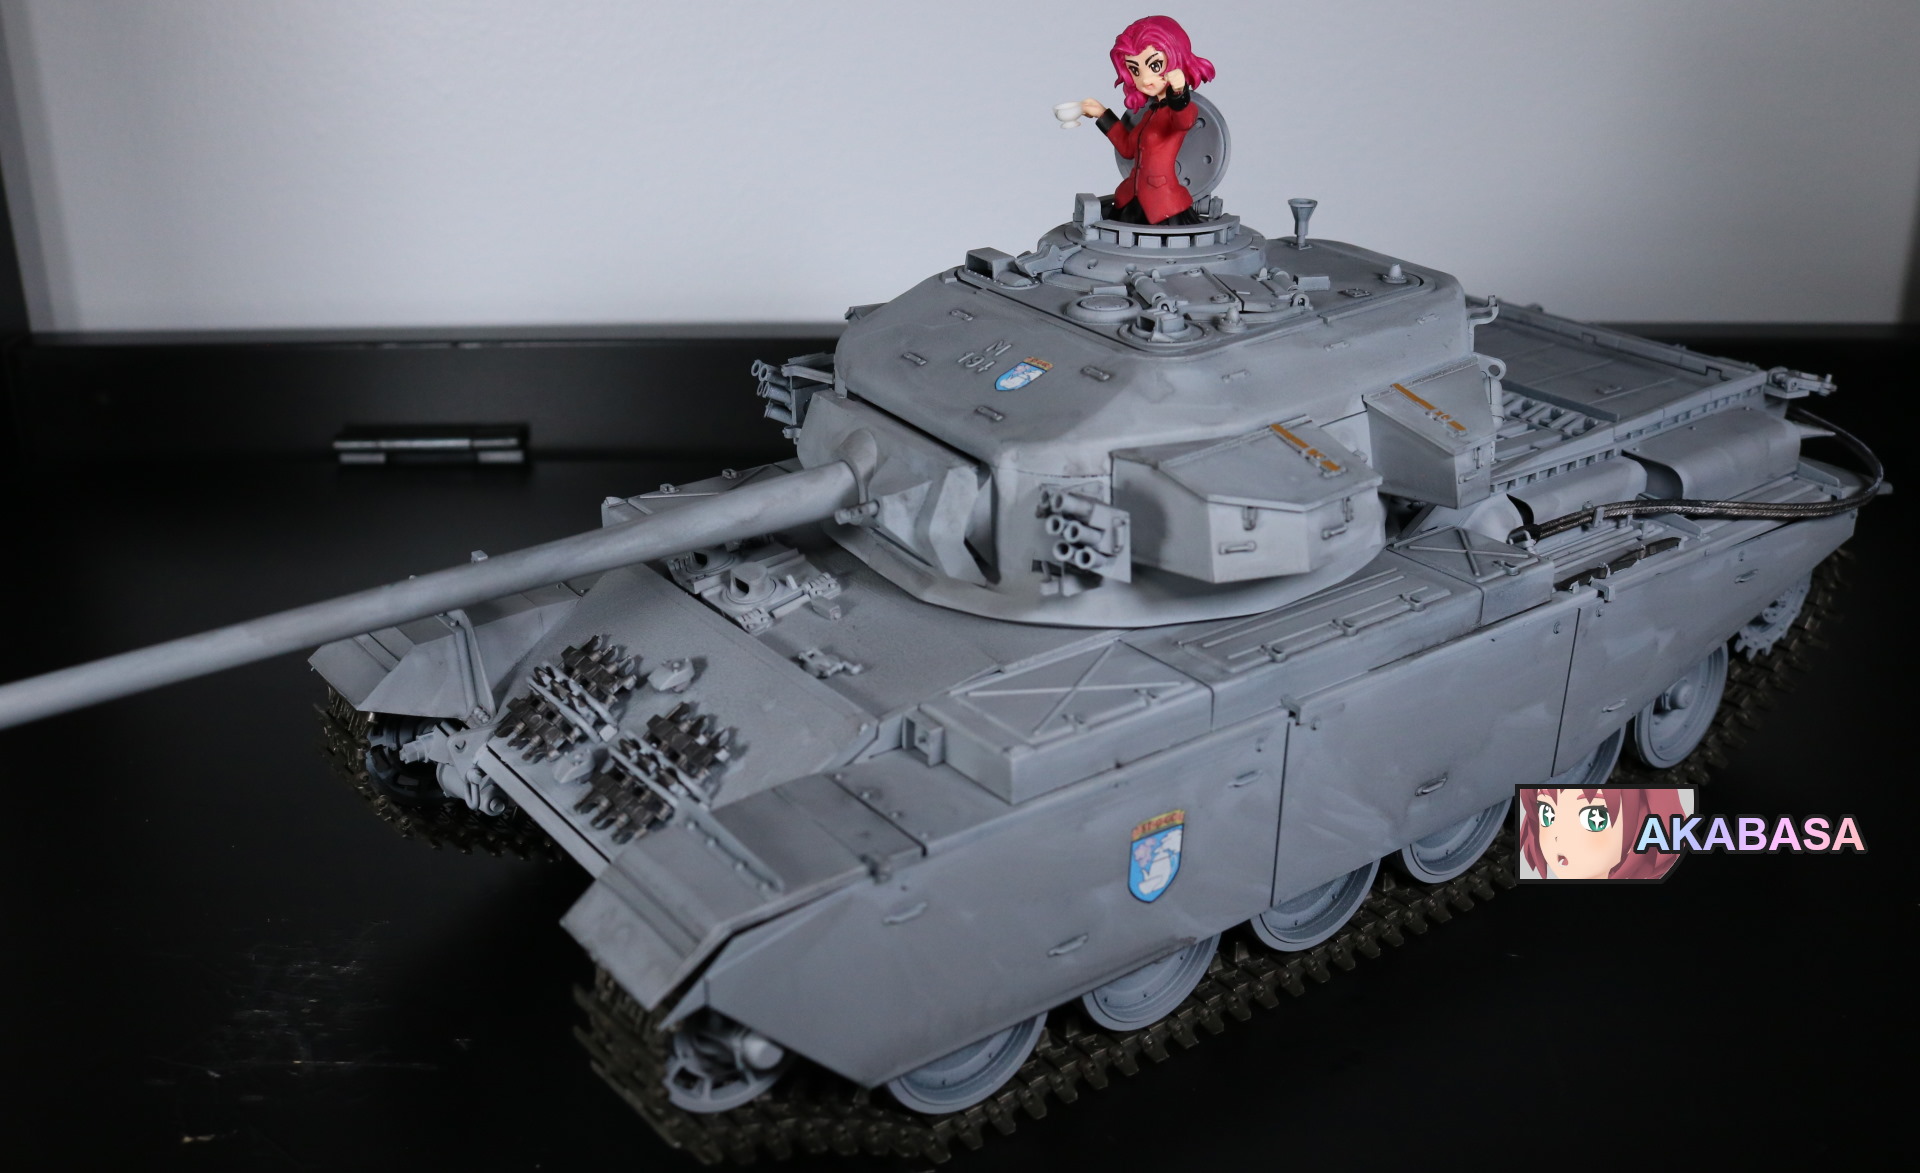
The rest of the build is smooth. Once the build is done, I prime it in black and then … I was supposed to paint it army green … only to find out that I was out of the paint, so I considered an alternative color.
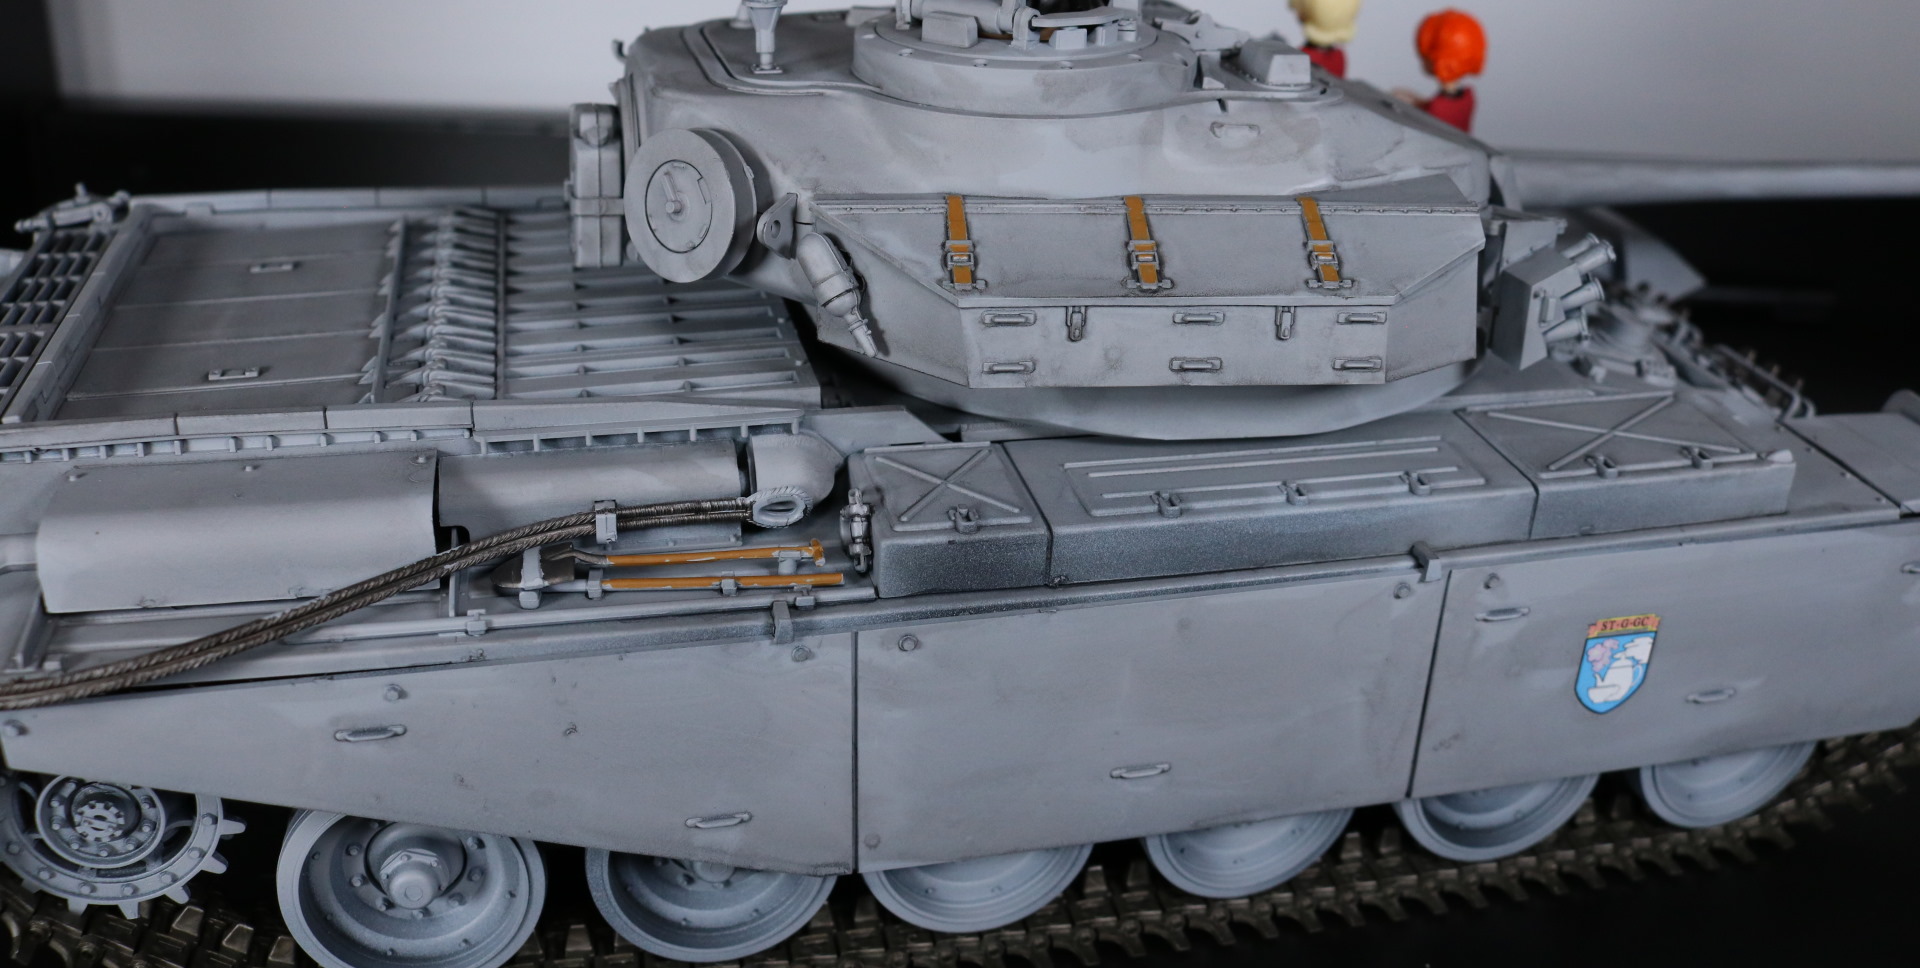
Since I’ve already decided that Rosehip is going to get this tank, I’ve opted for gray. Her crusader MKIII is indeed painted in gray. So, this works out.
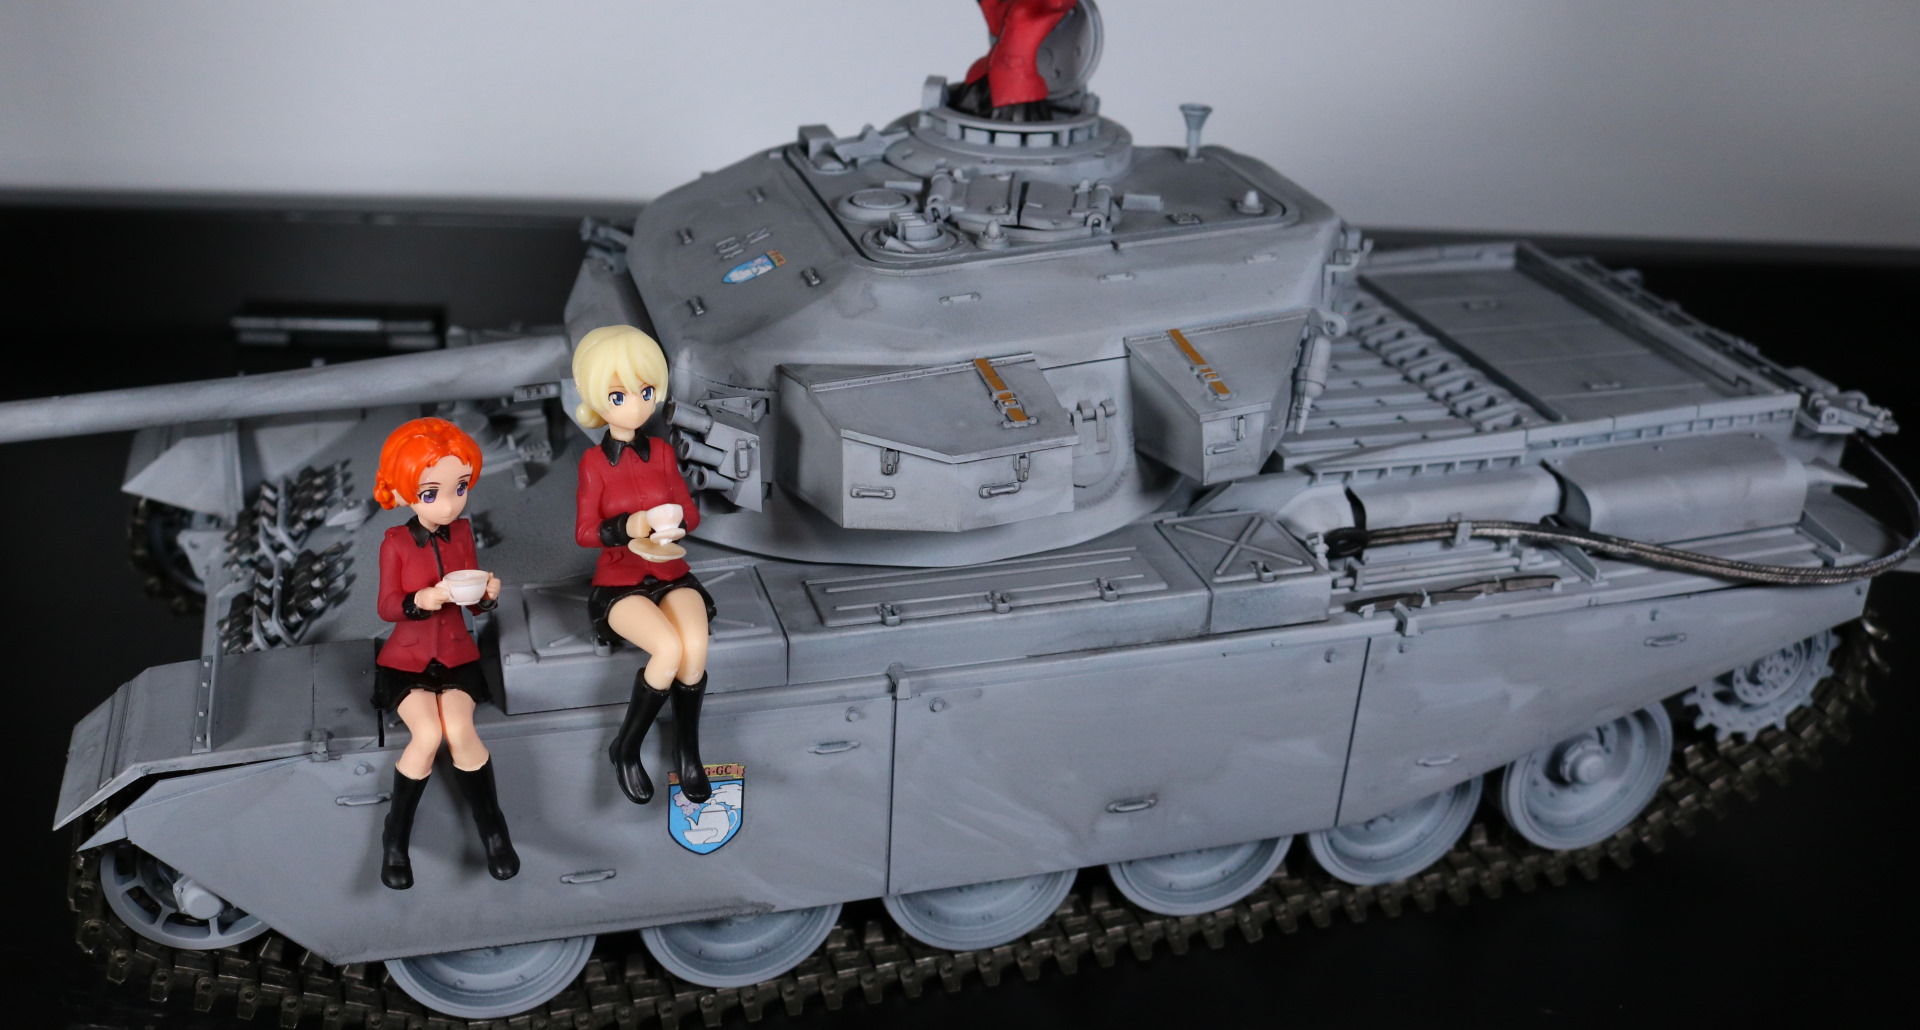
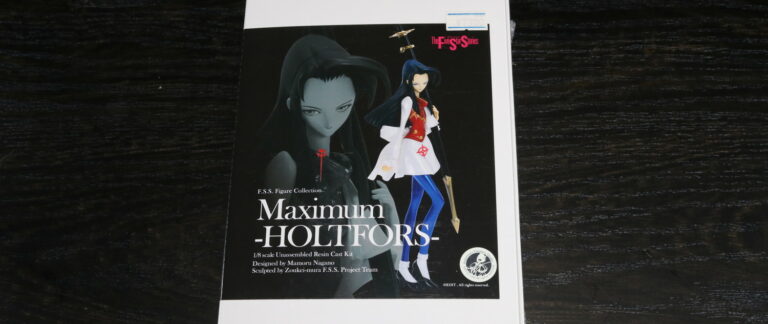
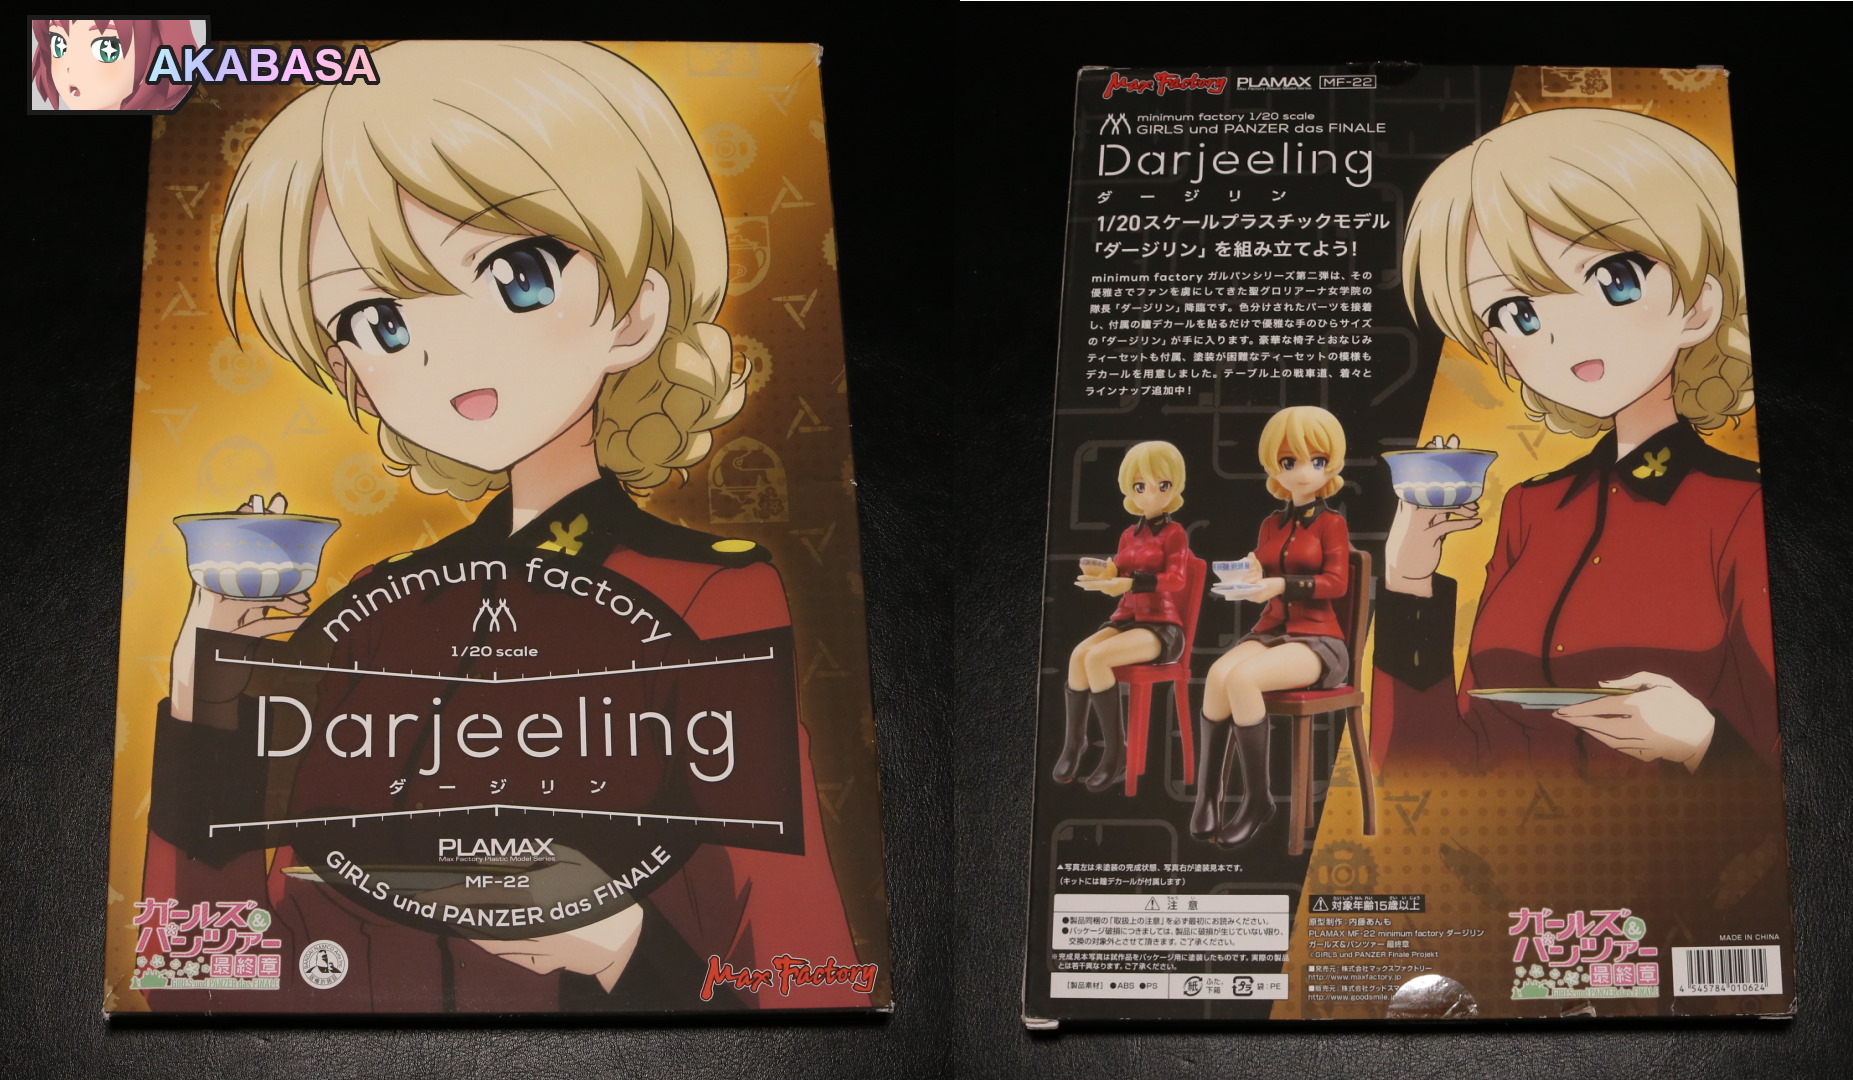
The figures are all garage kits. They are also in 1/20 scale. Rosehip and Pekoe are from Poly-Toys. Darjeeling is by Max factory which I happen to have kept its box. I worked on those three some years ago when I was starting out in this hobby.
At that time, I did not think I’d end up going this far.
I certainly did not think I’d spend 400 CAD to get a tank for them for sure. But here we are.
In conclusion, working on this tank kit has been fun. It wasn’t a hard kit. Even the gearboxes were easy. I believe I can tank the instruction manual for that. It was crystal clear.
Now, I was originally going to use 1/16 scale Darjeeling and Rosehip figures but they turn out to be a tad too big for the tank. Having these three 1/20 scale figures was total coincidence. I didn’t recall I had them in the first place. I was simply looking through my stuff and spotted these.
I should also mention that I removed turret control motor. I didn’t have to remove it but I needed extra breathing room in the body. Otherwise, batteries were way too hard to remove, and wire management was a nightmare.
Until next time. 👋
![[UKD Institute] Garage Kit Mika and Aki set](https://akabasa.com/wp-content/uploads/2021/09/ukd_mikaaki_14-768x556.jpg)
![[Bronze Circus] Clara 1/9 scale garage kit](https://akabasa.com/wp-content/uploads/2021/09/bronze_circus_clara_9scale_1-768x432.jpg)