GuP Diorama project: Rabbit in mud
It’s been a while since the last time I’ve done a diorama. The last one I made was in June or July of 2019. So, it’s been over a year.
Diorama projects are not easy to undertake due to extensive planning as well as sourcing numerous materials to put together. Perhaps the most importantly, imagination is required before anything else.

In my case, I just need a brief vision. That’s what works for me 99% of time. Once a vision exists, I can work out minor details given enough time.
Back in June of 2020, when I was browsing Amazon Japan for Girls und Panzer related stuff, I happened to come across a 1/35 resin figure pack of the whole Rabbit team. They were playing the poker. There is a scene from the anime where they do that, and this garage kit is based on that.
I’ve decided to make a diorama out of this but with some tweaks to the scene.
The setup is going to be like this:
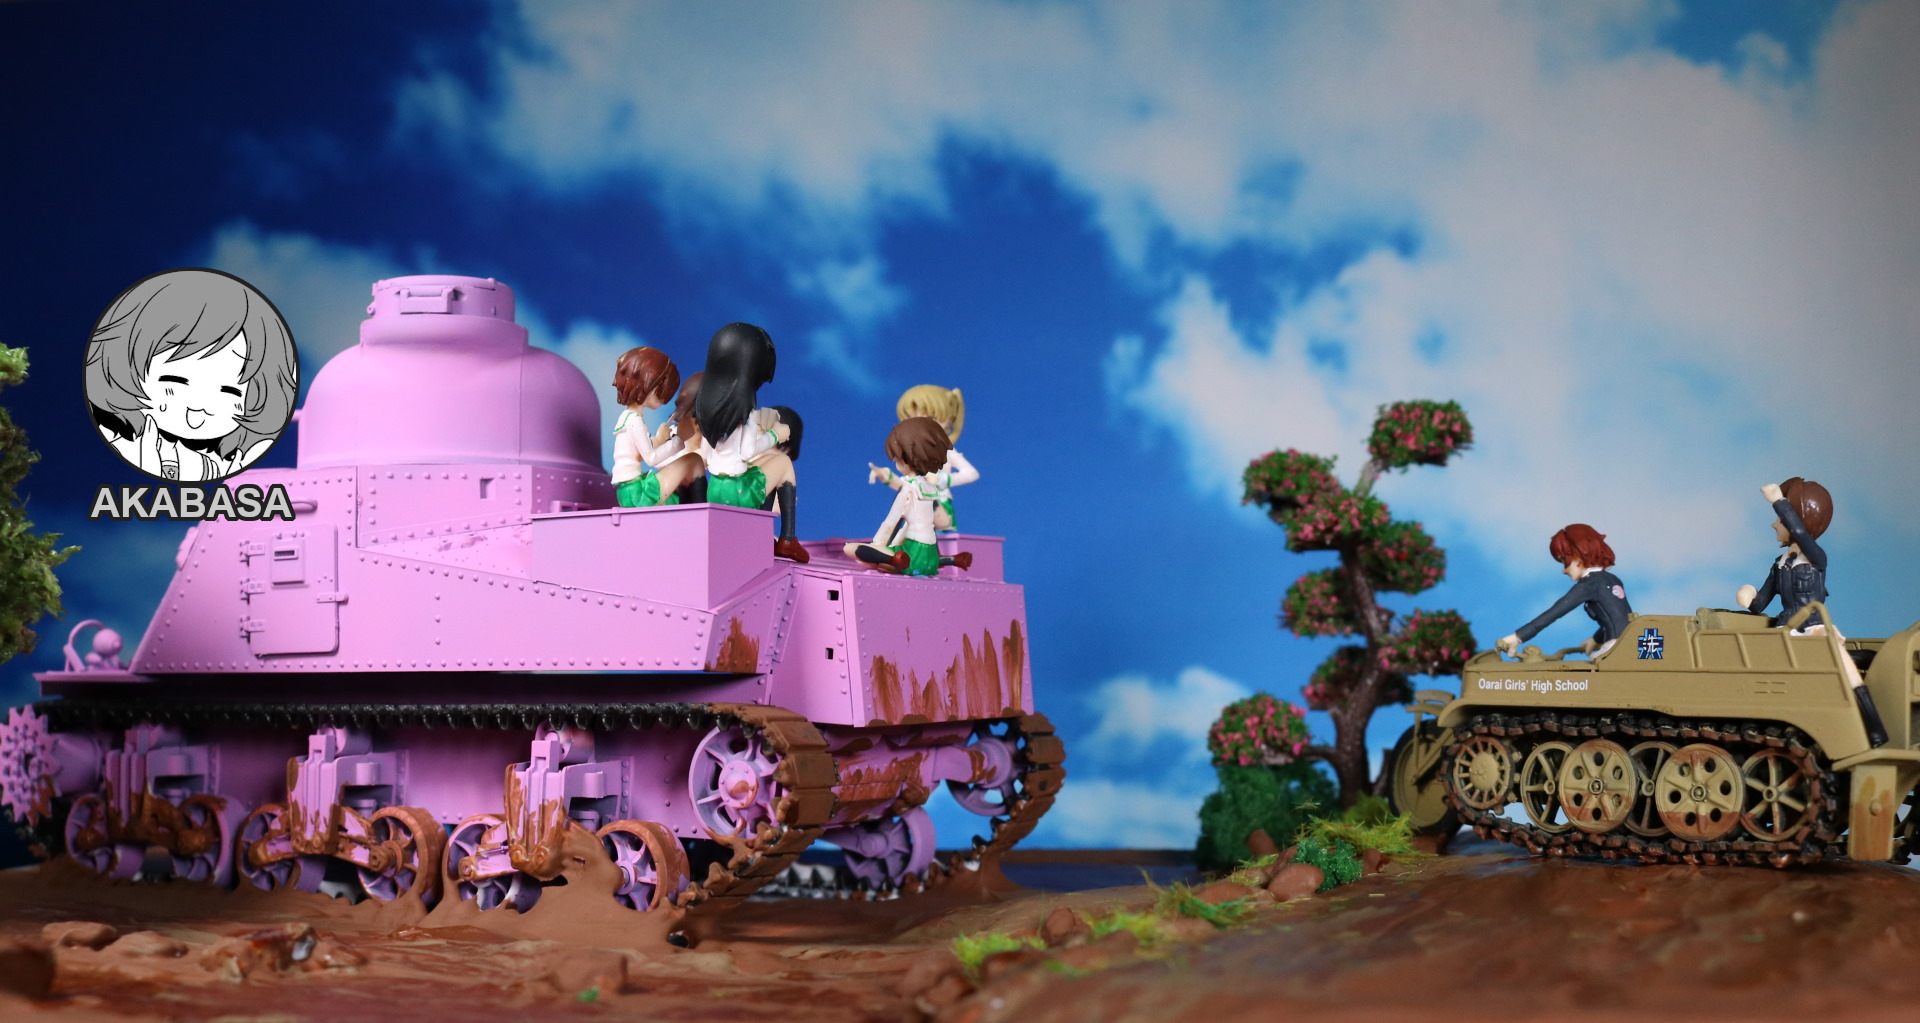
The rabbit team tank, M3 Lee, veers off a road and runs down into a mud field. It’s stuck.
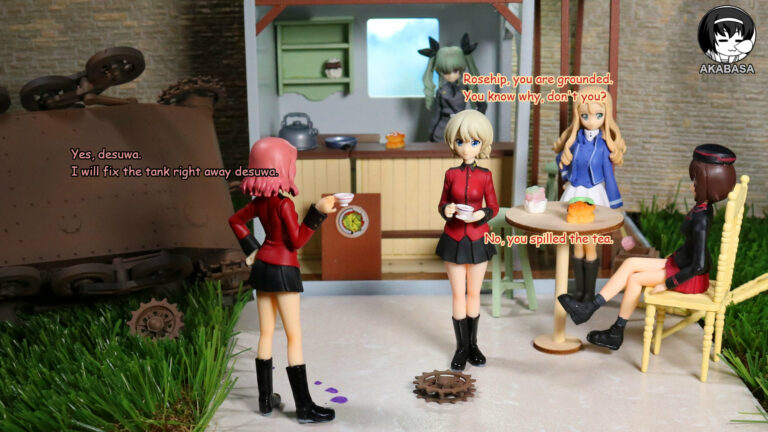
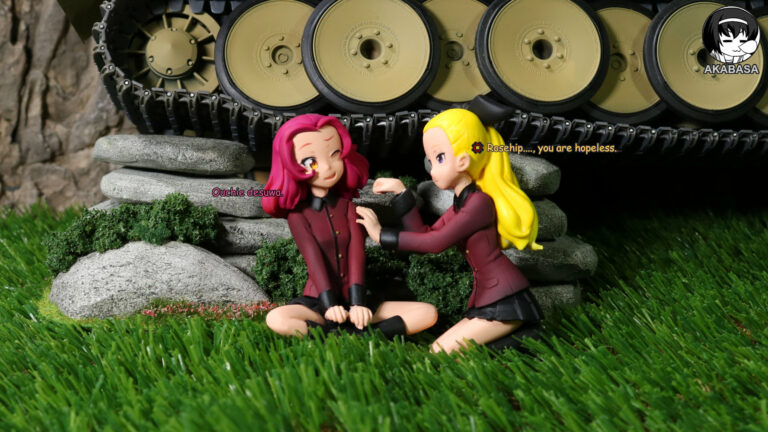
What do they do? They get out on the tank and play the poker.
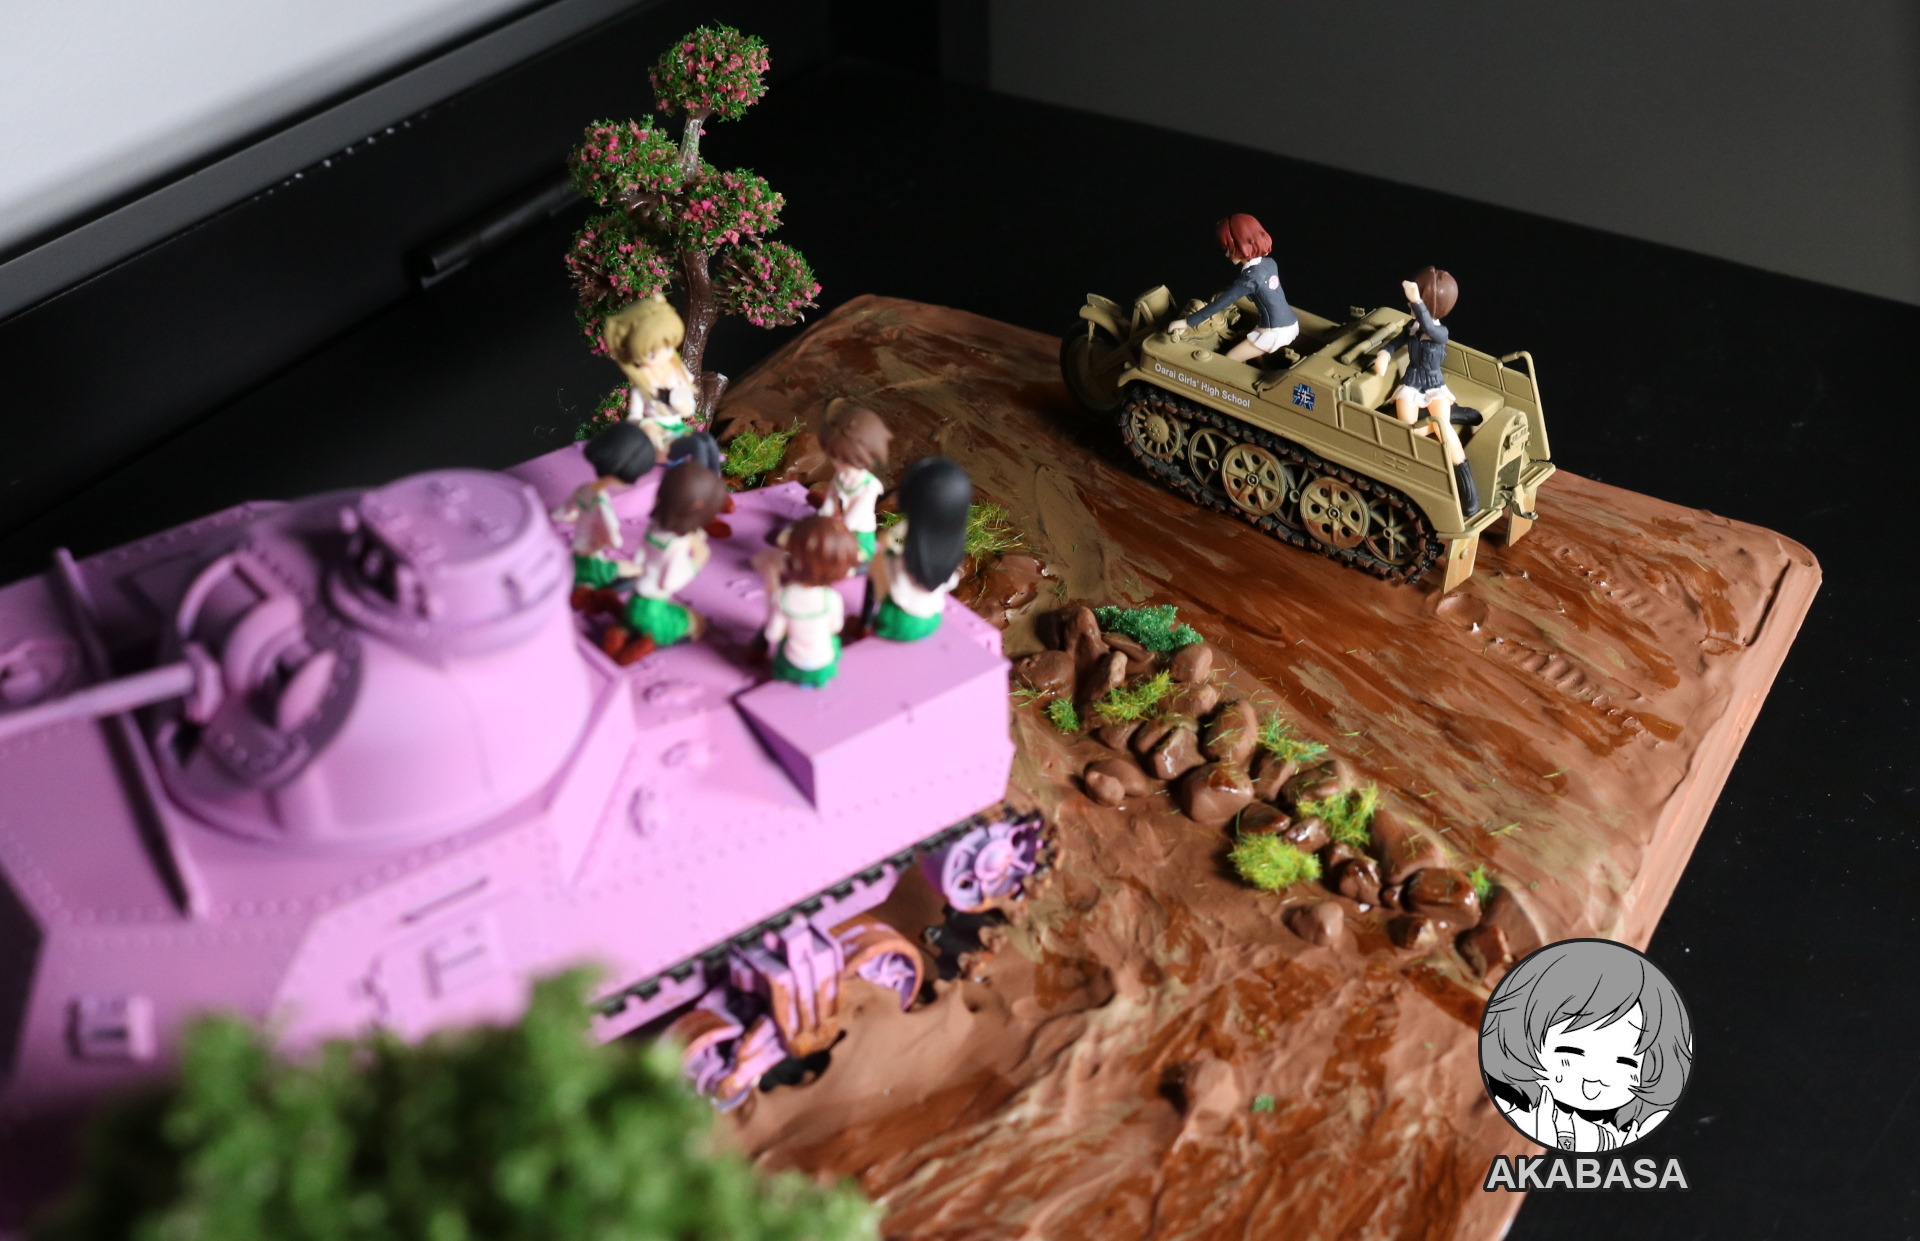
Meanwhile, Yukari and Miho drive by, asking whether they are alright.
Above is the scene setup. How this will turn out, I don’t have the slightest clue, yet.
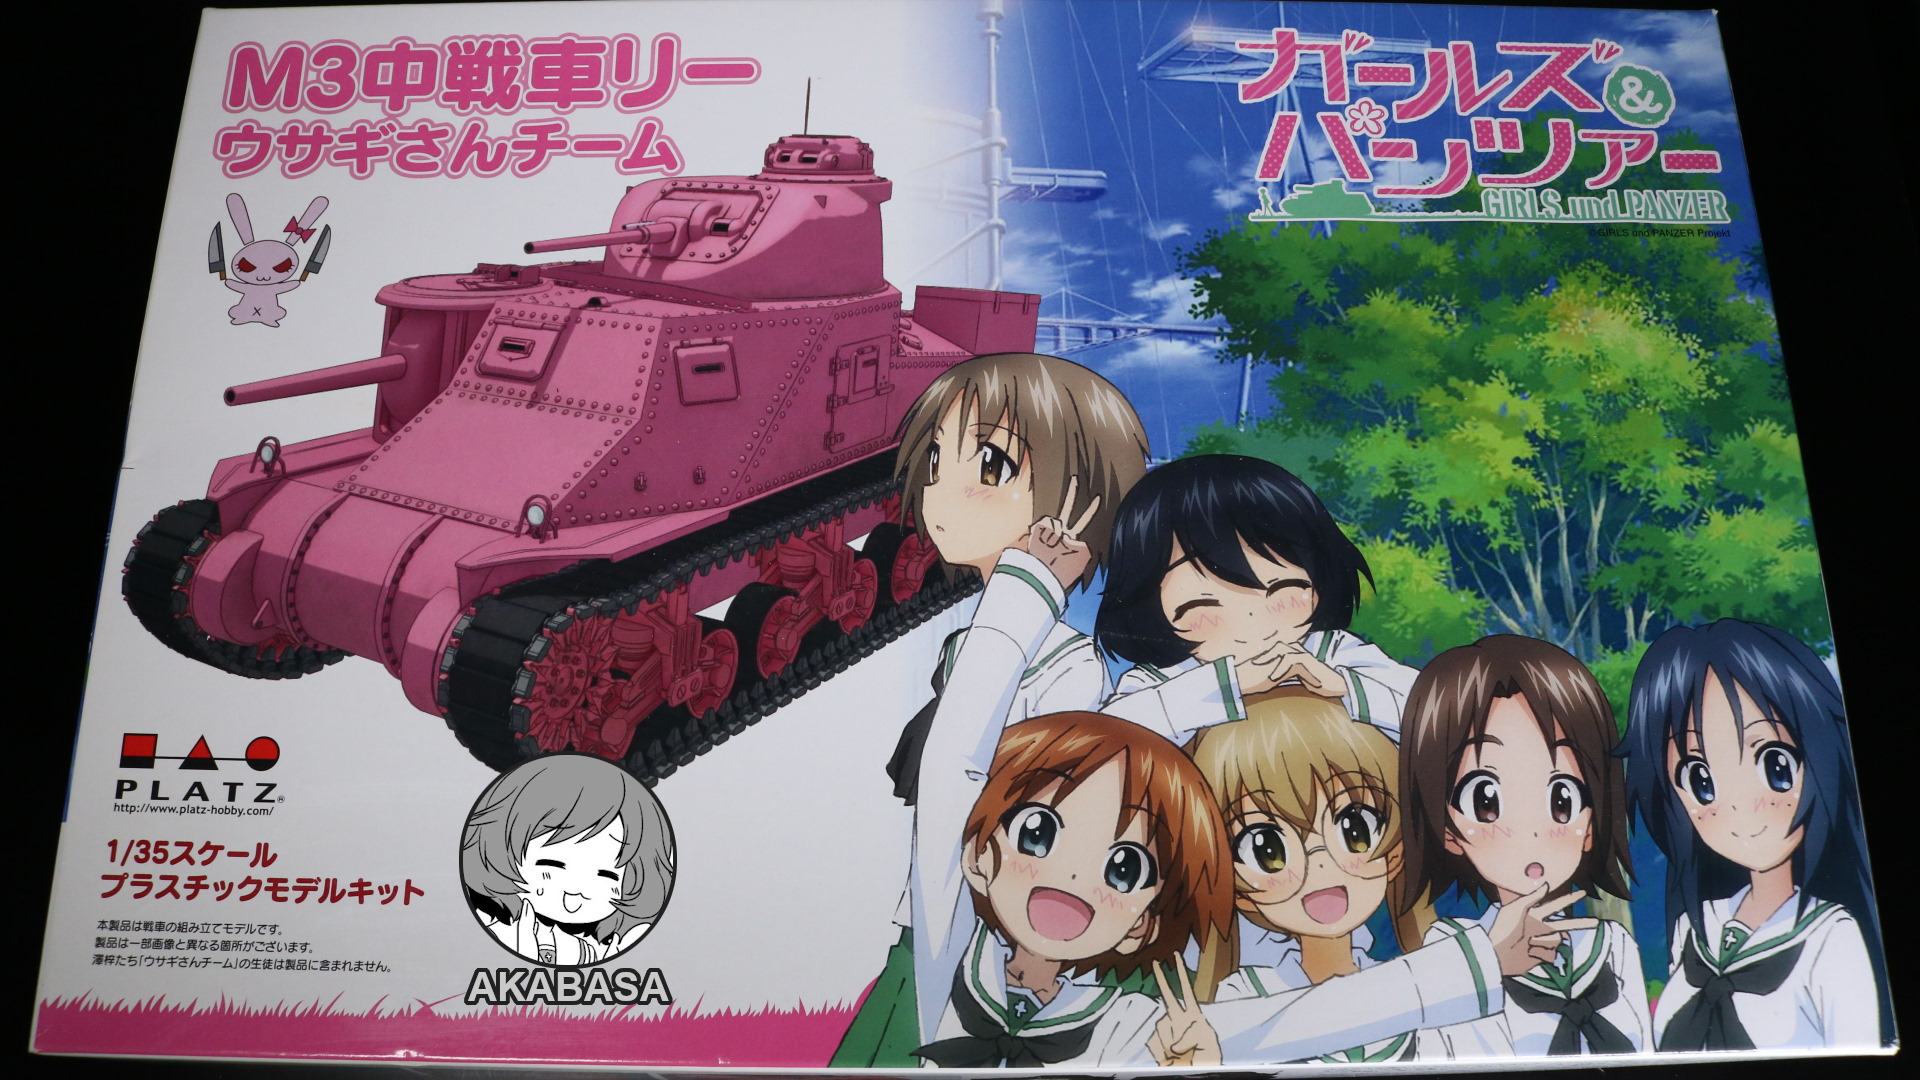
Now, I’ve had the pink M3 Lee for a long time. Thankfully, I didn’t prime and painted it green. I simply left it unpainted because I honestly wasn’t sure what to do with it.
I mean, folks, it’s a pink tank. The plastic itself was bright pink. You have no idea the first impression I had when I opened the box of this kit.
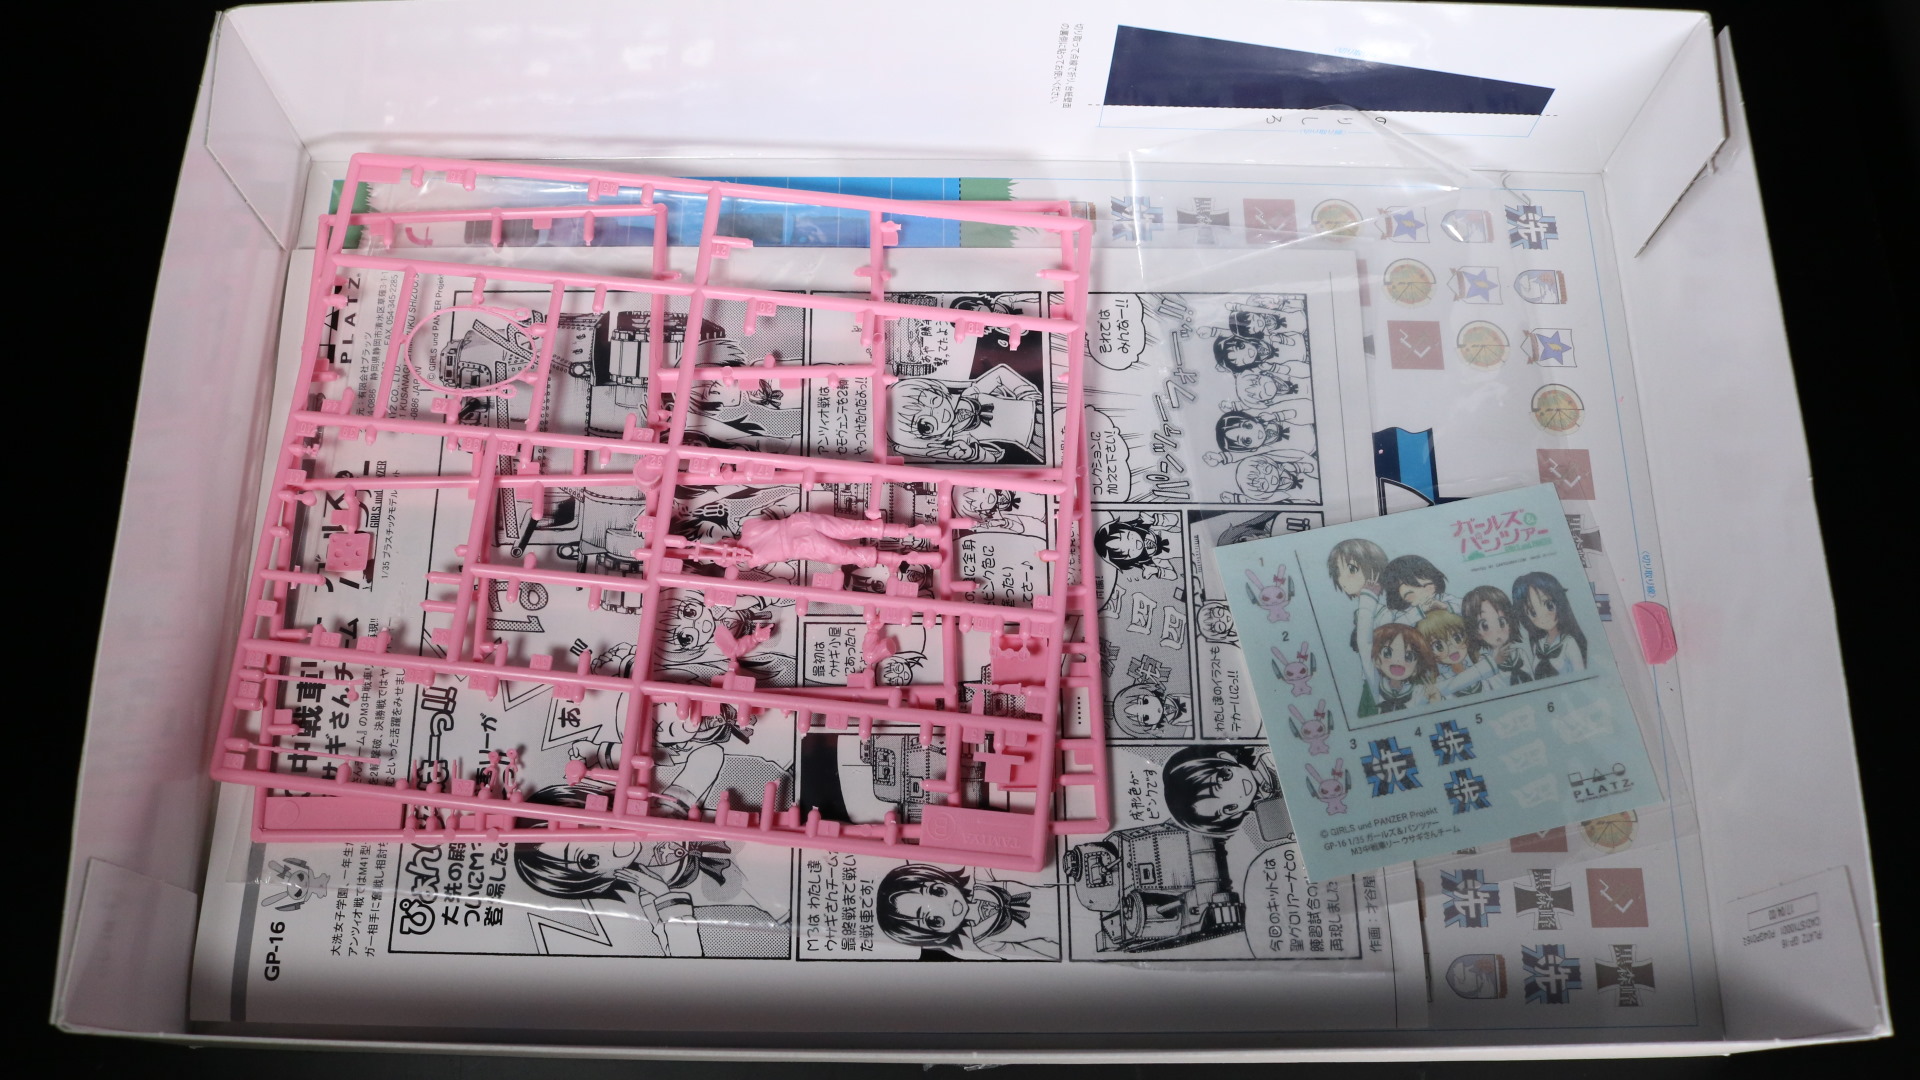
ANYWAY, the first task for me is to prepare the tank. The first step is taking off props on top where the girls will sit. Fill the holes with model paste. Then prime and paint the tank in pink again.
As with GuP tanks, I won’t be applying weathering. However, since this tank will be in mud, mud & dirt will be applied later as a finishing touch.
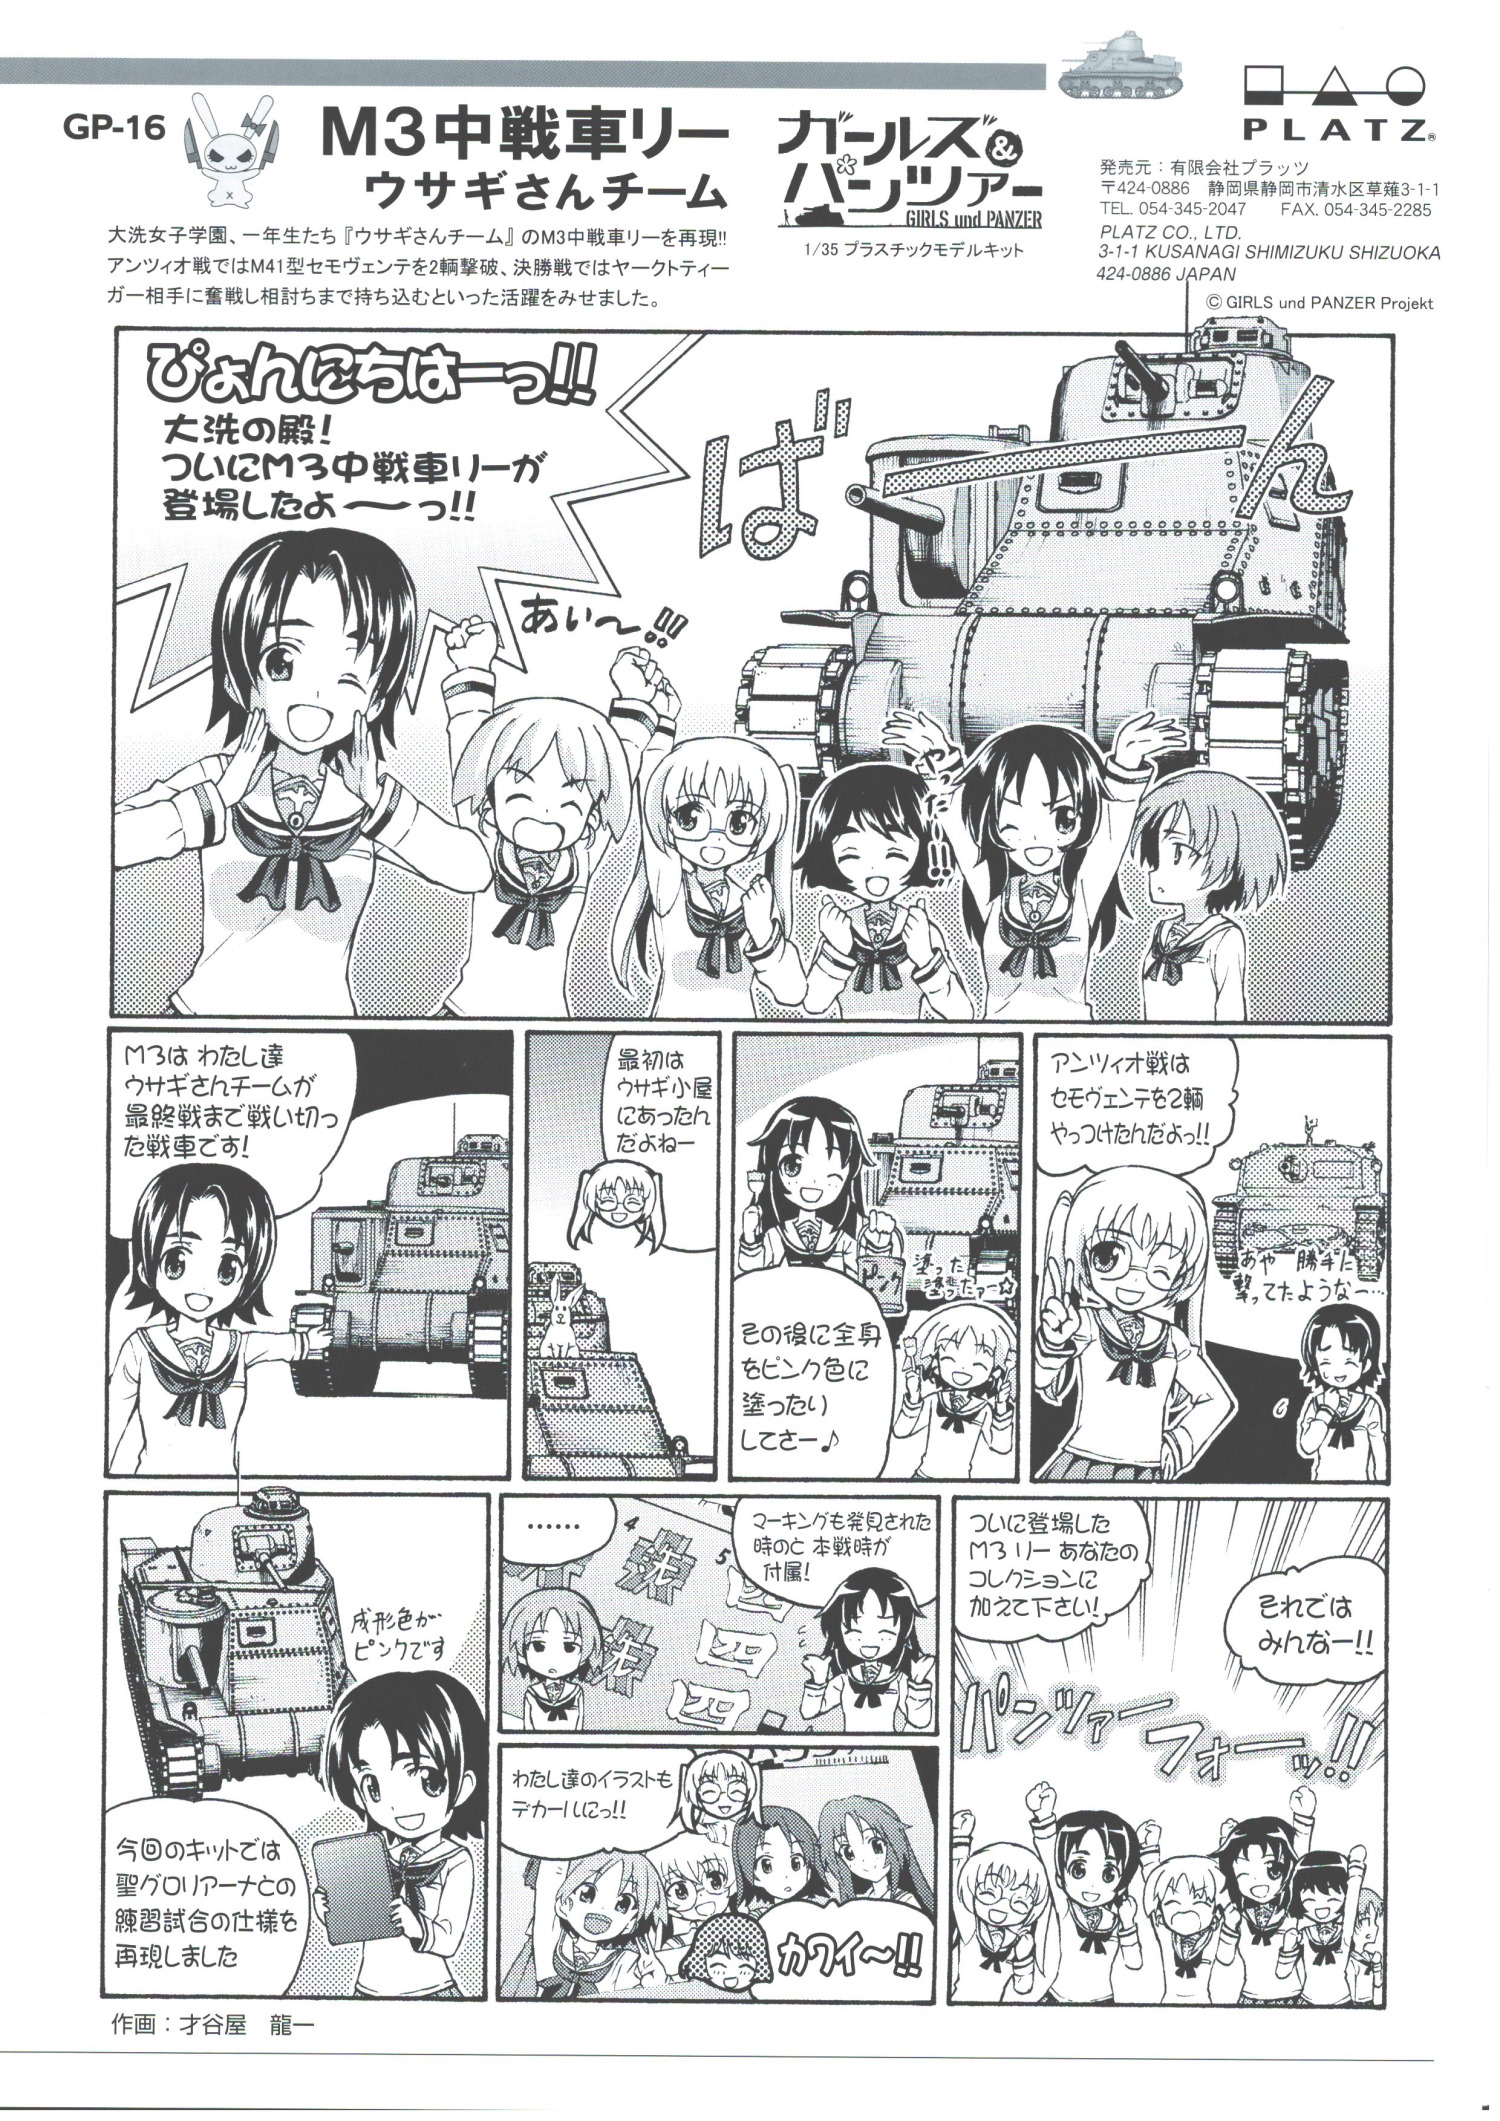
Now, if you want to read the comic you see in the box, here you go.
The next stuff up is this. This is “Kettenkrad theater edition“. There is a separate entry for this kit.
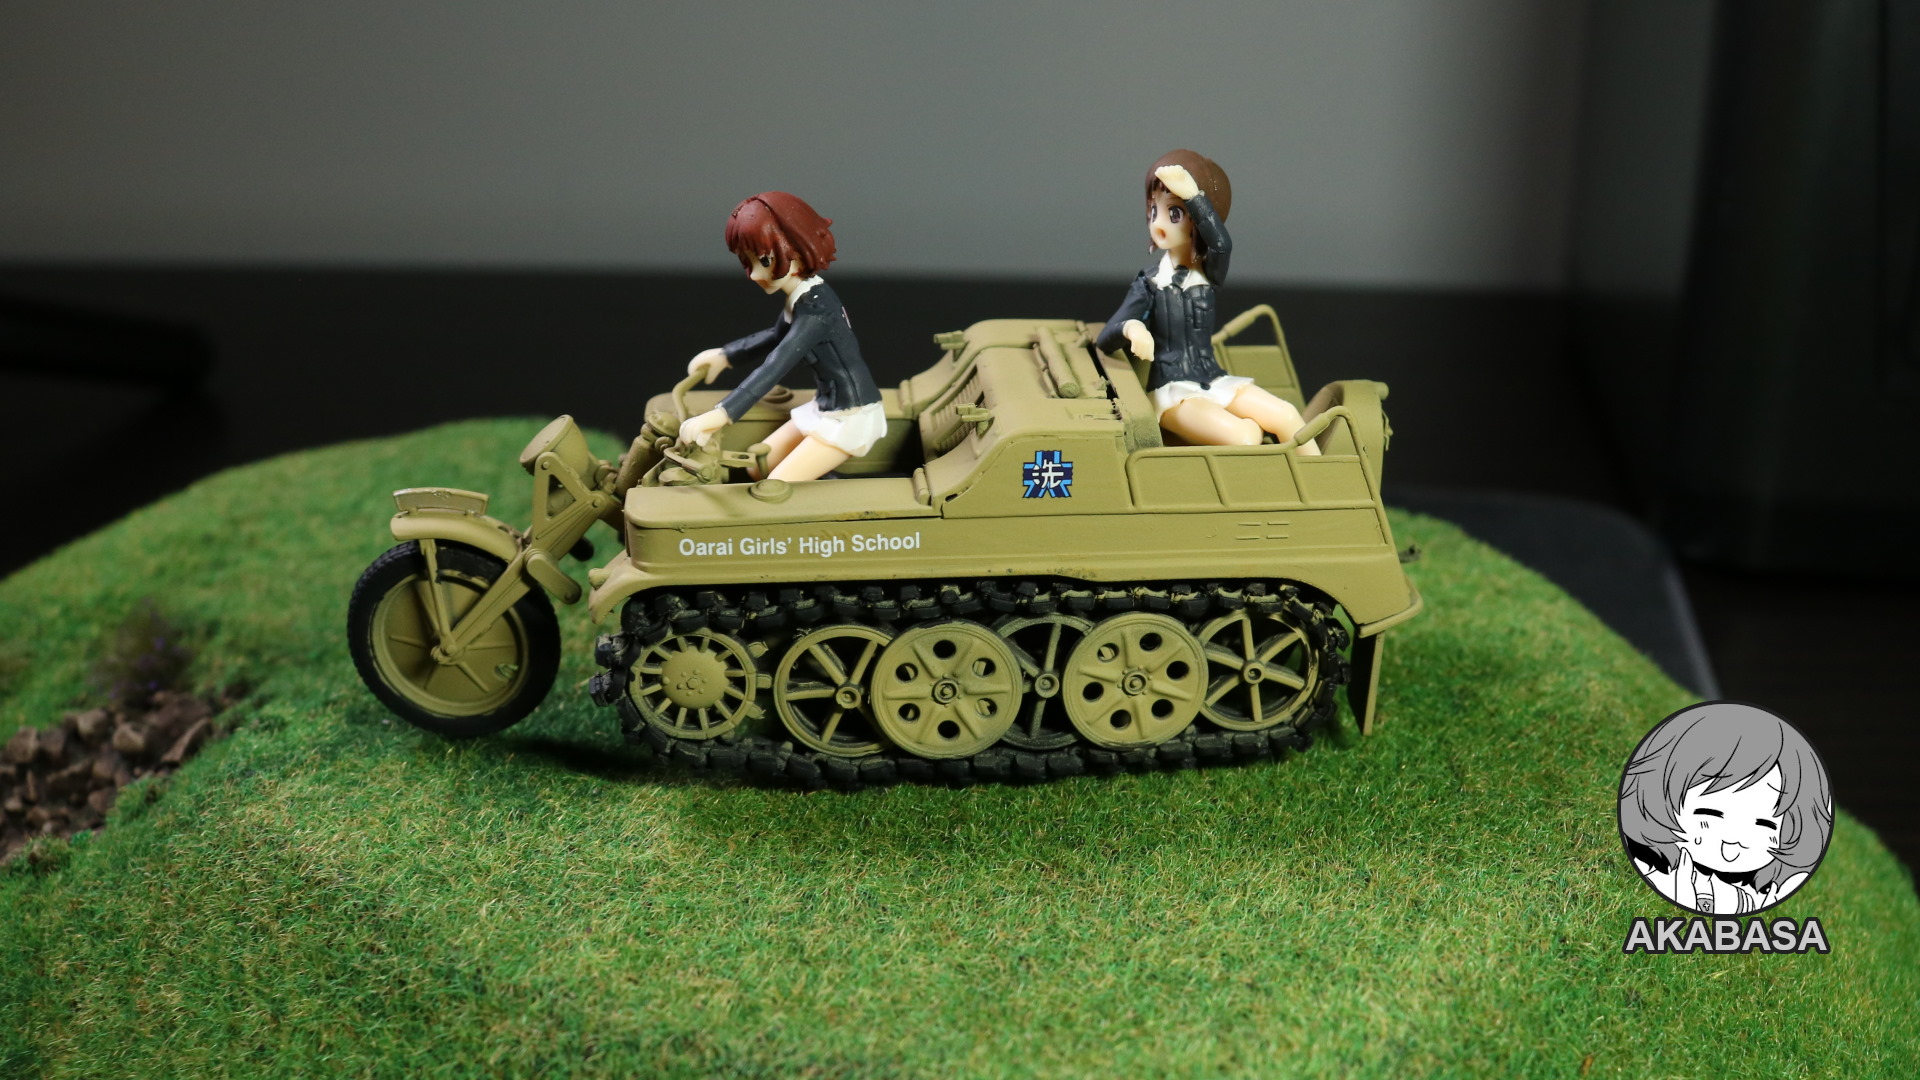
You can click HERE to view the entry.
The next component of this diorama is the rabbit team cast by Platz.
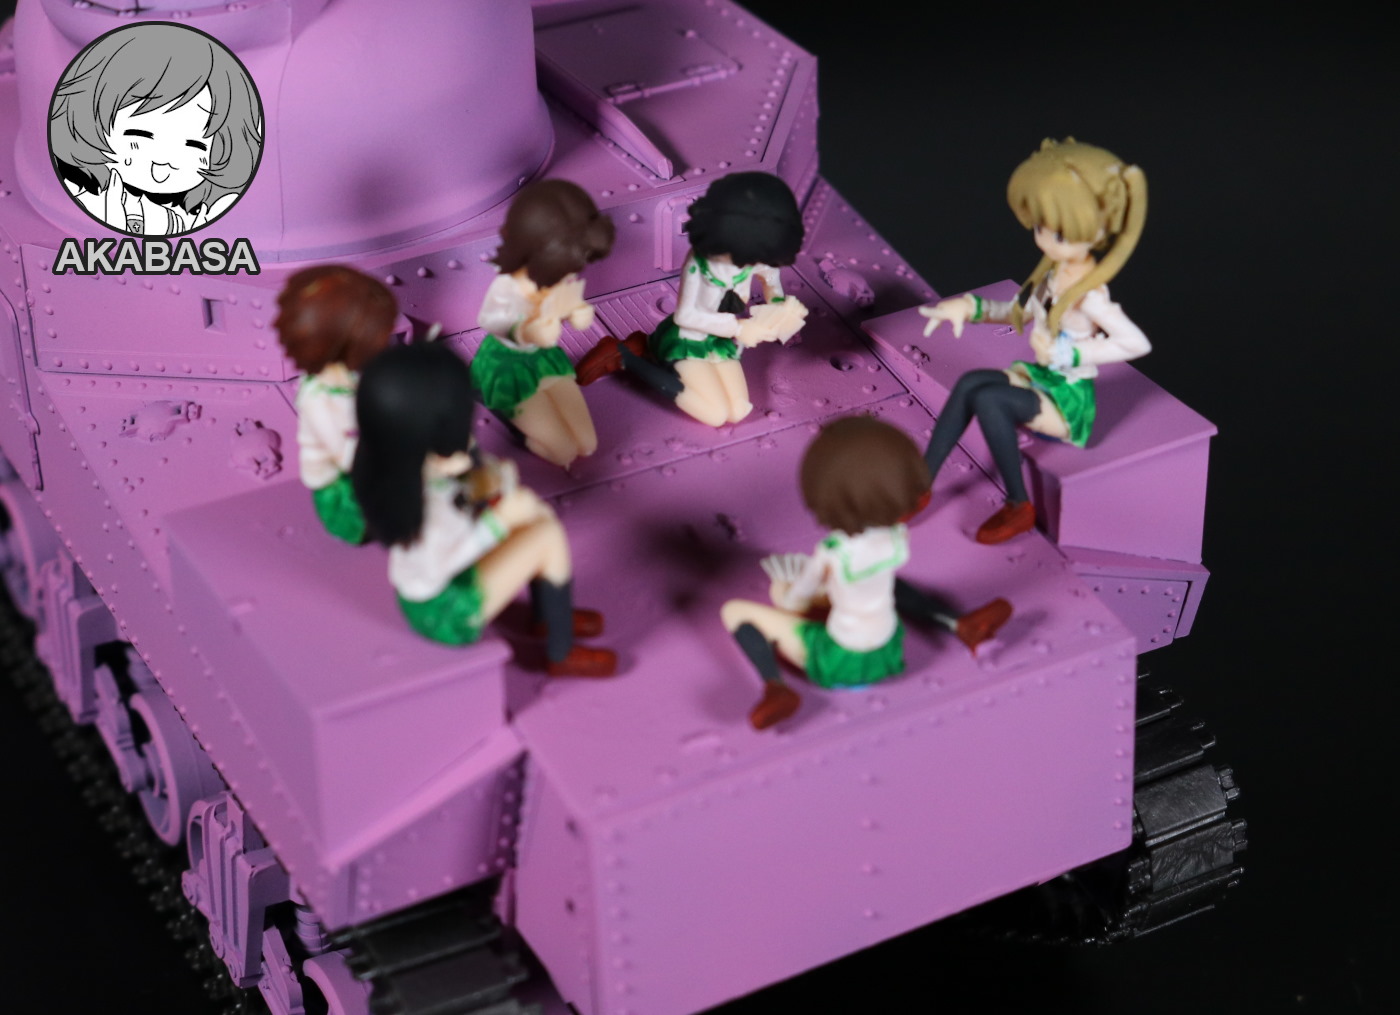
You can click HERE for its own entry.
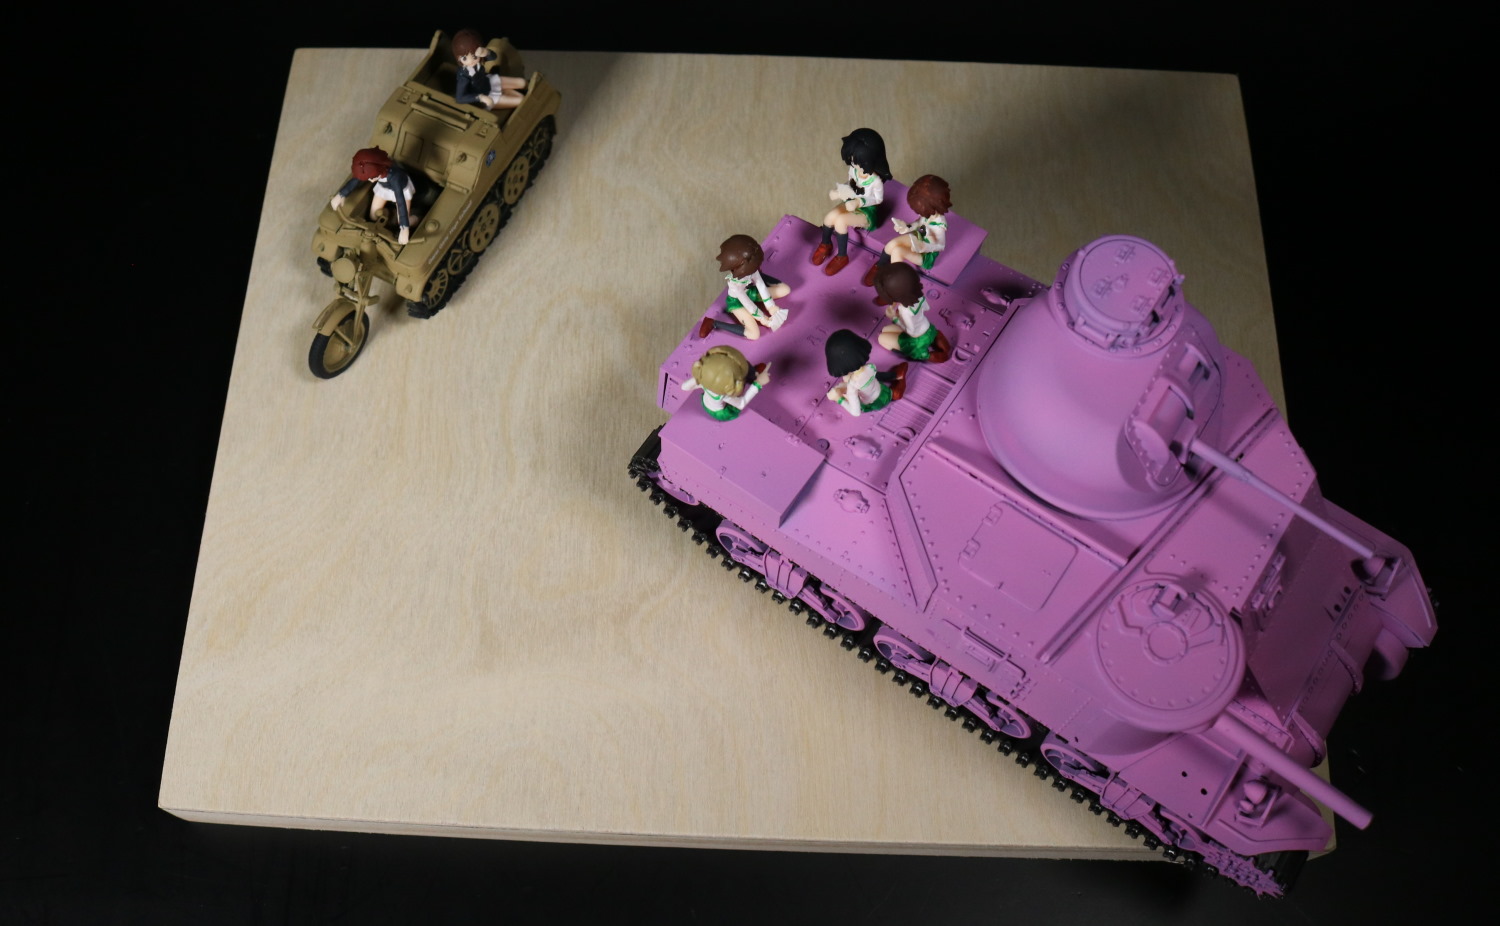
Moving on, the base is a 8 inch (20cm) by 10 inch (25cm) wooden plane that is meant for some sort of painting. I do have far larger platform to work on, but not really having spare space to display this, I’ve opted for something much smaller.
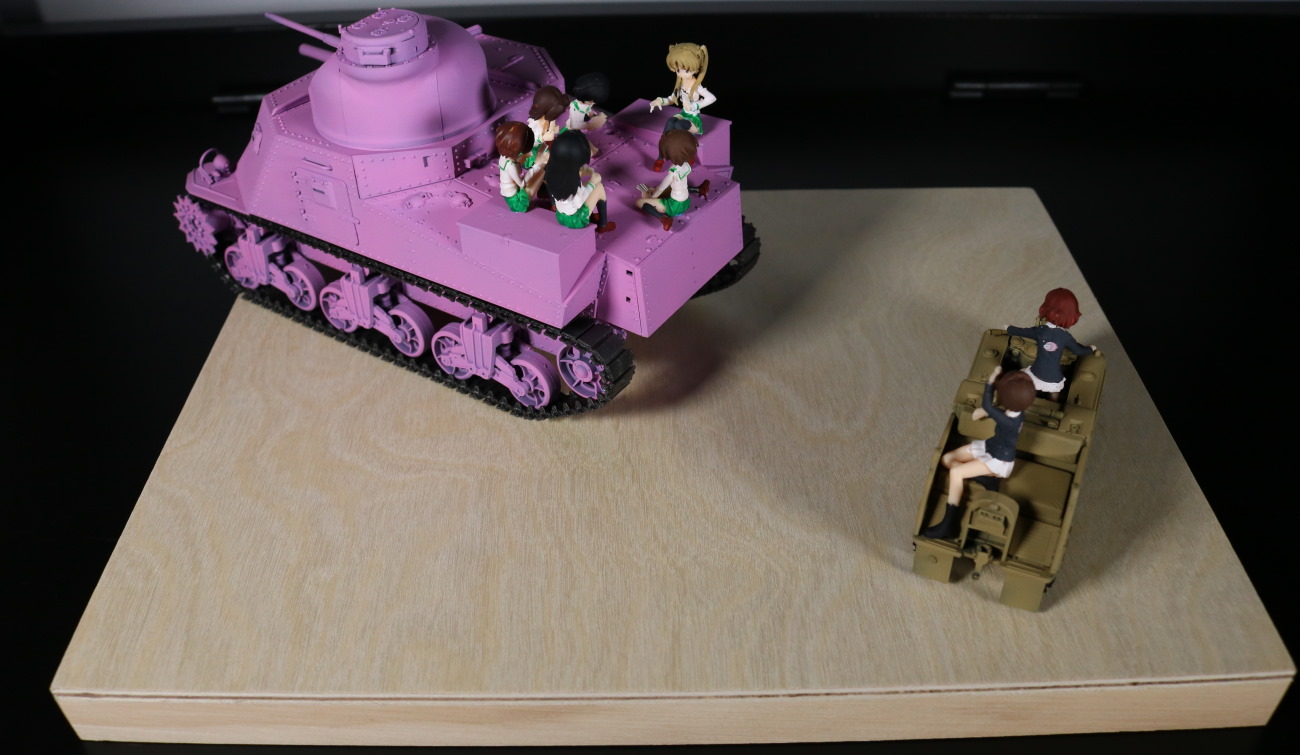
This is where I run into an issue. This issue is mainly due to the smaller platform. I need the M3 in mud. It needs to sink a bit, preferably its wheels need to stink half way.
Now, that itself is not hard. The issue is the lack of available space to work on. So, after contemplating for a few days in my spare time, I’ve decided to ditch the wooden base and look for something bigger.
Well, I hope to use the wooden base for something else. I had to buy a pack of 5 after all … 😌
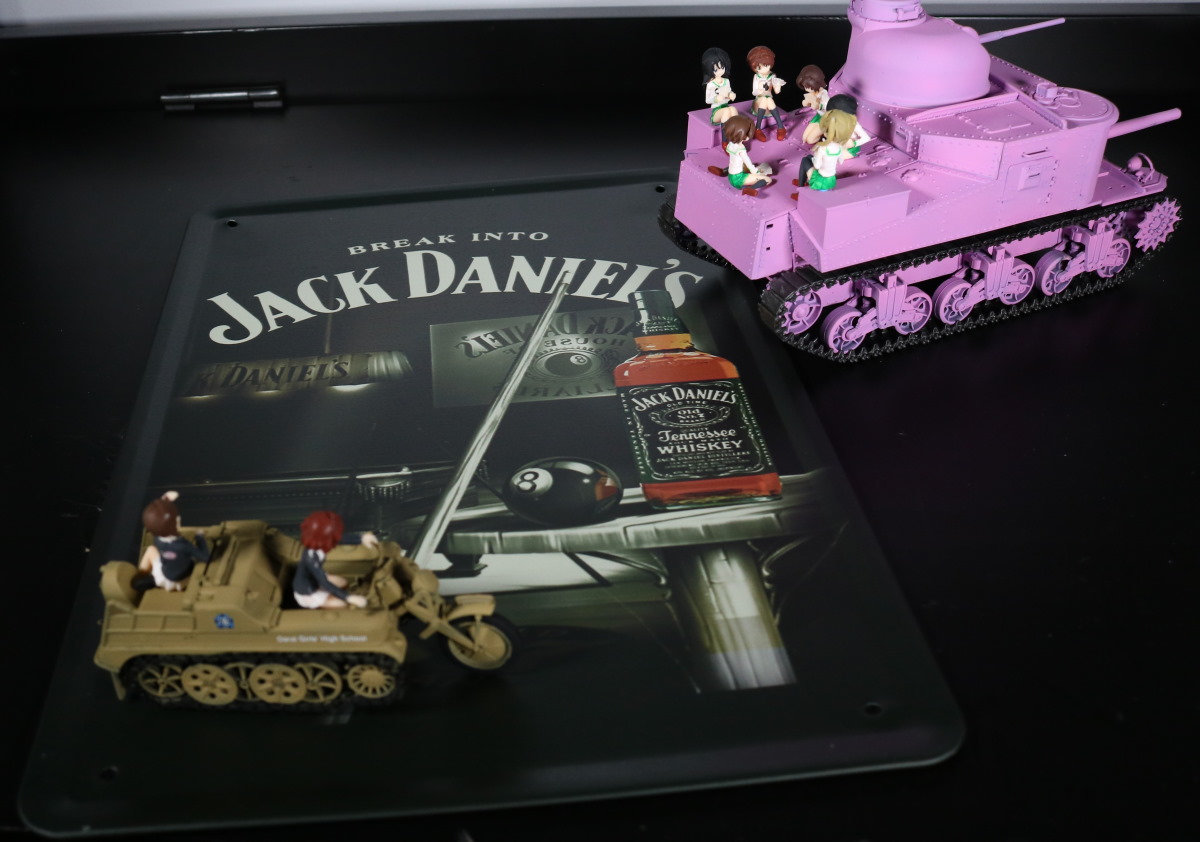
So…, if you are wondering what the heck you are looking at, I have no clue. I was just browsing in a dollar store and spotted this. Cost me about three bucks and it appears to be made of a thin sheet of iron. Could be steel. Doesn’t matter.
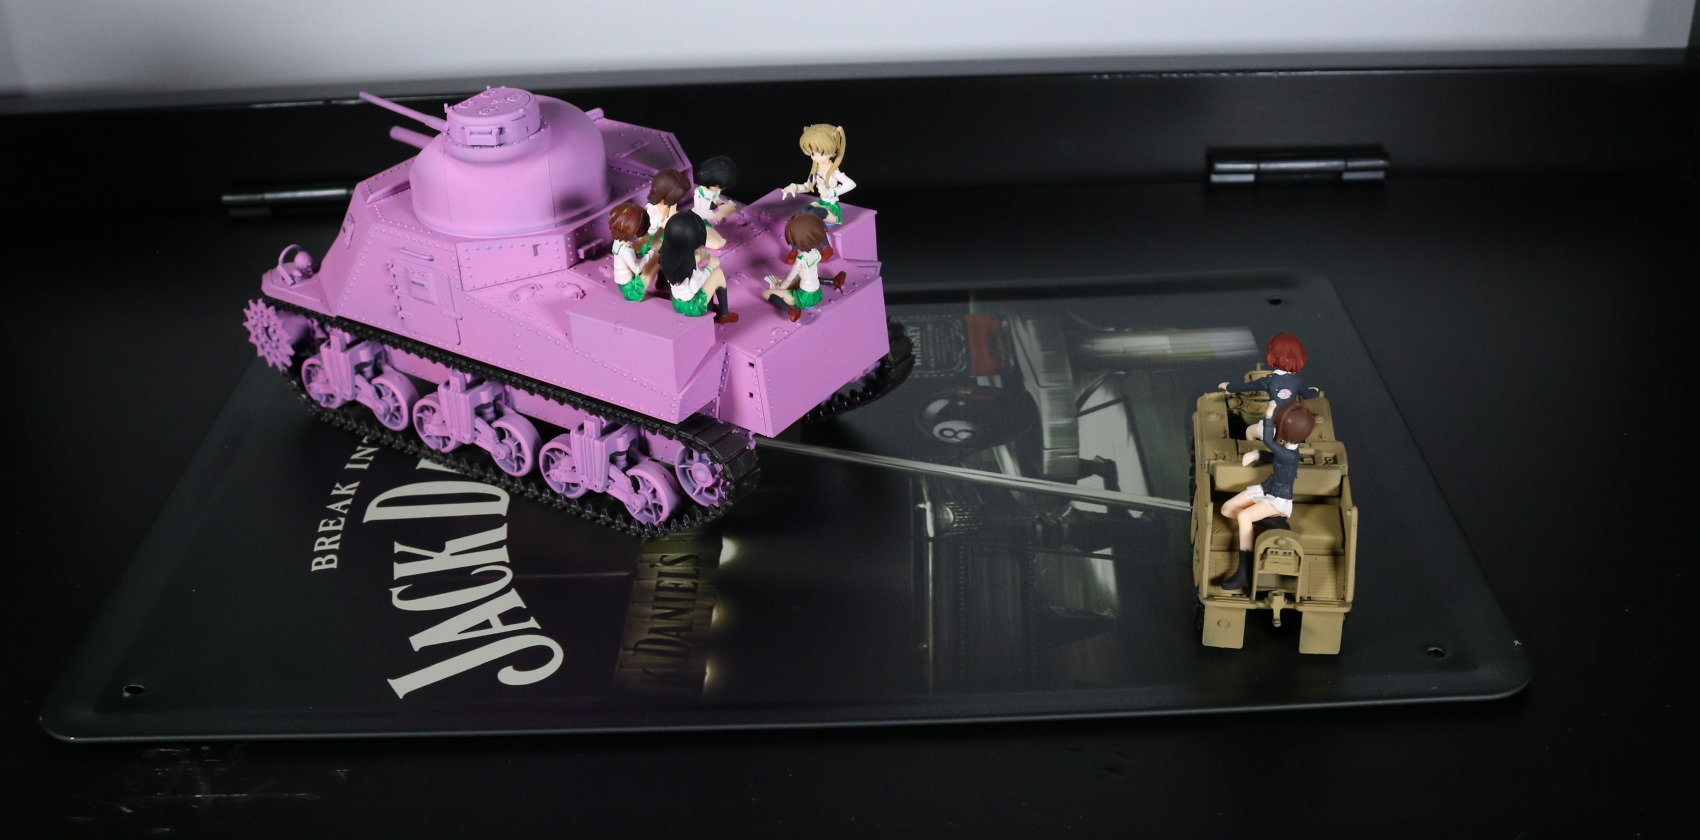
The important things are that it offers about 40% more surface area and it has slightly elevated edges which will allow me to sink the tank slightly. I do not believe my initial objective of sinking the wheels half way will be met though. I suppose any form of sinking will do.
Additionally, unlike wood, it has no chance of warping.
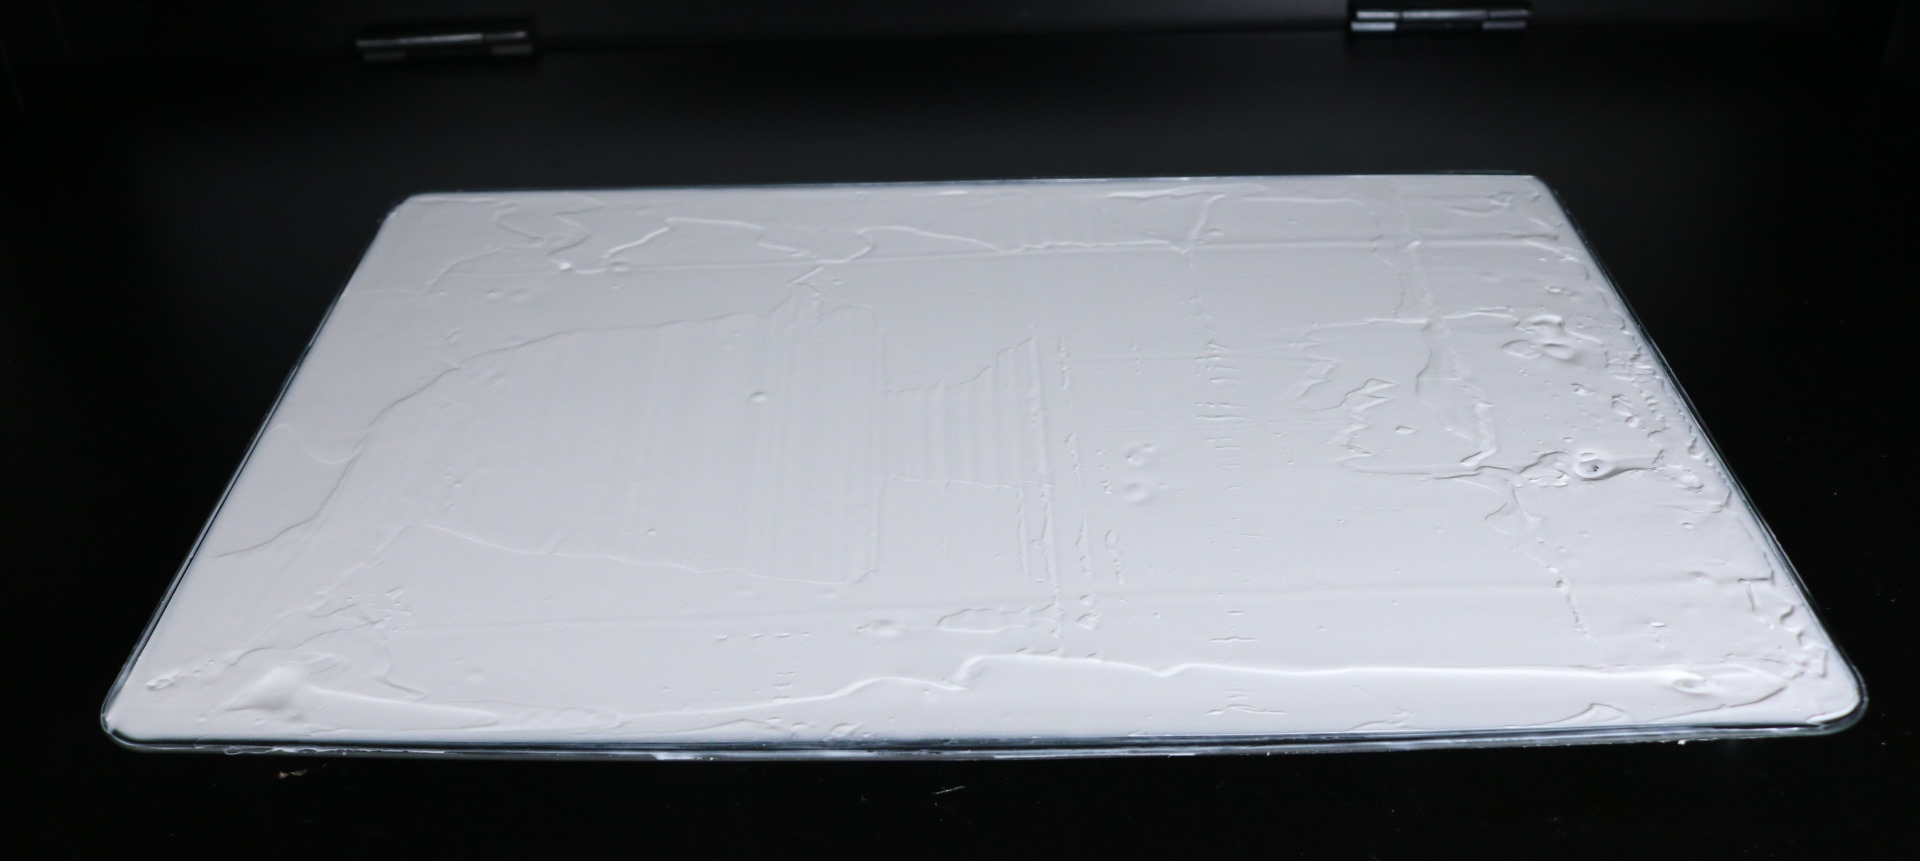
Now, the real stuff begin. The first step is coat the surface with paste. This step is easy but can be really messy. Another thing to do before it hardens is to position M3 tank.
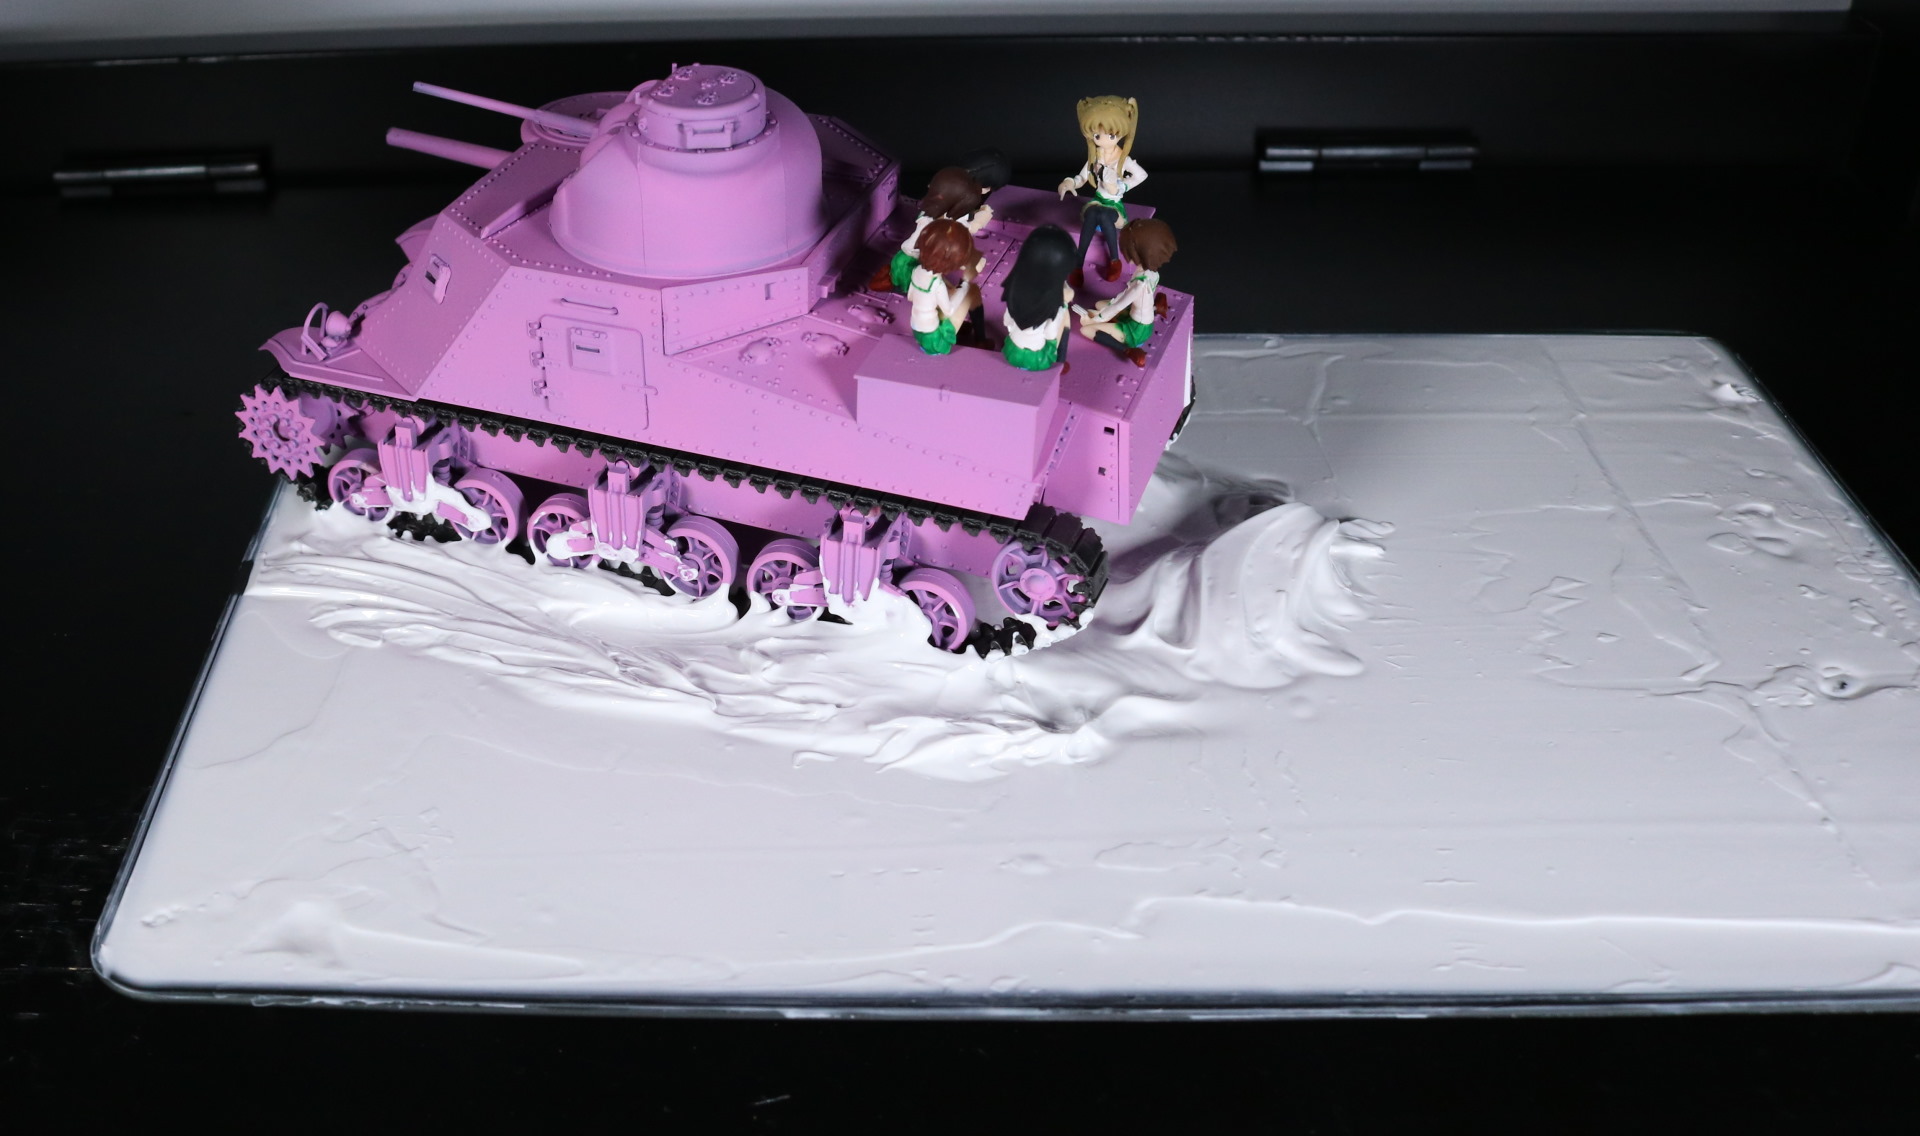
Well, as expected, it doesn’t sink as much as I’d have liked.
This is the first coating. It took 2 days for it to become solid enough for me to work on the second layer – which is below.
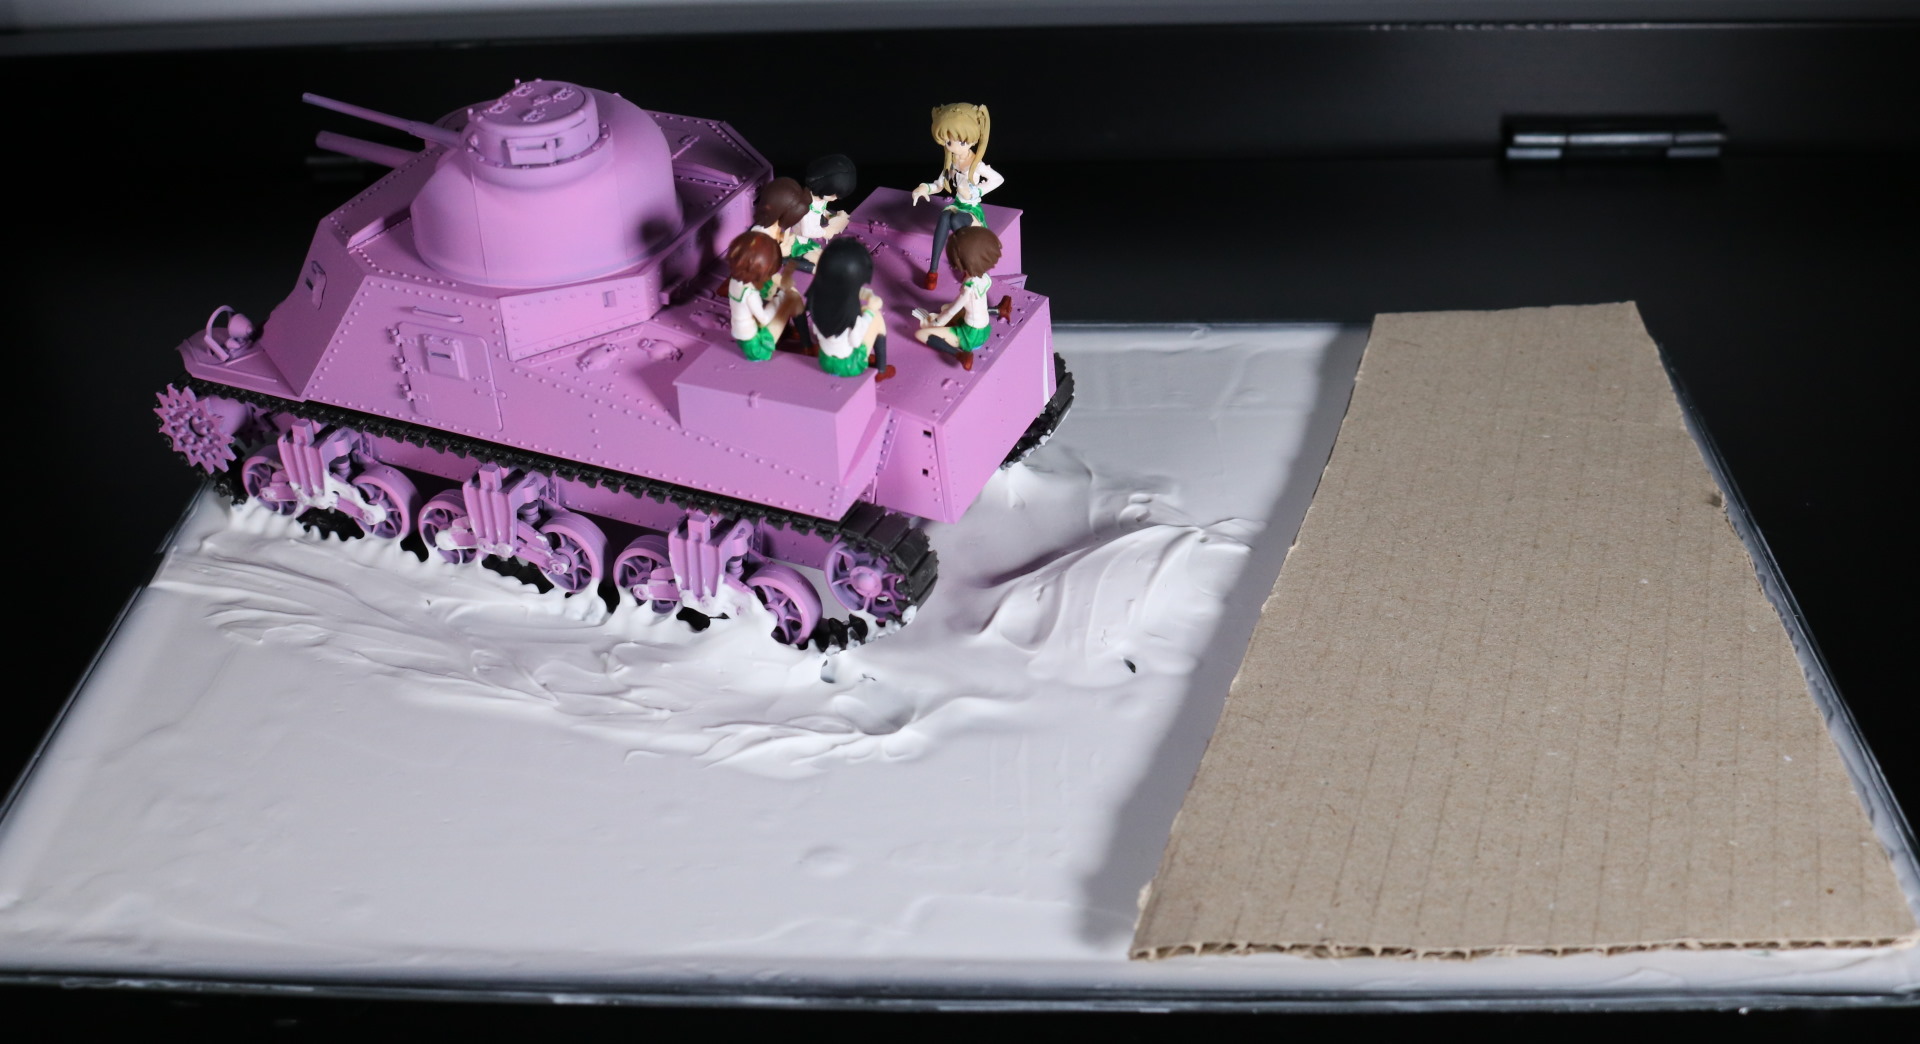
The reason I am using a piece of a cardboard is for me to have a clear guide line while working with paste. The cardboard piece also will make sure that the road will have a minimum level of elevation that I need.
Once done, I let it dry for 2 more days.
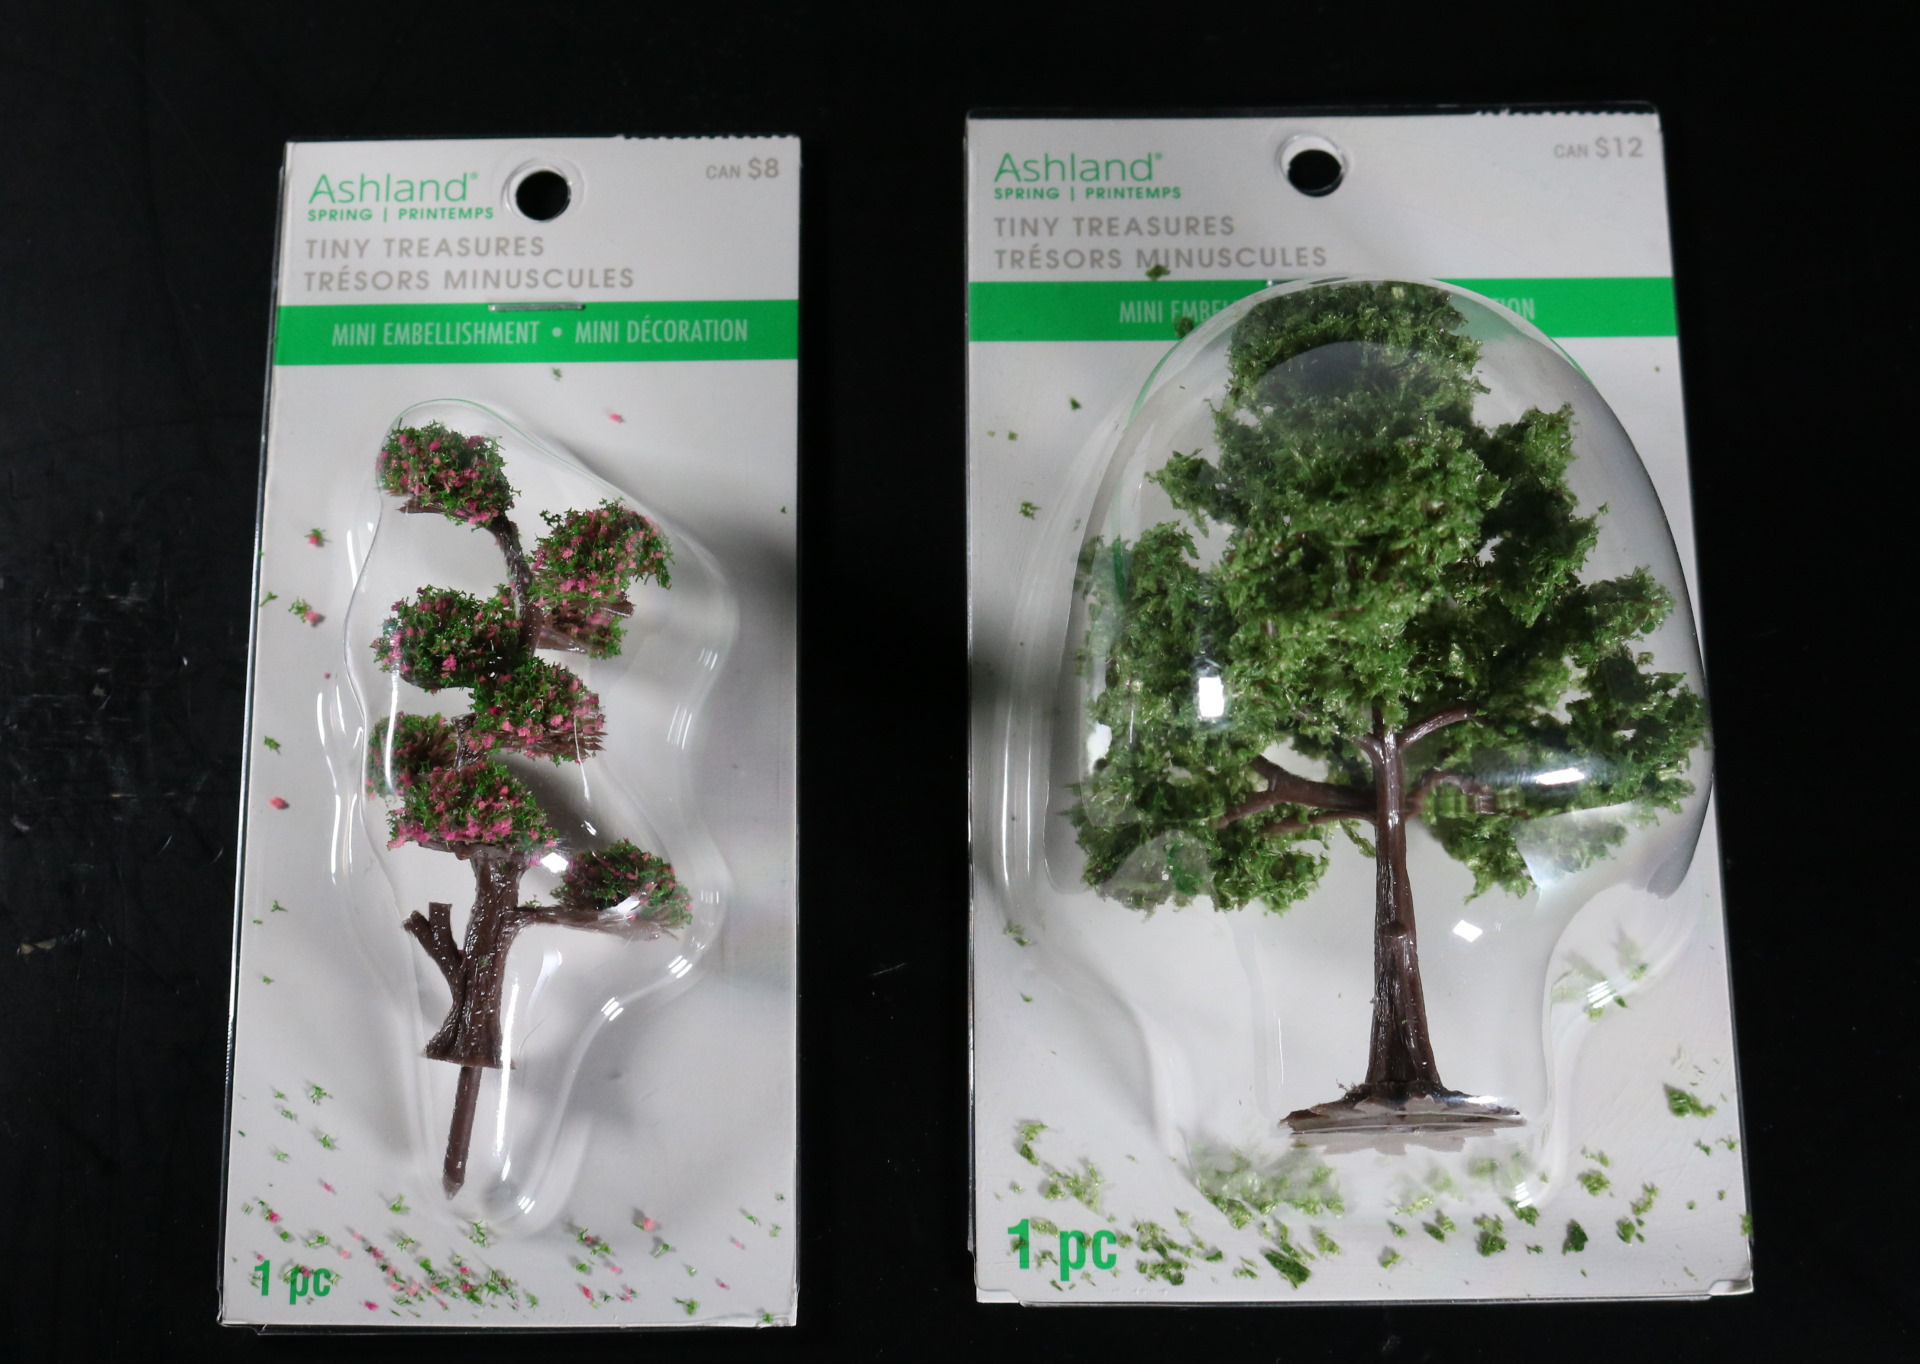
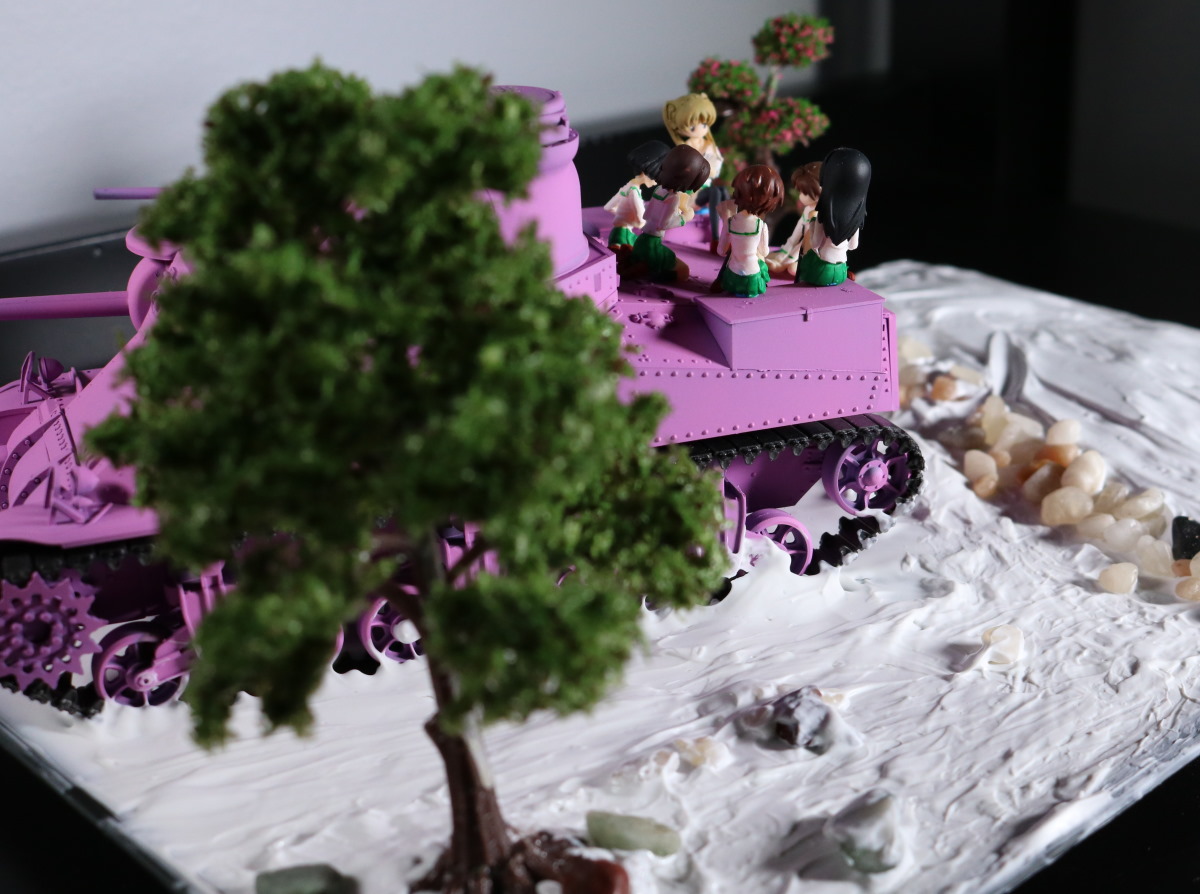
Meanwhile, let me introduce you to Ashland diorama tree props. These can be found at any craft stores. With a price tag of 8 and 12, you may find this expensive but these are almost always on a big sale.
I, myself, purchased these at 50% off a year ago. I figured I’d use it one day and here we are. These are not exactly 1/35 scale but close enough.
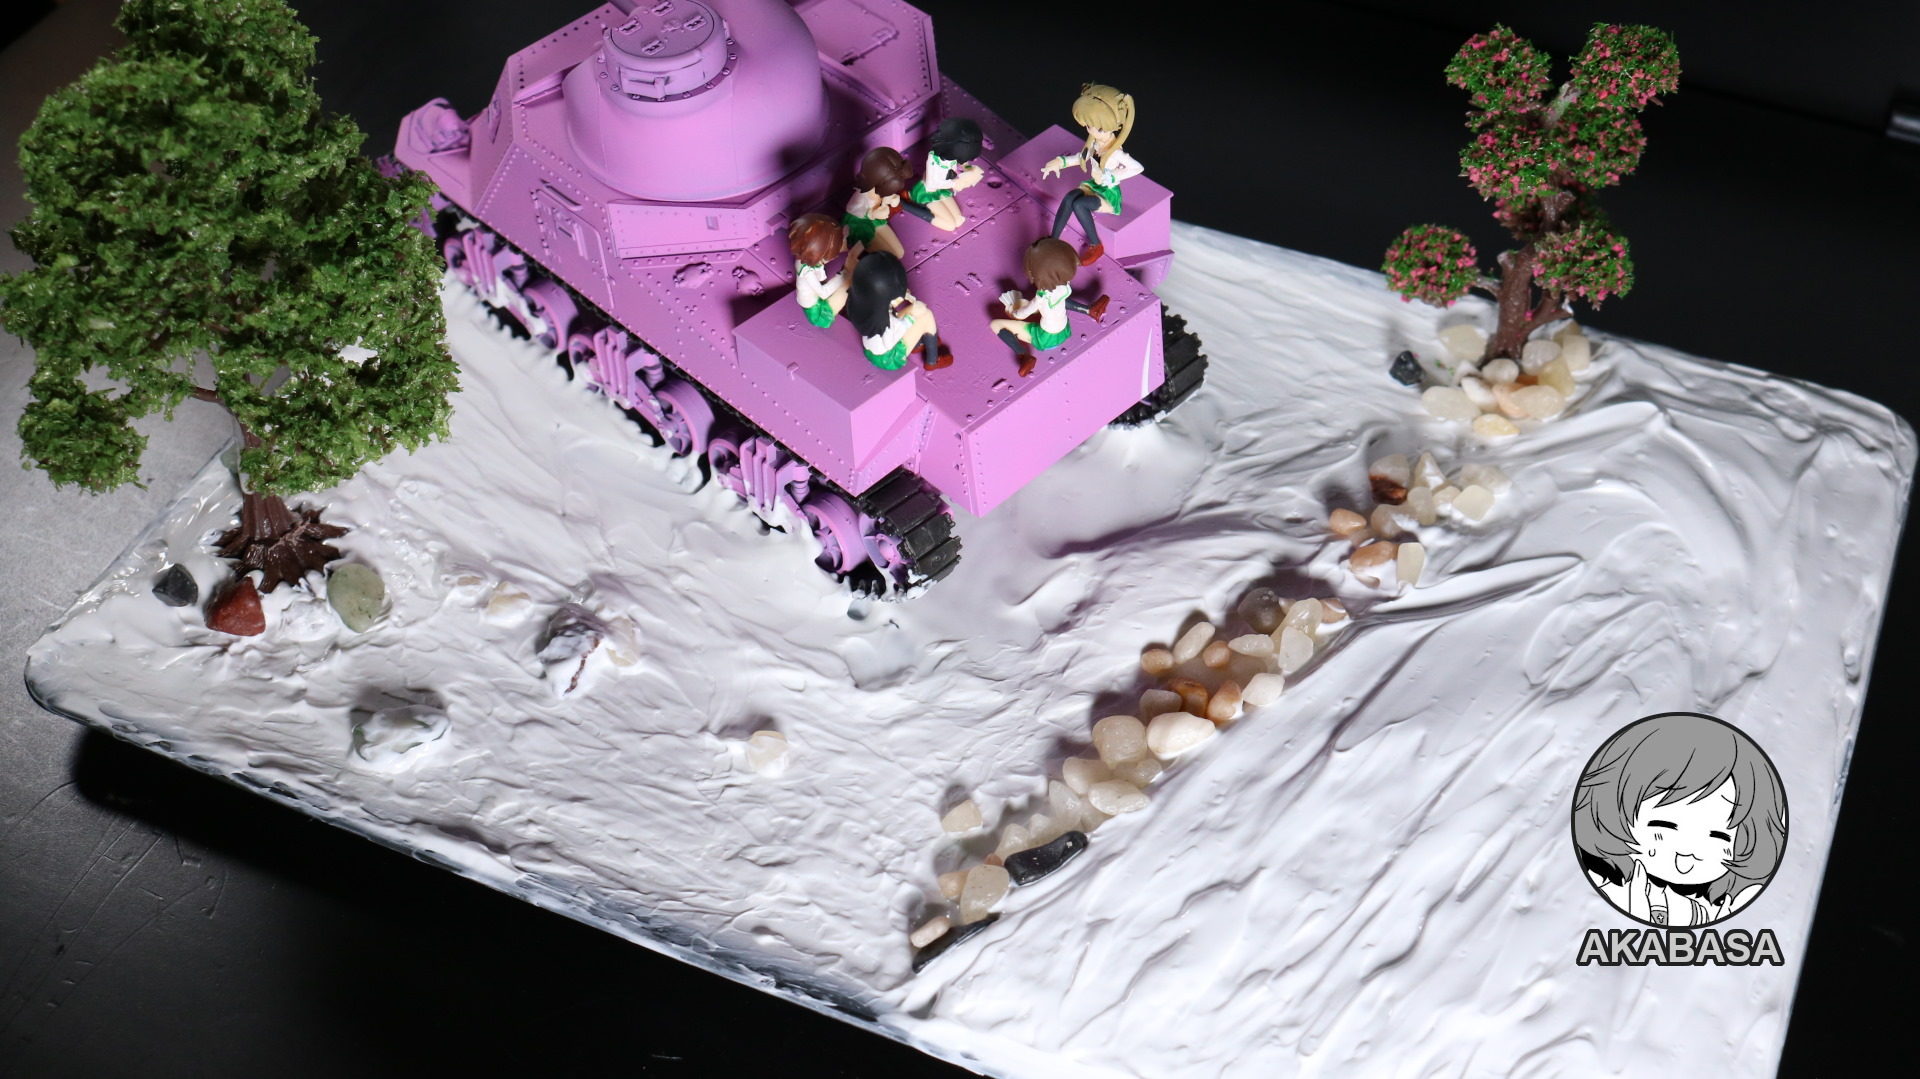
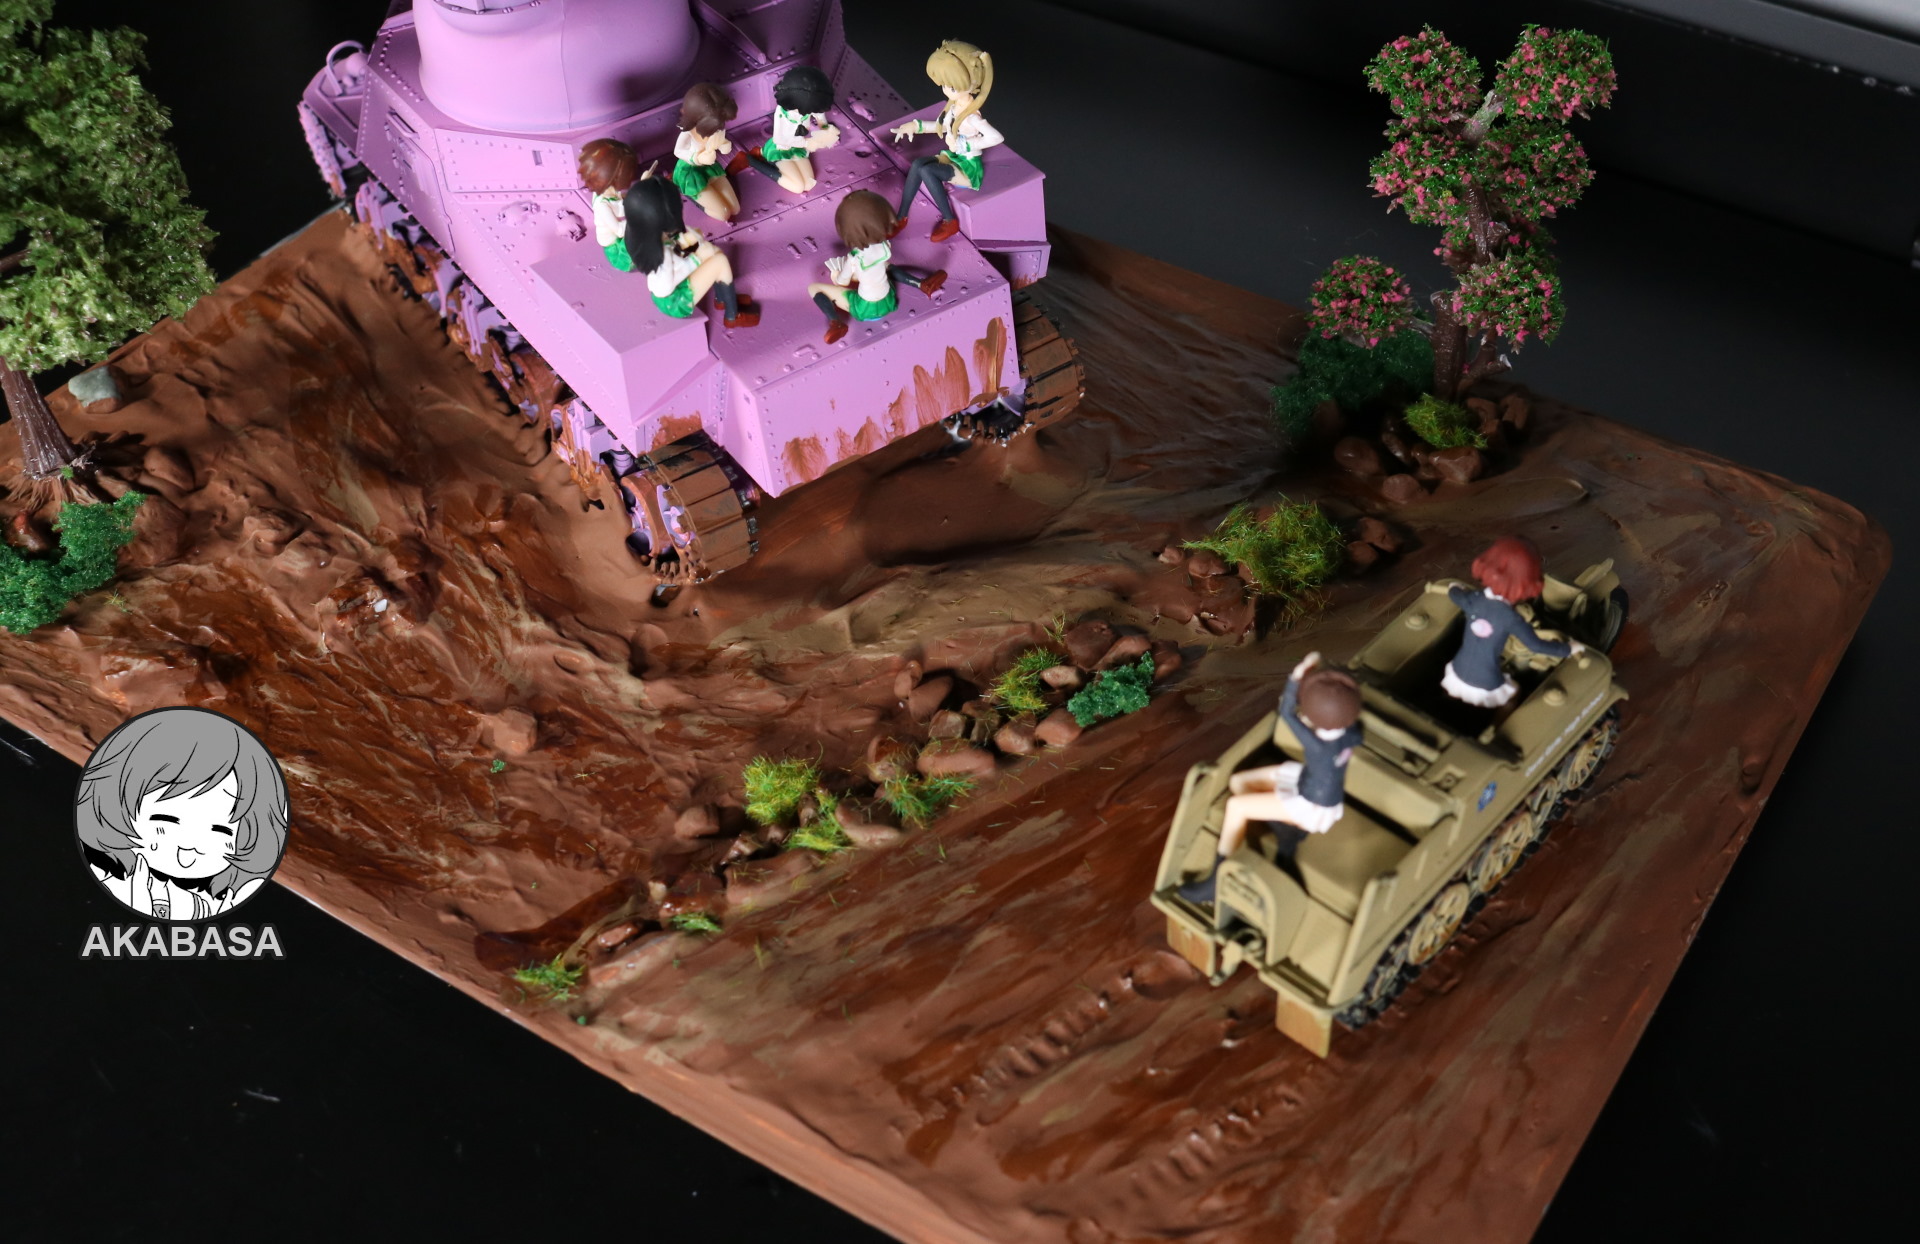
The diorama is slowly beginning to look like one now. The gravels were also purchased from a craft store. This is important. Never use gravels you find outside because there is a good chance that you will bring tiny bugs/insects and microorganisms with them. Those will likely ruin a diorama in long term. It will either start to smell really bad later or will basically rot – probably both.
The same goes to wood pieces. Never use ones you find outside because those will contain microorganisms. The safest wood pieces to use for diorama projects are petrified wood found from craft stores. The ones from craft stores are sanitized.
If you are using a wooden base, make sure you stain it. If not moisture will get to it and it will eventually wrap.
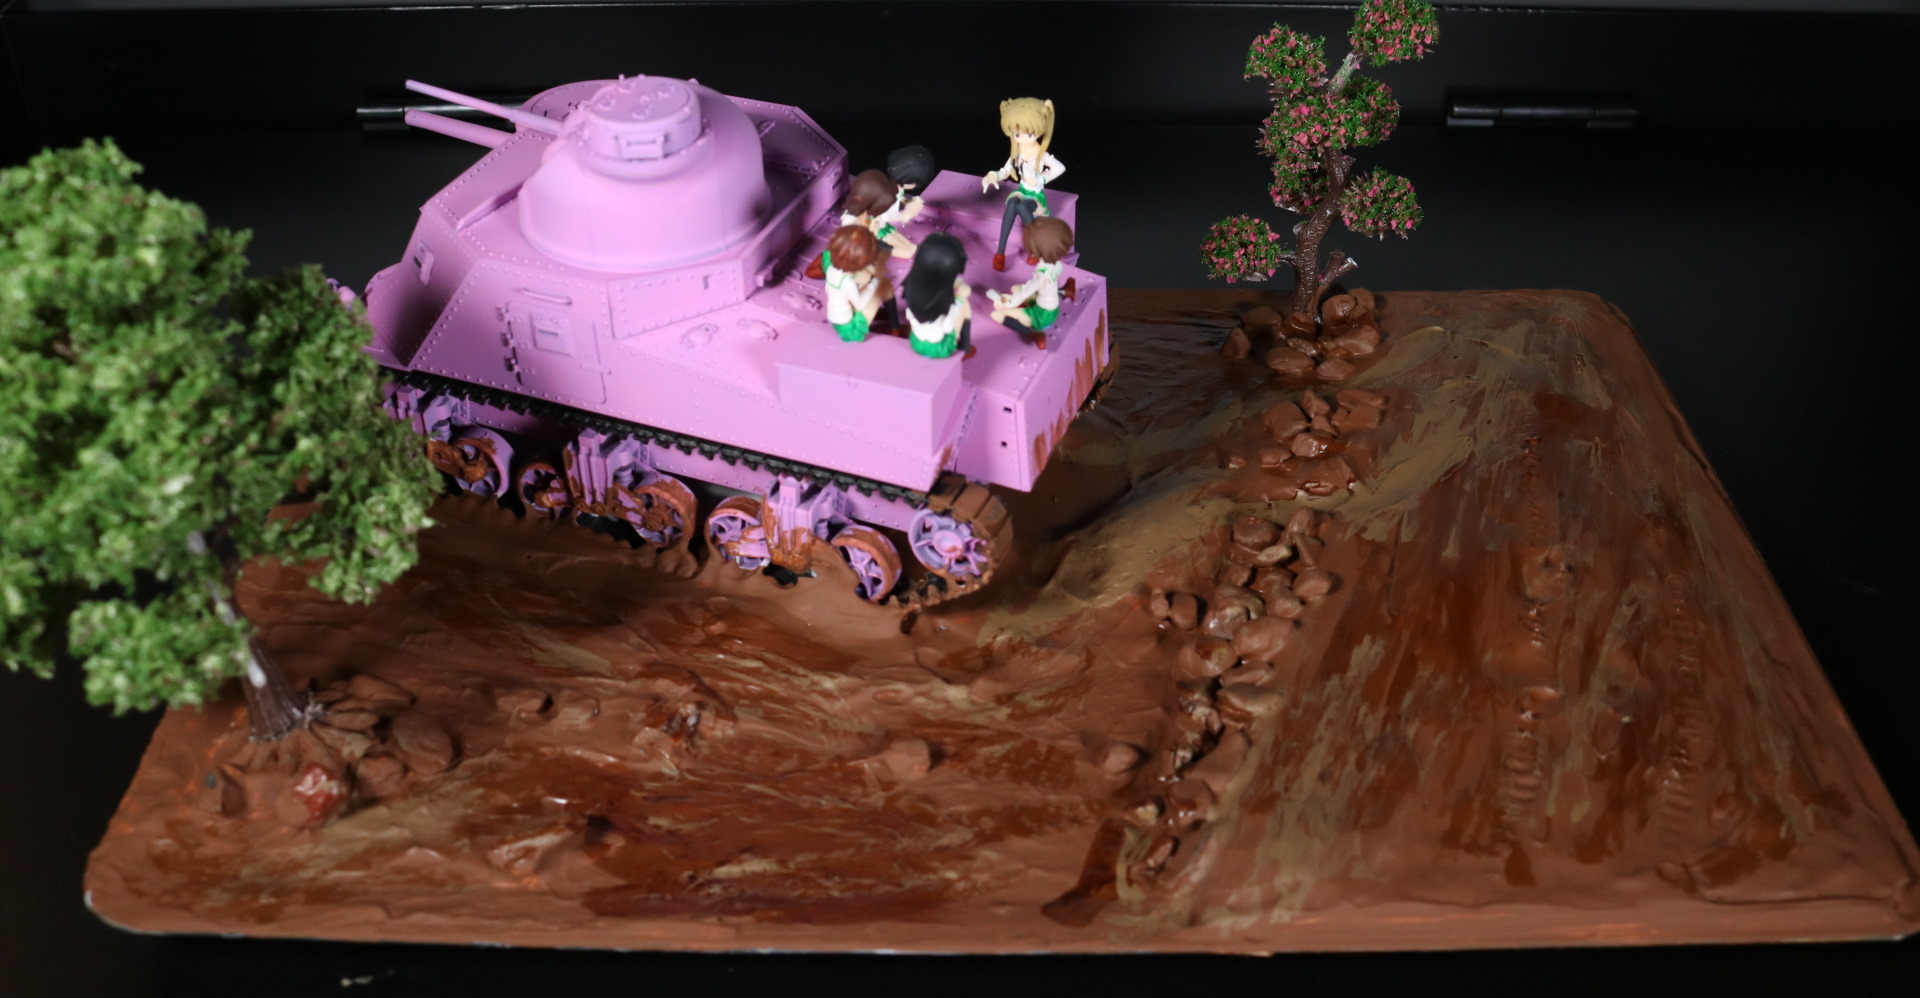
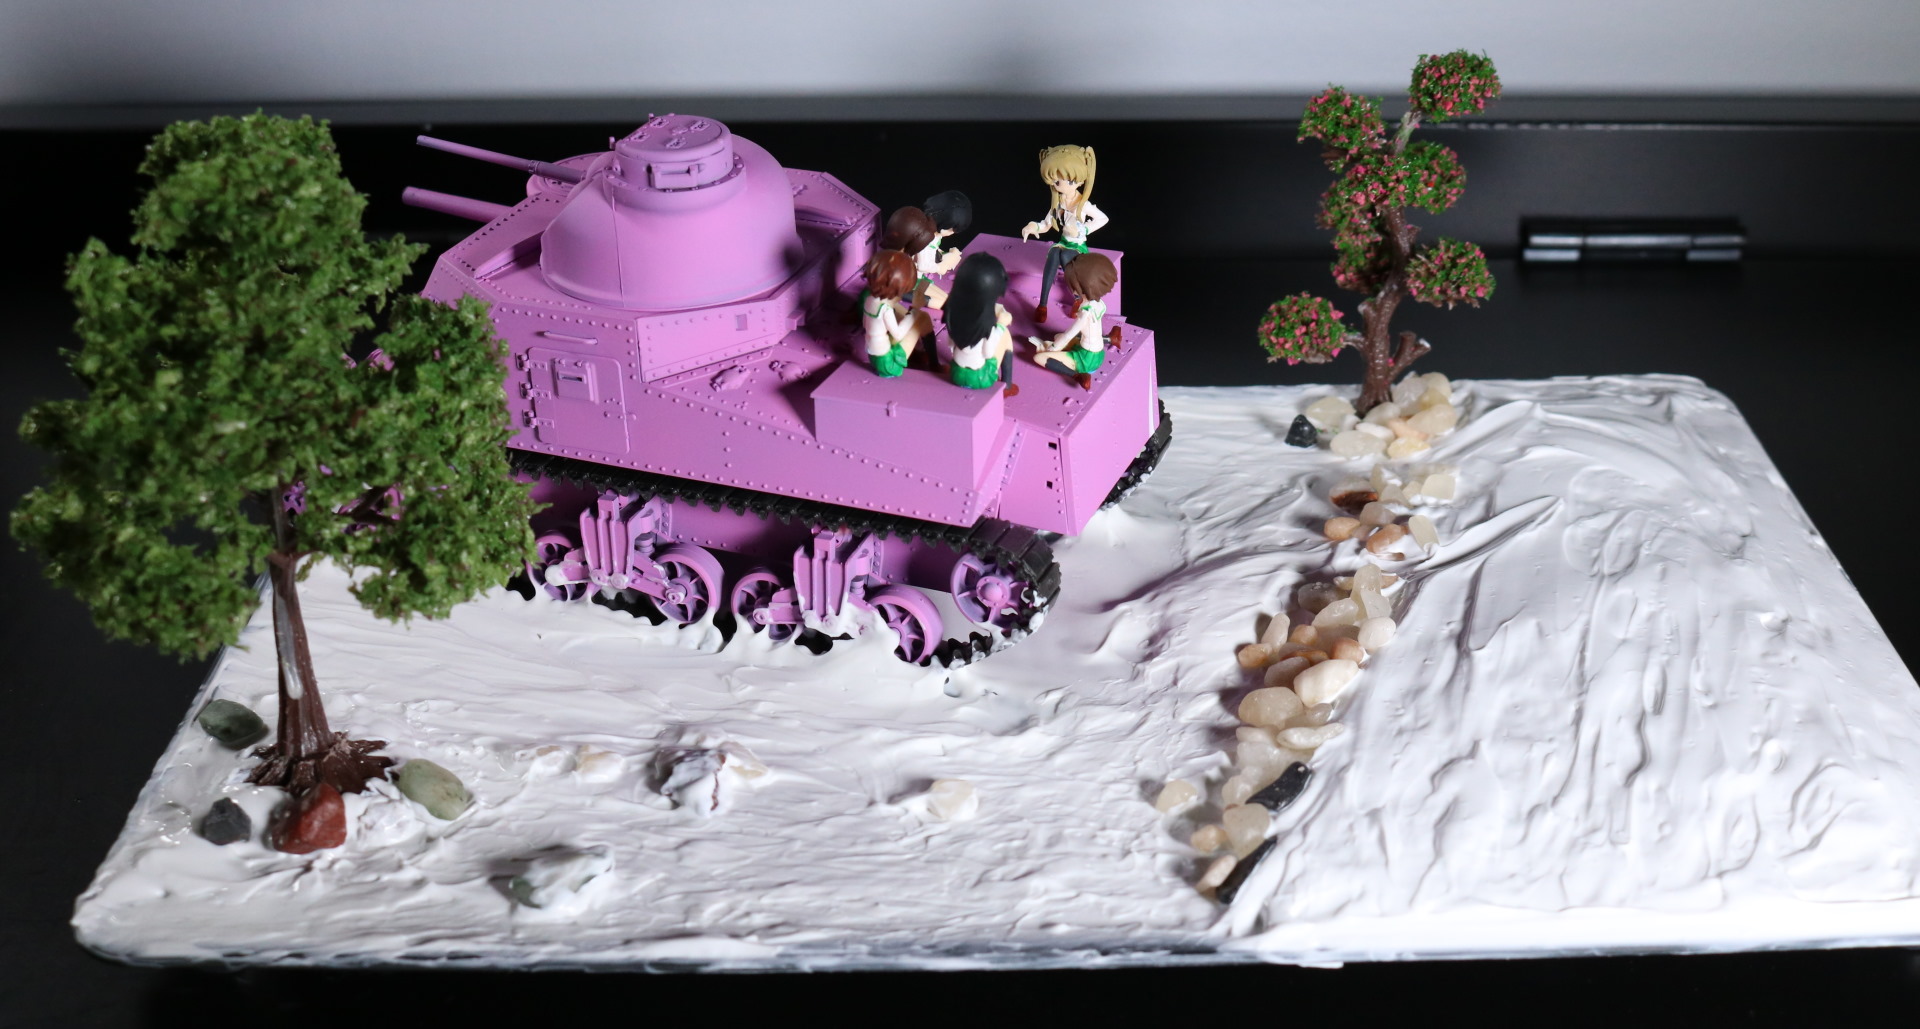
This is after I paint the ground. At this point, it is mostly done. It’s just missing minor plant props to add some flavors to what is a dull scene.
I’d like to note that the iron plate is starting to bend in the middle, so I had to add more rubber feet to balance the weight. It is apparently pretty heavy.
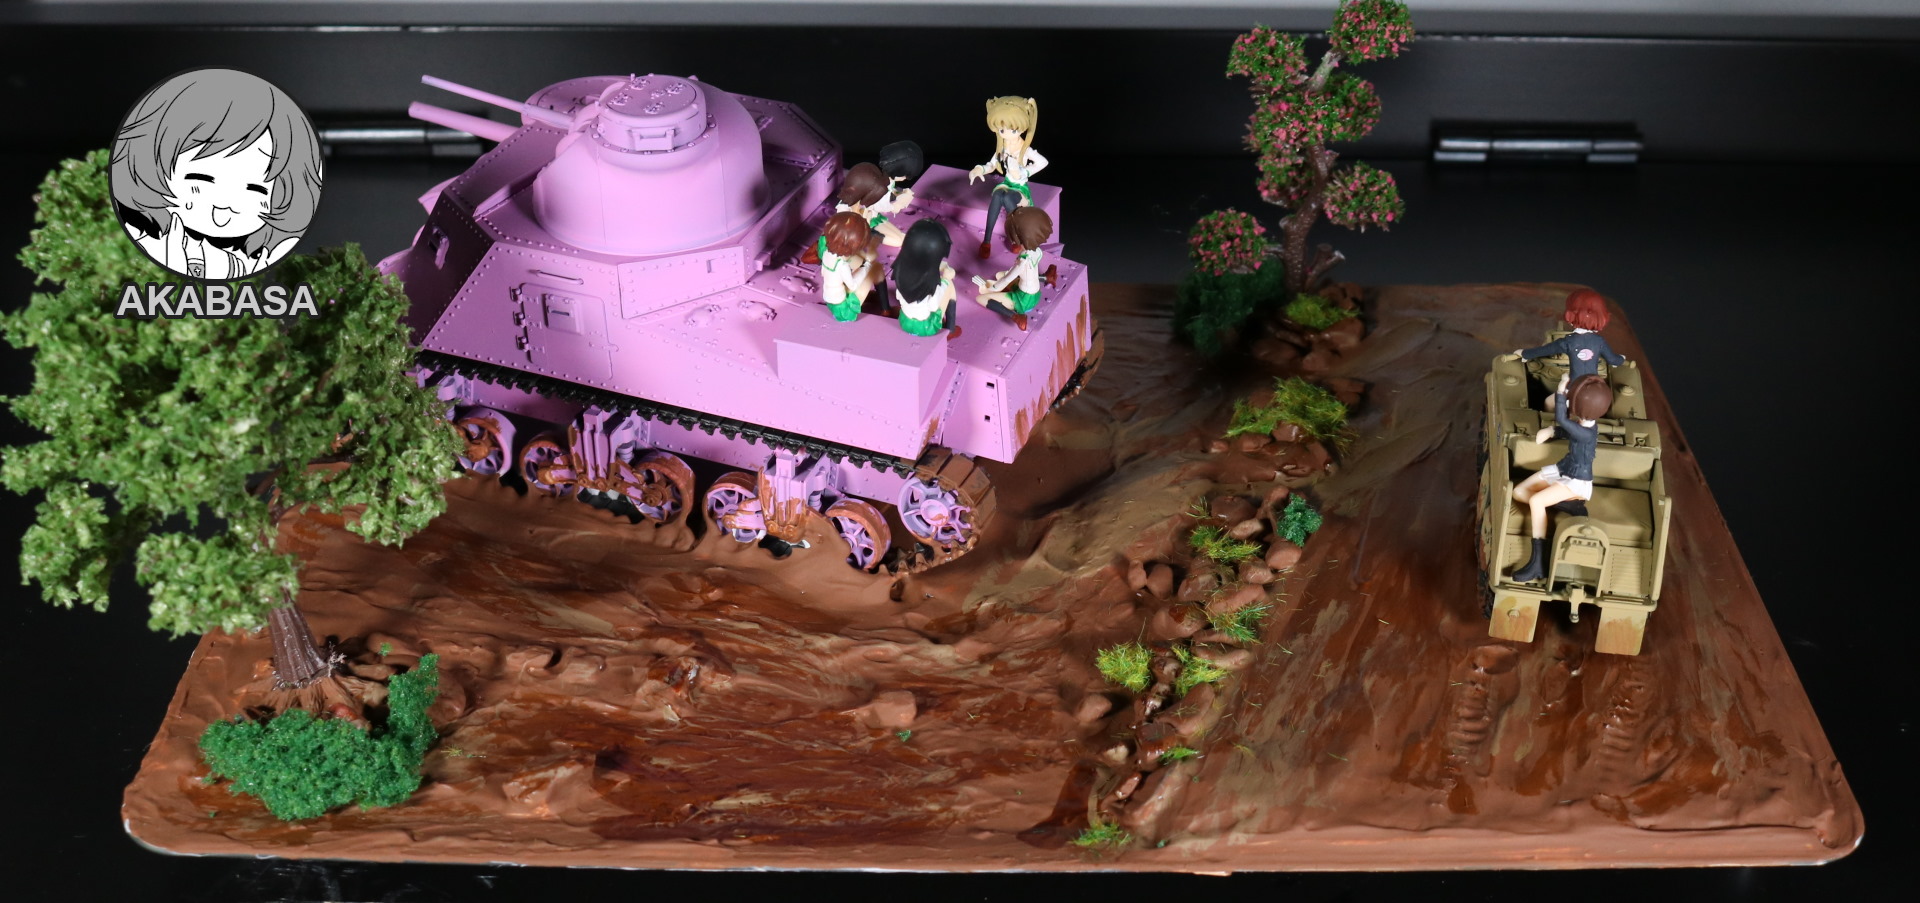
So, this is it. It is done although I may enhance it at a later date.
Overall, this diorama hasn’t been too hard. Perhaps choosing the right base was the most challenging part. But then that usually proves to be the hardest part in any diorama I’ve created so far. Funnily enough, the base dictates how a diorama will end.
If I had chosen to stick with the wooden base, I am not sure how it would have turned out. It was way too small. I would have made it work somehow but, seeing I rejected the base in the end, it was probably a wise choice. I spent 45 CAD on the pack of five wooden bases though. Hmm…. Oh, well.
How I found the iron base was basically a total coincidence. But that’s life a lot of times.
Cya.