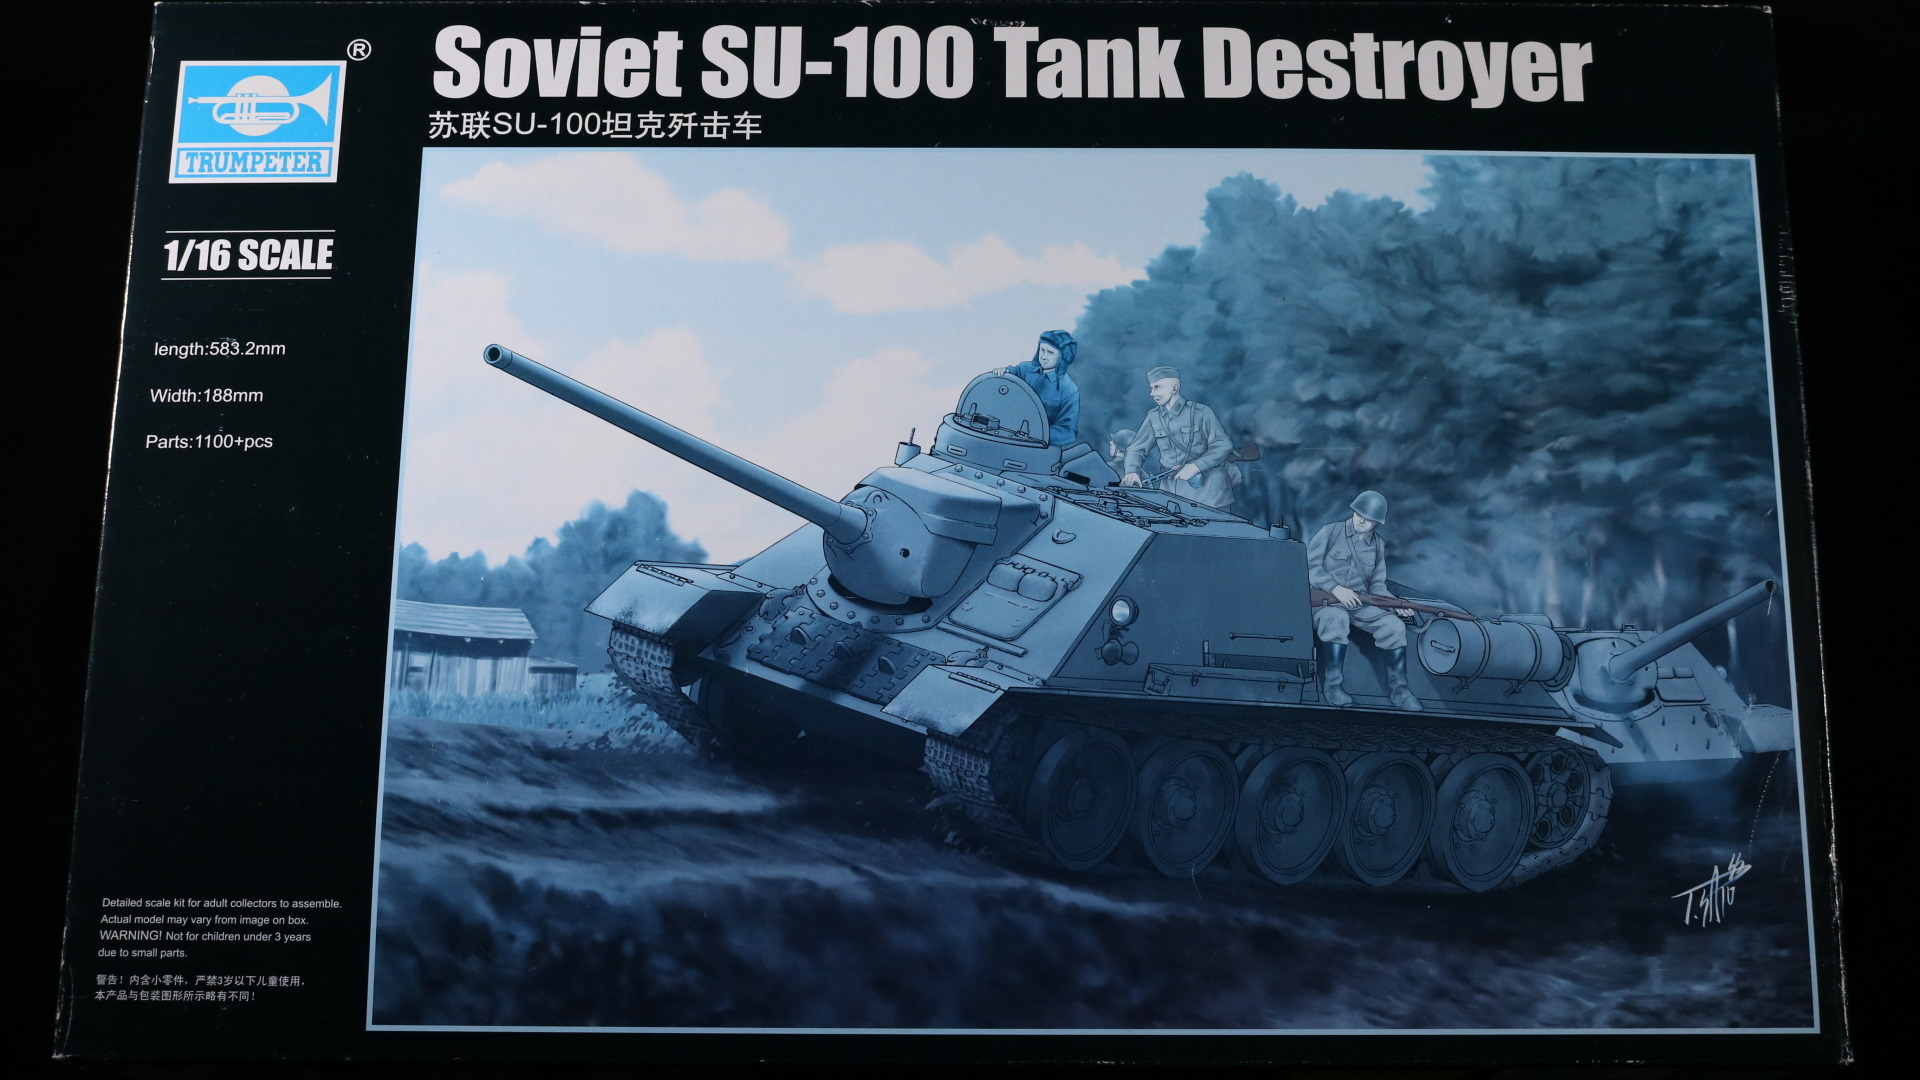
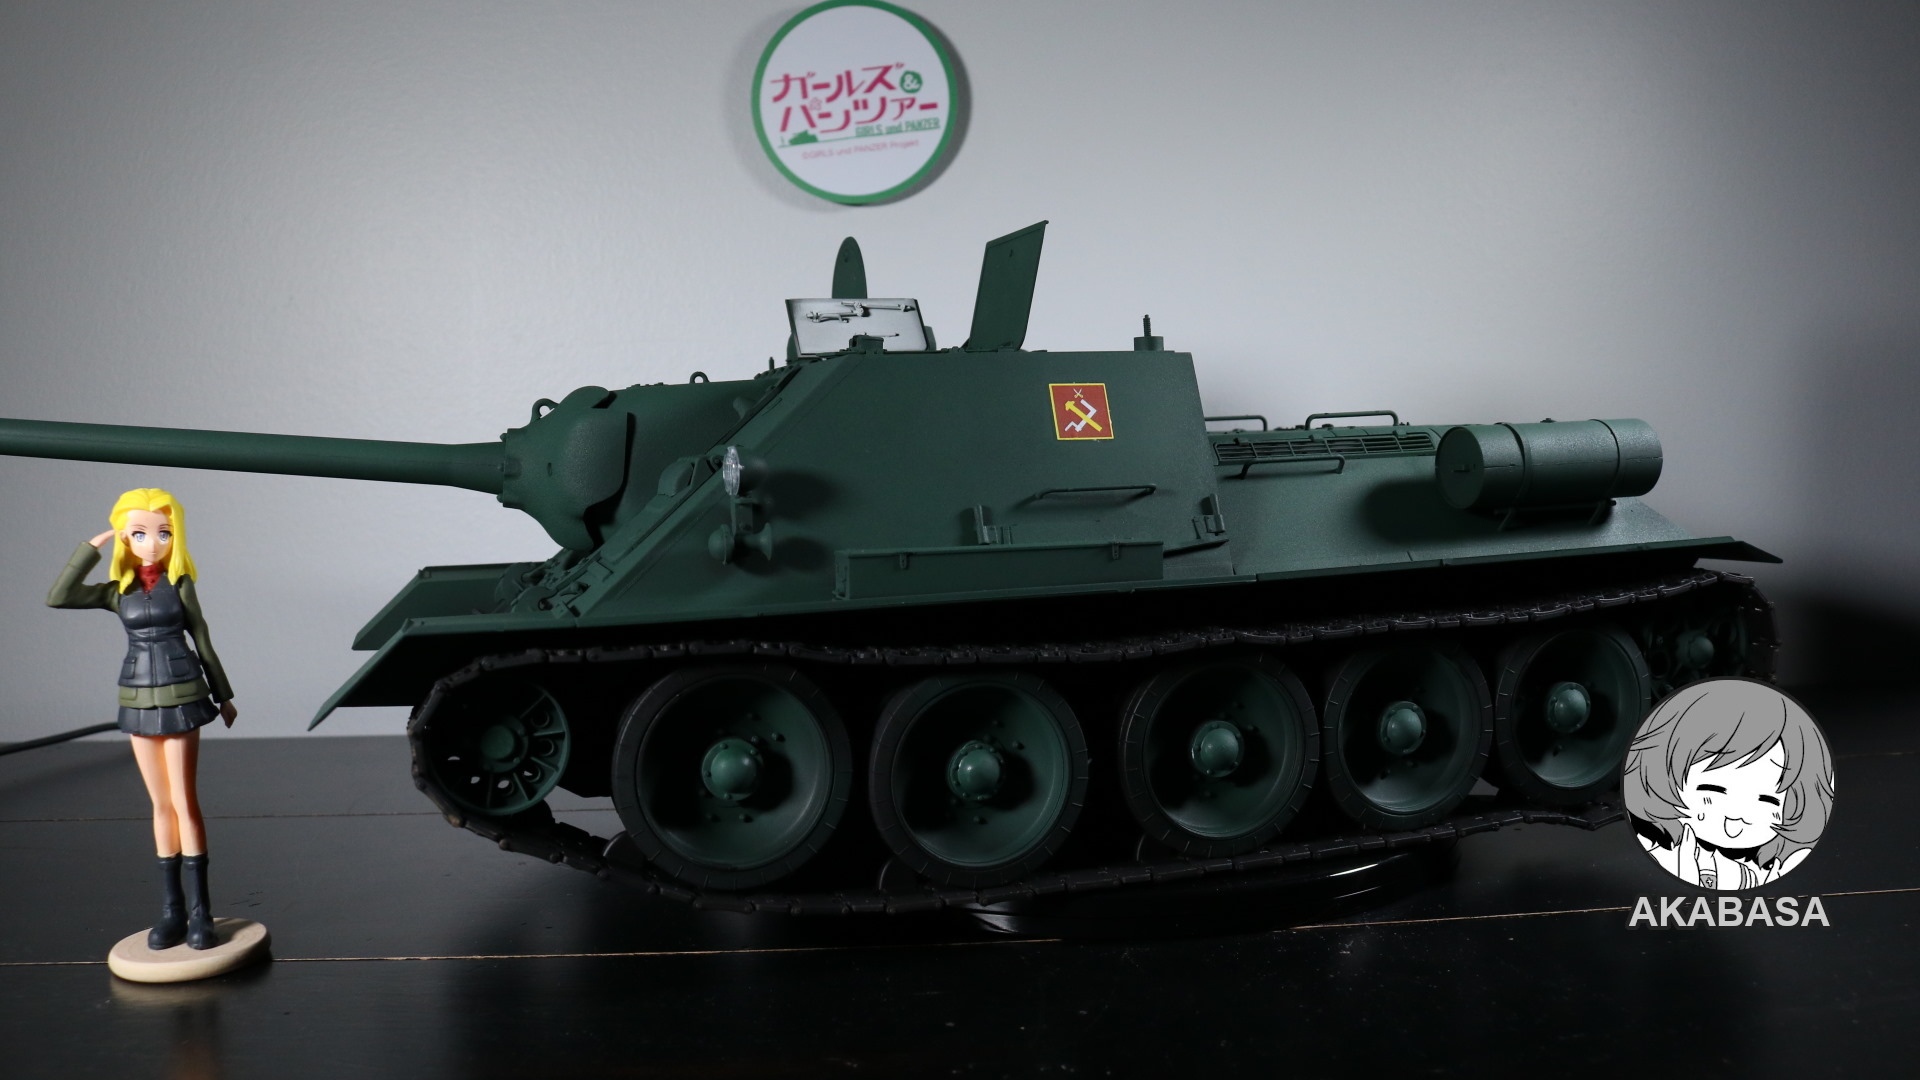
Trumpeter SU-100 Tank destroyer 1/16 scale
This is a World war era tank. More specifically, this is a Soviet tank. Well, it’s not exactly a tank by definition. This is a self-propelled gun (SPG). But I will call it tank in this article because, in the case of SU series, the difference is really minor. A very similar “tank” to SU-100 is German Jagdpanzer 38 AKA Hetzer which is my most favorite tank of World Wars.
Of course, there is also German Sturmgeschütz III Stug.
There are numerous variations in SU class tank destroyers. There are SU-85, SU 100, and SU-152. They all share virtually identical hull. The only difference comes from its main gun barrel diameter. SU-85 has a 85mm gun. SU-100 has a 100mm gun. Following the pattern, you can guess that SU-152 has a 152mm gun barrel.
All three SU-series tanks are eligible to be used in Girls und Panzer universe since all three of them appeared in World wars.
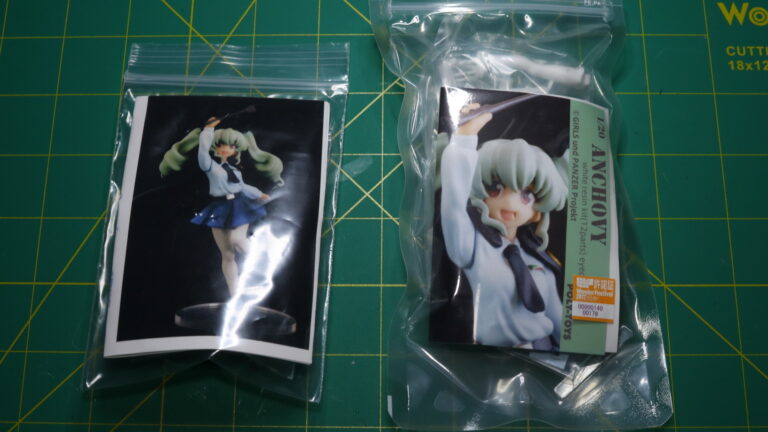
This SU-100 will specifically for Clara and will obviously go to Pravda school. Trumpeter is the only company that has manufactured this tank in 1/16 scale.
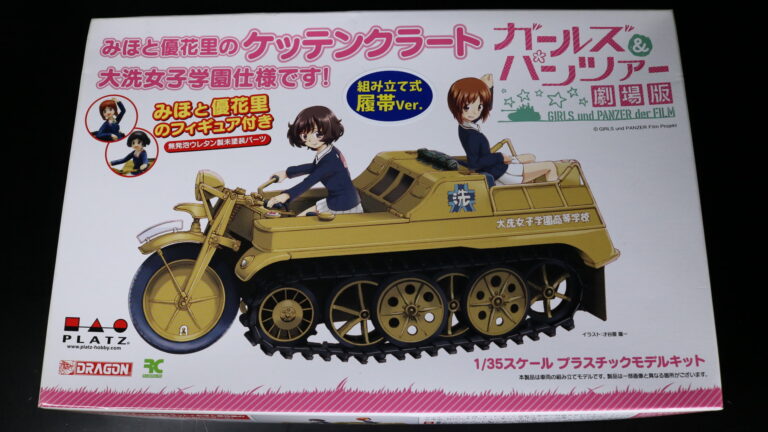
The box must have been in sun for years since the colors has all jaded.
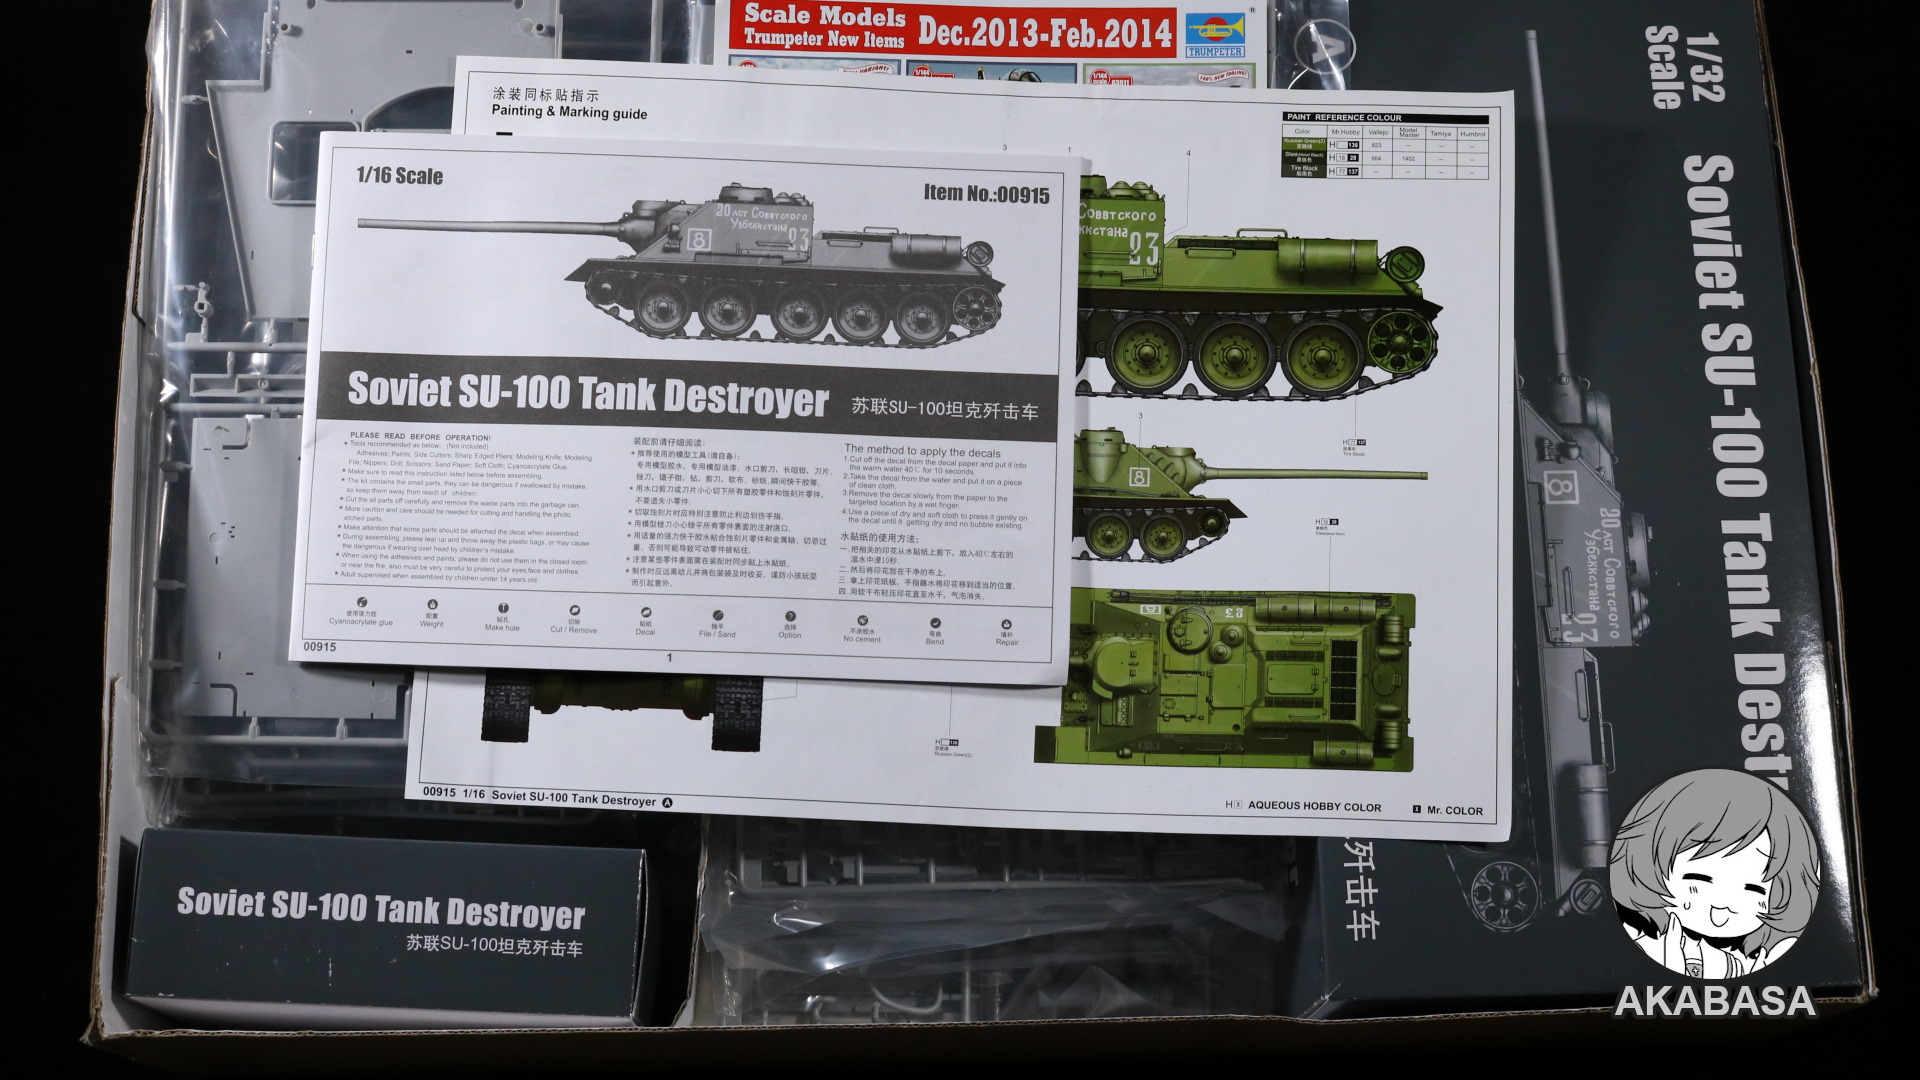
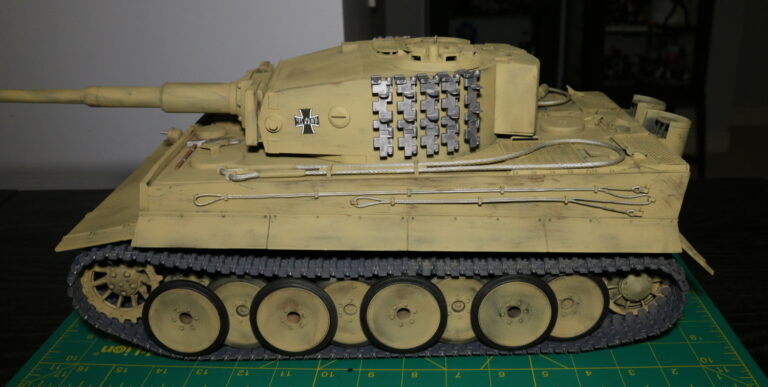
This kit is superior when it comes to part organization compared to Trumpeter Panzer IV.
Let me explain.
When you build model kits, parts come labelled. Part A, B, C, etc. What I consider a good part design is, when you build a part and parts required come from as few labels as possible.
For an example, when I was assembling Panzer IV engine, parts came from 4 different labels, requiring me to constantly go back and forth different labels for parts. It was wasting a lot of time. You do have an option of getting all parts before assembling but, if you do that, there is a chance of losing (misplacing) parts.
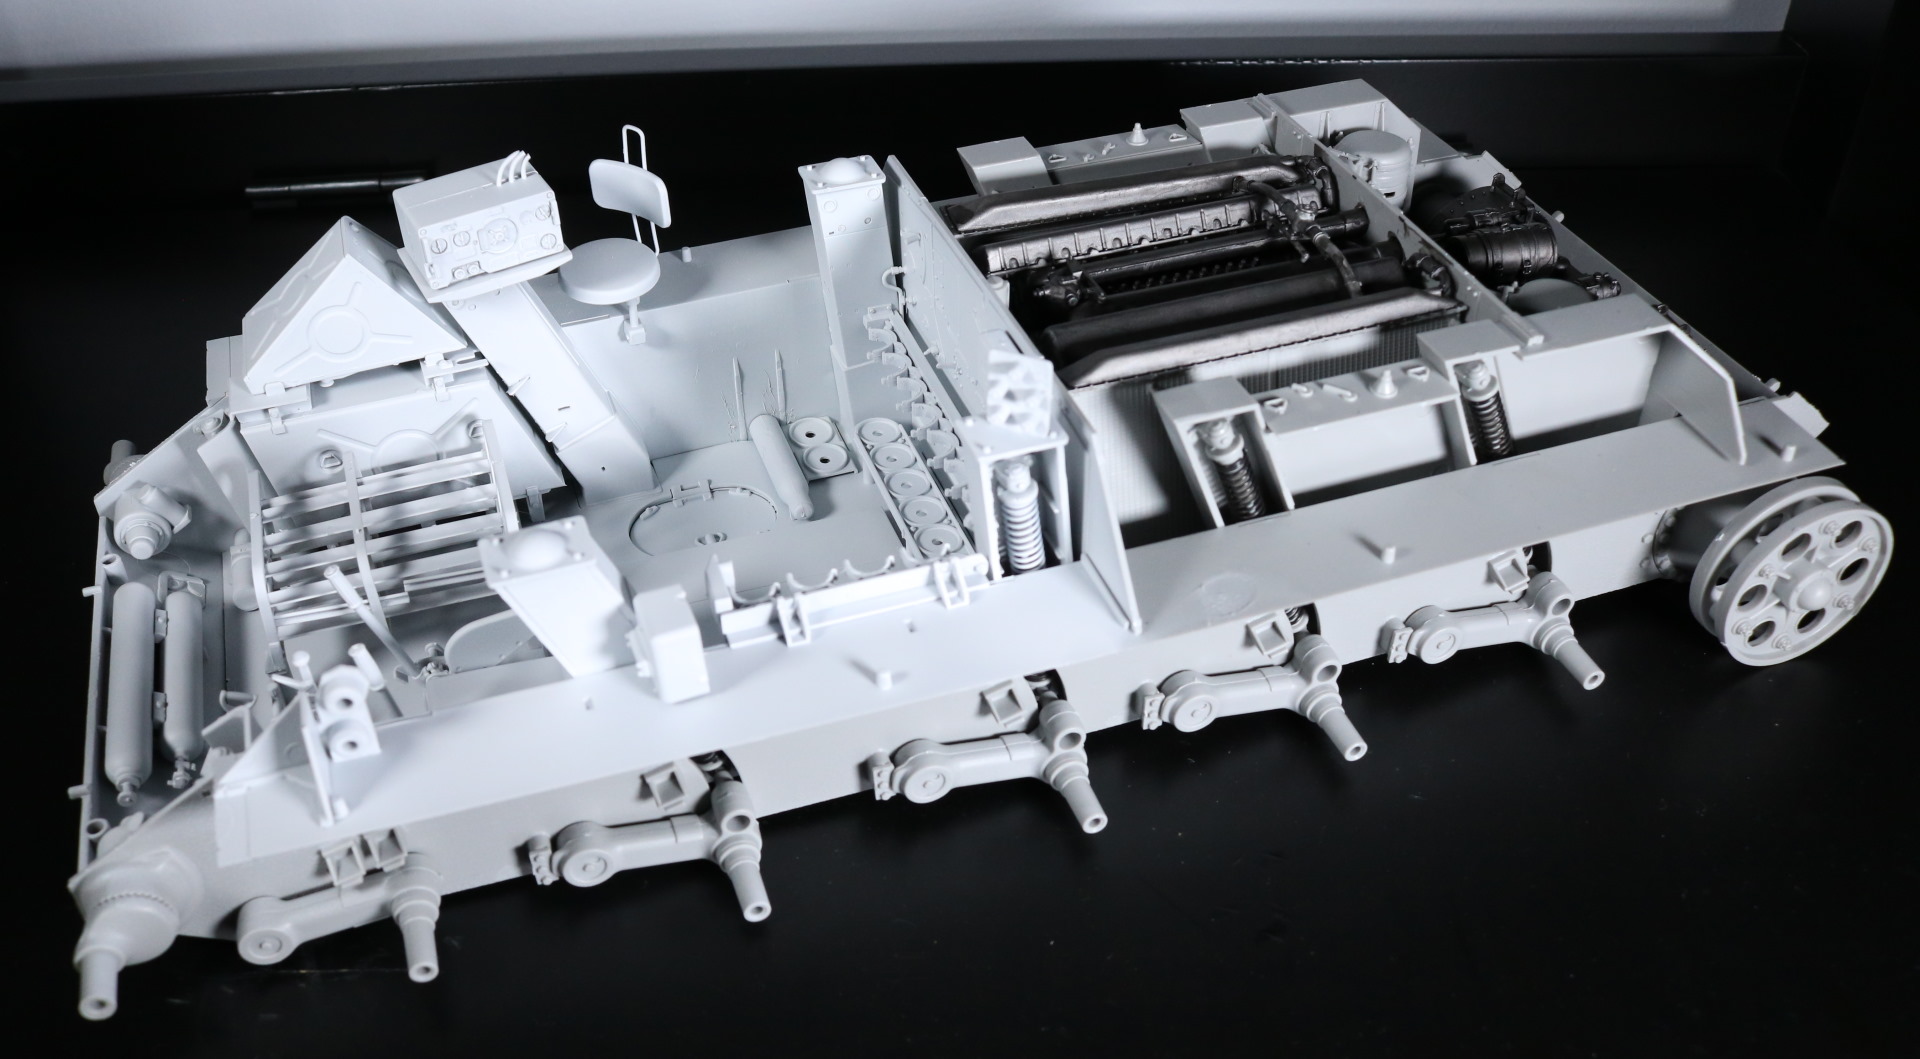
In stark contrast, when I am assembling SU-100 main engine, parts come from label A only, which makes parts sourcing so much easier AND faster. As a result, what could have taken half an hour took only ten minutes.
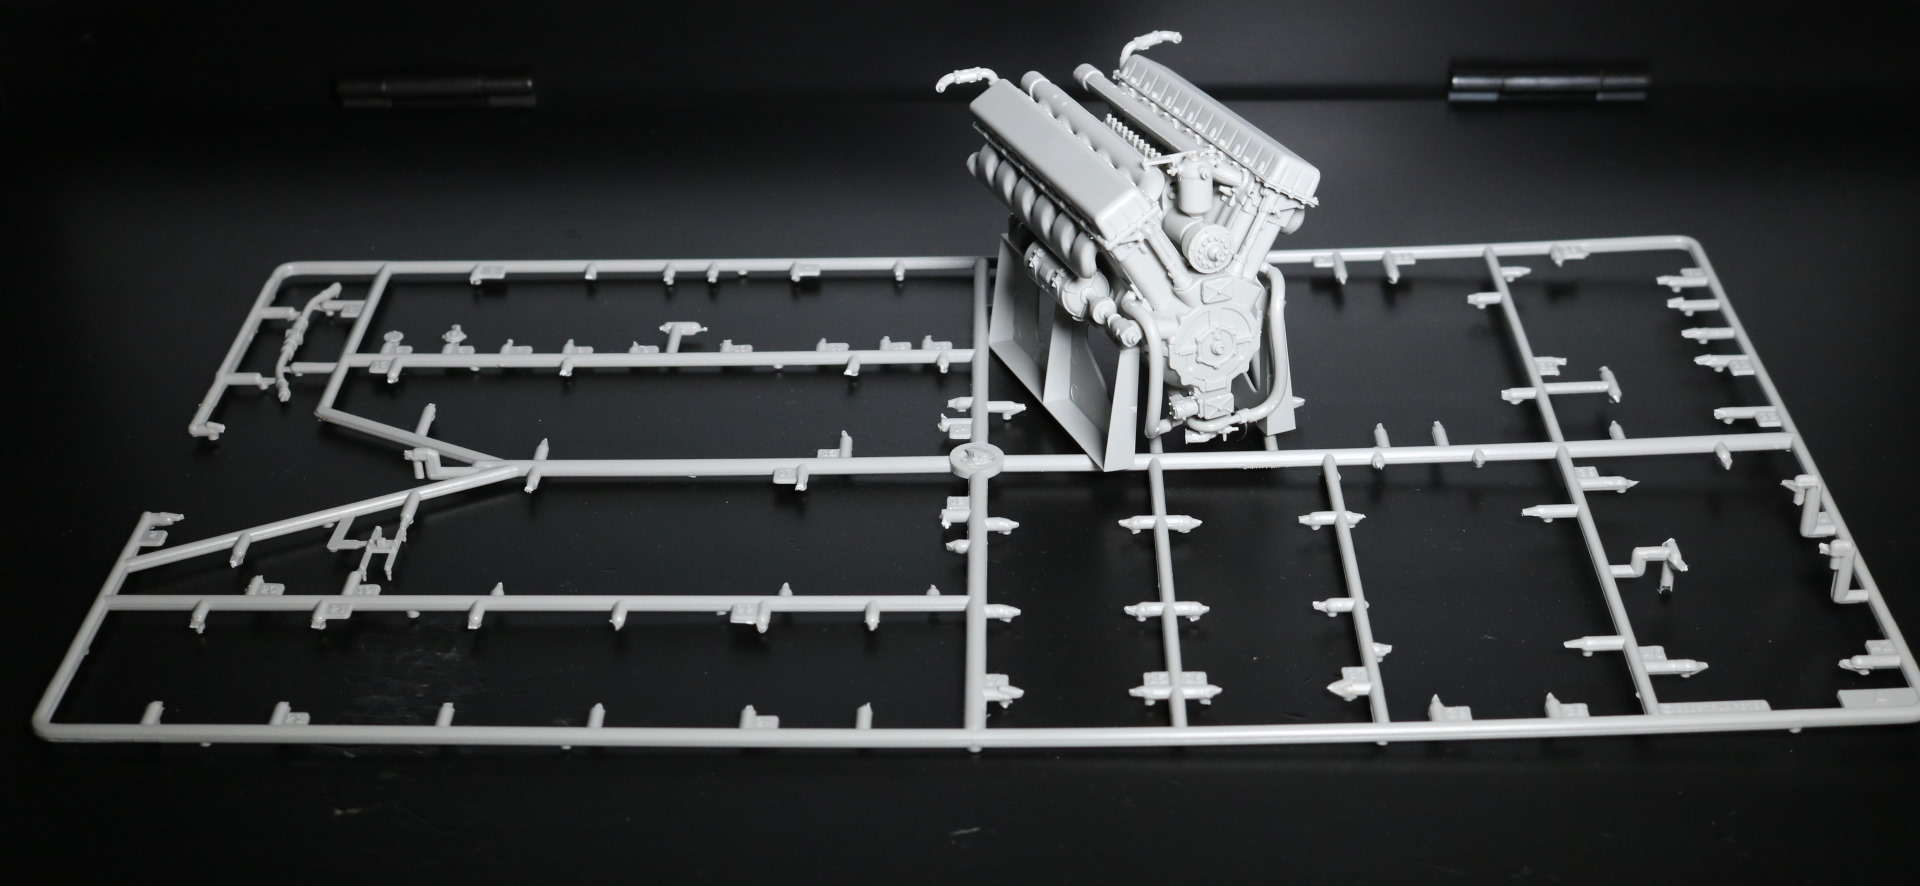
All engine parts came from label A. This is just a good parts design. Whoever designed the part arrangements, a big thumb up for you. 👍
The good part arrangement continues to show for the rest of the build which makes the whole build a lot more relaxed.

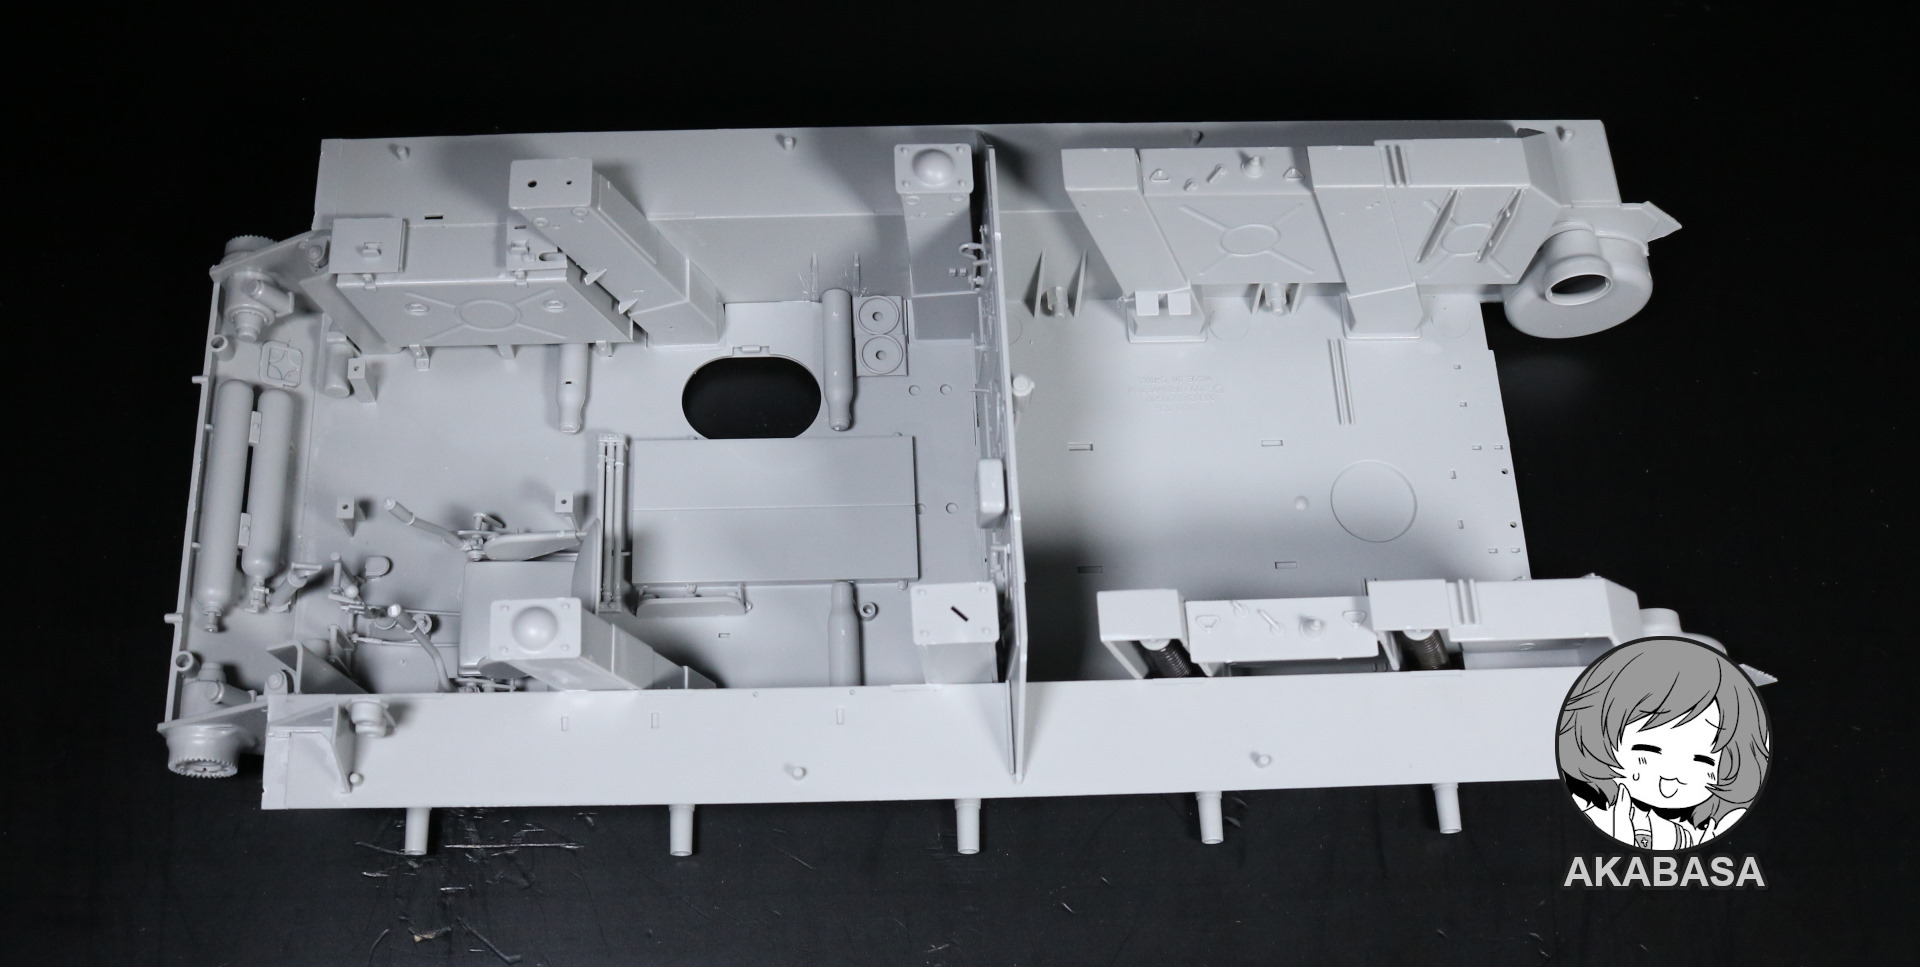
Interestingly, this tank could be rigged for RC. It does have a real suspension mechanism. If you opt not to work on interiors and remove its engine, there is certainly enough space for you to jury rig RC components inside of the lower hull.
The only issue is that, while the suspension system mechanism is functional, it’s not meant to last which shouldn’t be an issue for a display model.
Meanwhile, I notice something odd. The suspension is weird. Basically, it’s unlike anything I’ve seen from other tanks I’ve built.
So, I googled about its suspension, and it turns out that SU-100 actually has Christie suspension, meaning this tank is actually capable of driving on its wheels without tracks.
Now, I am aware that Soviet BT series has Christie suspension, but I wasn’t aware that a tank destroyer that is a size of a Tiger I would feature this.
FYI, Crusader MKIII has Christie suspension as well which is exactly why Rosehip drives it since Christie suspension allows a tank to run a fair bit faster.
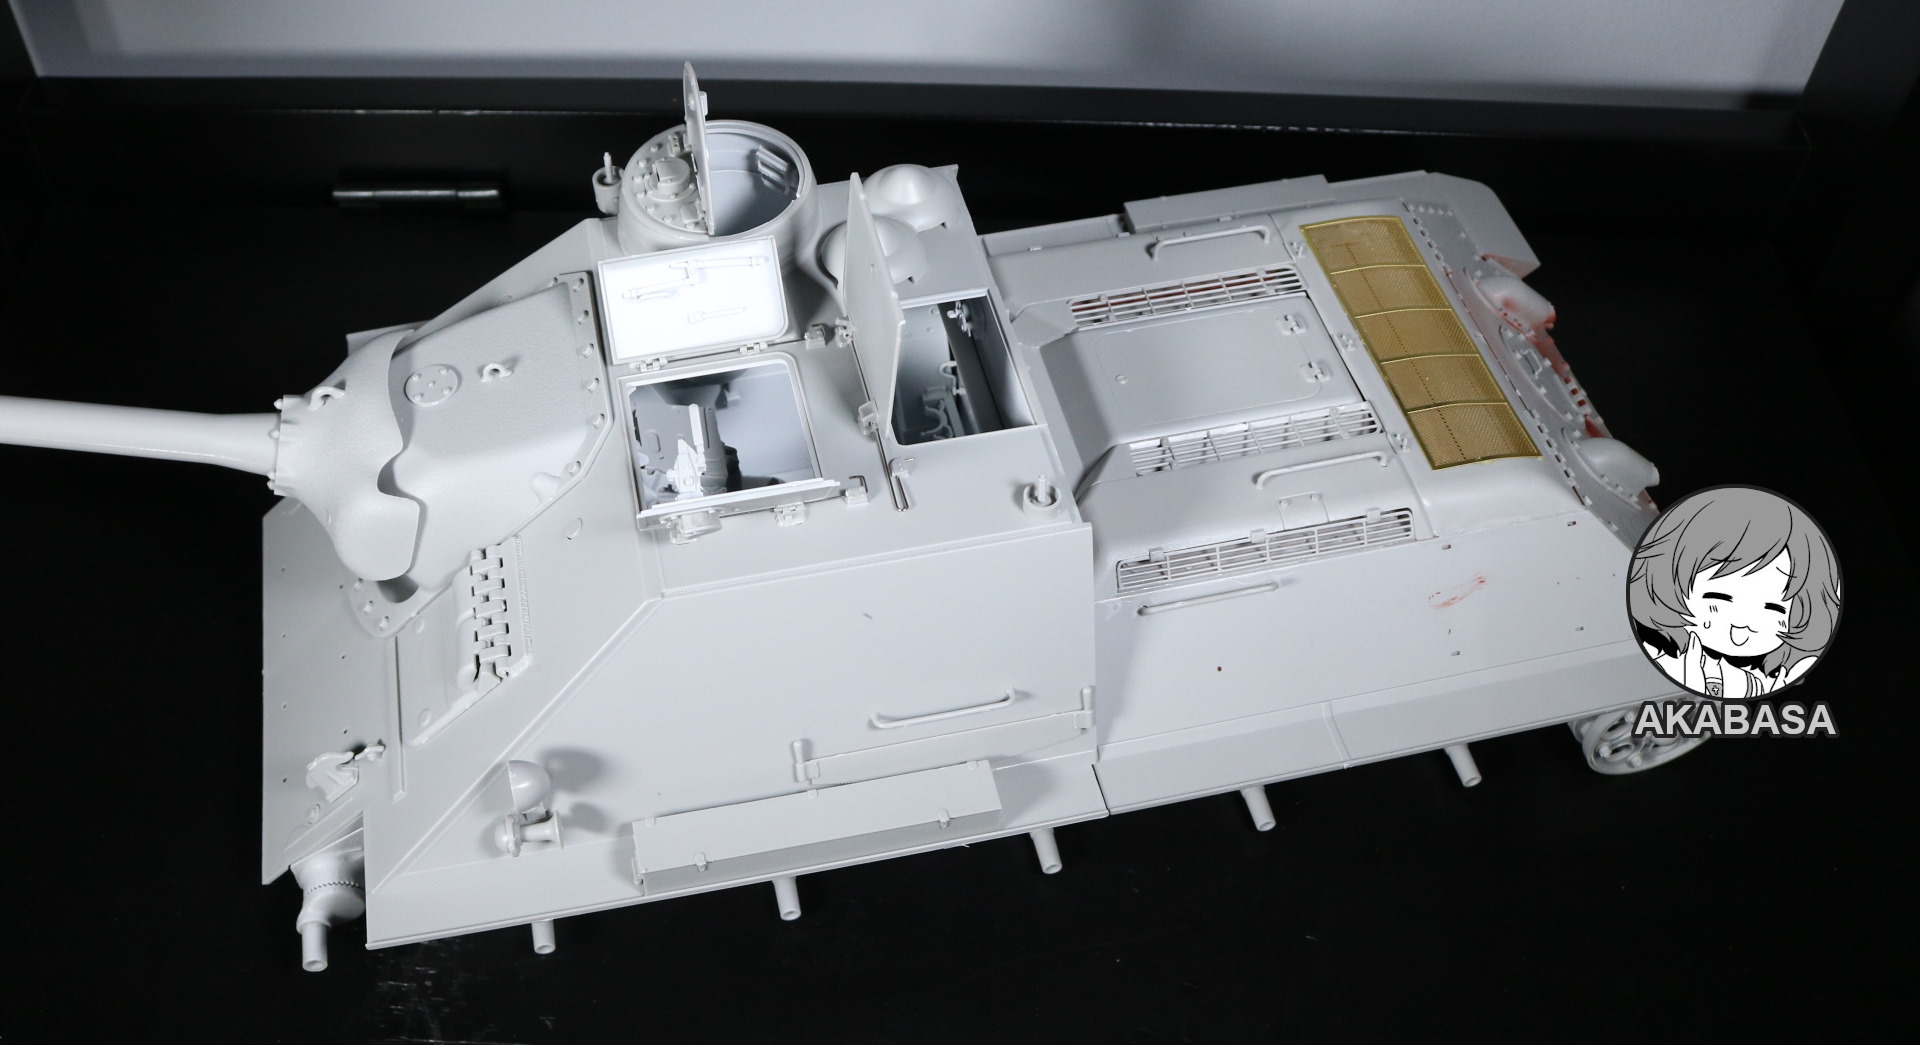
And this time, I am trying to conserve some energy and effort here. Back when I was building Panzer IV, I did its full interior including full painting for its interior.
I am afraid I am not going to do that this time. I just feel it’s too much efforts wasted for something that will not be seen.
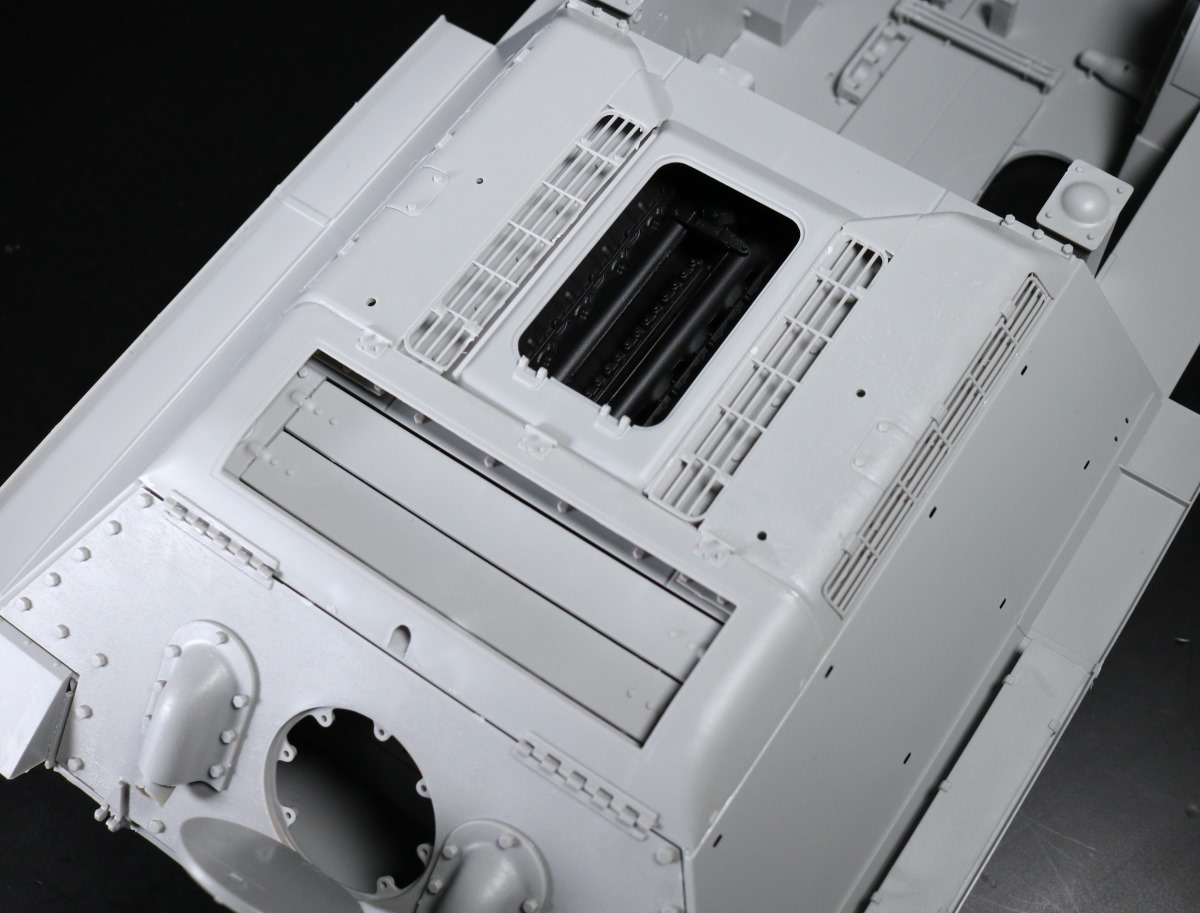
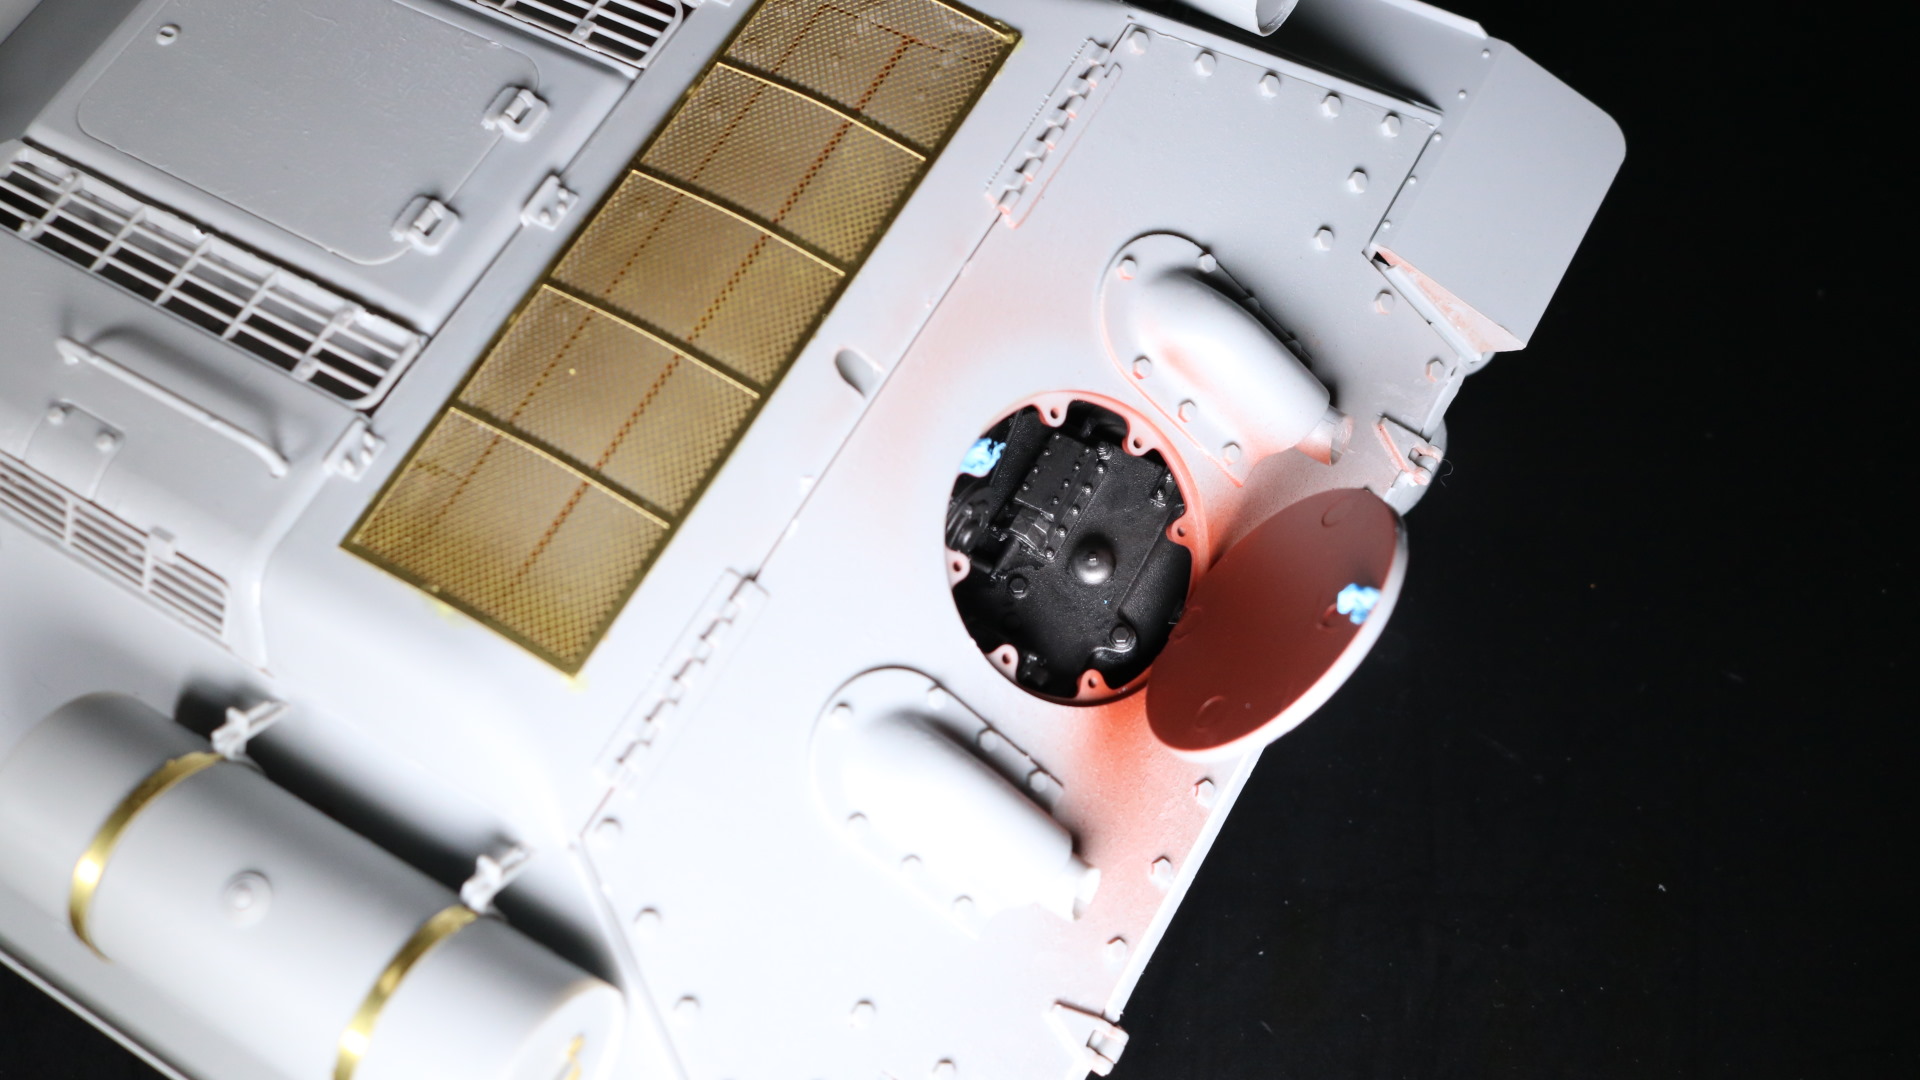
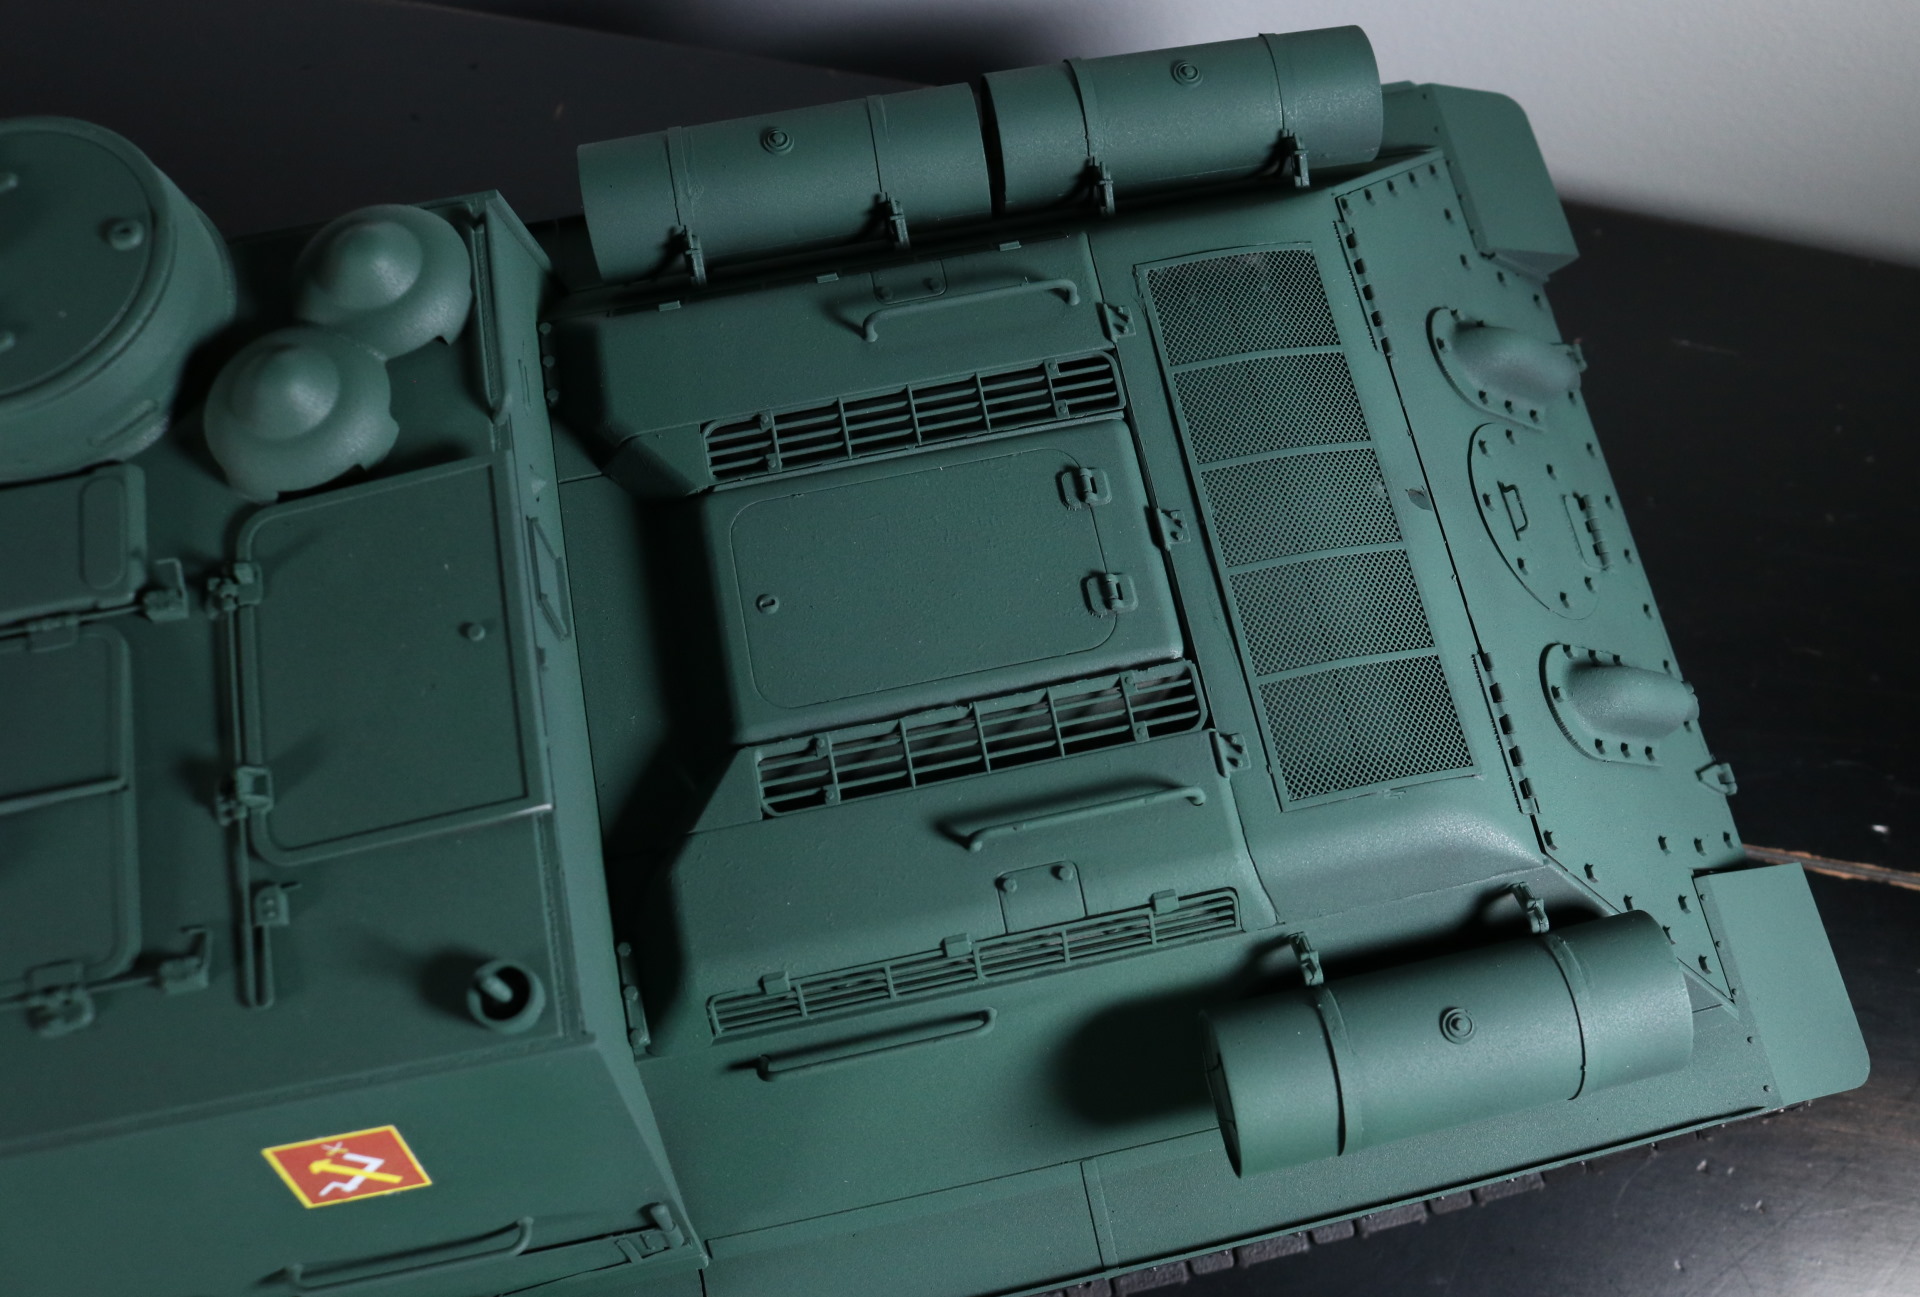
As you can see, the engine blocks everything, so there is no need to paint the interior. I could look sideways and see the bare wall but that worry is gone when I get to install huge radiators on side of the engine block, effectively blocking out any chance to see unpainted walls.
I am also thinking that I may not need to glue the rear top. It clicks in pretty securely. I am adding my usual blue sticky stuff to increase friction to hold it firmer.
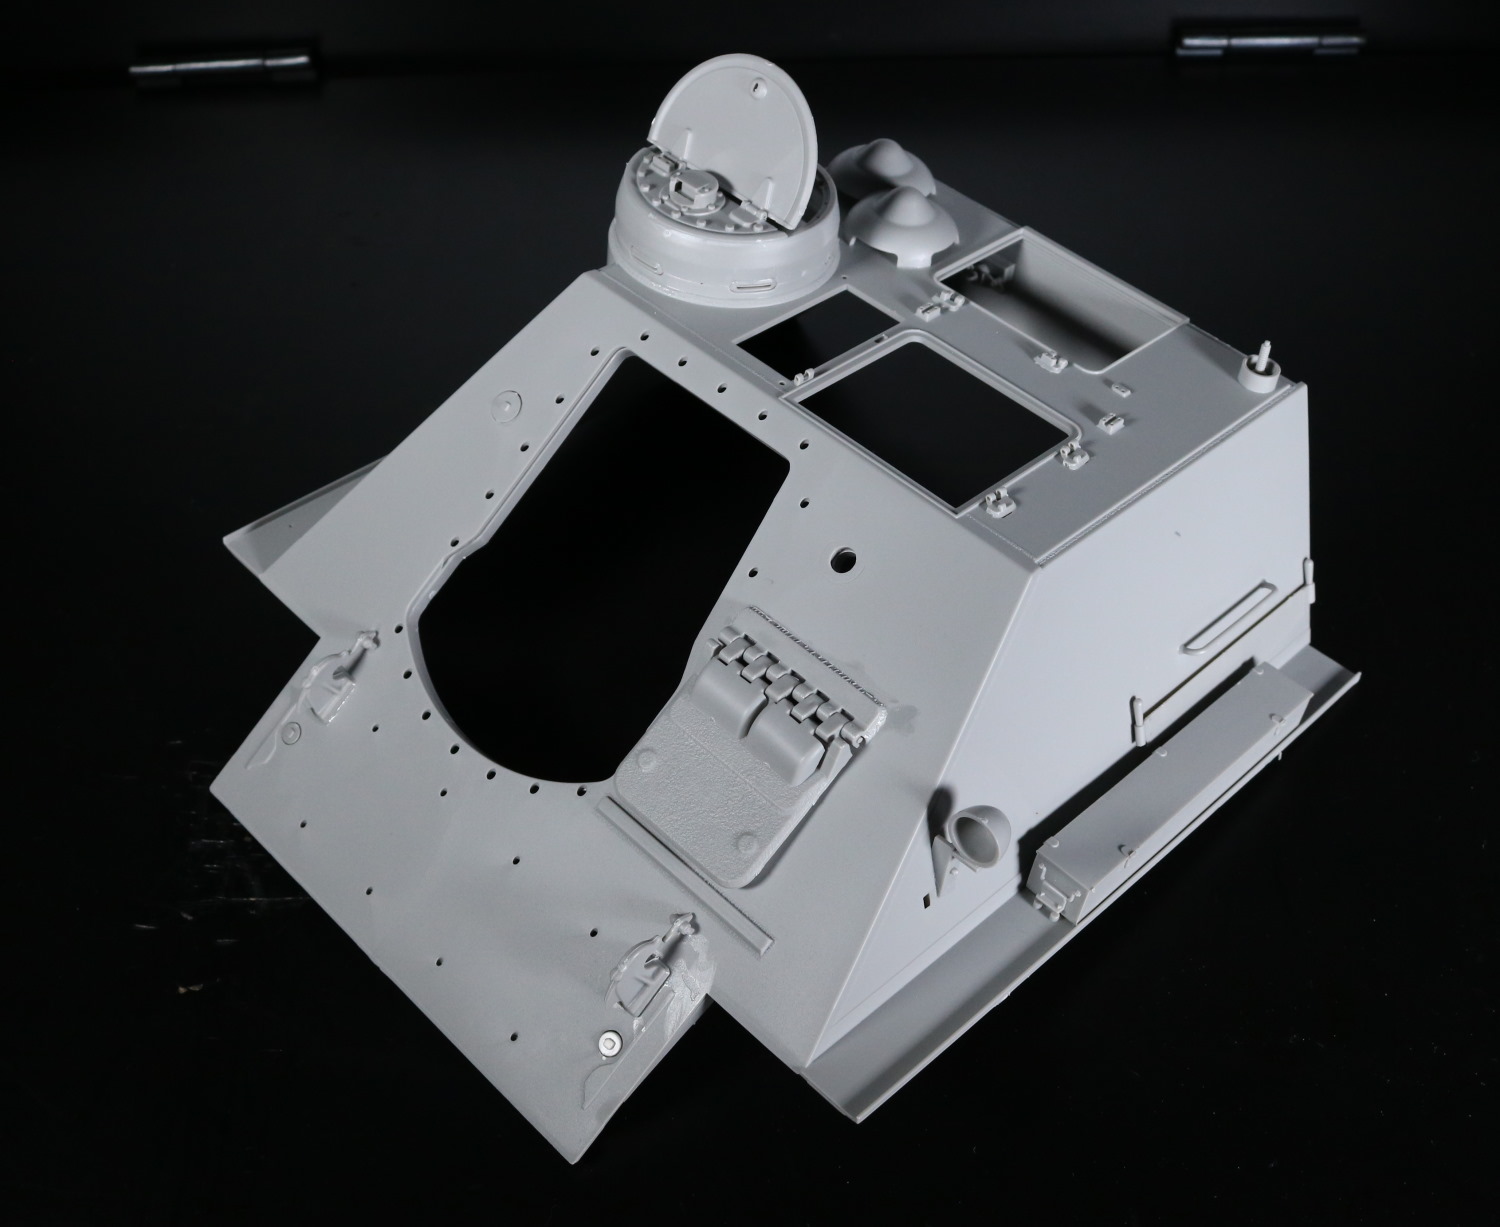
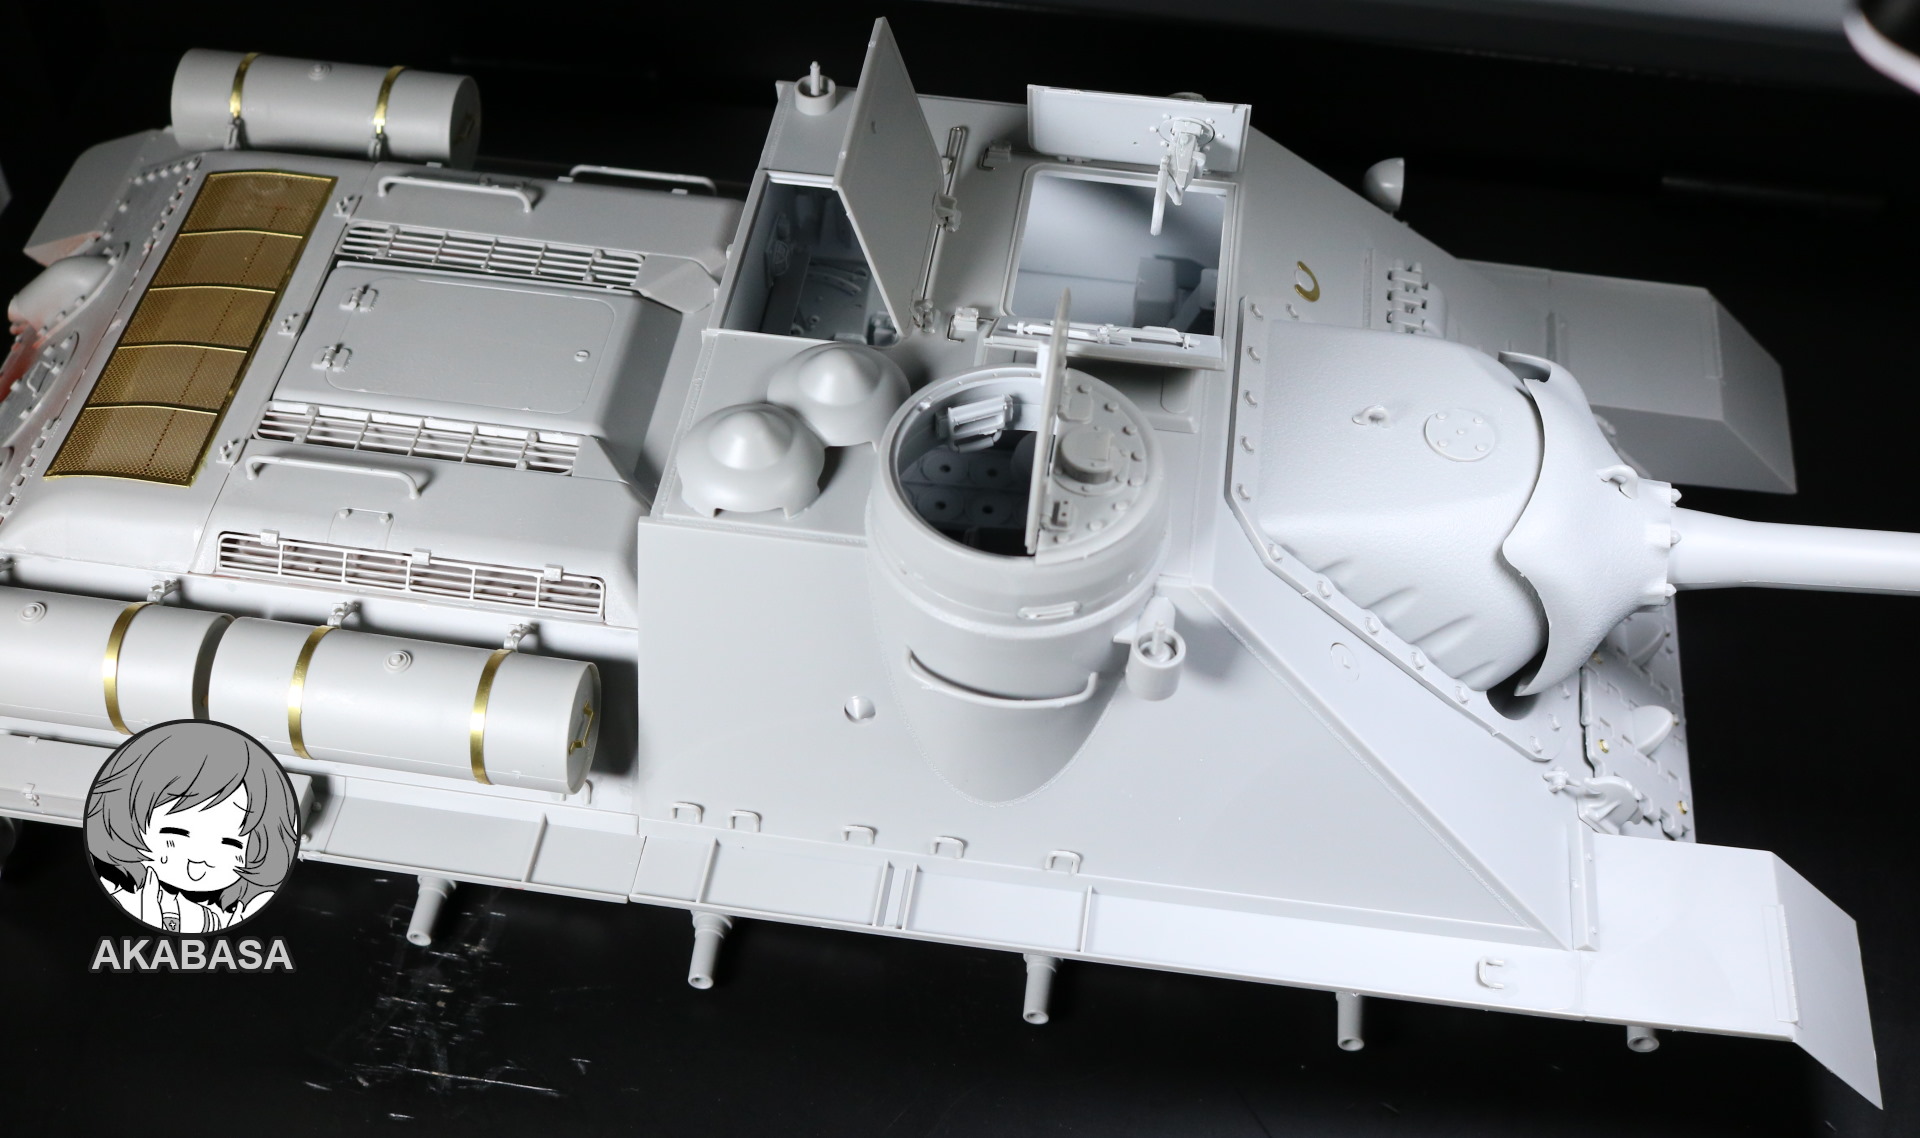
The front half has a lot of openings, and all of them are operational. Some hinges come with holes already drilled in which makes my job easier. The large front hatch is operational. So is the top hatch. The smaller opening is actually not a hatch. It’s a roof for a gun hinge.
I am painting the interior white instead of off-white simply because I like the white paint much better than off-white paint that I have. It just doesn’t flow as well as I would like.
Off-white means something of an aged white, like very light beige color. Most World war tank interiors seem to use this color. I am unsure about modern tank interiors because I haven’t actually bothered looking into that.
I am impressed with hatch options in this kit. All hatches can be articulated. Most hinges come with pre-existing hole to insert a wire, and the box even includes the wires. If not wires, hinges come with overlapping design to make it articulate.
None of these was found in Trumpeter Panzer IV kit which cost about 10% more than this kit. It’s clear to me that, while manufactured by the same company, two entirely different teams worked on the kits.
The only exception to this is the engine hatch. It’s not glued on but it is held by friction at the moment. I can’t really make it work. The hinges are too small and its position is awkward for me to use drill bits without heavily scratching surface.
And a reason I have yet to attach wheels is that you cannot easily take them off once you install them without screwing up suspension, and fixing suspension requires opening up upper hulls. Basically, its wheels will be installed in the last phase of the build.
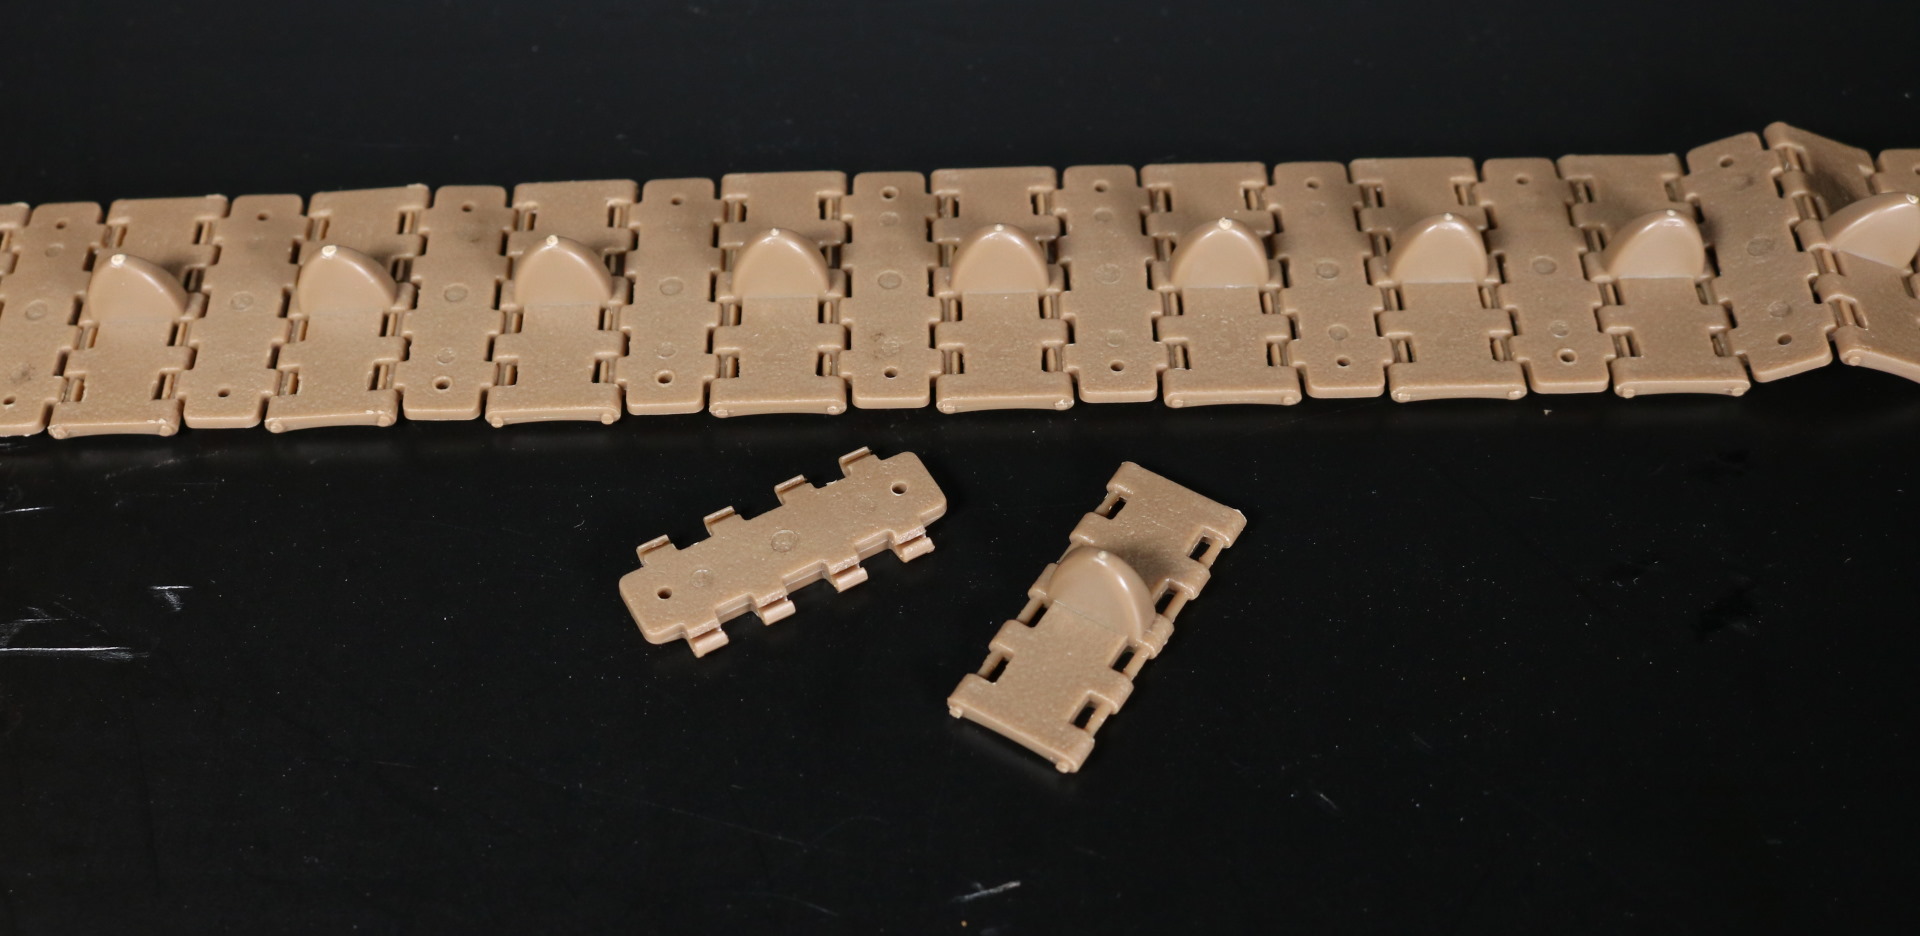
And the tracks… Oh, boy. These are the easiest tracks I’ve ever assembled. No glue required. No extra parts required. Each track just snaps into each other and that is it.
And only 70 parts per each track as well.
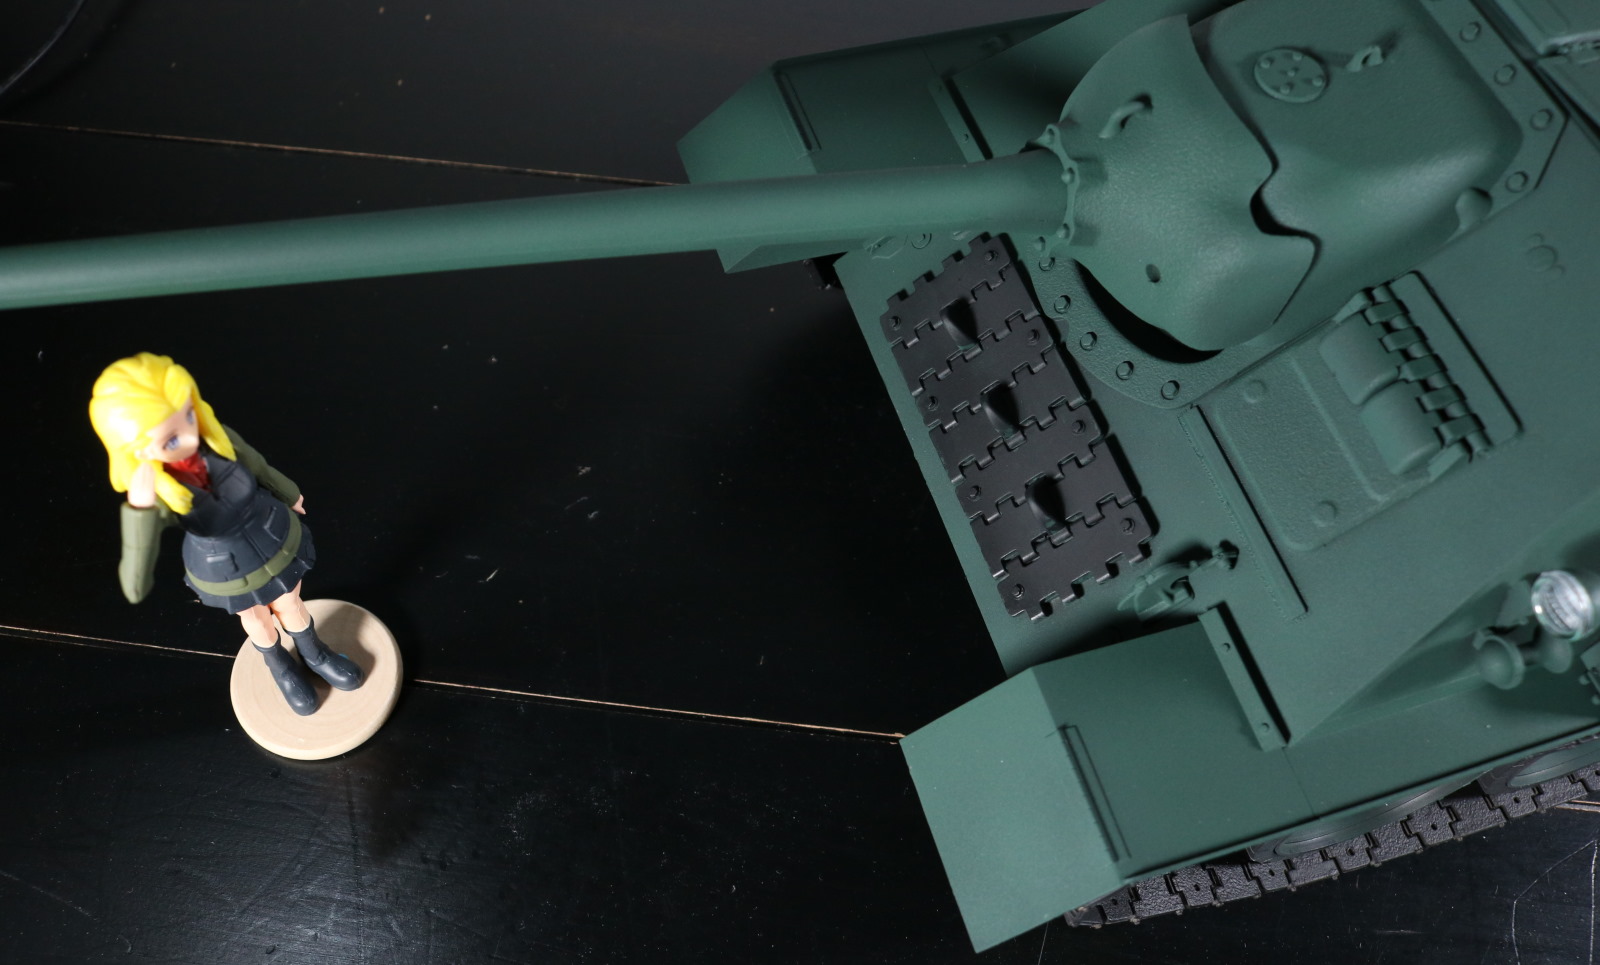
This is right before I am going to prime the tank. I’ve opted out on some outside props.
I am not building an accurate world war era tank here. I am building a tank for Girls und Panzer universe. I feel some props are no longer needed.
Additionally, I like clean tanks.
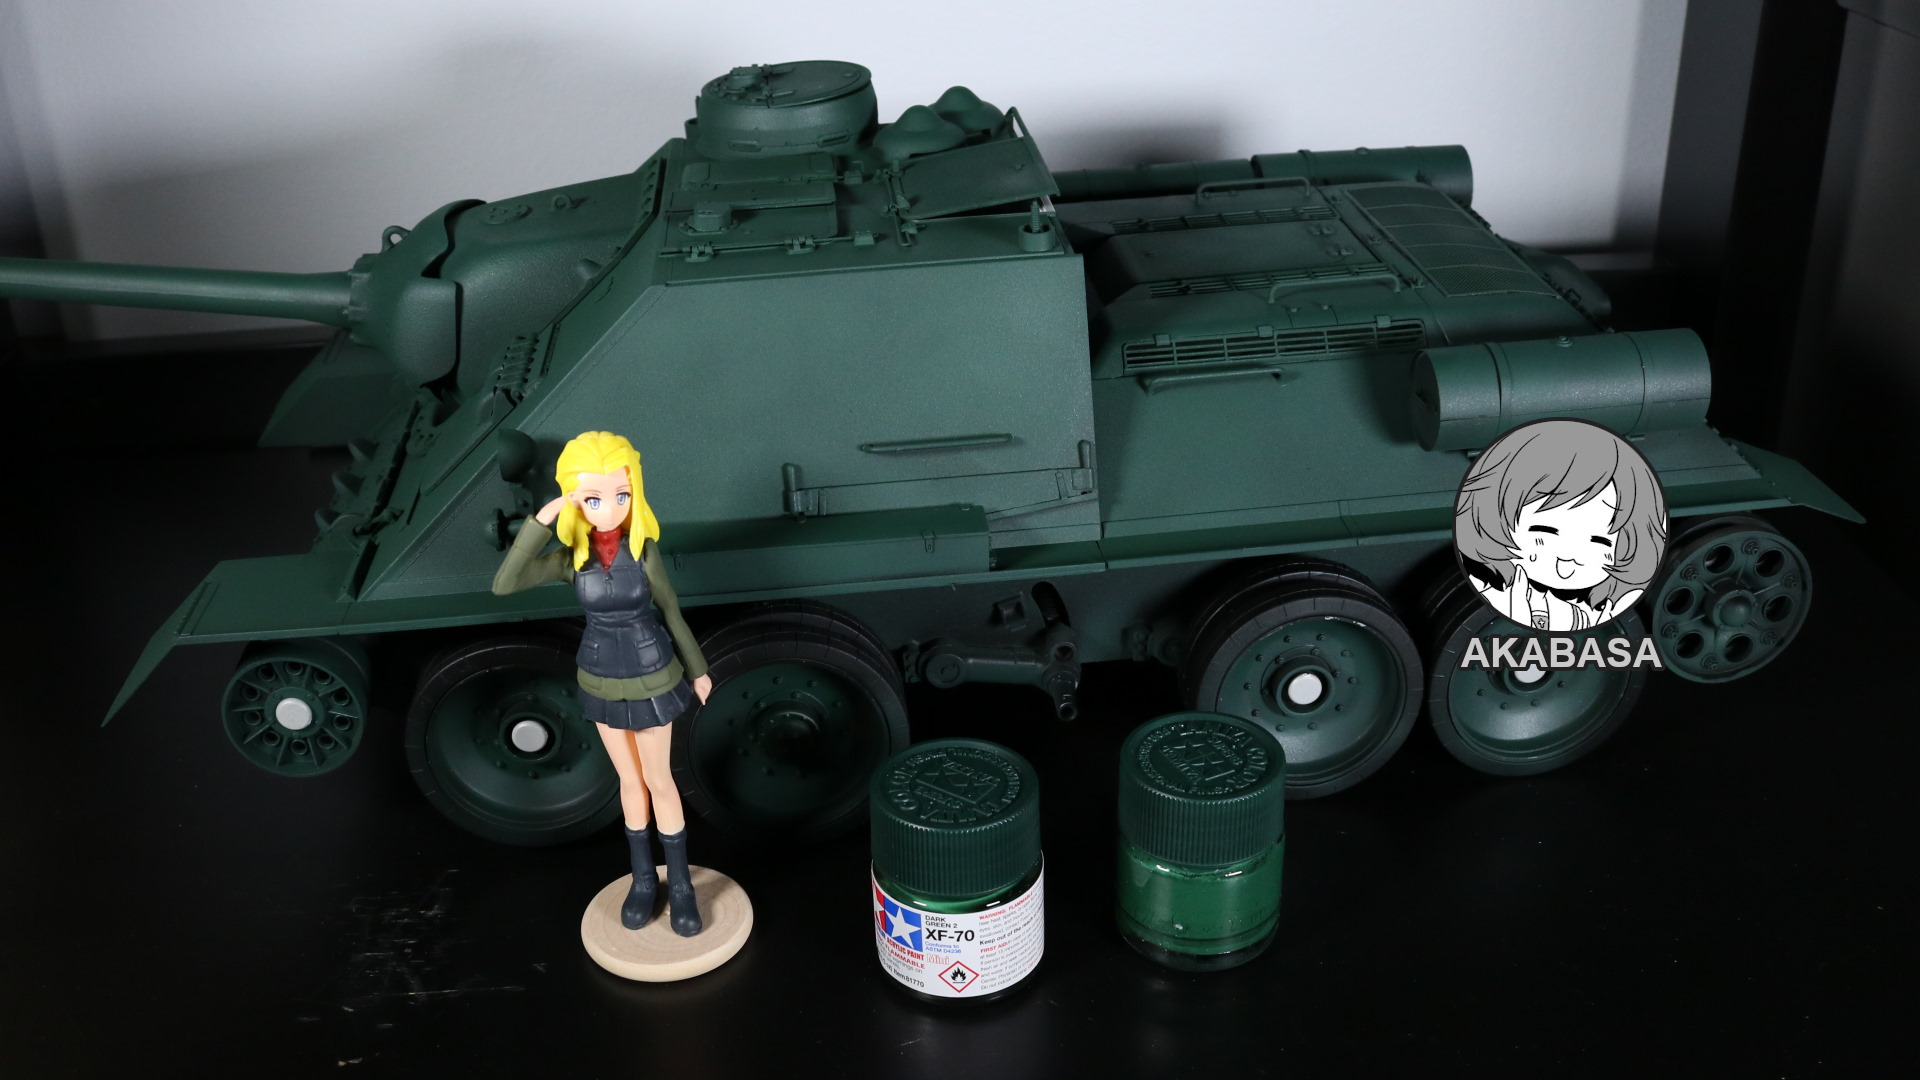
I am using Tamiya XF-70 Dark Green 2. This paint is the toughest paint I’ve ever used. What I mean by is that this paint is very scratch resistant even without any varnish. Compared to regular dark green which I tend to use for most of time for tanks, its color is slightly darker and, at the same time, pale.
It comes off almost black in low light situations.
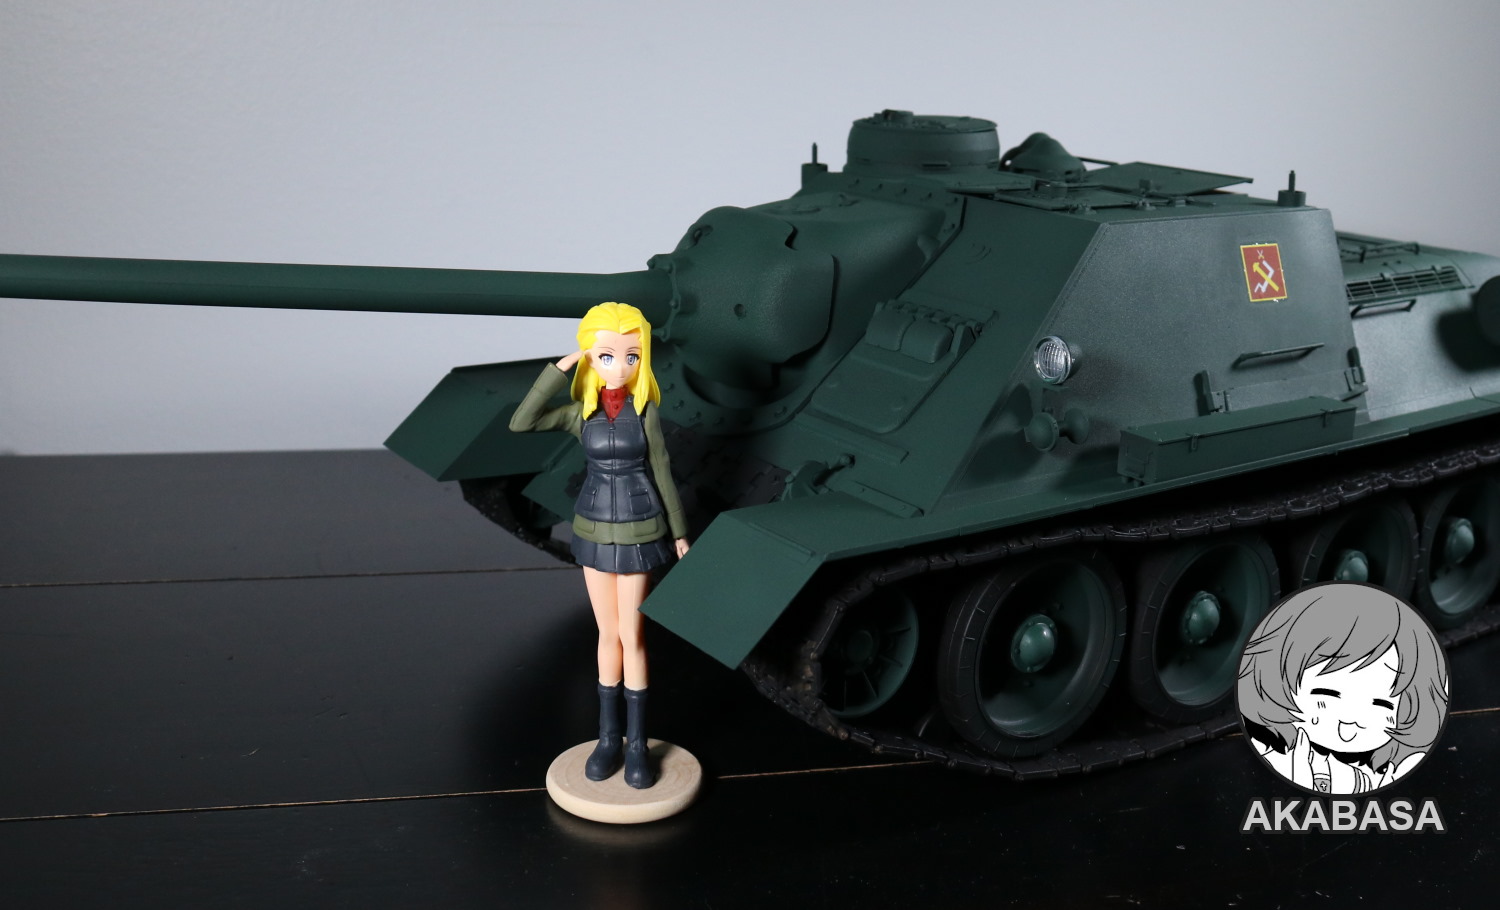
This SU-100 marks my second Pravda tank. I now have T-34/85 and this. Now, there appears to be a RC KV-1 1/16 scale floating around the market from China. Its price is a bit high at the moment, but I am keeping my eyes on it in case it drops below 250CAD.
KV-1 (Katyusha), T34/85 (Nonna), and SU-100(Clara) would complete my Pravda setup.
In conclusion, I really do like this kit. Compared to Panzer IV from the same company, this kit is so far ahead of it that it’s not even funny. I am going to list what I’ve felt clear pro in comparsion.
👍, the part arrangement is brilliant. You are not forced to go through a lot of labels when building parts.
👍👍, almost all (except one, engine hatch) hatches can be articulated without much efforts because they come with proper hinge mechanisms. The box includes metal wires for it even.
👍👍👍, Oh my god, the tracks. Extremely easy to work with. No gluing required. Easy to repair, therefore, and easy to take it off if needed.
👍👍, the top hulls do not need to be glued on permanently. Sticky substance is enough to secure it to the lower hull. So, if something falls off inside and you want to repair it, then you could open it up. I wouldn’t recommend this but at least you have the option.
![[Volks] Reizei Mako 1/16 scale garage kit](https://akabasa.com/wp-content/uploads/2021/09/volks_reizei_1.png)
![[Volks] CharaGumin Laios Thorden](https://akabasa.com/wp-content/uploads/2021/09/volks_did_laios_thorden_1-768x432.jpg)